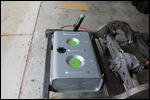
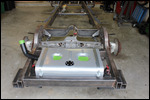
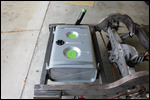
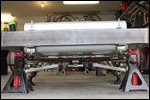
It's time to tackle the fuel system. When I had Darrell move the fuel tank up to allow for a side entry on the tank, he did this by moving the tank mounting straps from above the frame to below. This moves the tank up 4 inches which should give access above the frame for the side fuel inlet. This works, but there are two things I don't like about the design. First, the tank is about 4.5 inches above the frame and I believe the bed floor is about 4.5 inches above the frame, so the tanks might interfere with the bed floor. Second, the straps below the frame are welded to the frame, with the tank straps installed from above. This means that to drop the fuel tank should I need to replace the fuel pump or fuel gauge sending unit means I would have to lift or remove the bed.
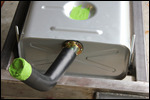
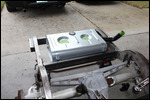
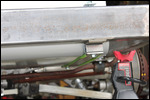
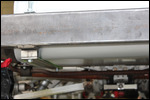
After cutting the fuel inlet into the side of the tank, I found the inlet had a full inch of clearance above the frame. This means I can lower the fuel tank by an inch and still fit the side inlet. Lowering the tank by an inch also puts the tank 3.
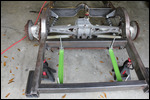
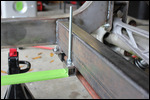
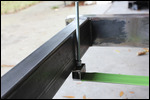
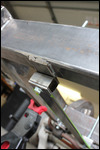
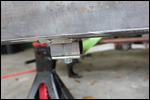
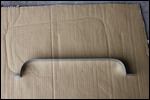
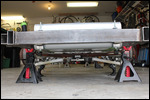
5 inches above the frame which should fix any bed floor interference. To lower the tank, I cut the lower welded straps, leaving a 3/4 inch tab on each side to make room for the attaching hardware, and bolted on the replacement lower straps with a 1 inch spacer. By bolting on the straps, this gives a way to lower the tank from the bottom if I need to. Problems solved!
For 1 inch spacers, I used 1x1 rectangular tubing, cut to 2 inch lengths. For fasteners, I used threaded rod. It's double nutted above the plate with flange nuts holding on the 3/16x2 lower straps. Now that I think about it though, I will need to add a nut below the plate to hold the threaded rod from popping up if I remove the lower flange nuts. Oh, well... Tomorrow's project.
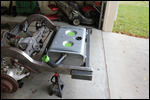
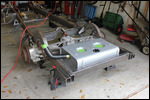
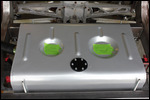
The upper straps were pretty straightforward. The tank comes with universal straps, which is basically a pair of 1.5 inch wide steel straps that need to be bent and cut to length. So I got to practice my blacksmith skills. I bent the straps to the contour of the tank, and folded the ends over themselves to double up the thickness where the rod went through.
The straps came out great, and the tank is secure.
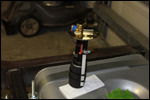
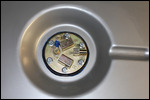
I still had to assemble the fuel gauge sending unit which was fairly straightforward. The instructions came with measurements for setting the float pivot height and float length. There are several versions of sending units with different resistances depending on the application. My initial thought was to buy the GM 0-90 Ohm unit, but after looking at the aftermarket custom gauges, it turns out most used the SW 240-30 Ohm unit, so that's what I picked. For a pump, I picked the 220 gph unit, which is mid-grade. The 190 gph would probably be fine, but the 220 gph was only $10 more.
BTW, a word on the tank selection. I originally intended on using the Tanks, Inc U4-60 side entry tank, but there were a couple of things I didn't like about it. First it's not really a fuel injected tank, so it doesn't really have the right baffles. But more importantly, the fuel pump and fuel sender are not recessed, so the add to the overall height of the tank.
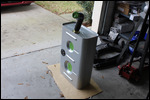
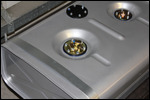
Instead I went with the UT-N-2HT, which it the one Darrell usually uses but I blocked off the top entry and added the side entry. I used the 20 degree side entry with the 60 degree bend hose. This gives me some flexibility to locate the inlet pointing where I need it.
While I was at it this weekend, I picked up a 180 amp 240V MIG/Flux welder and cart from Harbor Freight. I still need to pick up an argon/co2 tank for the MIG, but I hope to practice a little welding this week. I know I will need to do some welding on the body sheet metal, but I will probably need to do a little welding on the frame for brake hose tabs and exhaust hangers. I'm trying to finish up where I need to drill holes for clamps in the frame, and where I need any additional welding so I can take it all back apart and send the frame out for powder coat.
I plan to use rivnuts for the brake and fuel line clamps, and from what I can tell, the best recommendation is to drill the holes before powder coat, but to wait until after powder coat to actually install the inserts to save having to mask. I will check with the powder coater before I send out the frame.

 Orlando, Florida, United States

2025-05-22