 Orlando, Florida, United States
The time has come for the moment of truth. This is really more a test of whether Darryl
did a good job of laying out a bare frame that would actually fit. So far, everything has looked good, though
the engine appeared to be a little forward in the engine compartment, which I
remedied by using different motor mounts.
The question is whether I moved it too far back that it may interfere
with the firewall. My measurements looked
good, but now is the time to find out for sure.
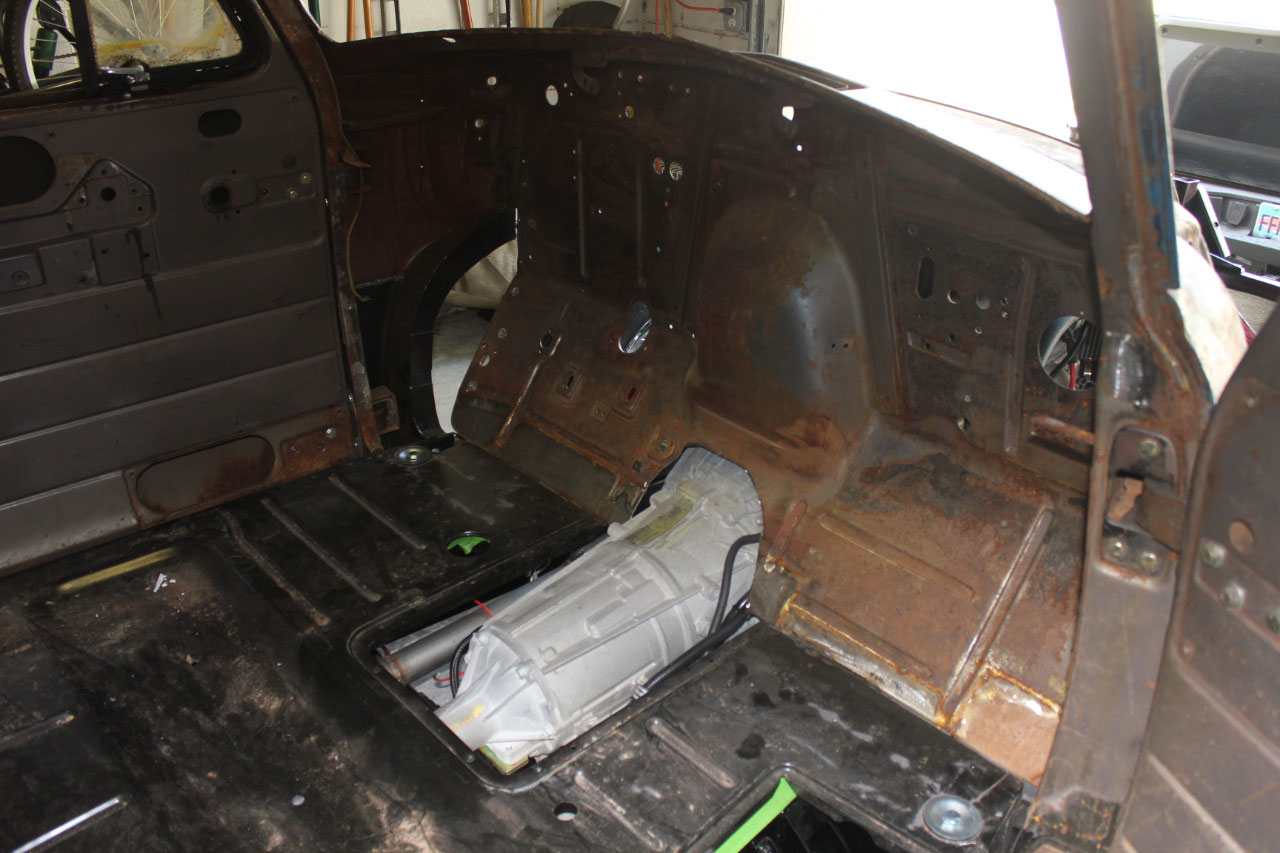
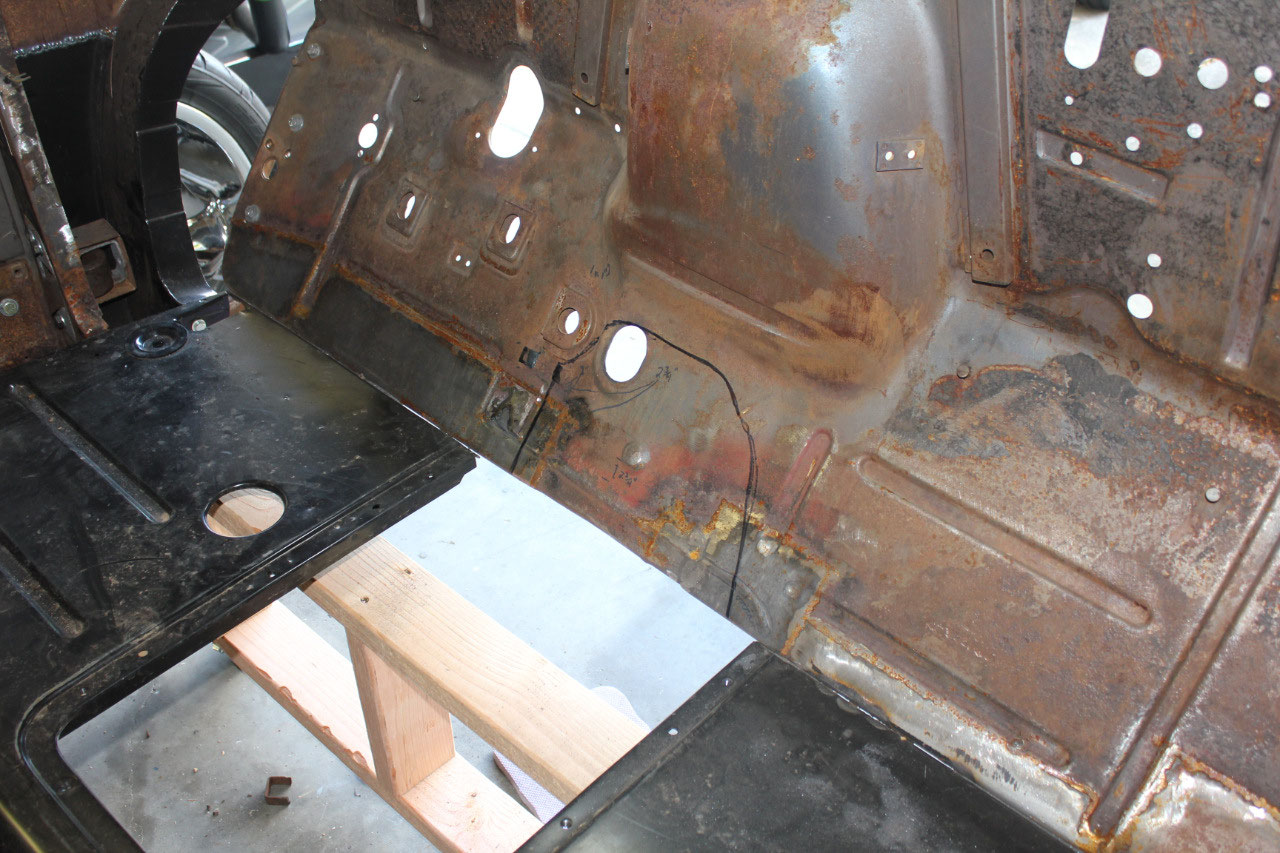
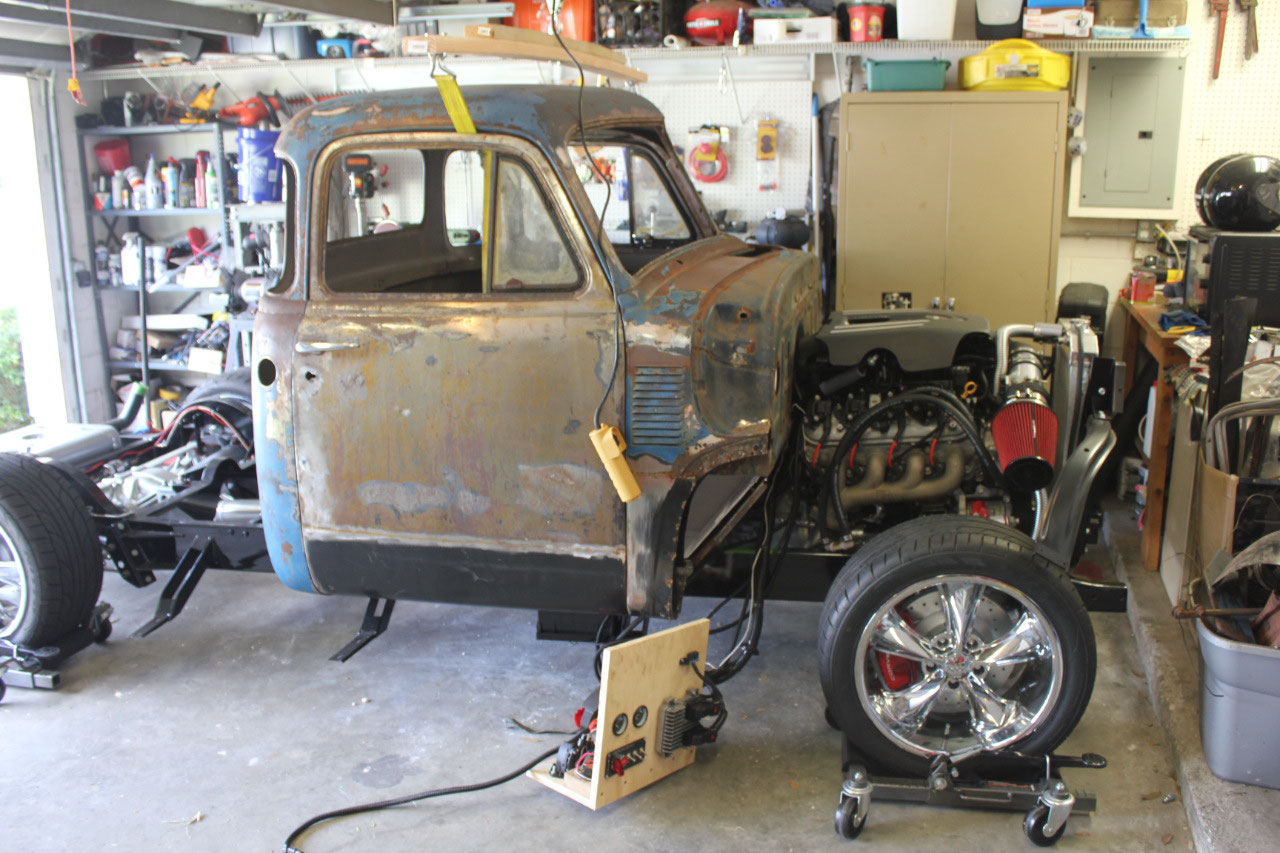
One thing for certain is that the late model 6L80E
transmission is much larger than the original 3-speed, and protrudes into the
cab. This is completely expected, and as
the original floor was basically flat, I will need to cut out some floor and
toe plate to make room for the transmission.
I will then need to construct a transmission tunnel to cover over the
hole. The original floor already has a
removable plate, and it looks like the transmission will fit in that
opening. The toe plate is another
story. It will definitely need to be
cut, but since it is at an angle, and the transmission rises at a different
angle, it is difficult to make this cut from measurements.
I also need to keep this cut as small as
possible on the driver’s side, as I don’t want the tunnel to interfere with the
gas pedal location.
I good metal fabricator would probably just make some
initial measurements, remove some of the metal, and finish the cut while the
cab was suspended In the air as it was being lowered on the frame. Since I am not a good metal fabricator, and
since my background is engineering, I resorted to what I would have done back
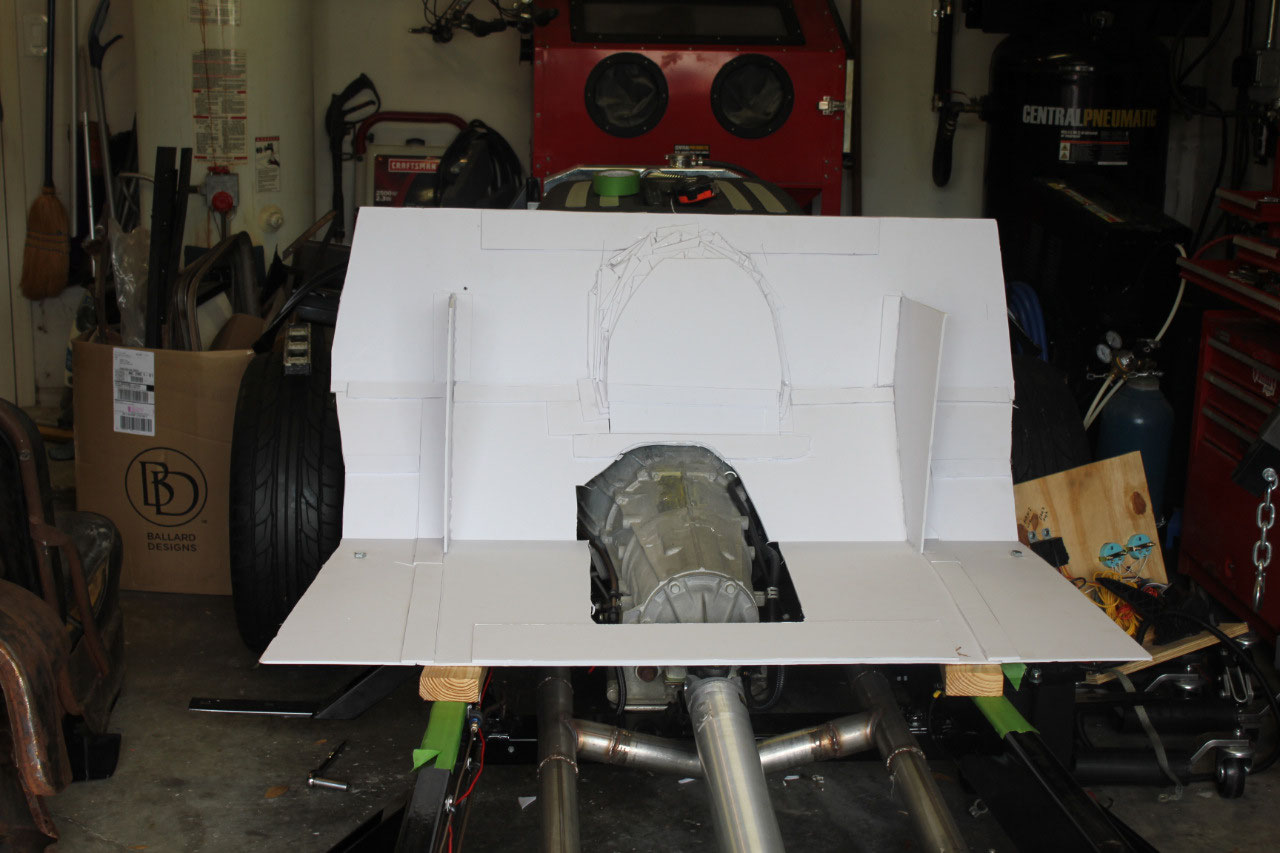
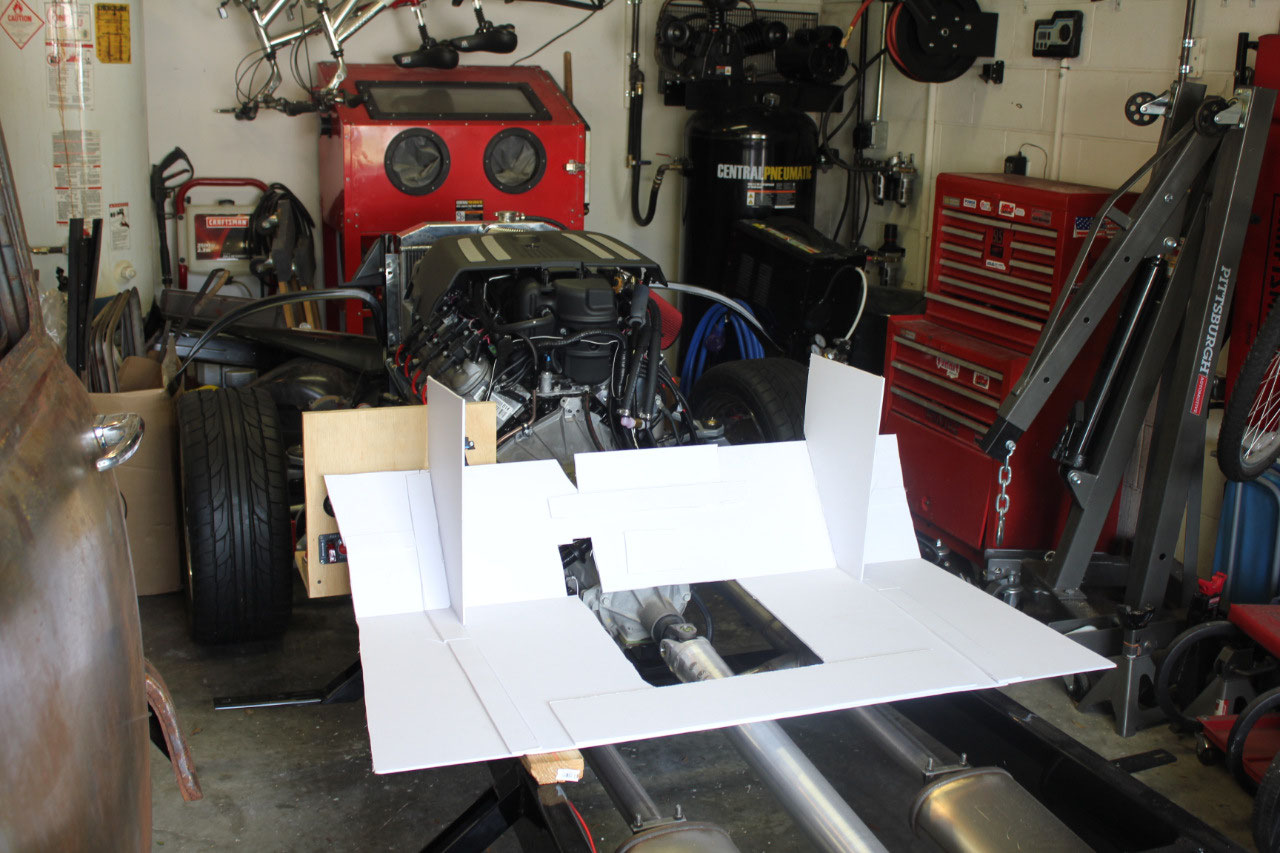
at Lockheed as an engineer – build a foam core mockup! It’s surprising how close you can get with
some foam core board, a single edge razor blade, and a hot glue gun. So I spent a relaxing afternoon with my arts
and crafts project of laying foam core onto the cab floor and gluing it all
together with hot glue. I used the front
body mount bolts as a locator.
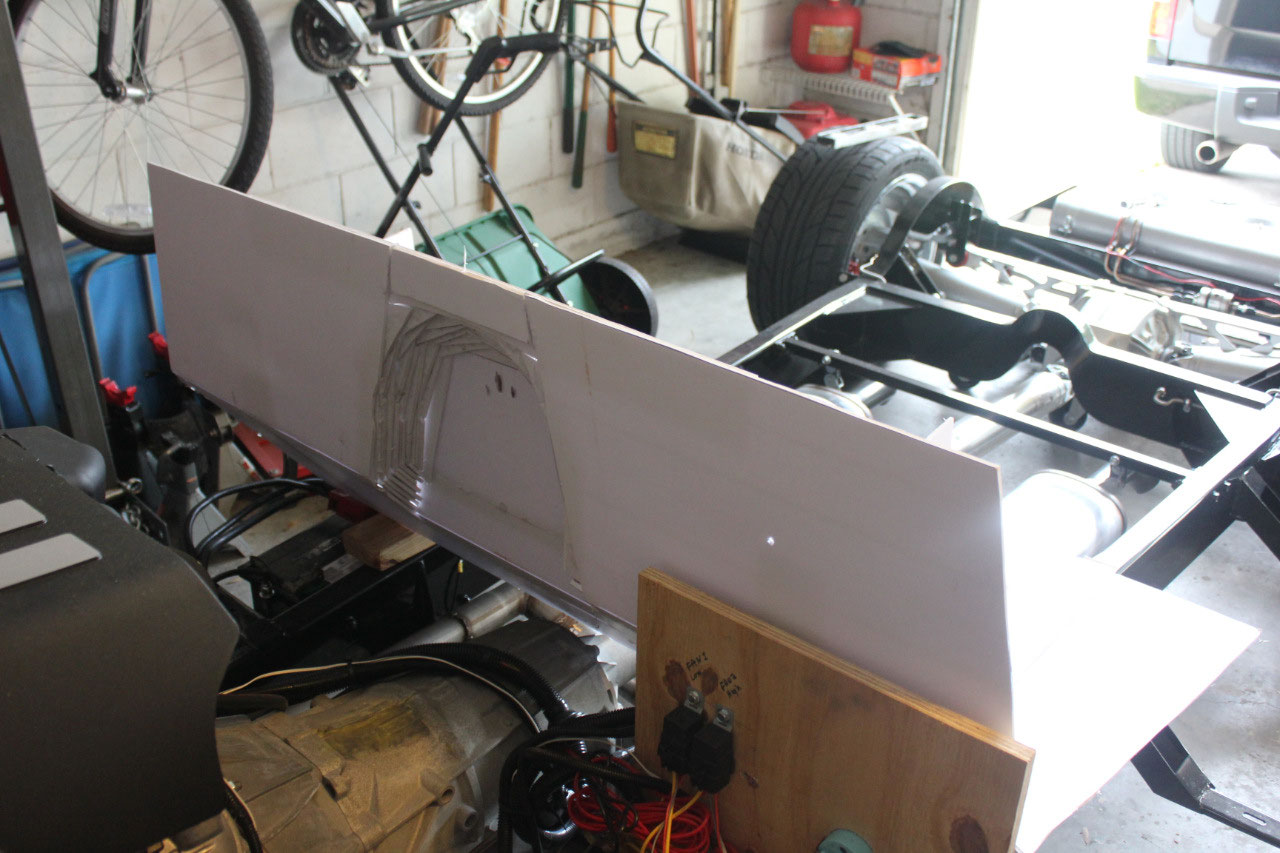
After completing the mockup, I cleared all the wiring
harness out of the way on the chassis – I had to disconnect parts of my wooden
control panel to get it out of the way.
I used wooden blocks to set the height above the frame and lined up the
mockup using the front body mount bolts.
As I set it in place, I trimmed portions of the toe plate with a razor
blade until it all set down flat. It
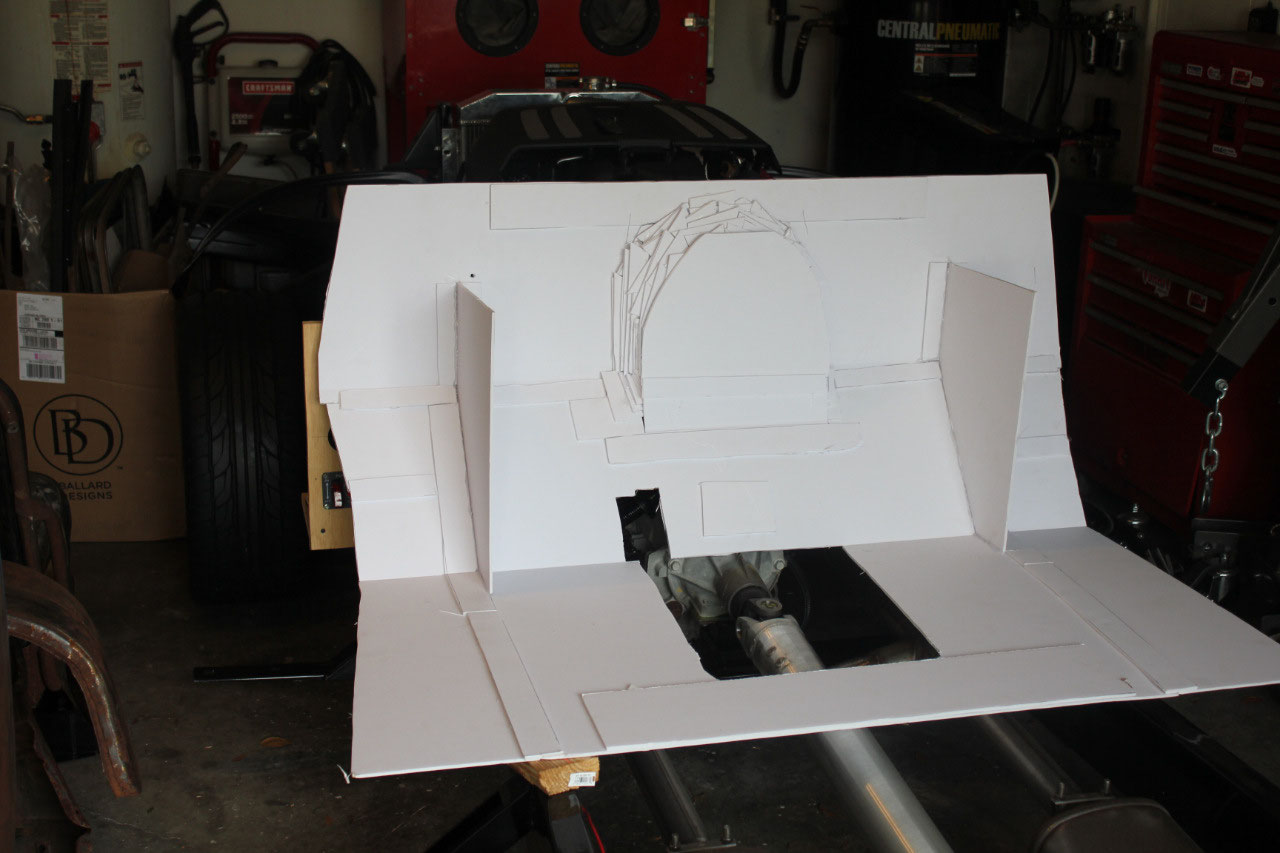
fit! Engine/ firewall clearance is
good. I took the time to mockup the
firewall engine relief to be sure the intake and wiring would clear, and it
looks great also. I had also marked the
mockup with steering column location and master cylinder location and they both
looked great too.
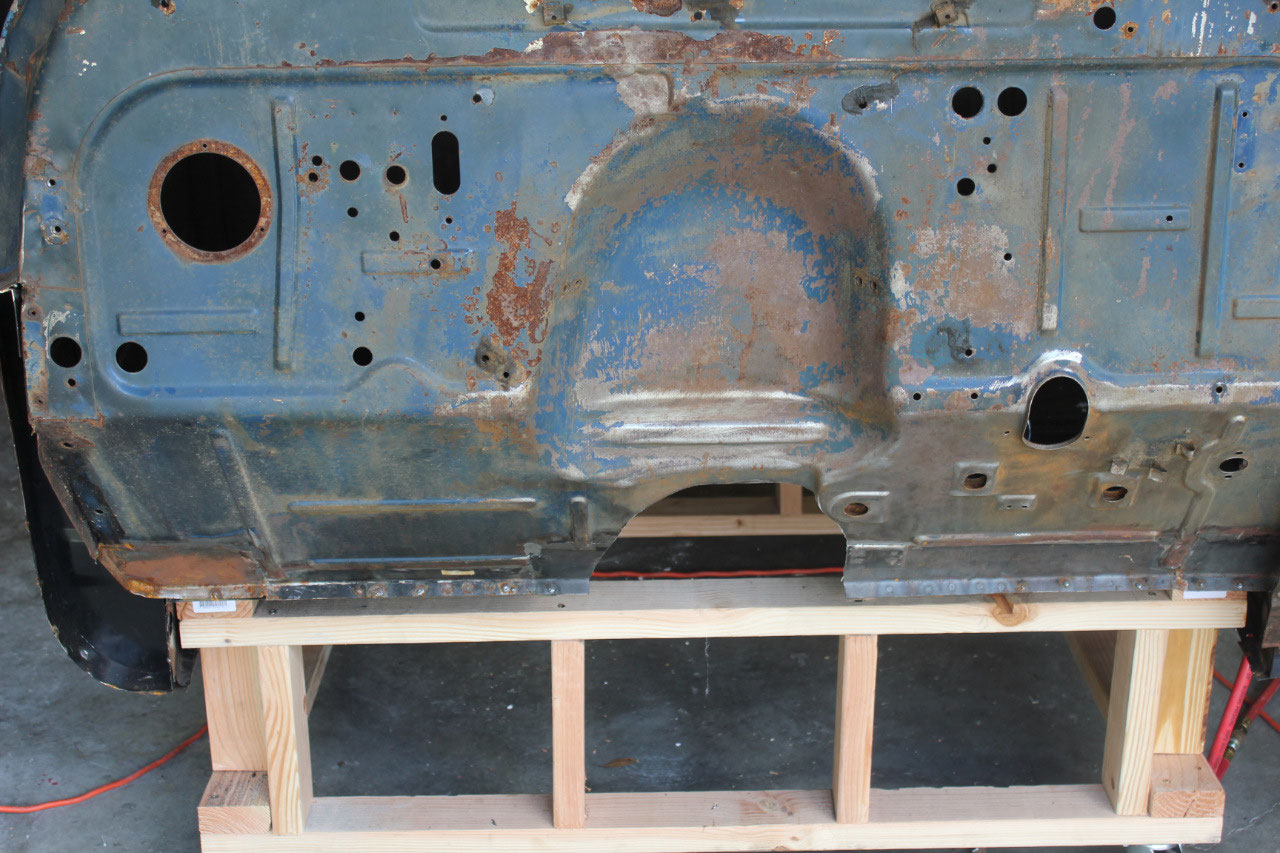
On the driver’s side, the cutout went right through the cab
floor mount gas pedal location, so I went ahead and cut the gas pedal brackets
off the cab floor so I could fill in the foam core and make a better
mockup. Finally, the mockup was
perfect. I removed it from the chassis
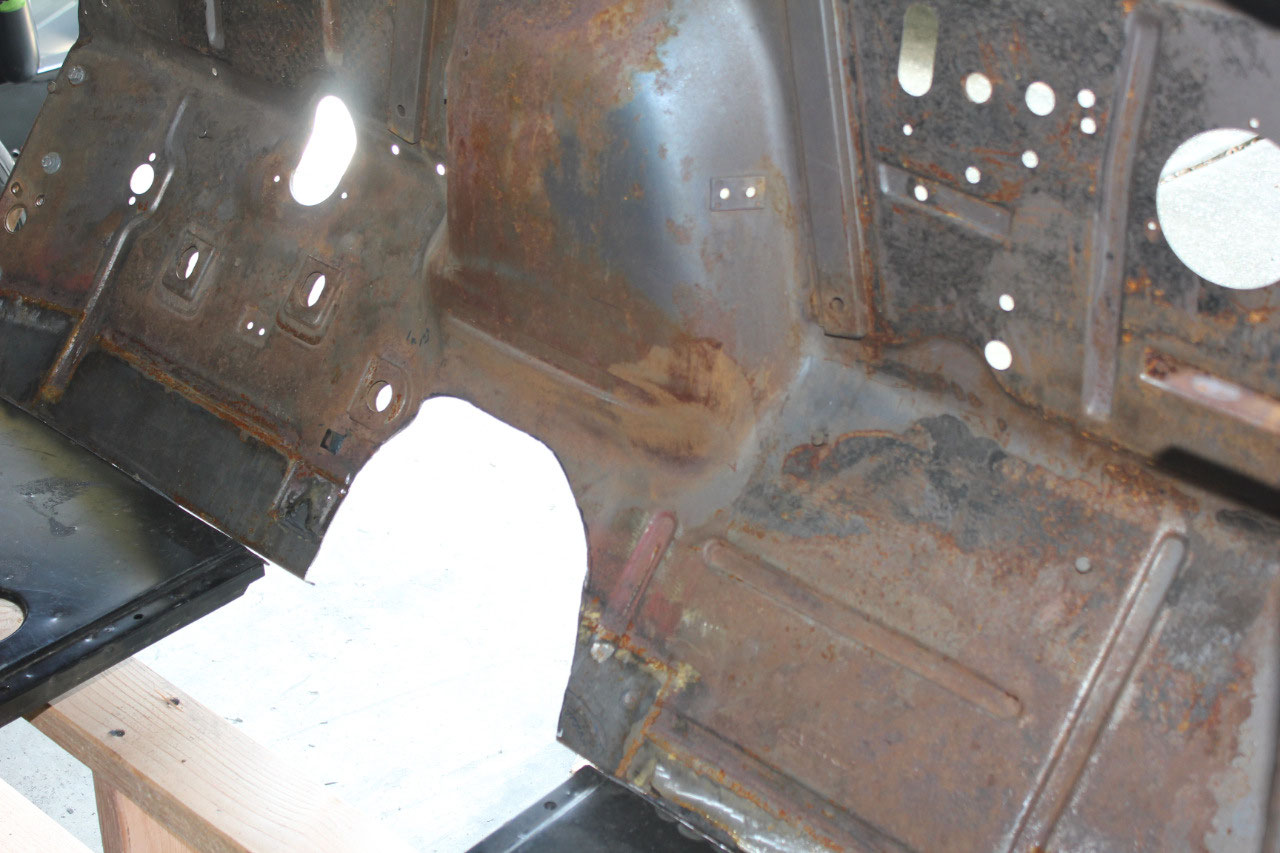
and put it back in the cab so I could mark the toe plate cutout with a
Sharpie. The piece to be cut out was 11”
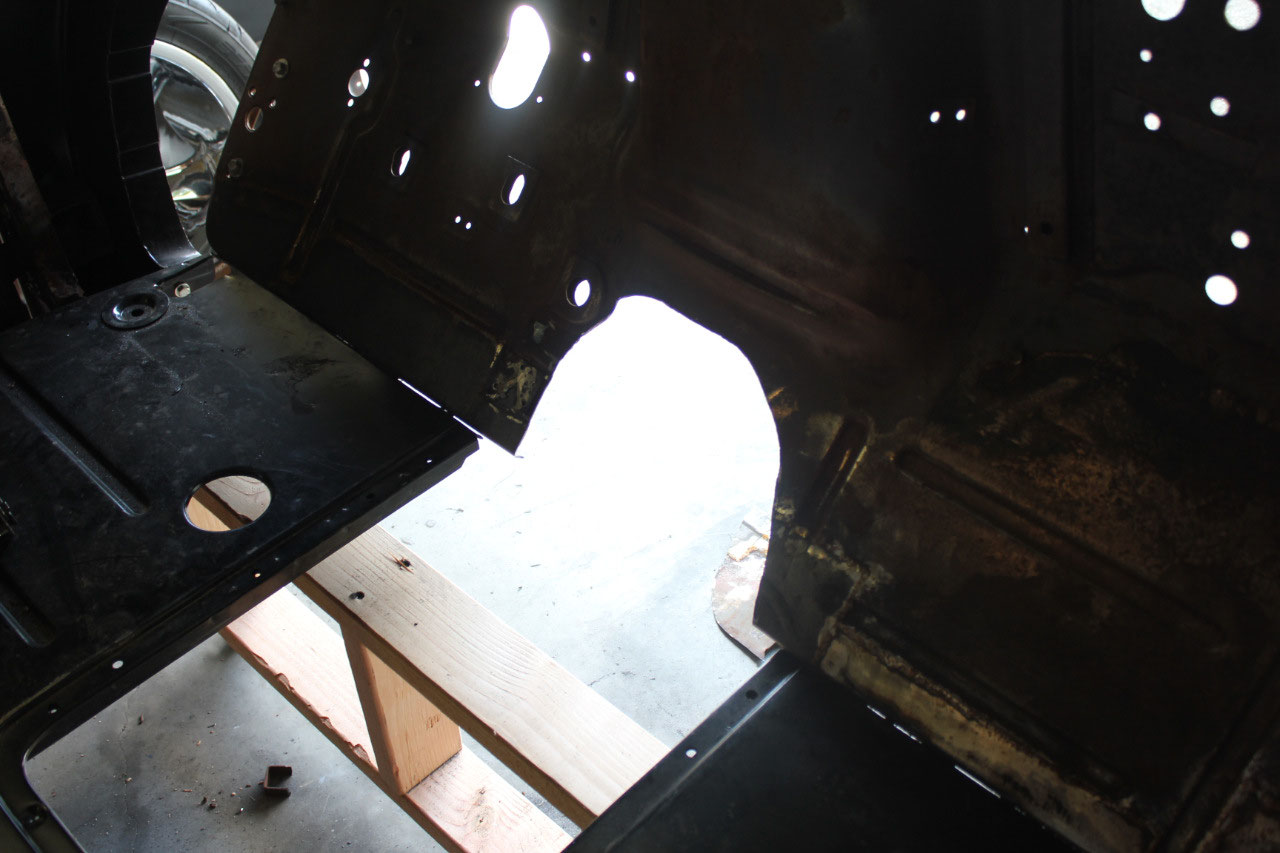
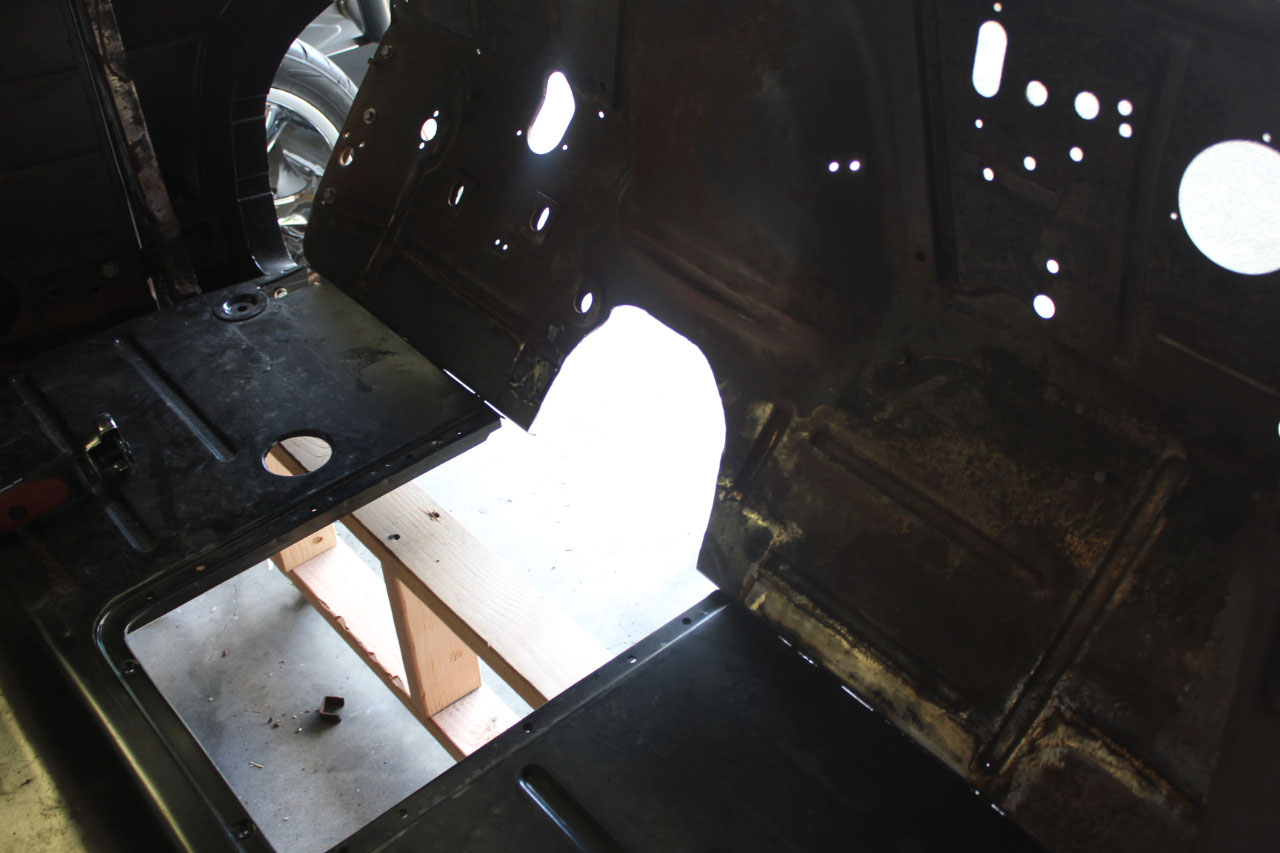
wide and 7” tall. There was no turning
back now – so out came the die grinder which made quick work of the toe
plate. It looked good.
It was now time to try out my new overhead electric
hoist. So I built a spreader bar out of
2x4’s and used the same nylon strap to hook up to the cab and lift it off the
dolly.
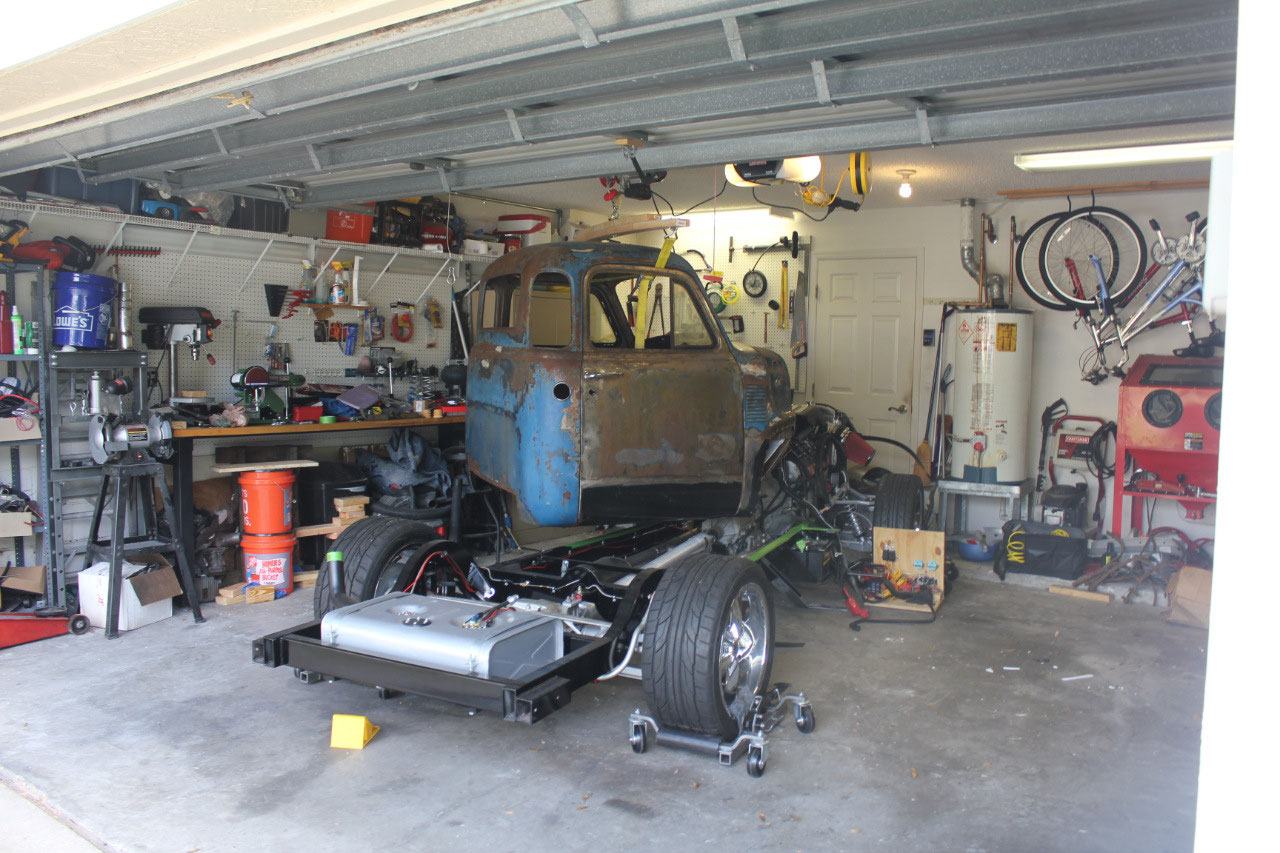
So much easier with the electric
hoist! With the cab lifted in the air, I
put my 4 wheel dollies that Jody got me for Christmas under the chassis and
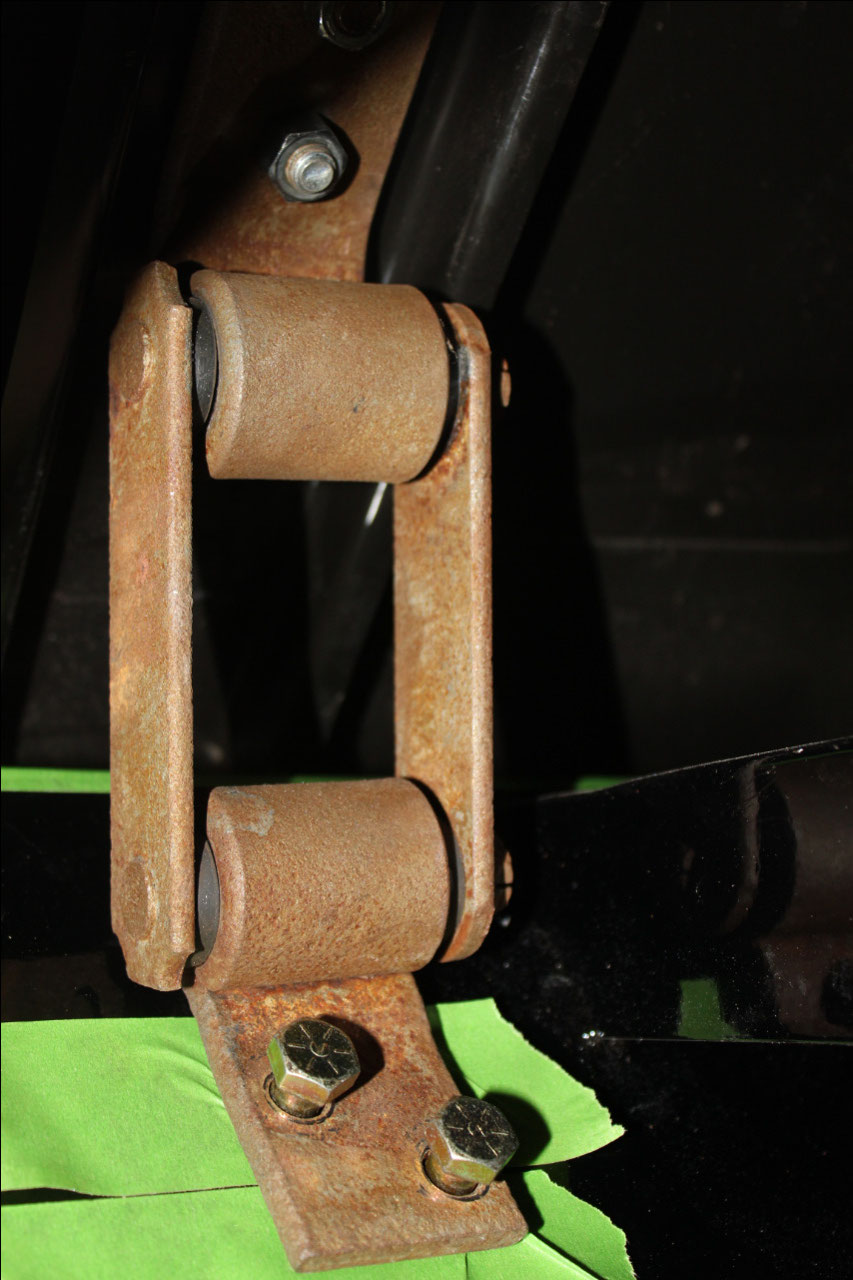
spun the chassis around in the garage until it lined up under the cab. The front bolts dropped right in, and the
rear shackles also lined right up after a little jiggling with the hoist.
The cab was installed!
Bolted in place, and all clearances were good. The mockup had been pretty accurate. Clearances were even slightly better than the
mockup. I had been able to keep the
entire gas pedal floor mount area intact around the transmission, so gas pedal
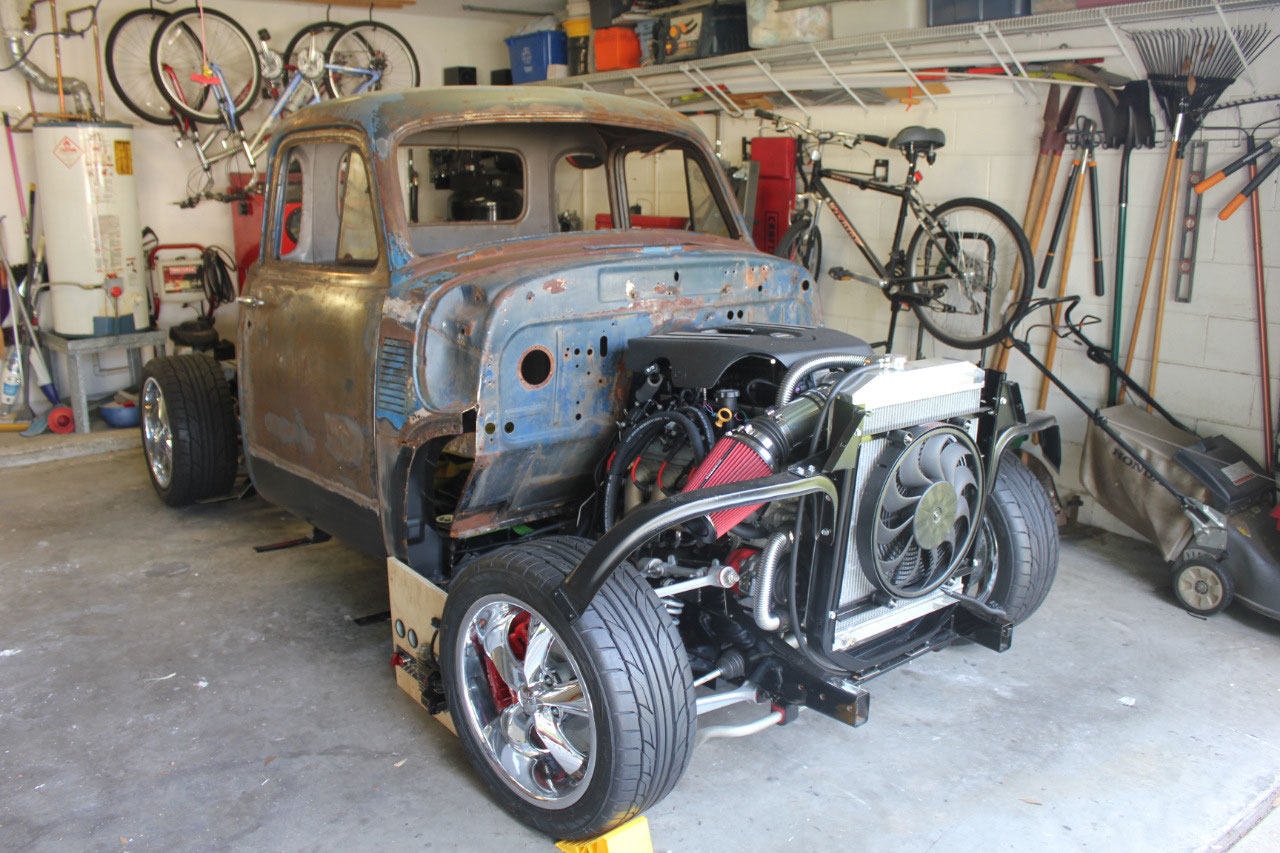
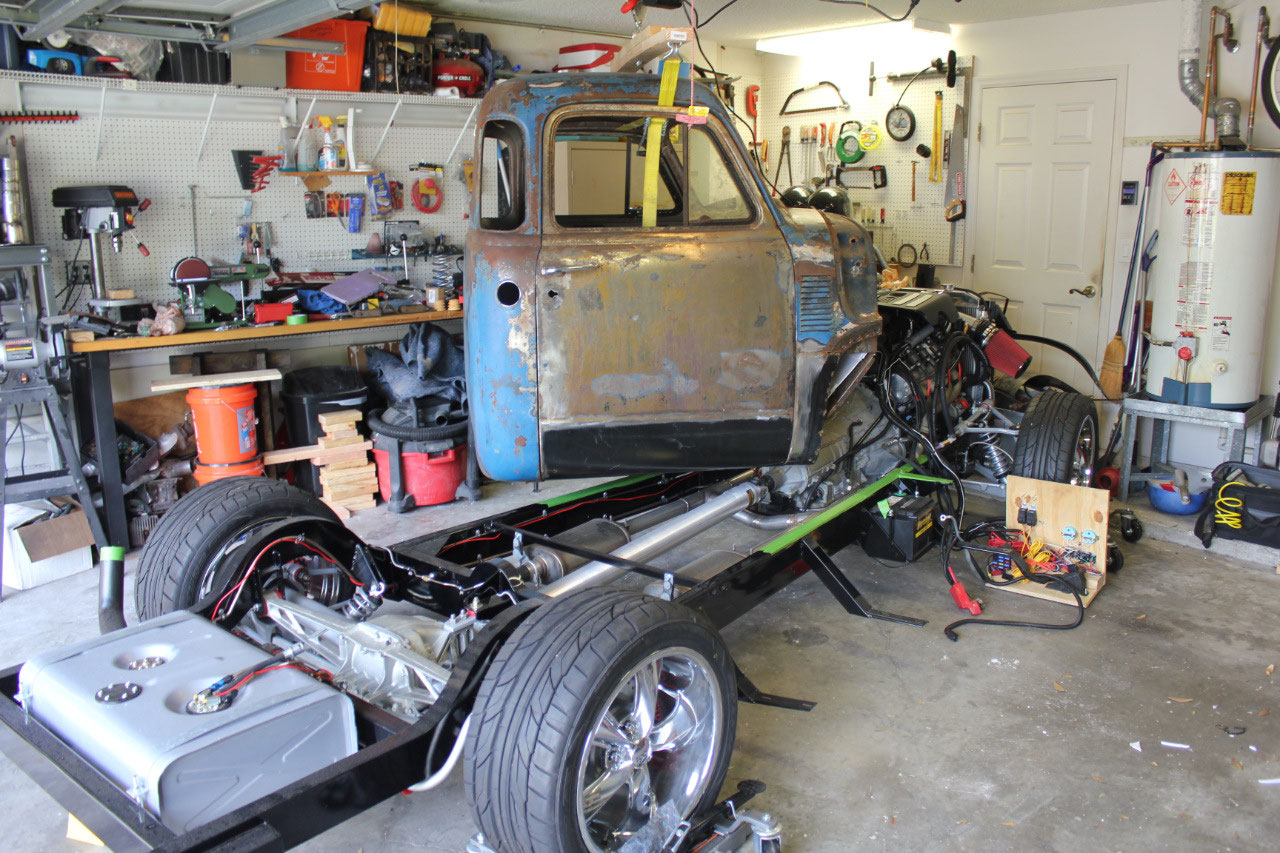
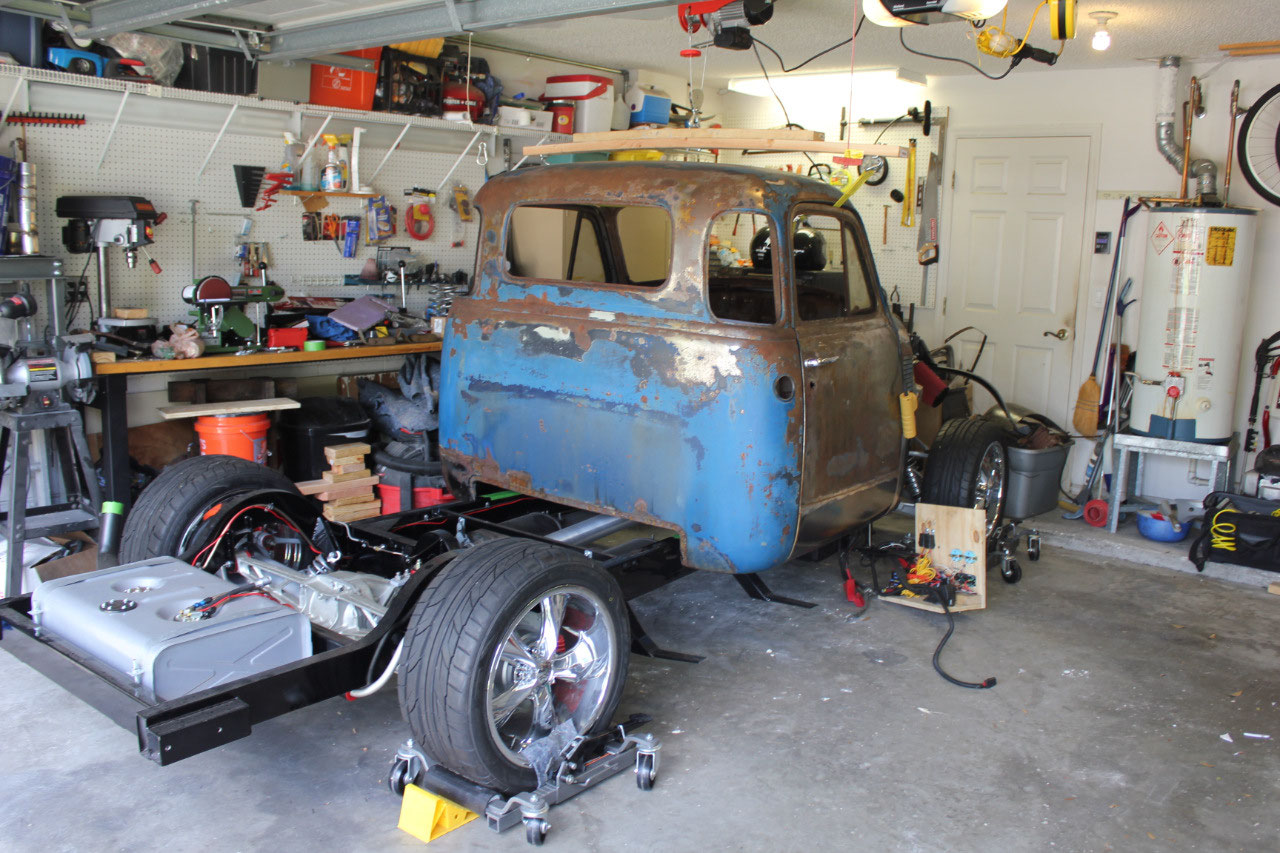
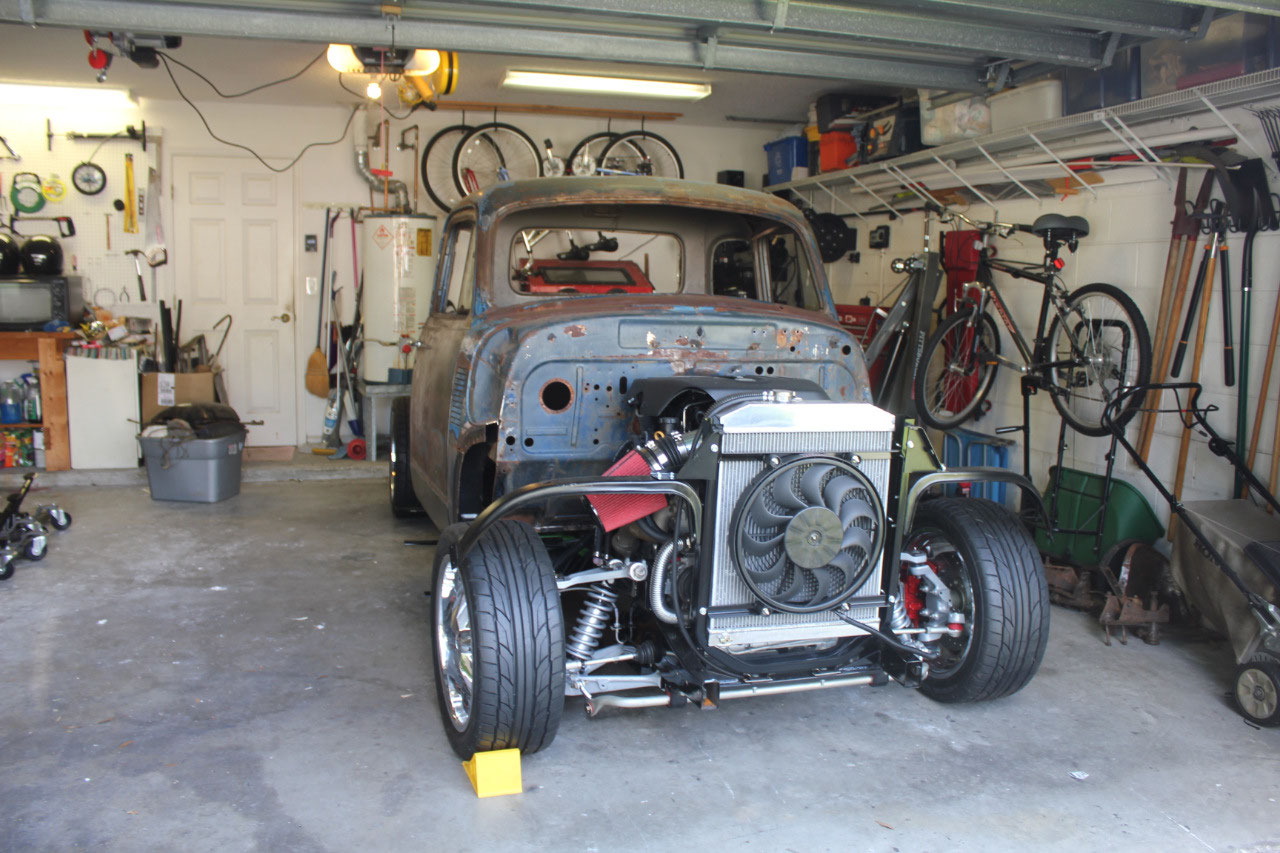
fit should not be a problem. So I spun
the truck around one more time in the garage with the engine pointing outward
so I can continue test fitting some of the sheet metal. I’ll need to cut the inner fenders around the
corvette A-arms so I can see how the front fenders fit around the tires. I have a universal transmission tunnel on
order as a starting point for transmission tunnel fabrication. There’s plenty of work to keep me busy for a
few more weeks before I have to take the cab back off for media blast. But for now, it’s time to admire my
handiwork, and clean the garage!


2025-05-22