 Orlando, Florida, United States
We returned from our Anniversary cruise relaxed and ready to
get back to work. I refilled the Argon
gas, did a few practice welds to get back in practice, and set to work on the
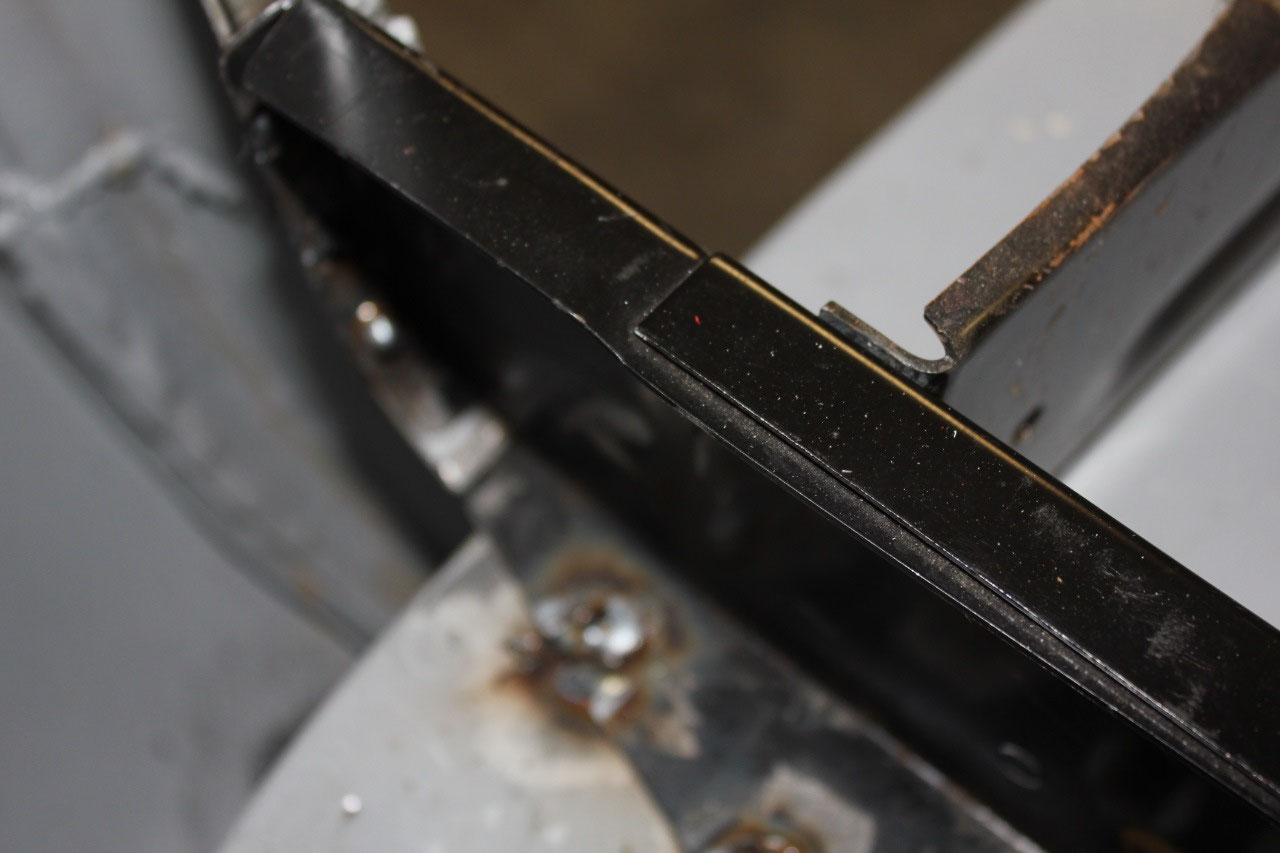
upper windshield brace. I had 2 versions
of the brace: the original replacement bought by the previous owner, and a new
one in EDP that I bought myself. It
looks like a simple piece, but there are some complicated bends, and the
original one wasn’t fitting as well as I would like which is what drove me to
buying a new one. The EDP version fit
much better, so I decided to stick with it.
The upper windshield brace is plug welded everywhere, and my
plug welding skills have definitely improved.
The Factory Assembly Manual was very helpful to show where to weld, and
I generally followed the spot weld instructions with plug welds. For the welds to the roof brackets and the
“A” Pillars, I used my typical 5/16” hole from my 5/16” air punch and punched
the holes in the brace. Around the
windshield is much smaller and more closely spaced welds, so I bought a 3/16”
air punch from Harbor Freight to make it easy.
Since the upper windshield brace was new metal, I punched the holes in
the body for the plug welds and left the windshield brace intact. All the plug welds came out great and the
windshield brace is done!
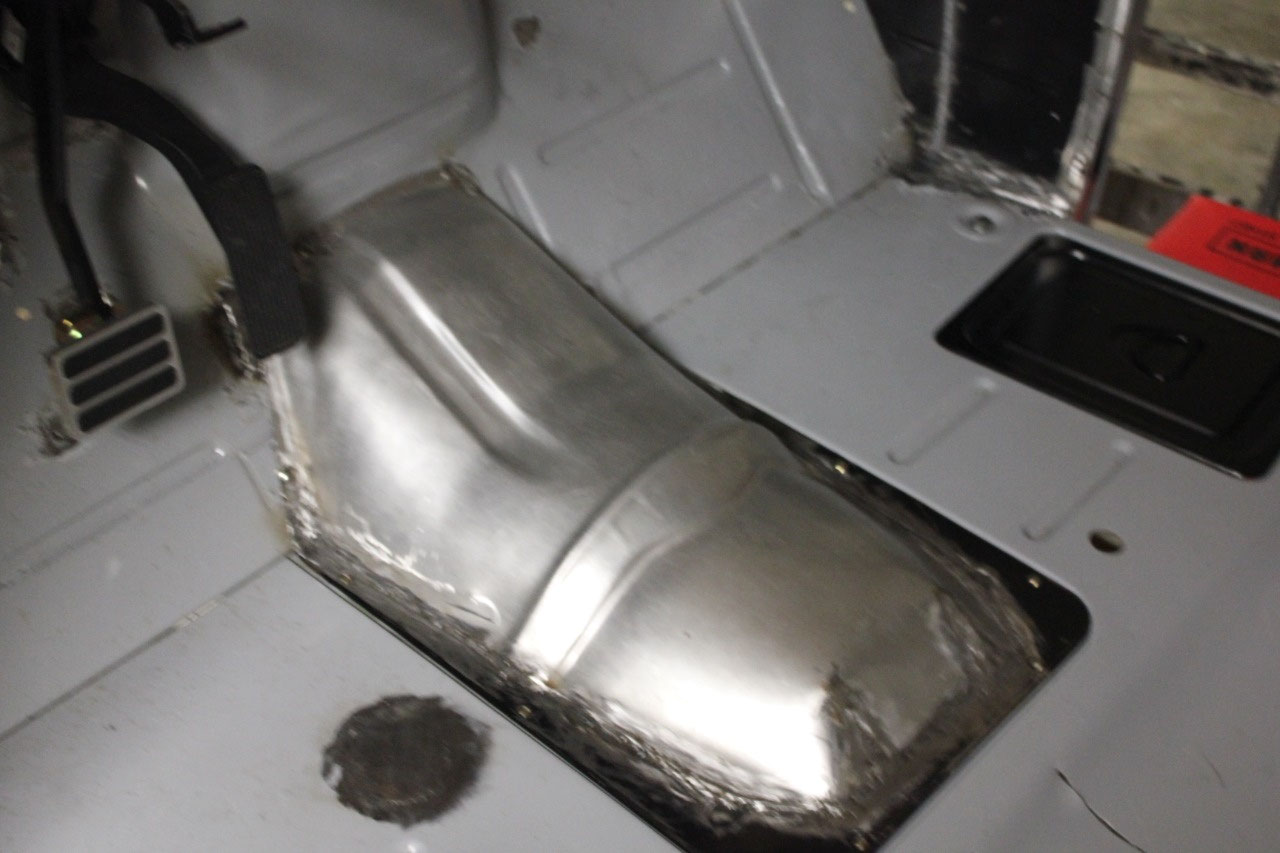
Next step was the final trim of the toe plate around the
tunnel, and I found the former gas pedal indentation was preventing a good seal
on the tunnel, so I filled it in with a piece of metal. I also welded some nuts to the toe plate to
make tunnel installation from the top easier.
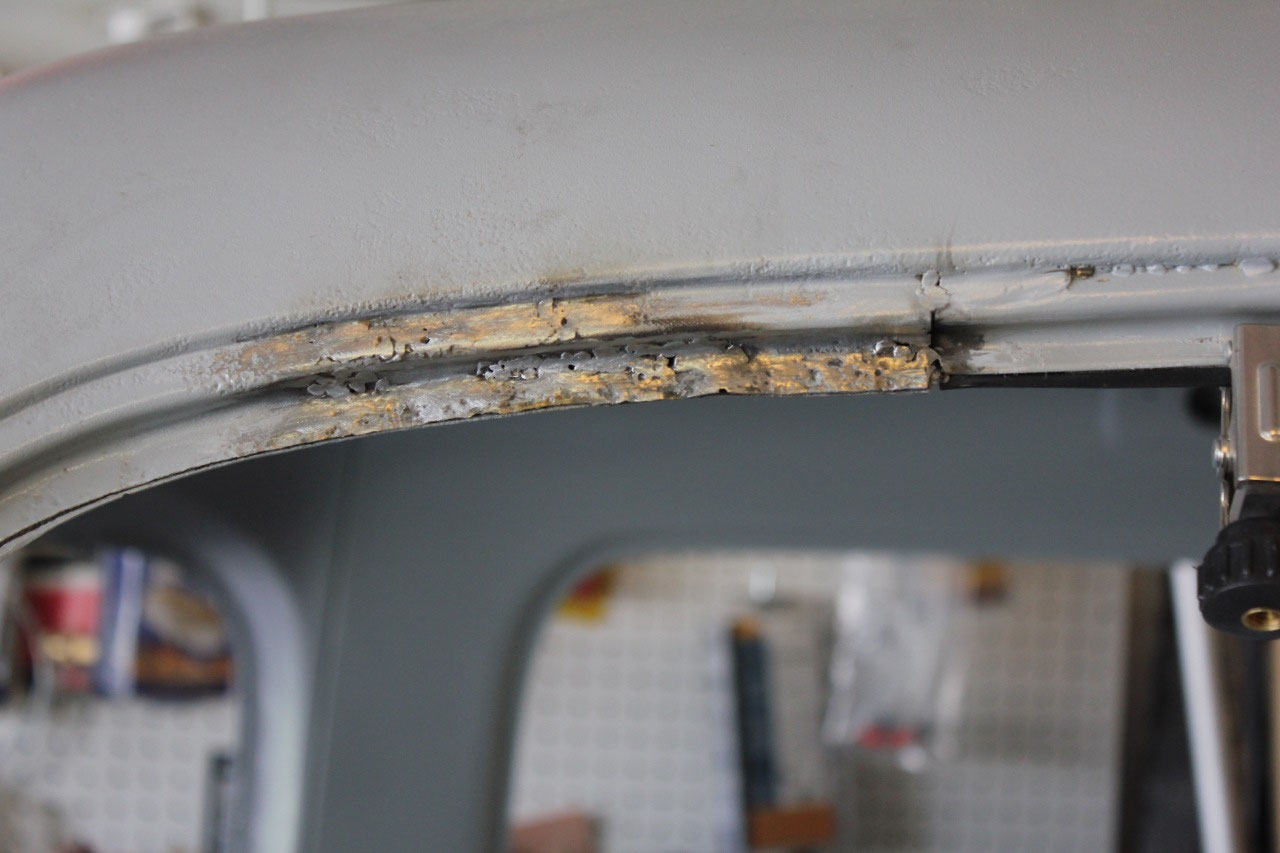
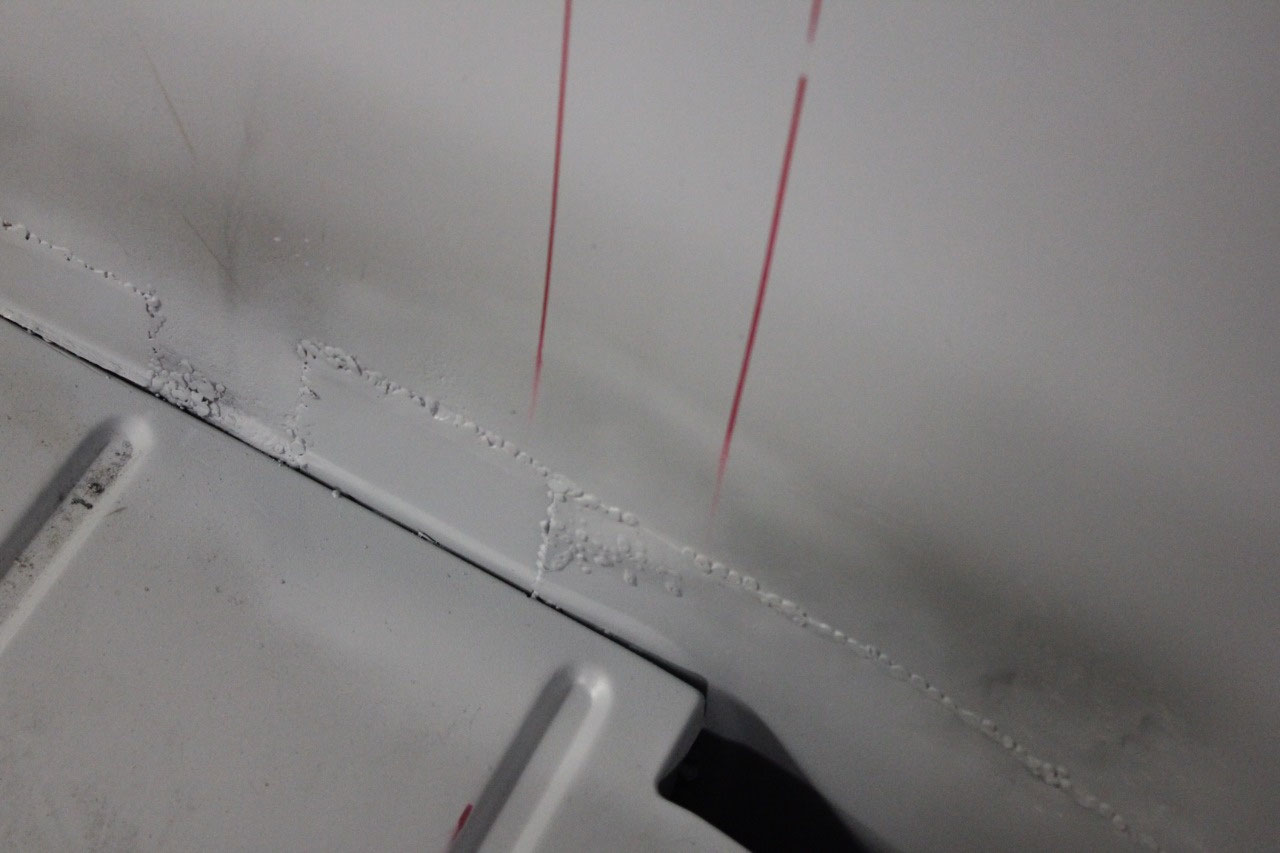
I also decided to tackle some of the pinhole rust around the cowl vent
and around the top of the windshield. It
all looked pretty solid, but there were a few spots where the media blast had
removed all the rust, but left a few pinholes.
All I basically did was to wire brush the area with the Dremel to expose
the bare metal, ad set the MIG to a low setting and weld s plug over the
pinhole and back to the solid metal. It
took a little patience to get back to solid metal, but now all the pinholes are
welded shut with metal rather than body filler.
A little grinding, welding, and grinding again and it all looks great.
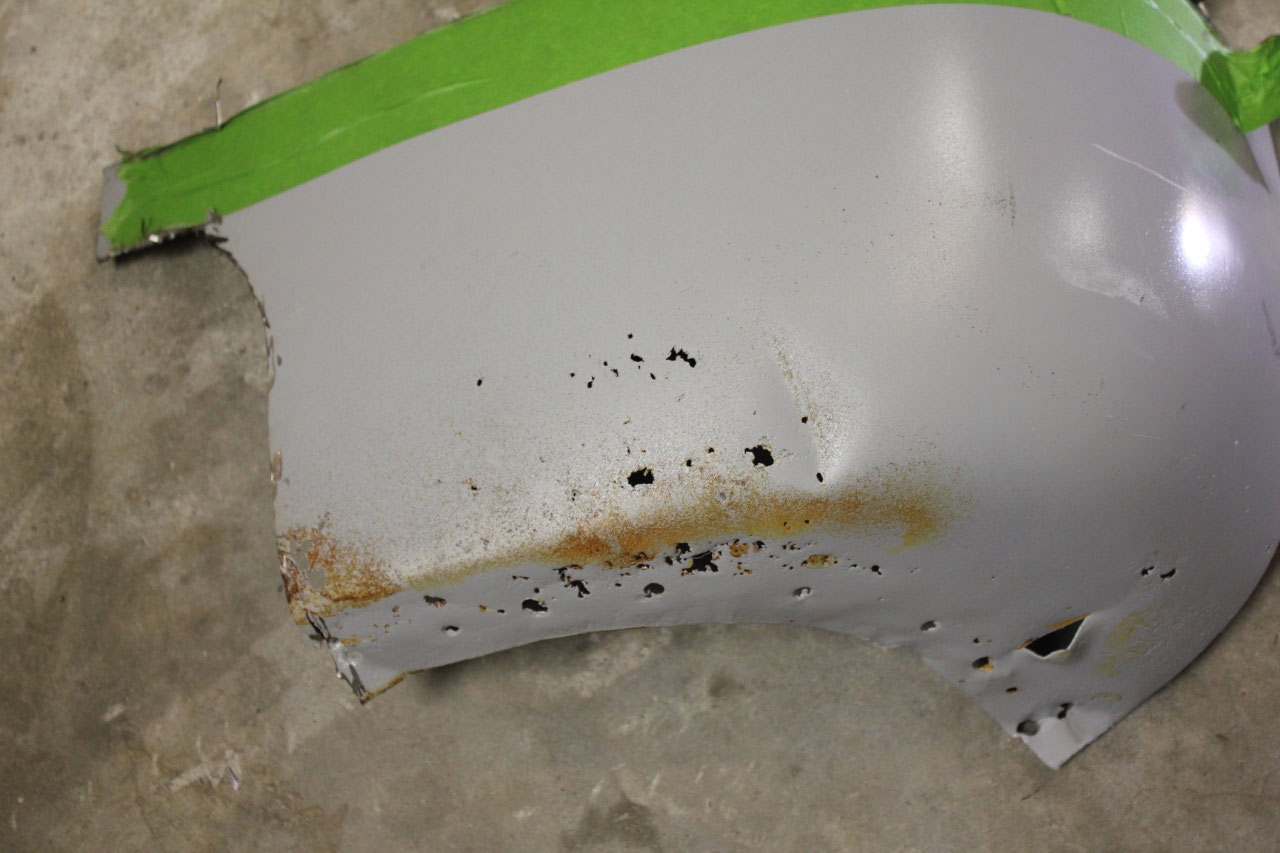
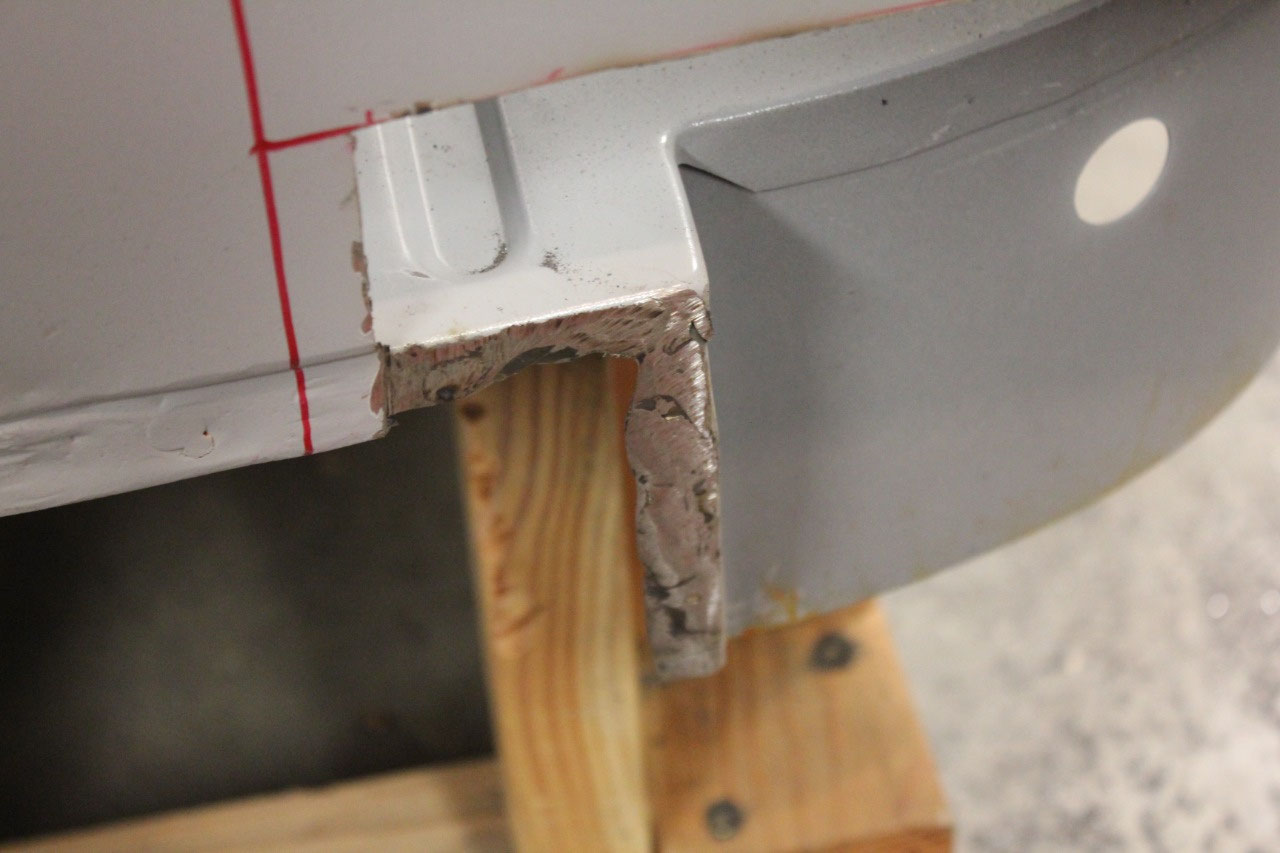
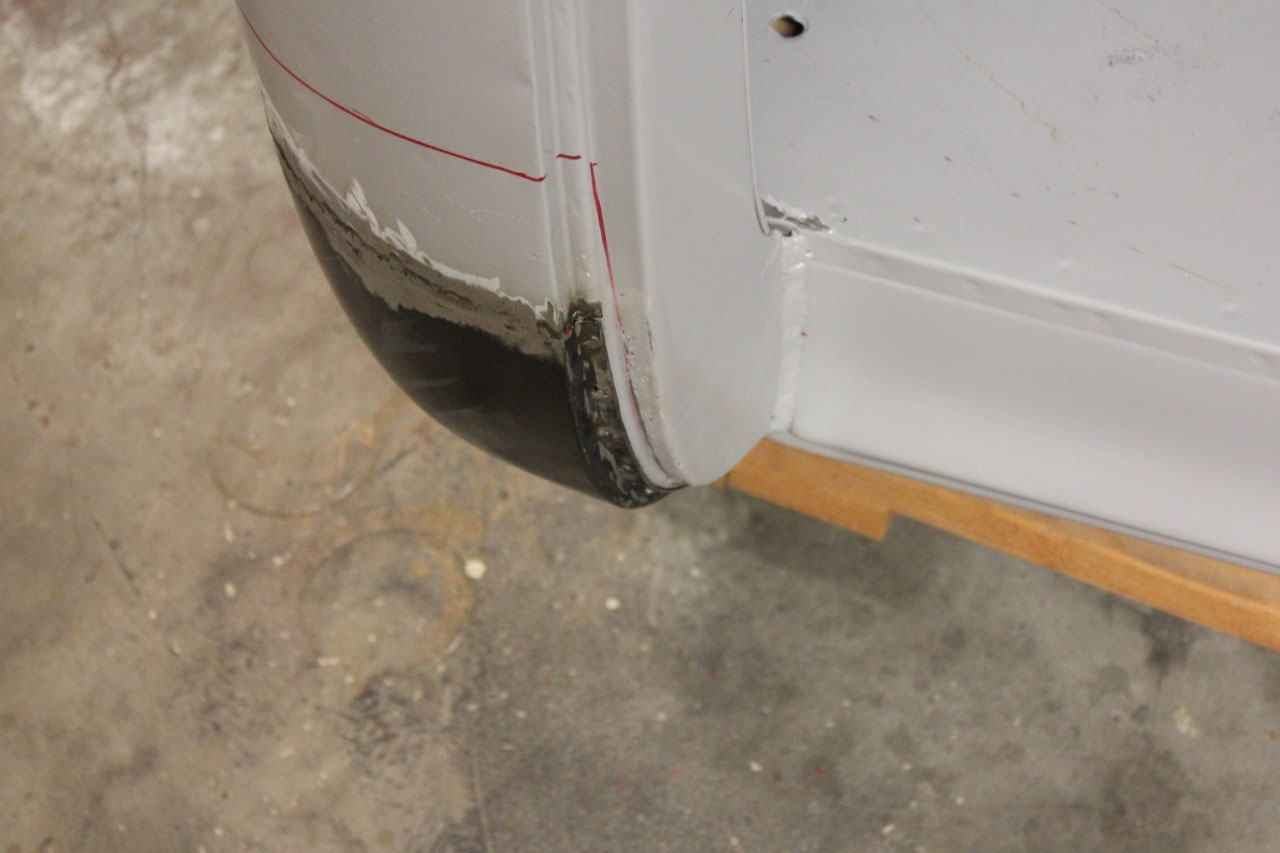
The next task was the replacement of the passenger’s side
cab corner. The previous owner had
already replace the driver’s side cab corner, and gave me the patch panel for
the passenger’s side. He didn’t think it
was bad enough to replace, but after media blast it was obvious that
replacement was necessary. There are
plenty of videos online to show how to do this replacement, and this area
always rusts out on these trucks. This
was also the first area where the large seam to be butt welded would visible,
so I had waited until my welding skills had improved a little before tackling
this job.
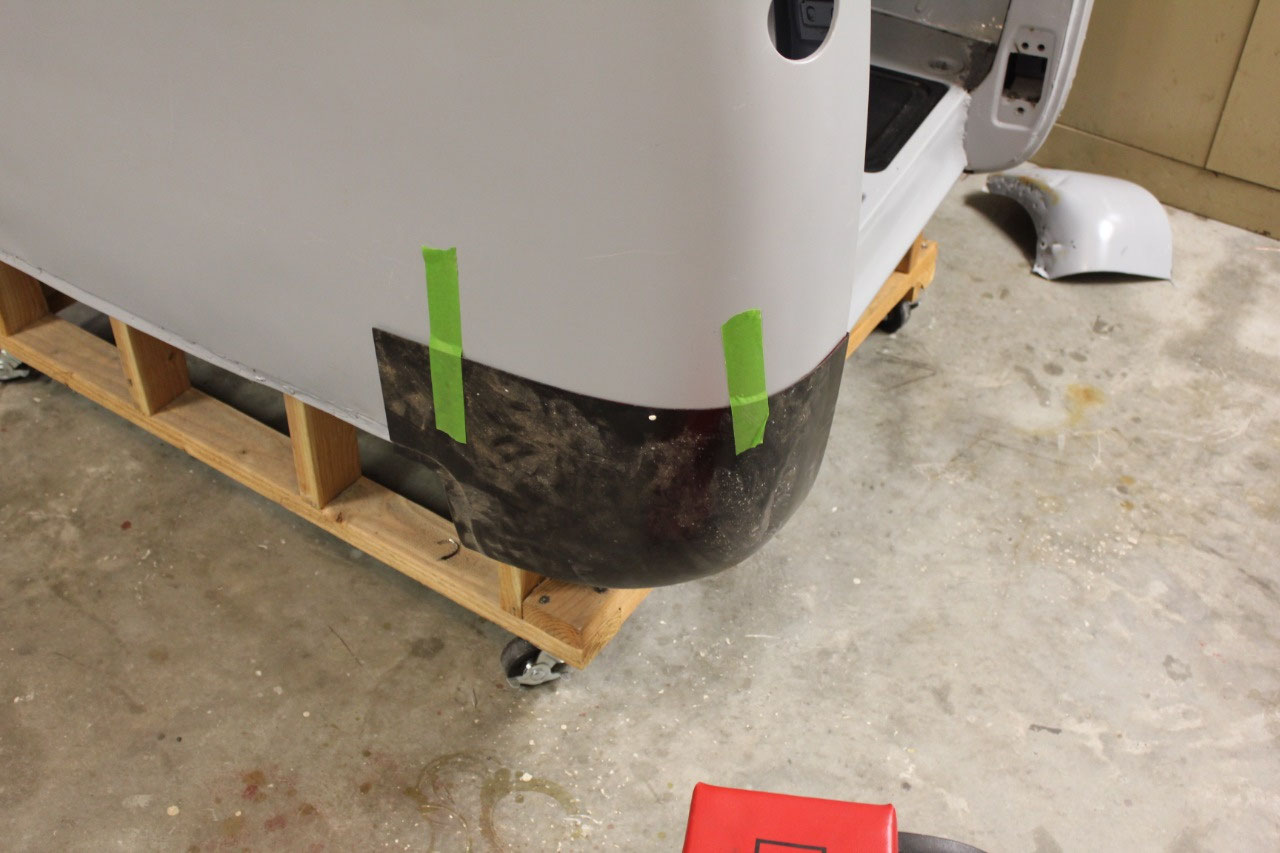
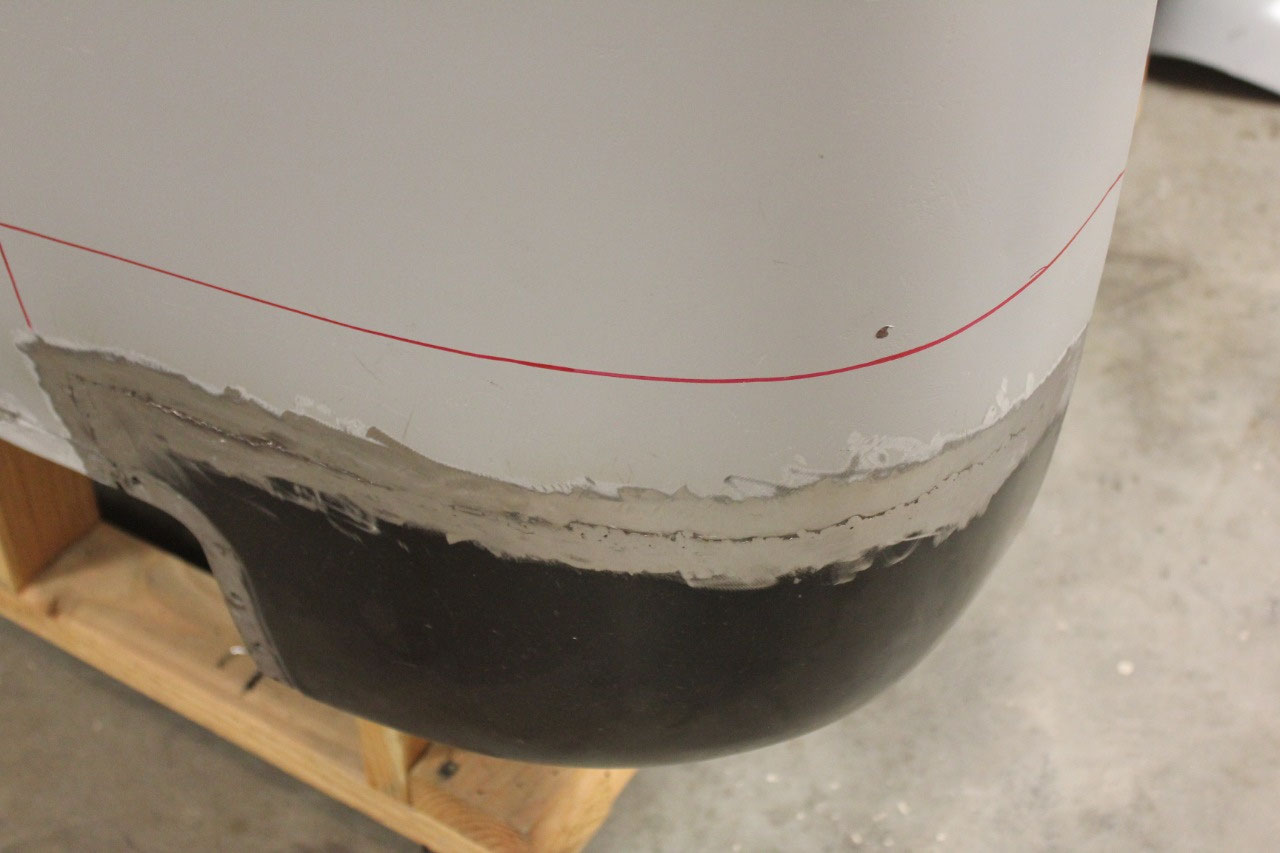
I started by mocking up the panel to the body and marking
the outline on the cab to know how much panel I had to work with. I picked a spot a couple of inches lower than
the maximum where there was still good, solid metal to make the cut. This give me room on the body if I mess up
the cut to do it again. The inner cab
corner had already been replaced as part of the previous owner’s floor
replacement, and fortunately, he didn’t do a very good job at plug welding the
old cab corner to the new floor, making removal much easier.
There were also just a couple of spot welds
in the door jam, and it was ready for the patch. I taped the replacement panel in place, and
marked the panel from the inside of the cab to make the cut. It was quick work with the die grinder, and
the patch panel was ready!
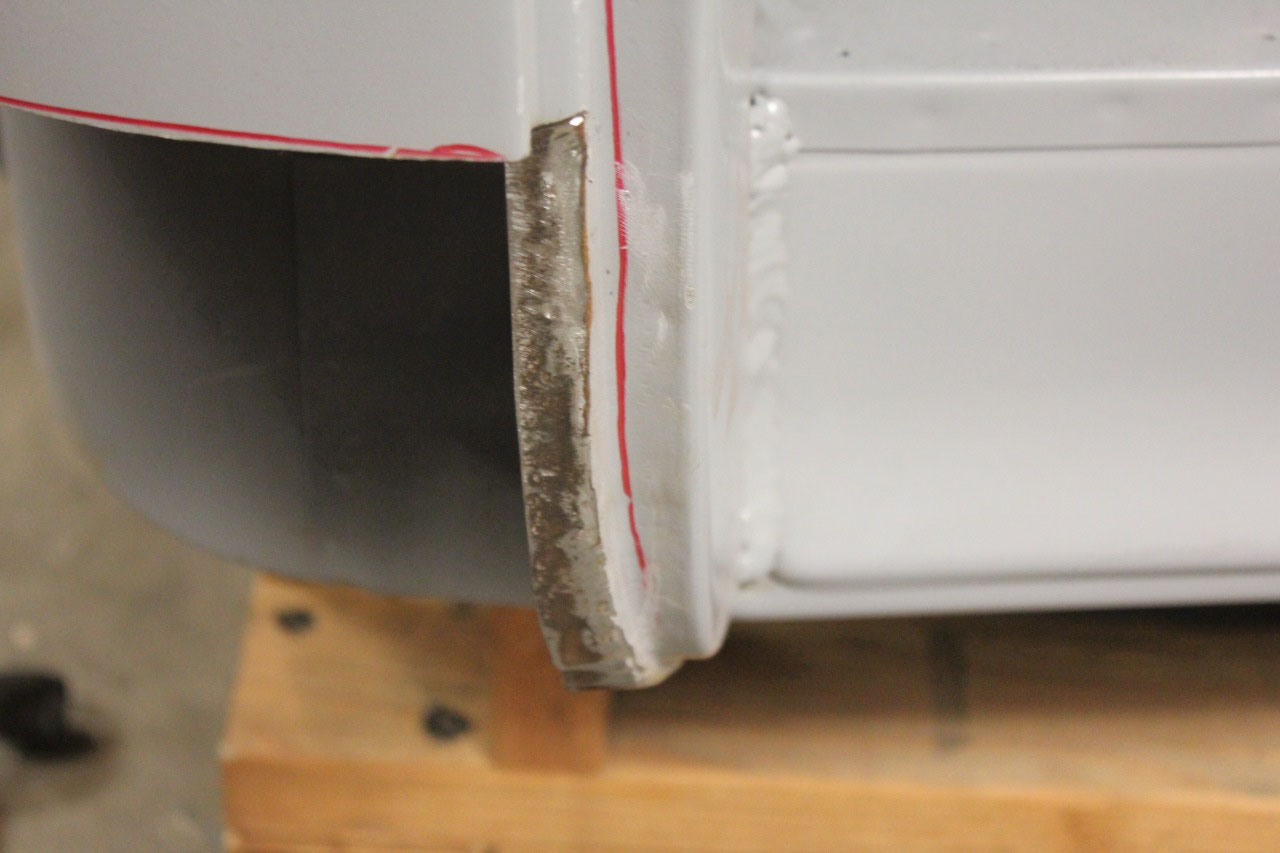
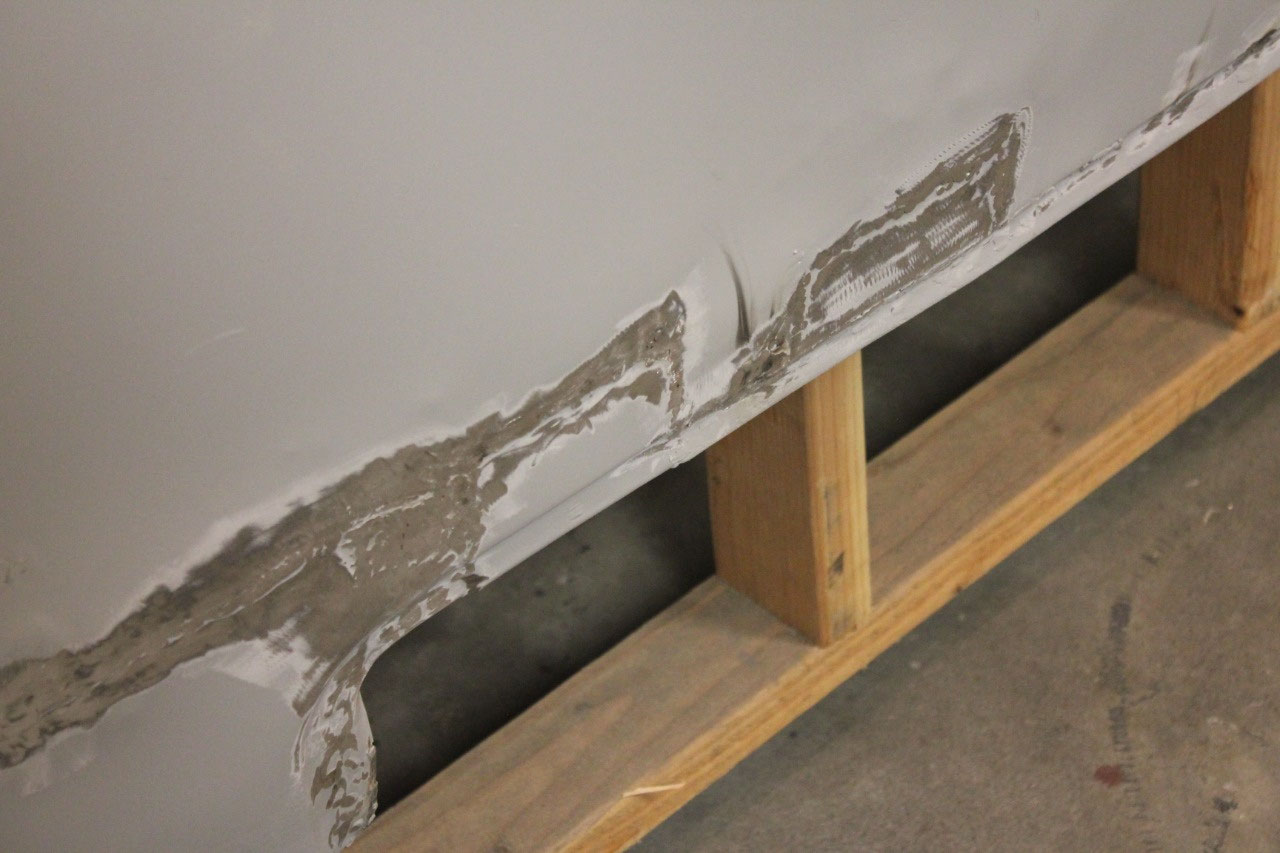
I used a combination of Clecos, magnets, and butt weld
clamps from Harbor Freight to hold everything in place. I had already punched 5/16” holes in the
panel at the bottom and around the door jam, but began by tacking the butt
welded seam every couple of inches to hold everything in place. Then I went back and did the plug welds at
the bottom and the door jam. Then I went
back and did the butt weld at the seam.
Now that I have finished, I know that it is important to get the seam
gap for the butt weld as small as possible.
It was much easier to weld where the panels touched, and more difficult
as the gap widened. It worked fine, but
a tighter gap would have been easier to weld.
I did what everyone said, and welded about every inch, then went back
and filled in between, and in between again to keep the heat down and to keep
the panel from warping.
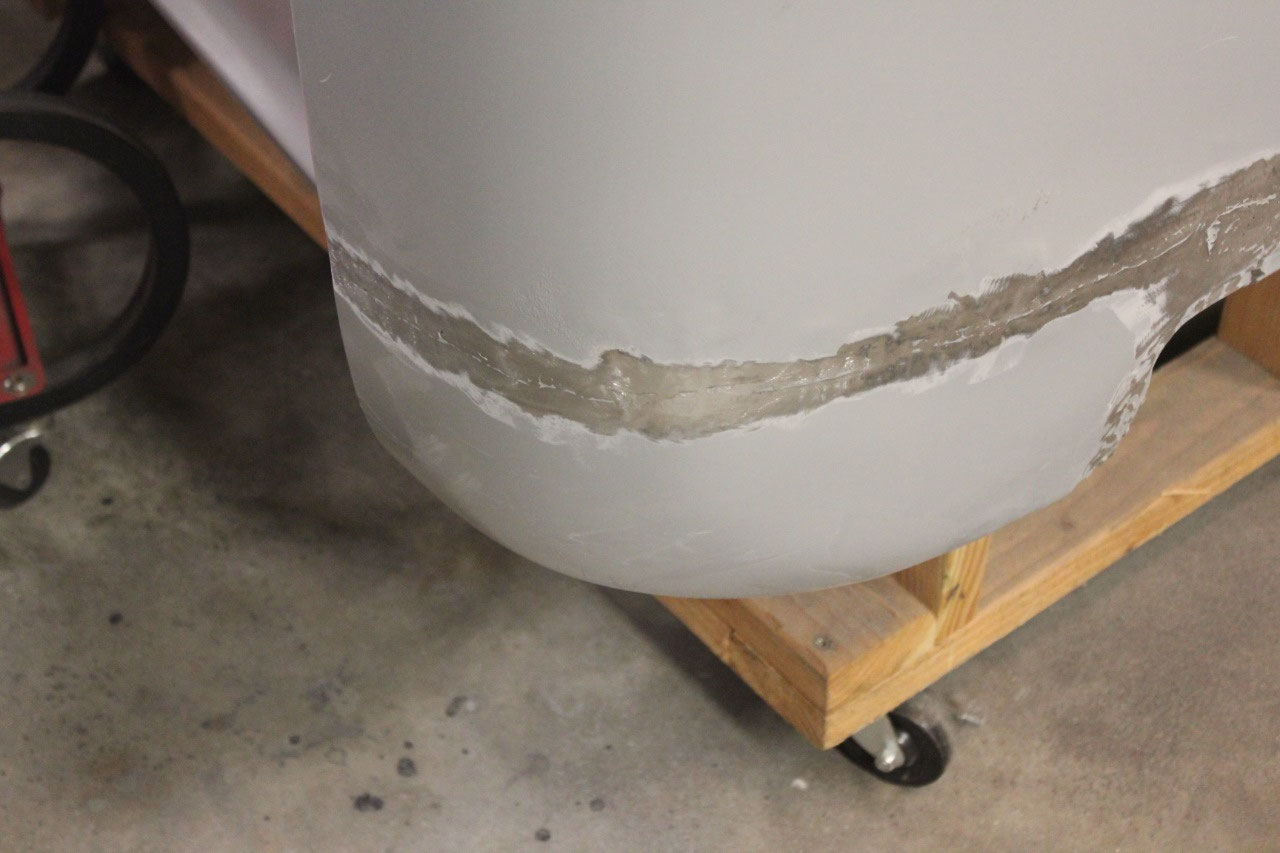
It all came out good, and after a little grinding it looks
great! A little body filler, and you
will never know it was patched. I also
find that the better I get at welding, the less I need to grind. The rest of the back of the cab had some
patchwork done by the previous owner. He
replaced some metal where the cab met the floor, but evidently assumed that
since it would be hidden by the bed, there was no need to clean up the welds,
so it looked UGLY! I got out the
grinder, cleaned up the welds, filled in any pinholes, and generally just made
it look better. Everyone else may not
see it but I would know it was there!
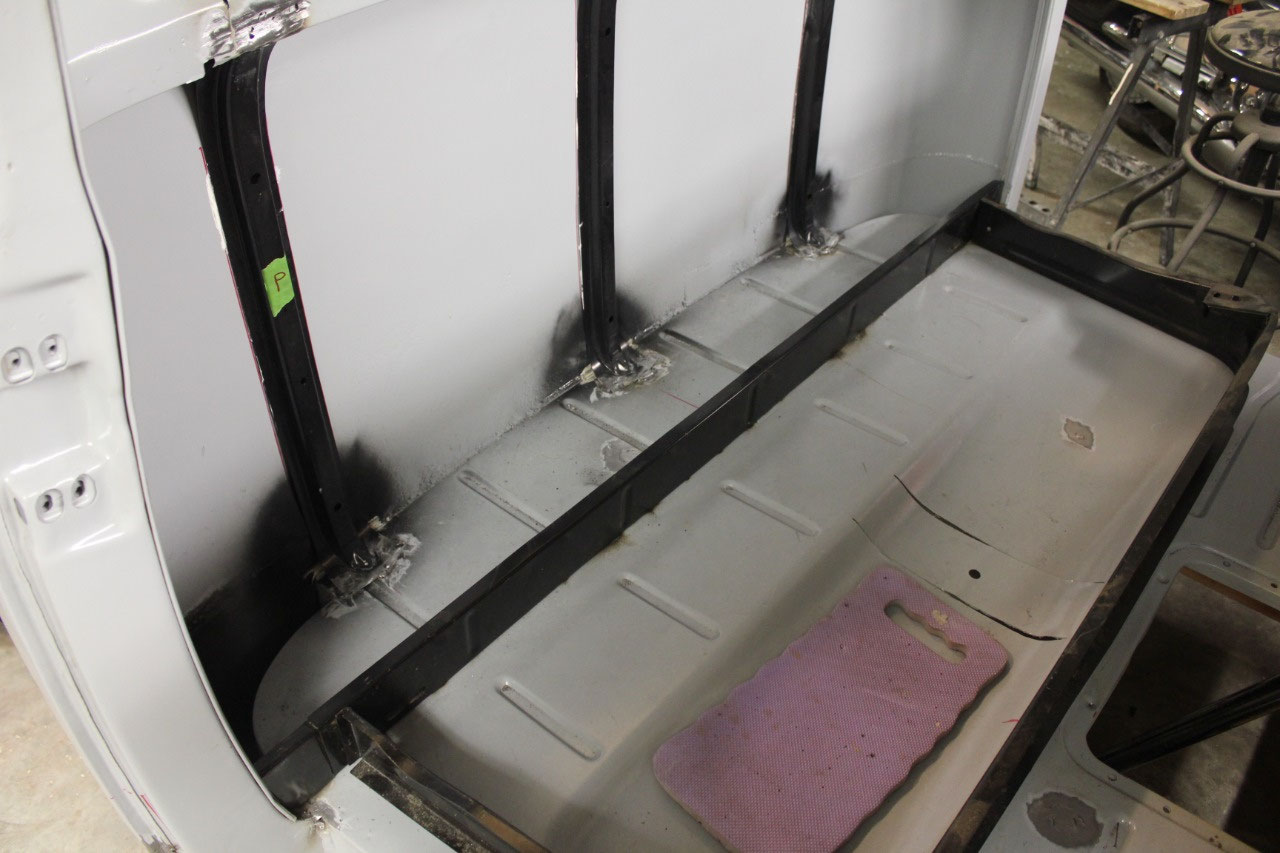
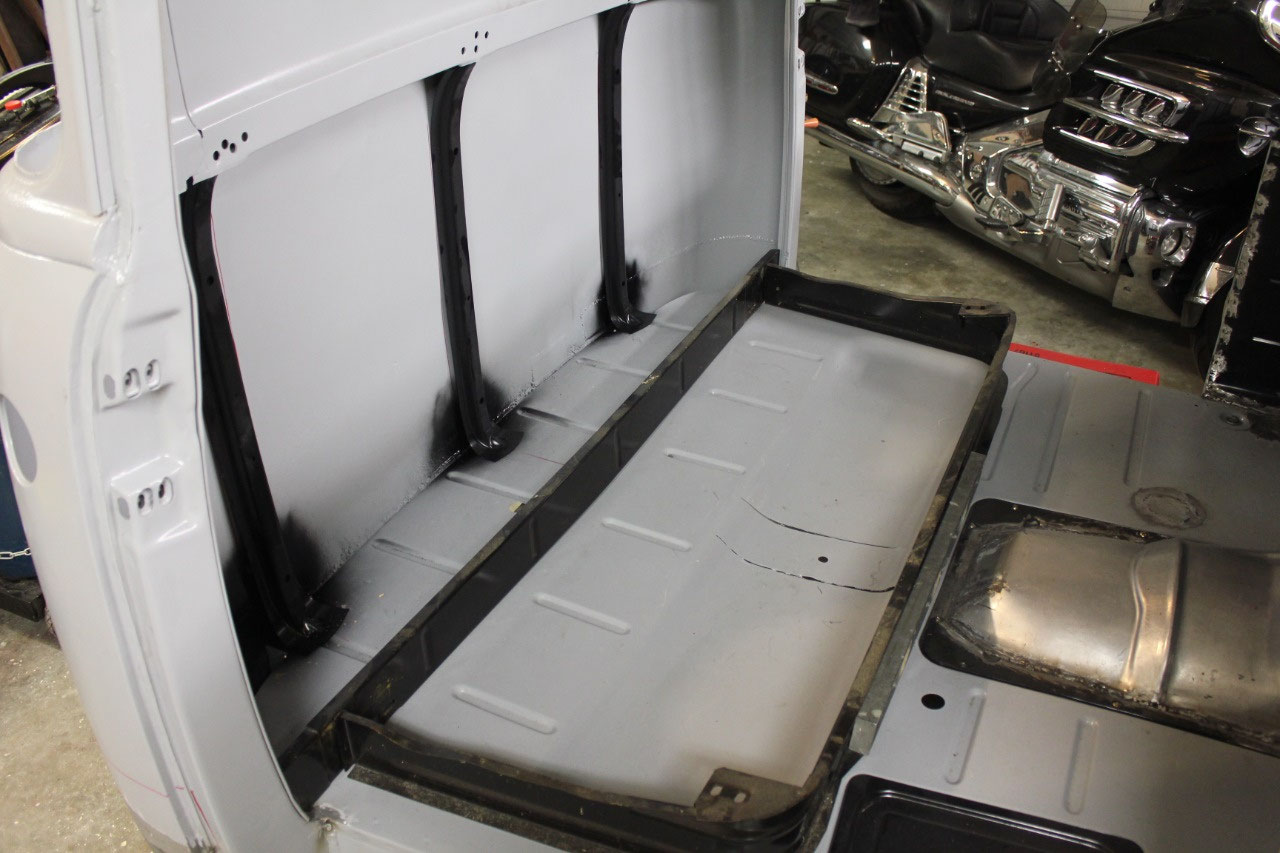
Next part of the puzzle was to install the 3 rear cab braces
between the floor and the center band.
These are pretty straightforward, they were removed to replace the floor
and left off so they could be painted behind.
They just needed to be plug welded at the center band through the
existing holes from drilling out the spot welds and I had to punch some 5/16”
holes in the brace at the bottom to plug weld them to the floor.
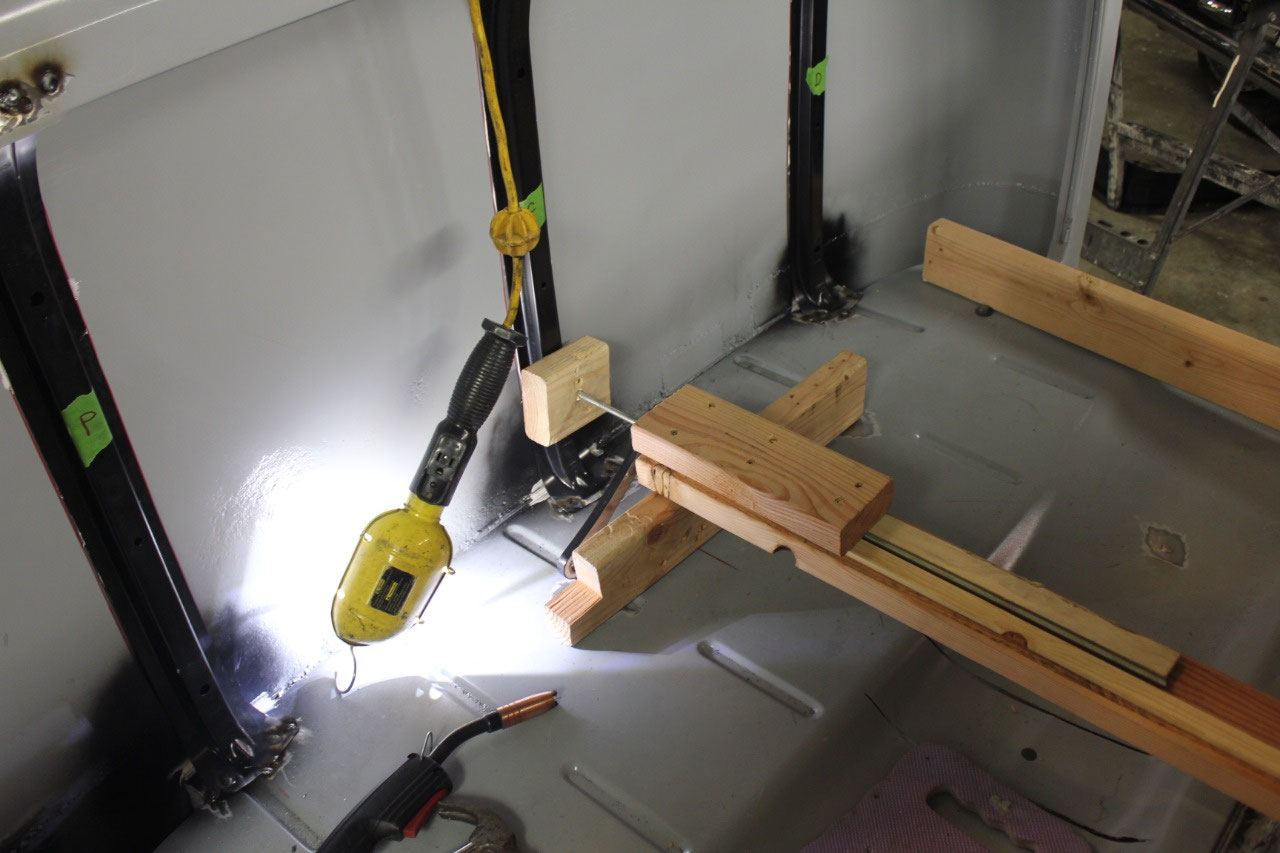
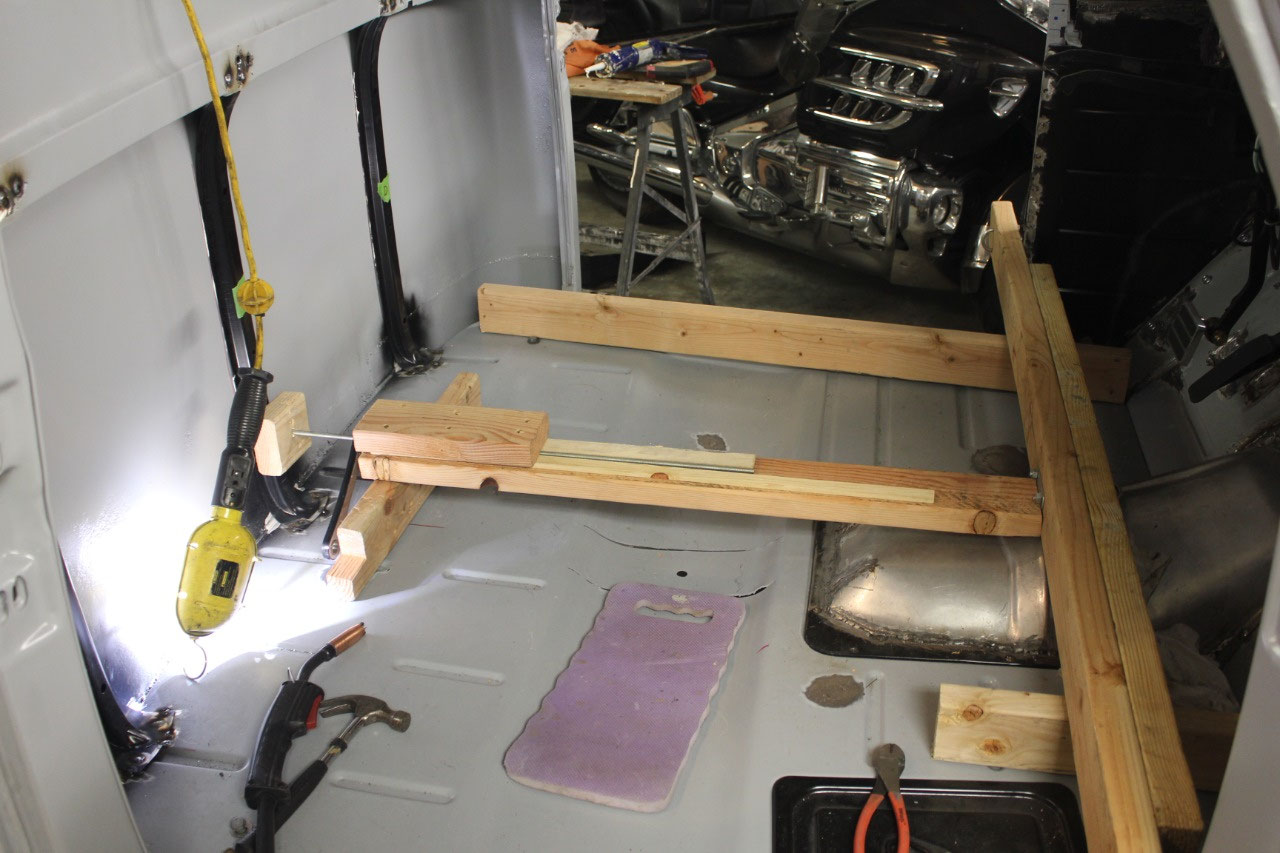
The big problem is that the Factory Assembly
Manual calls for a 50 lb. weight to install these under tension. I didn’t have a good way to get a 50 lb.
weight on the brace, so I plug welded them at the center band and used a
contraption I made out of wood and threaded rod so that I could use a wrench to
apply tension and press the braces back into the cab sheetmetal. It worked pretty well, though in retrospect,
I probably could have applied a little more tension.
Before welding the braces in place, I added a little seam
sealer to the floor/ cab seam that will be hidden behind the brace when
installed. I also added a thin coat of
seal sealer where the brace contacted the rear cab sheet metal just as an
adhesive/ cushion. Probably not really
necessary, but it won’t hurt. I also
painted the back of the braces over the EDP and over the seam sealer at the
floor as just a little insurance against rust.
After plug welding the bottom, I added a couple of short weld beads
along the edge of the brace where it attaches to the floor as required by the
Factory Assembly Manual.
The most
important thing these braces did was to add rigidity to the cab rear sheet
metal. It was always wavy, but with the
addition of the braces, it straightened out a lot. I still have some bodywork to get it
straight, but it will be much easier now that the braces have been installed.
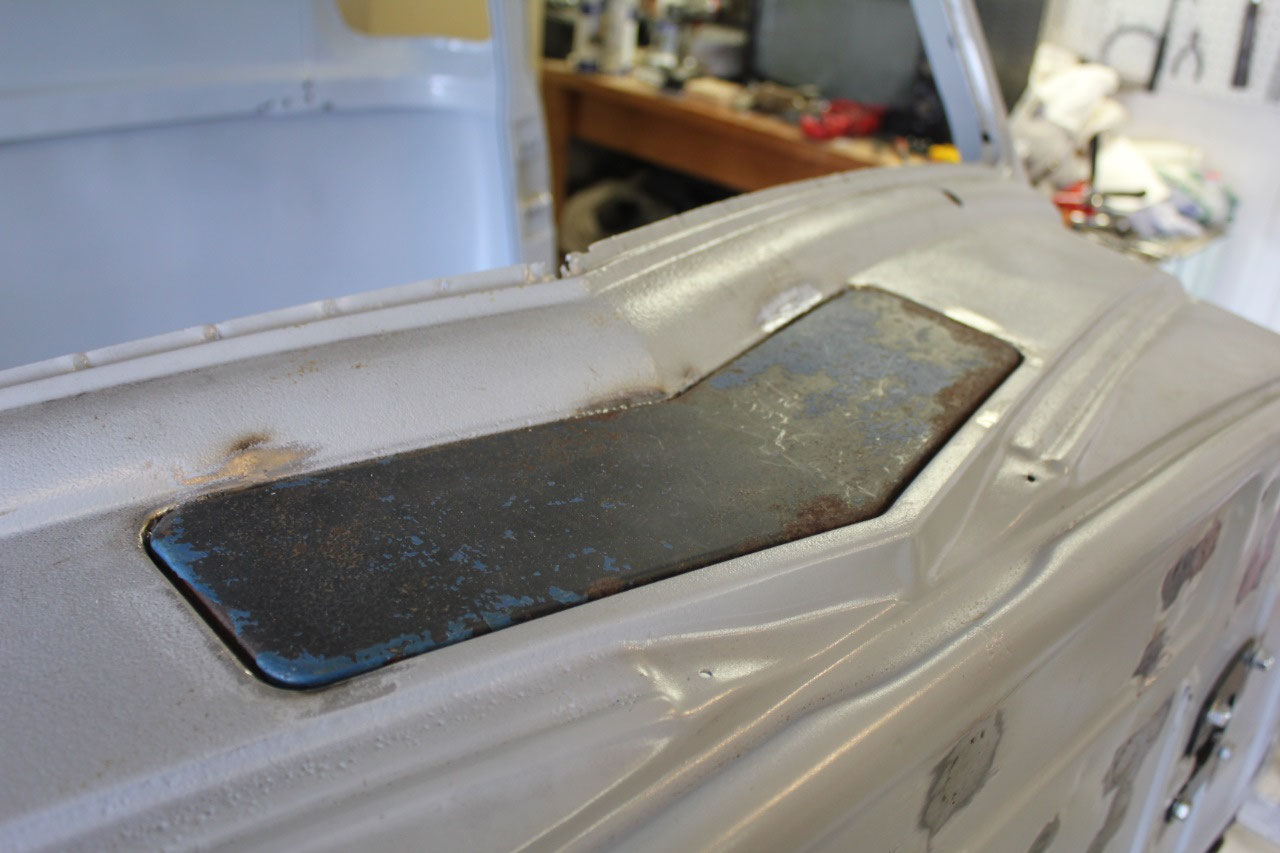
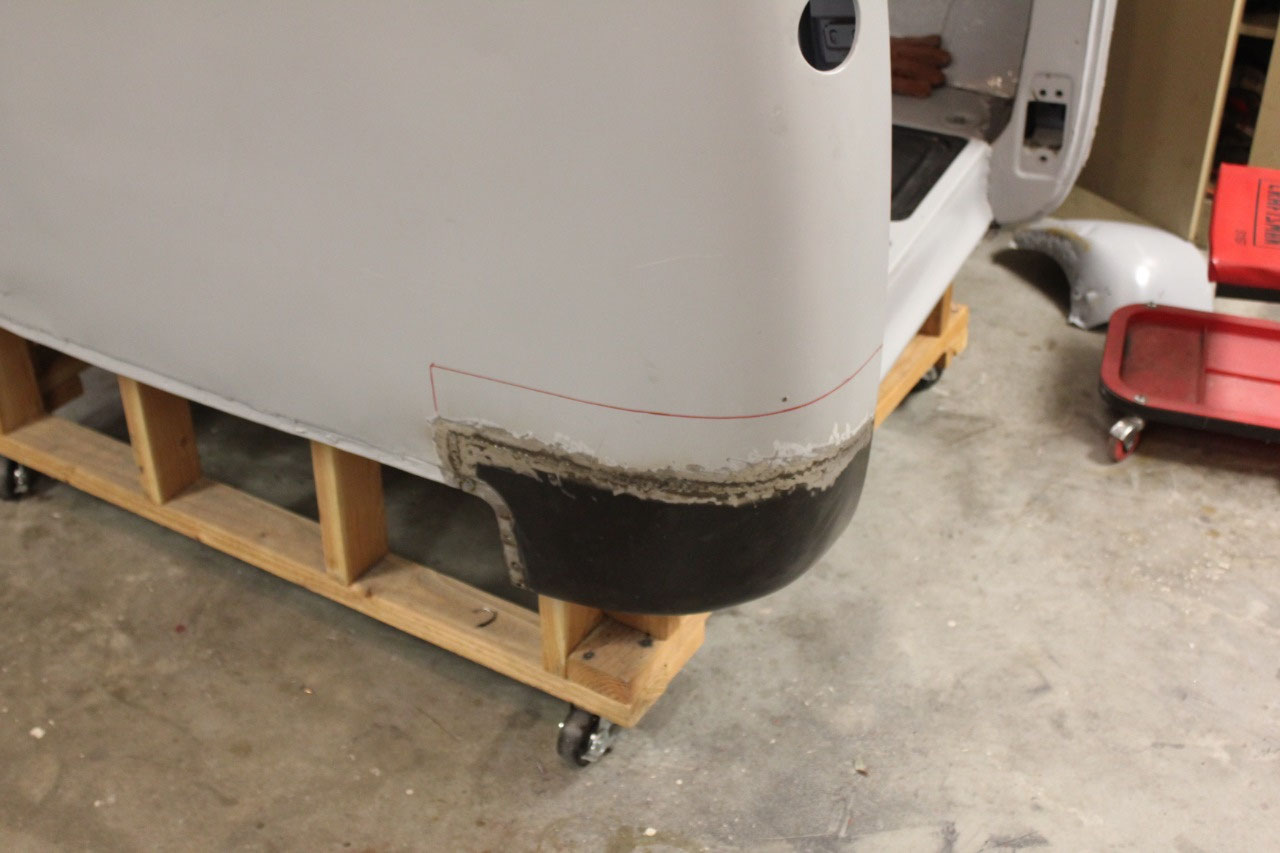
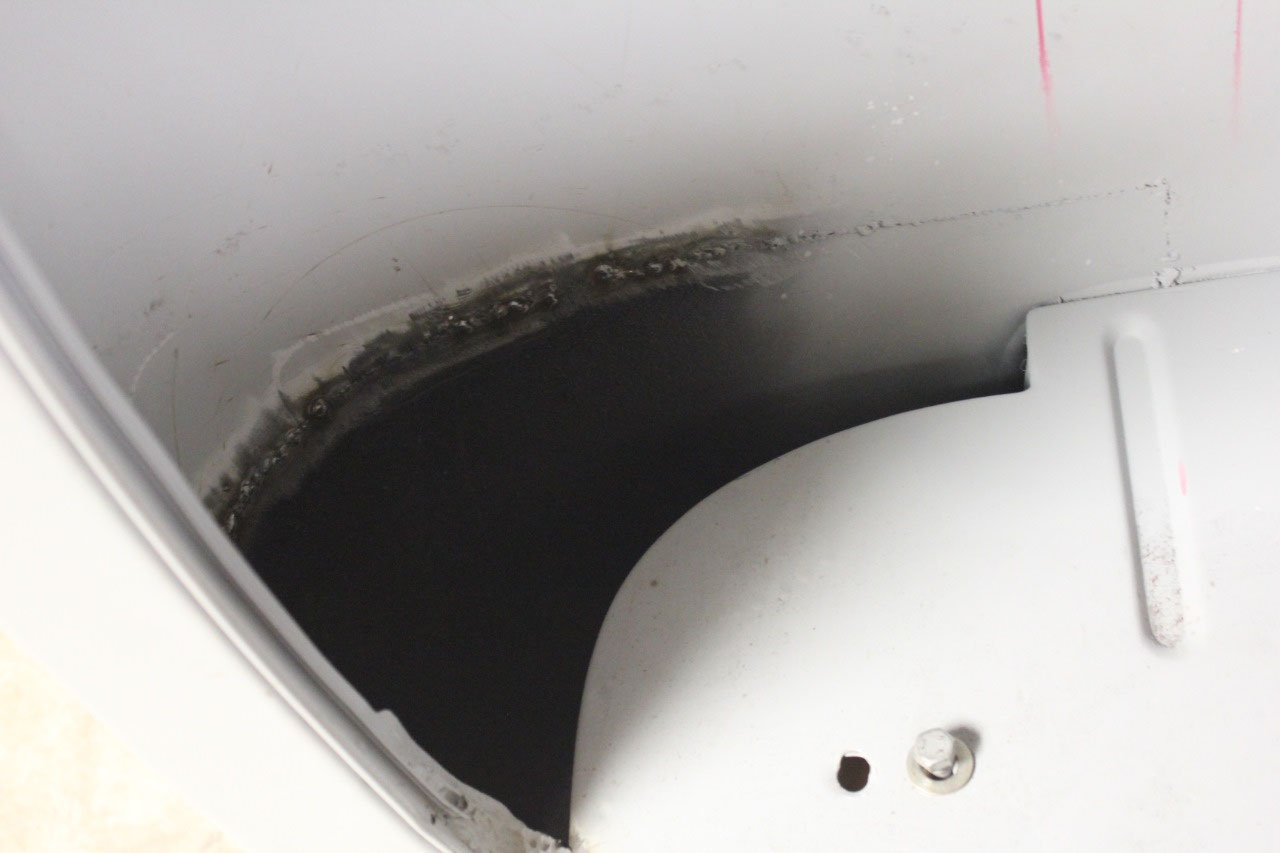
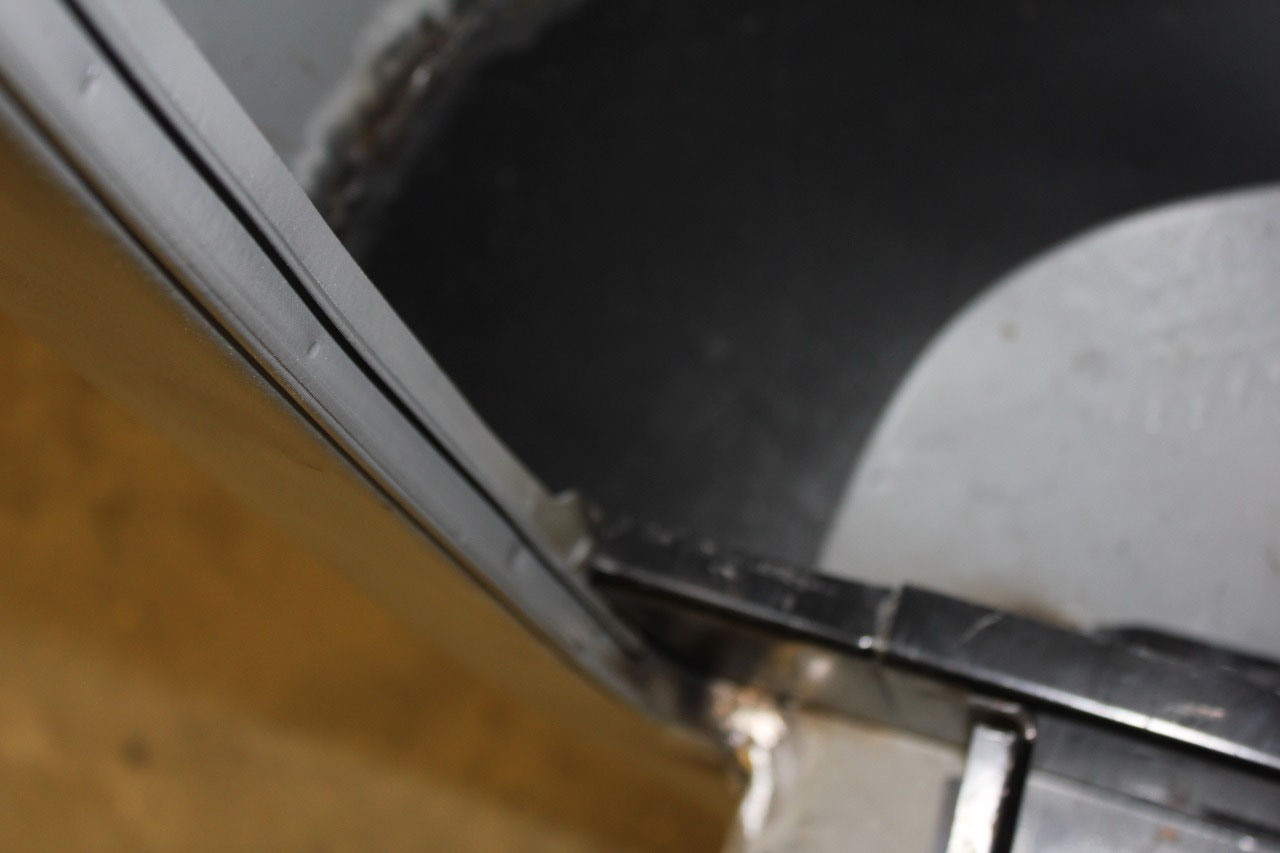
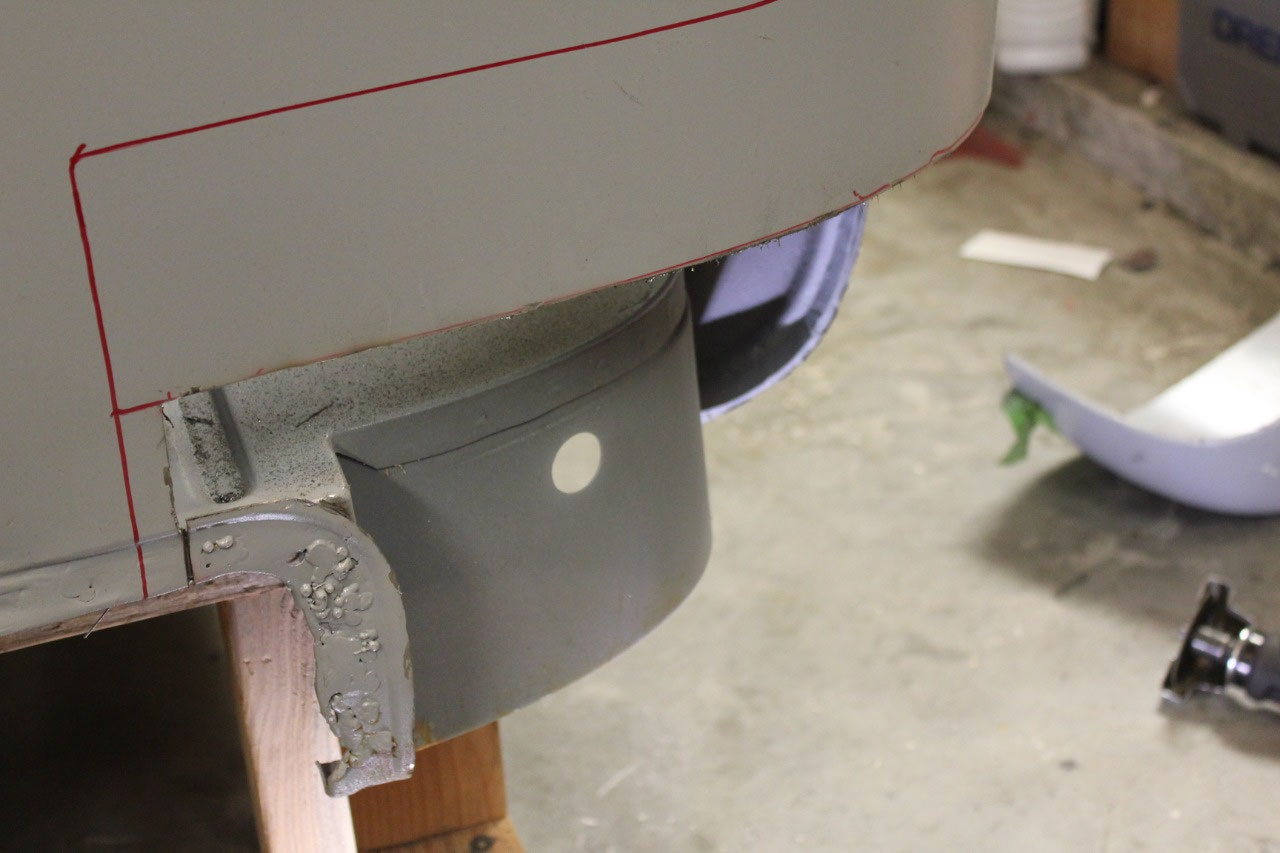
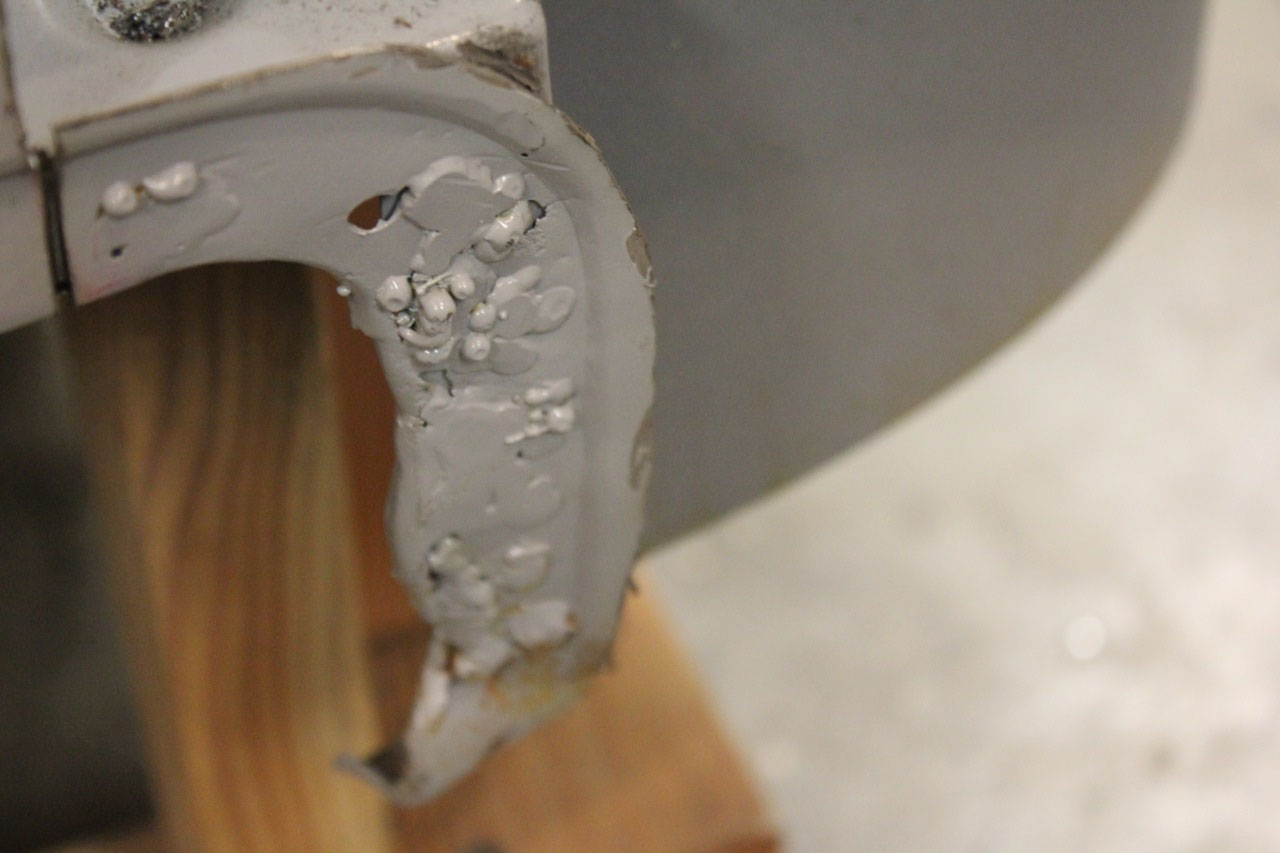
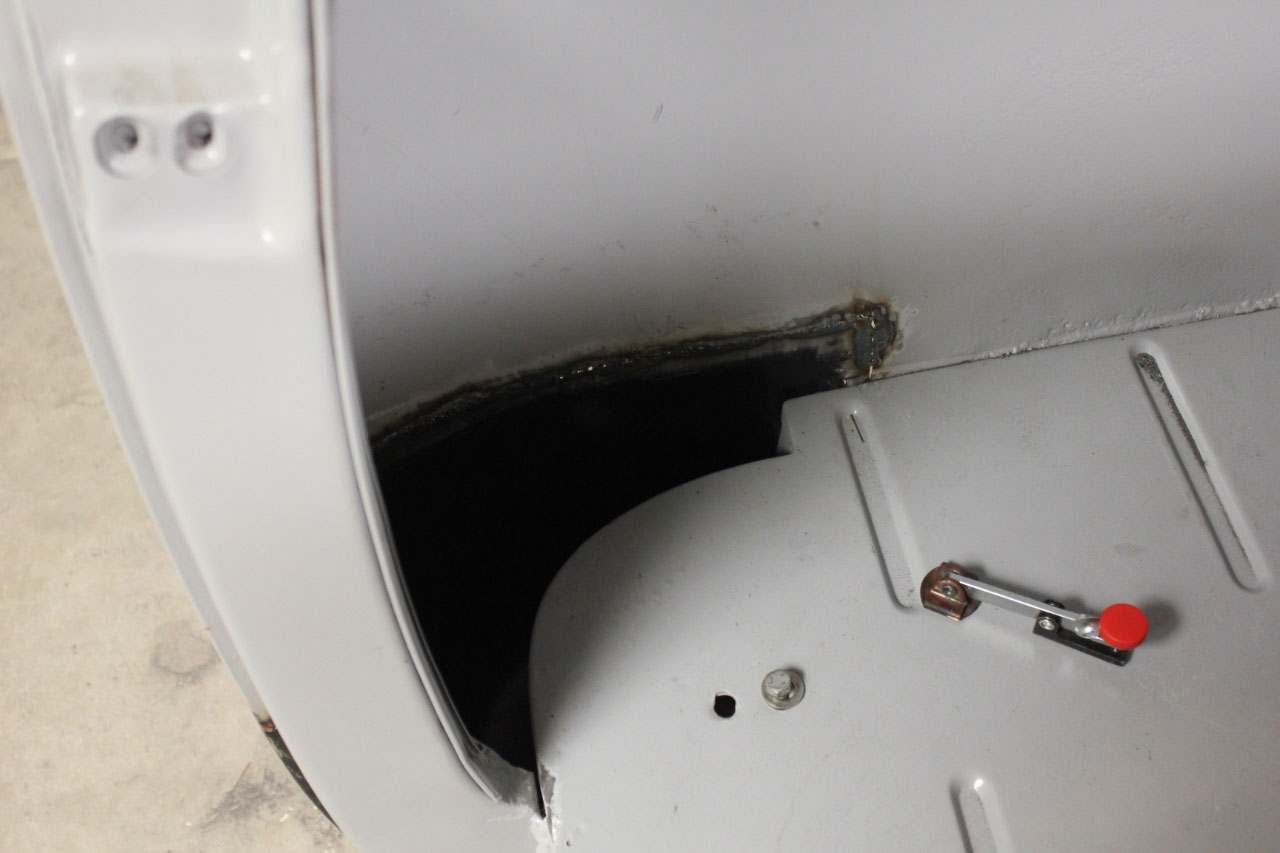
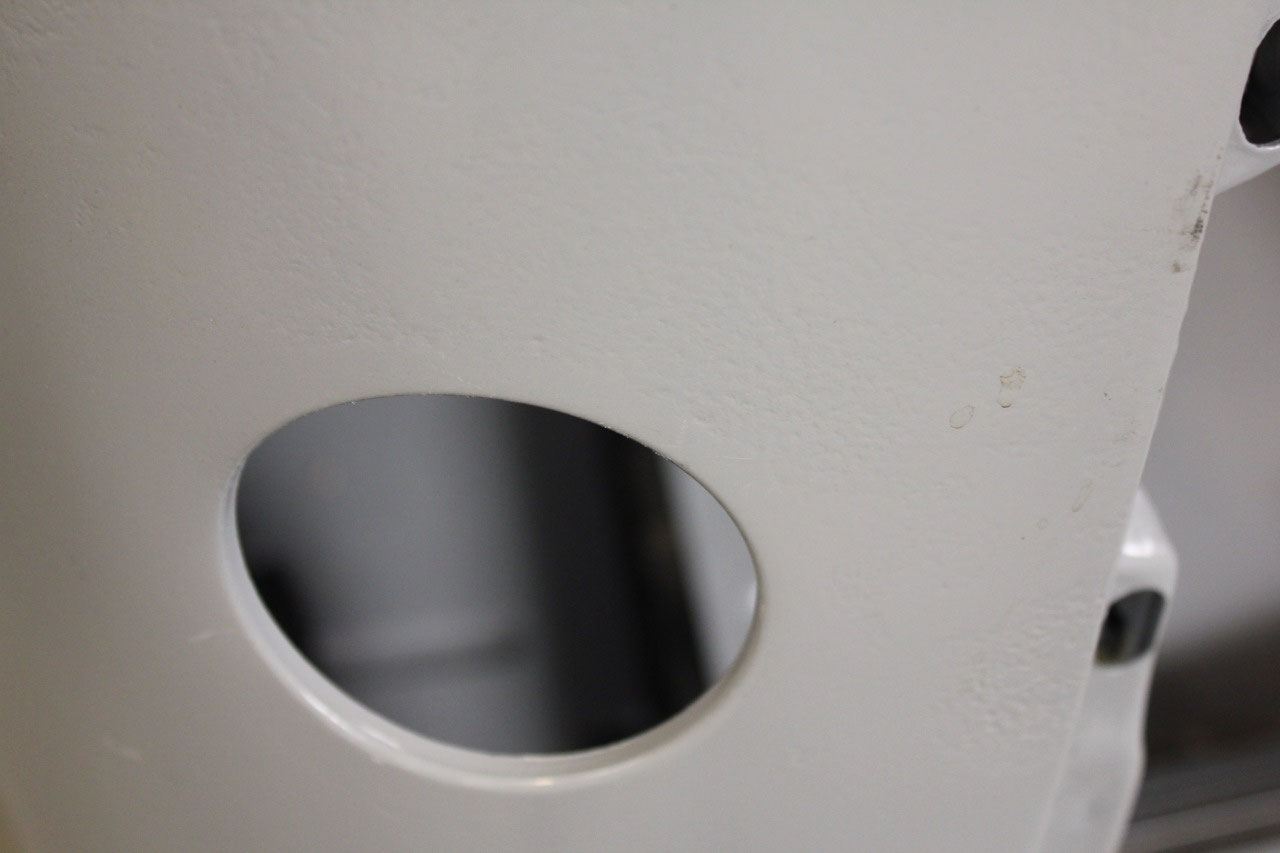
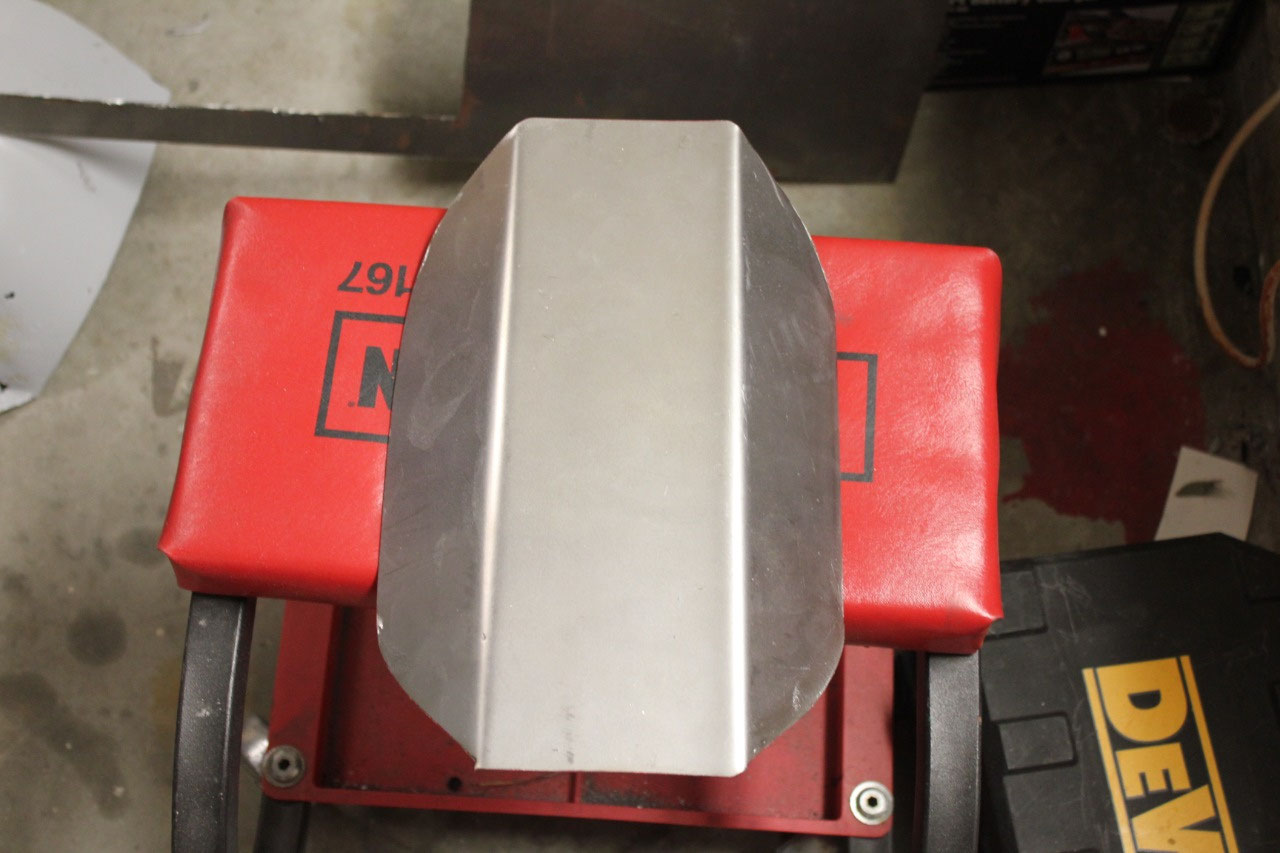
Since I didn’t want the gas tank behind seat in the factory
location, I moved it to under the bed in the rear. This meant I needed to close up the rather
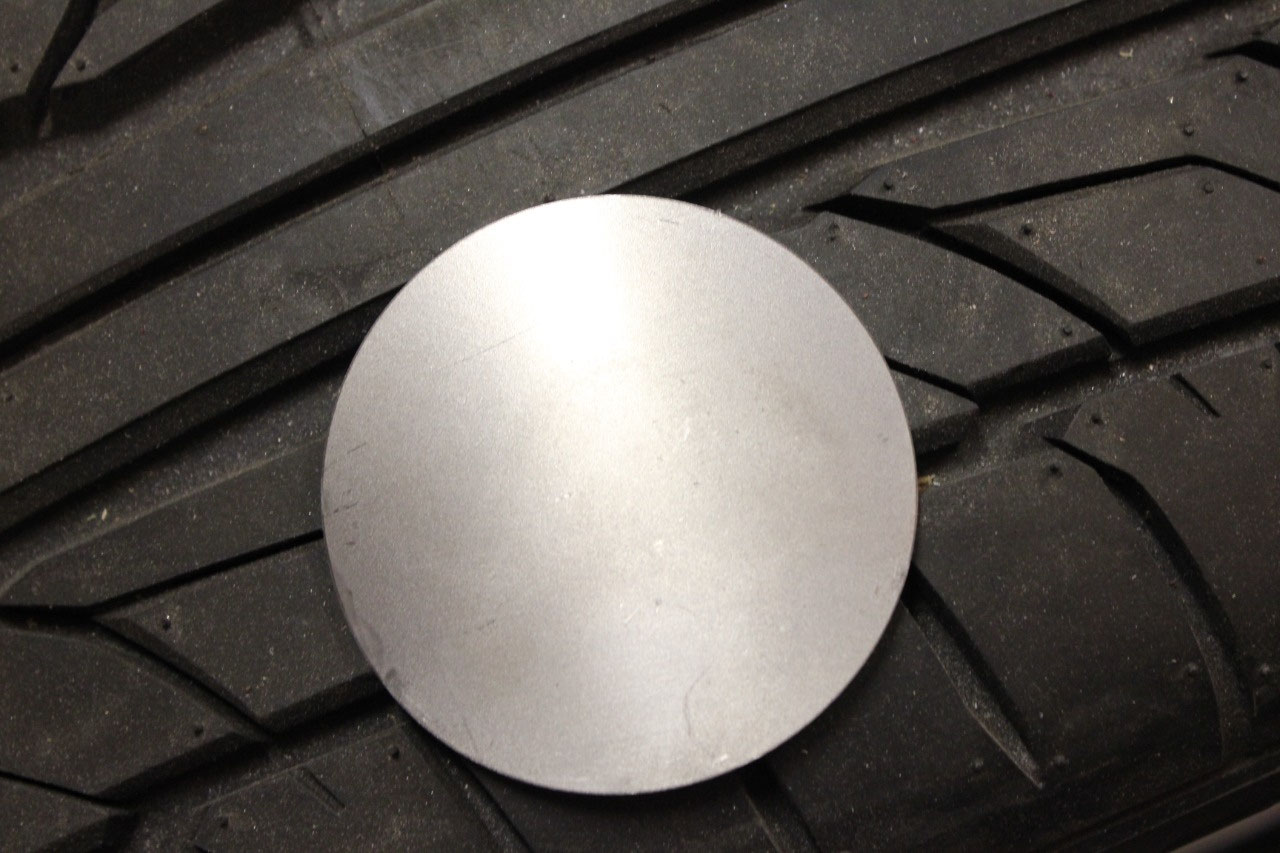
large hole for the gas filler neck behind the passenger door. It’s just a simple circle, but it’s on a
corner making it a compound curve. I
guess I could have cut the circle from some scrap, and tried to bend in some
curve, but I decide to splurge and spend the $15 for the pre-cut, pre-bent piece
of sheet metal. It turns out it fit perfectly
once I figured out the orientation, so I just ground away the flange from the
opening and butt welded it in place.
The last major piece of sheet metal to be welded in place is
the seat base.
The seat base is in 2
pieces, the rear crossbar that ties the 2 “B” pillars together, and provides
rigidity to the floor. And the front
section, that ties to the crossbar and just plug welds to the floor. The difficulty is not the installation, but
the decision whether to install it or not.
Most of this decision is based on what to do for a seat. I could either stick with the original
factory seat, and reupholster to something more modern, or replace it with a
modern seat out of some other car, truck, or SUV. There are many options, including whether to
pick bench seat or bucket seats. If I
stick with the original seat, I would weld in both pieces of the seat base, if
I picked something else, they would probably be in the way and would not be
installed.
This is one of the decisions I made long ago, but now was
the last chance to revisit my decision.
I had already decided that I wanted a bench seat. The cab may be small, but I wanted to be able
to carry a third person if I needed to.
I also just don’t like the look of center consoles on old trucks. I had also seen several examples of people
using the under-seat storage to hide the additional electronics modules and
wiring for the LS engine computer, Dakota Digital Gauge modules, cruise
control, keyless start, XM radio, etc. I
plan to do the same. In the original
seat, the bottom cushion is removable to access a storage area under the
seat. There are a couple of aftermarket
seats that have a flip-up bottom cushion that allow this access.
So in the end, I decided to stick with my original decision
to keep the original seat and re-upholster.
I may someday splurge for a custom interior, but at this point, I’m just
going to do it myself. I found a really
nice combination black vinyl/ light gray tweed seat cover for $250 and another
$50 for foam/burlap. I ordered some
extra gray tweed cloth for covering door panels and headliner. I had briefly toyed with the idea of navy
blue/ light gray, but wasn’t sure what to do with the seat frame and steering
column.
Black is so much easier. Now I can leave the dash, door interior and
cab around the windows as body color, with the floor, behind the dash, behind
the seat, seat frame and steering column as black. The steering wheel is already light gray. Sun visors, headliner, door panels can be
light gray also. This should look good,
and I’m still not locked into a specific body color, as most any color will go
well with Black/ Light Gray.
The first thing I noticed when I went to install the seat
base rear crossbar was that it didn’t fit well at all. There was at least a 1 inch gap between the
center of the crossbar and the floor. I
test fitted the rest of the seat base and the gap between the seat base at the
front and the floor was more like 1-1/2 inches. After a little head scratching, I realized that
the floor must have sagged from me climbing in and out of the cab. Sure enough, I removed the tunnel cover to
release any tension, and jacked up the floor with a floor jack and a couple of
blocks of wood.
Everything fit great! So I punched a bunch of 5/16” holes in the cross
brace and plug welded it in place. I
added a couple of beads at the ends like it called for in the assembly manual,
and it was quick work for the cross brace.
My plug welds look good enough that I didn’t need to grind them down.
Besides they will mostly be covered by the carpet.

The front part of the seat base was a breeze. Punched a bunch of 5/16” holes in the base
and plug welded it to the floor and the cross brace. A quick test fit of the seat tracks and all
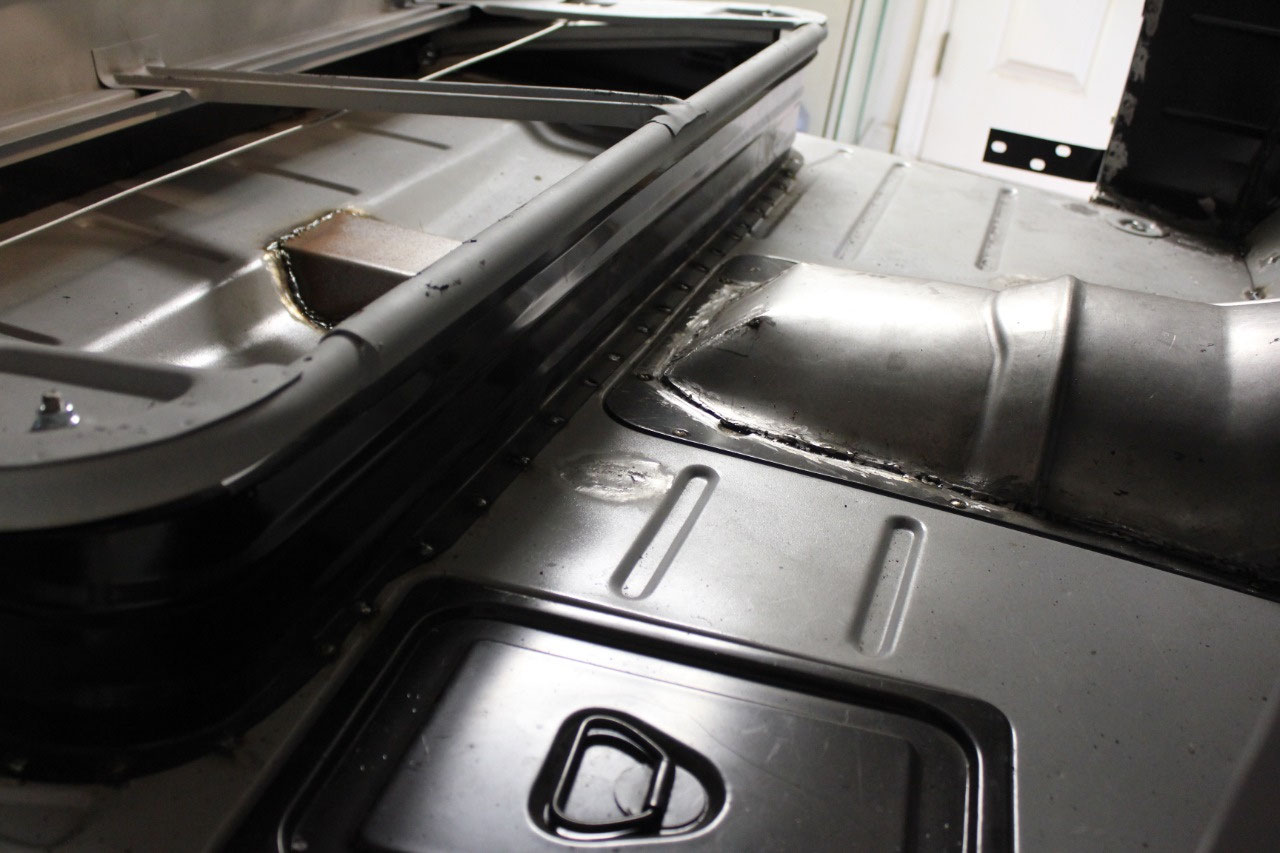
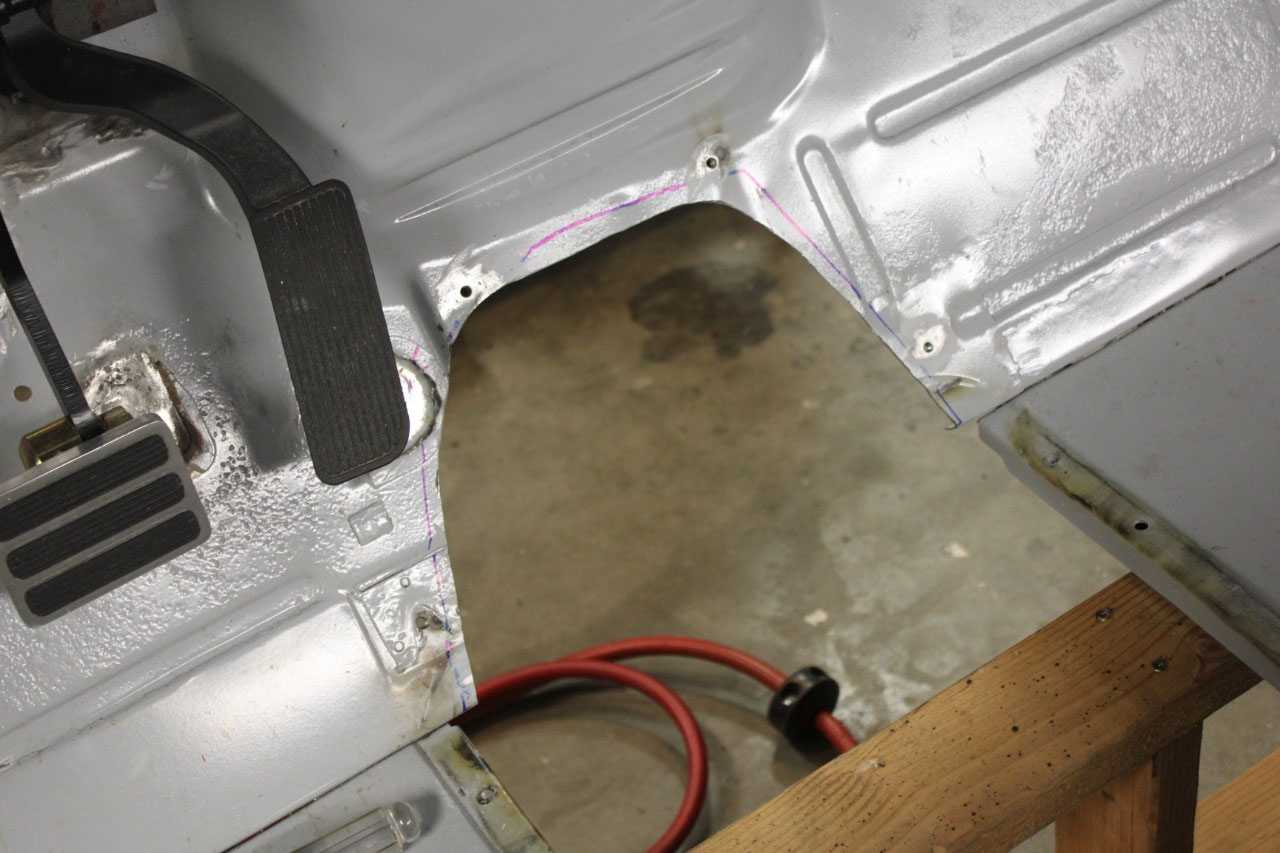
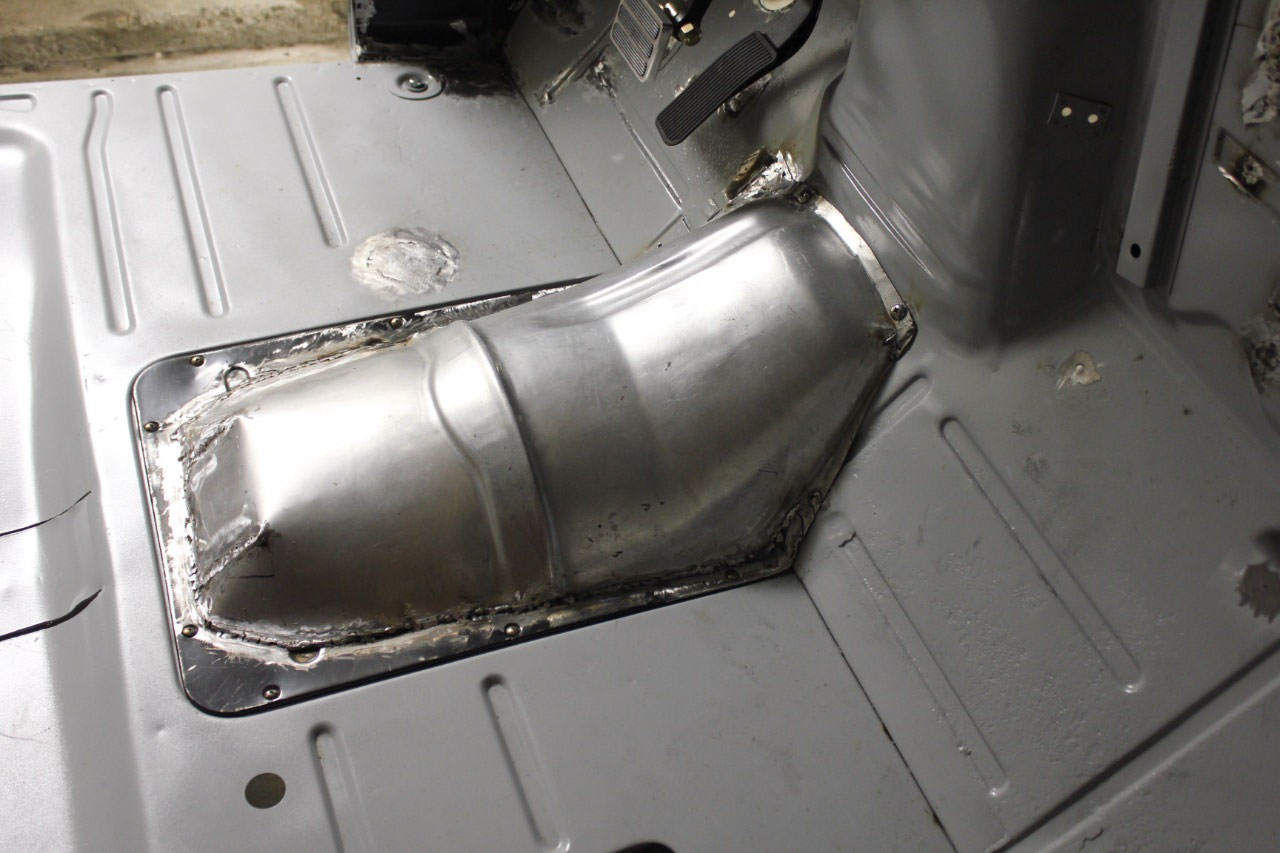
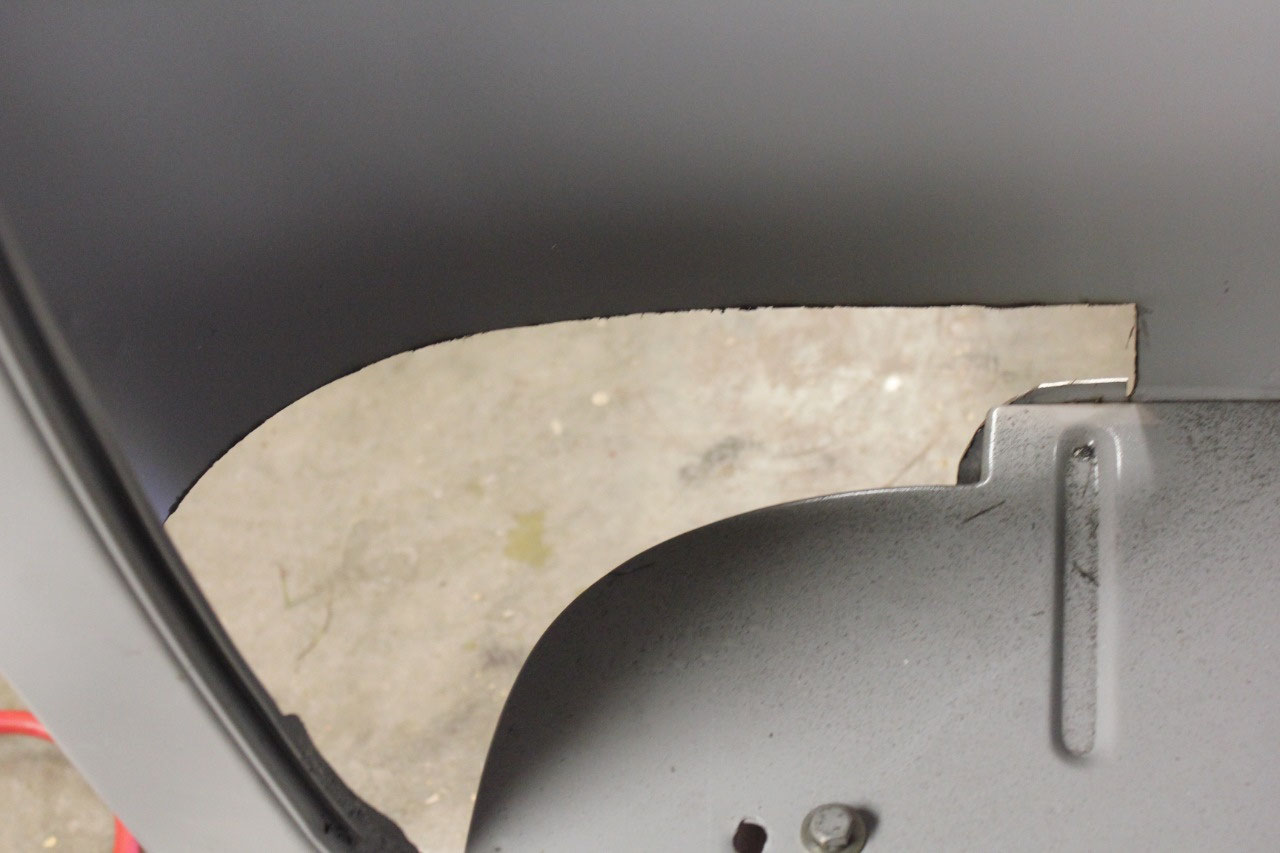
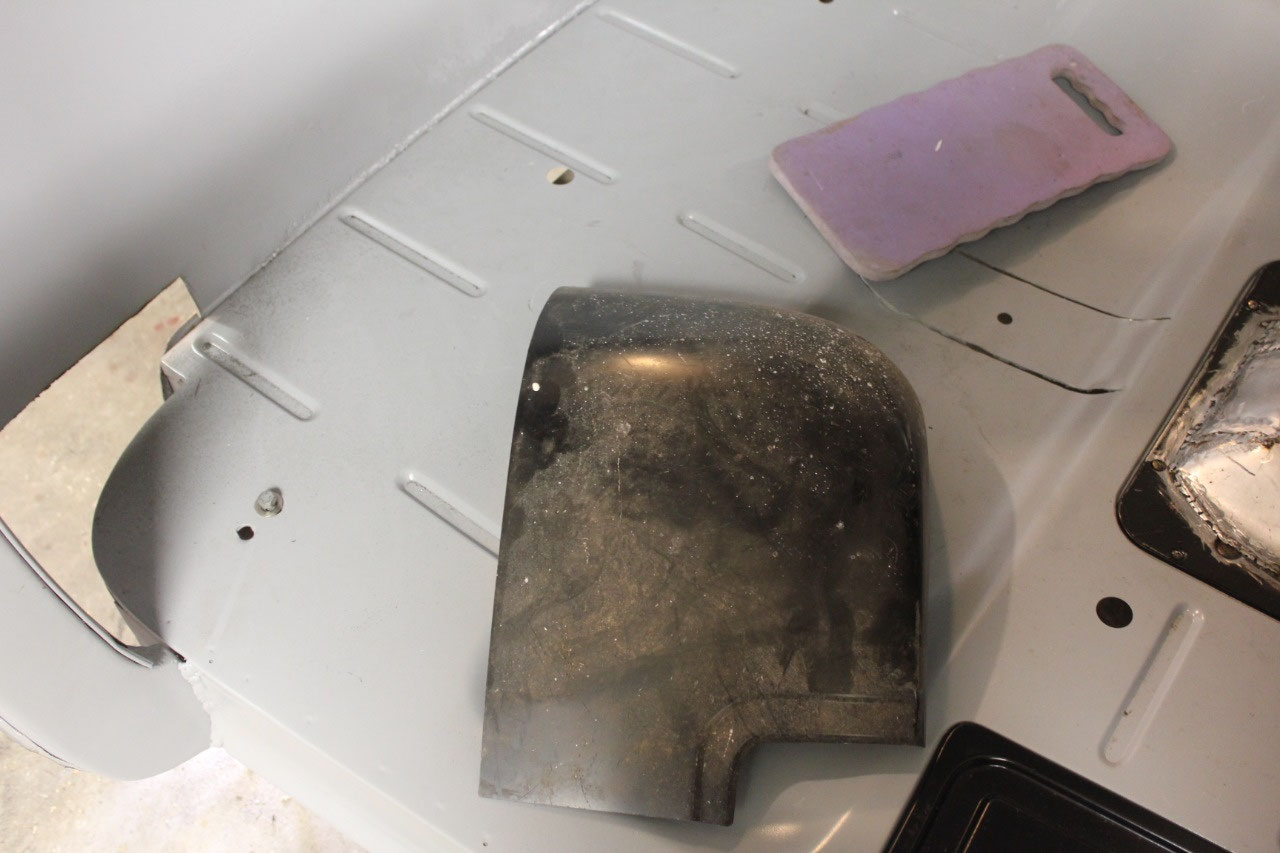
was great! The last little bit of
fabrication on the floor was to do something about the cut I had done long ago
for driveshaft clearance under the seat.
I was going to do something more complicated when I realized it would be
easier to just cut a big hole and fold a piece of 16 gauge steel over to cover
it up. I made a cardboard template, as
the sides were a little difficult because the recess in the floor was not
angular. A little cutting, bending on
the break, and hammering, and the cover looked great. I marked the floor around the cover, and
opened the hole even larger, leaving about ½ inch around the opening for
welding the cover. This time, I wasn’t
as concerned with warpage, so I tacked the cover in place and ran beads between
the tacks. Everything looks great, and
since it will be hidden under the seat, I just left the welds alone.
This mostly completes the metalwork on the cab. The last major piece to finish is the dash,
but I want to prime and paint behind the dash before I go ahead and weld/ bolt
it in place. The next step is to see
about restoring the seats, hinges, cab mount shackles, etc.


2025-05-22