 Orlando, Florida, United States
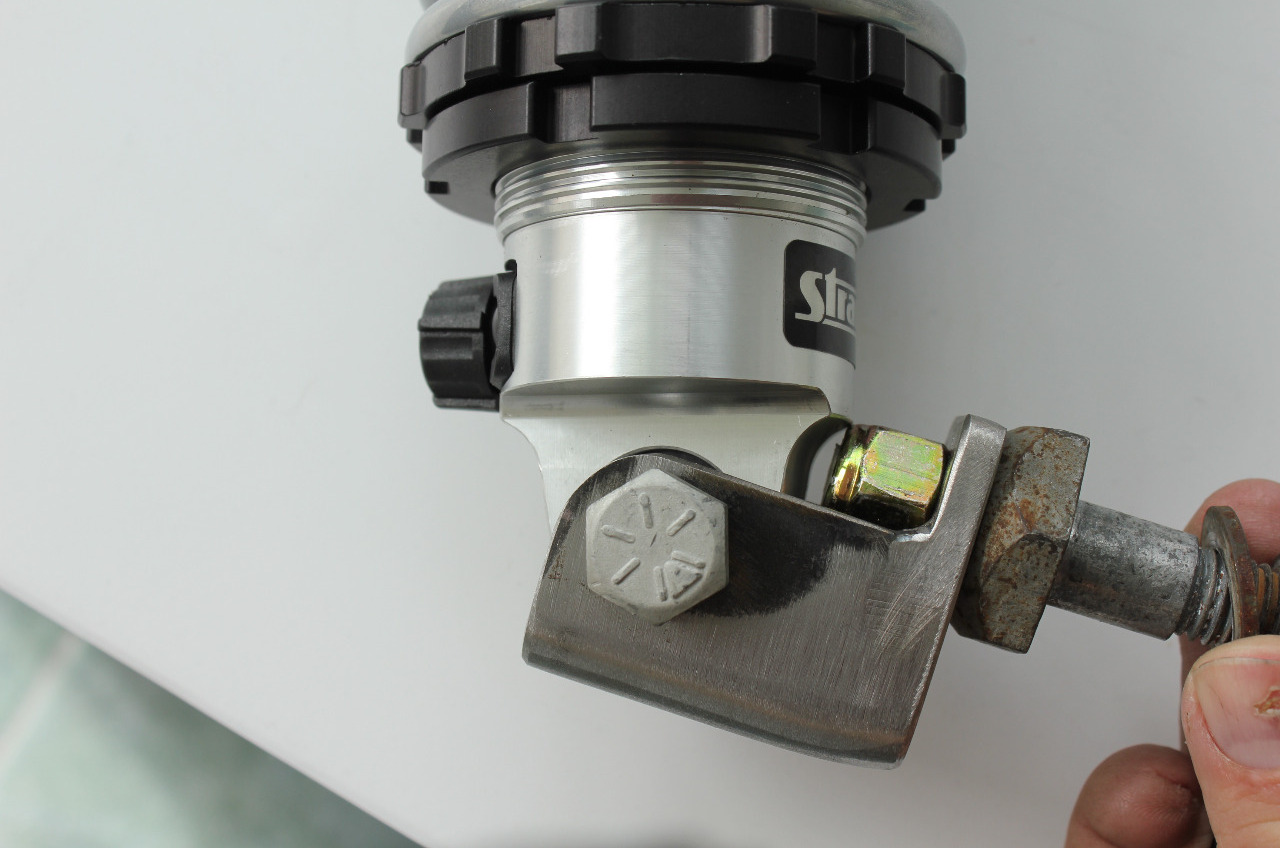
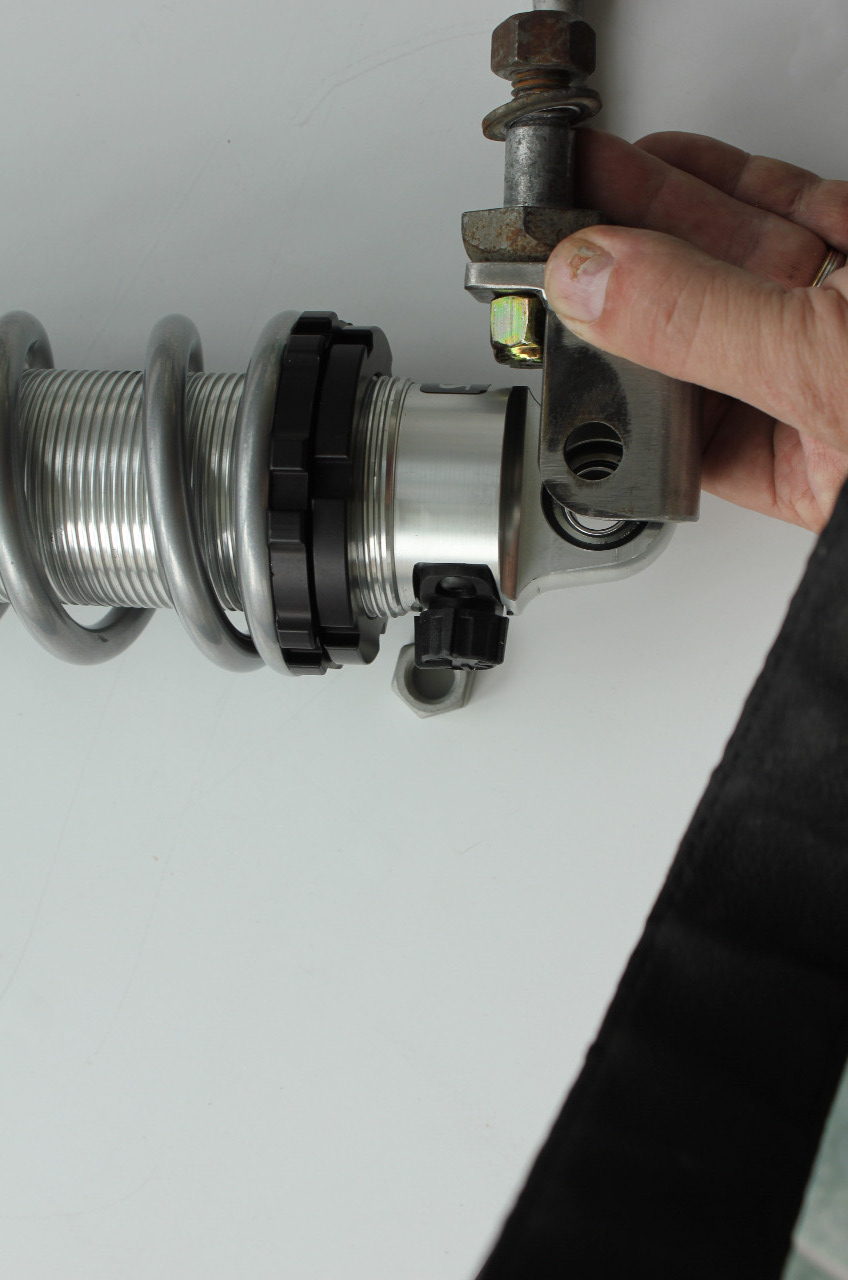
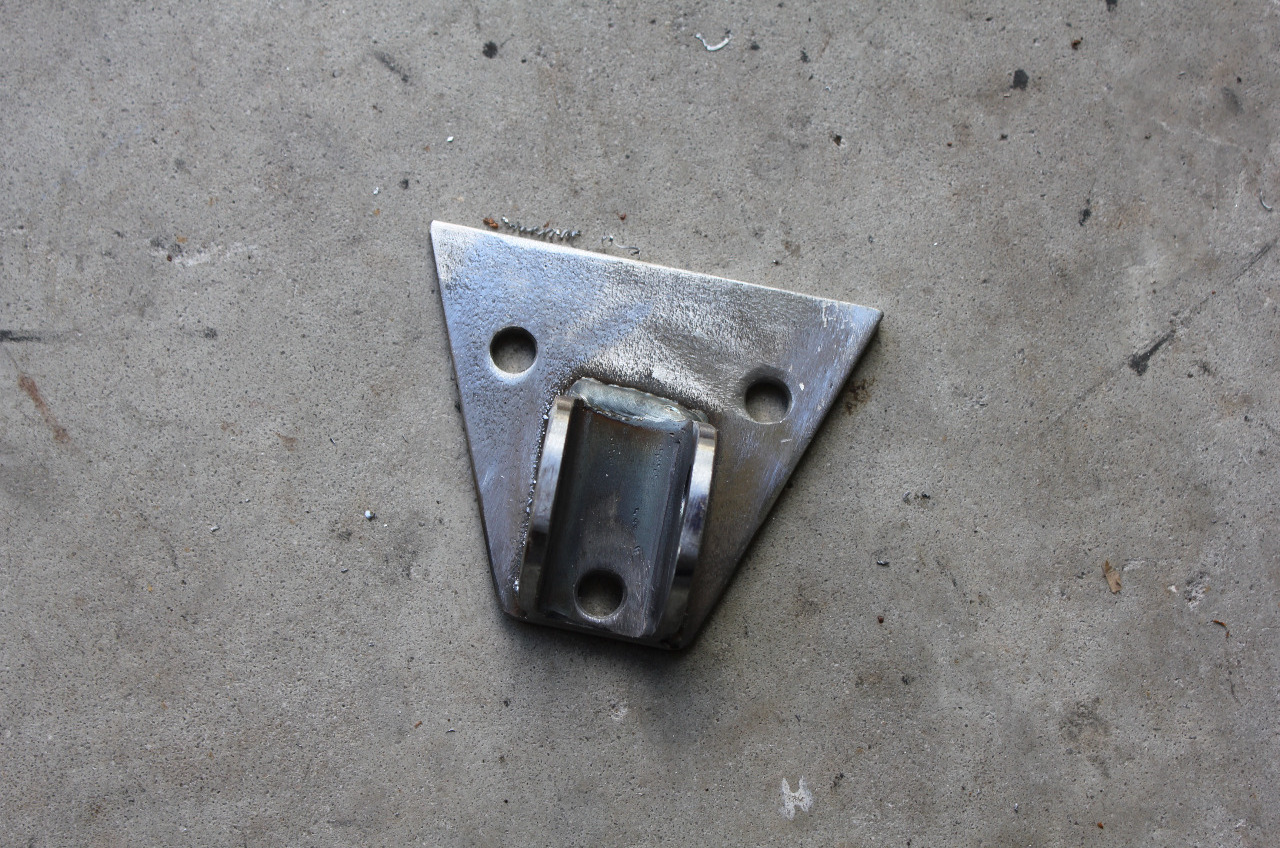
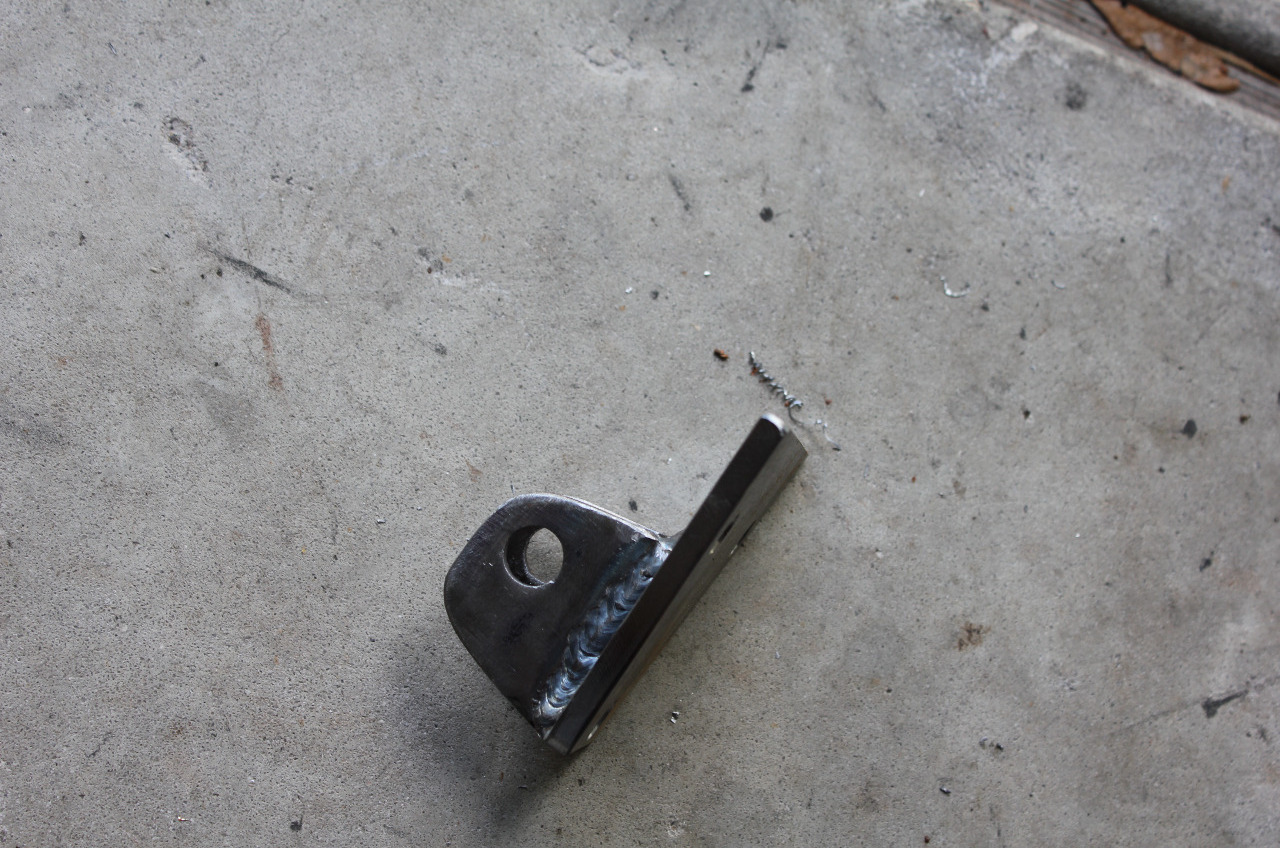
Today, I had a present in the mail from Darrell at Rockabilly Fabrication: the lower coilover mounts for both the front and rear suspension. The rear brackets are fairly straightforward, he just modifies the existing lower shock bolt by adding an additional U channel to attach the lower coilover heim joint. It looks good and strong, but unfortunately it's just a shade too short, and I am unable to rotate the mount sufficiently to connect the coilover. It looks like it just needs to be about 3/8" longer and it will work fine. I called Darrell, and he was all apologies, and told me to send them back and he would remake them. Evidently he didn't have a 47-54 chassis to mock up against, so he used the 55-59 and it's just a little different .

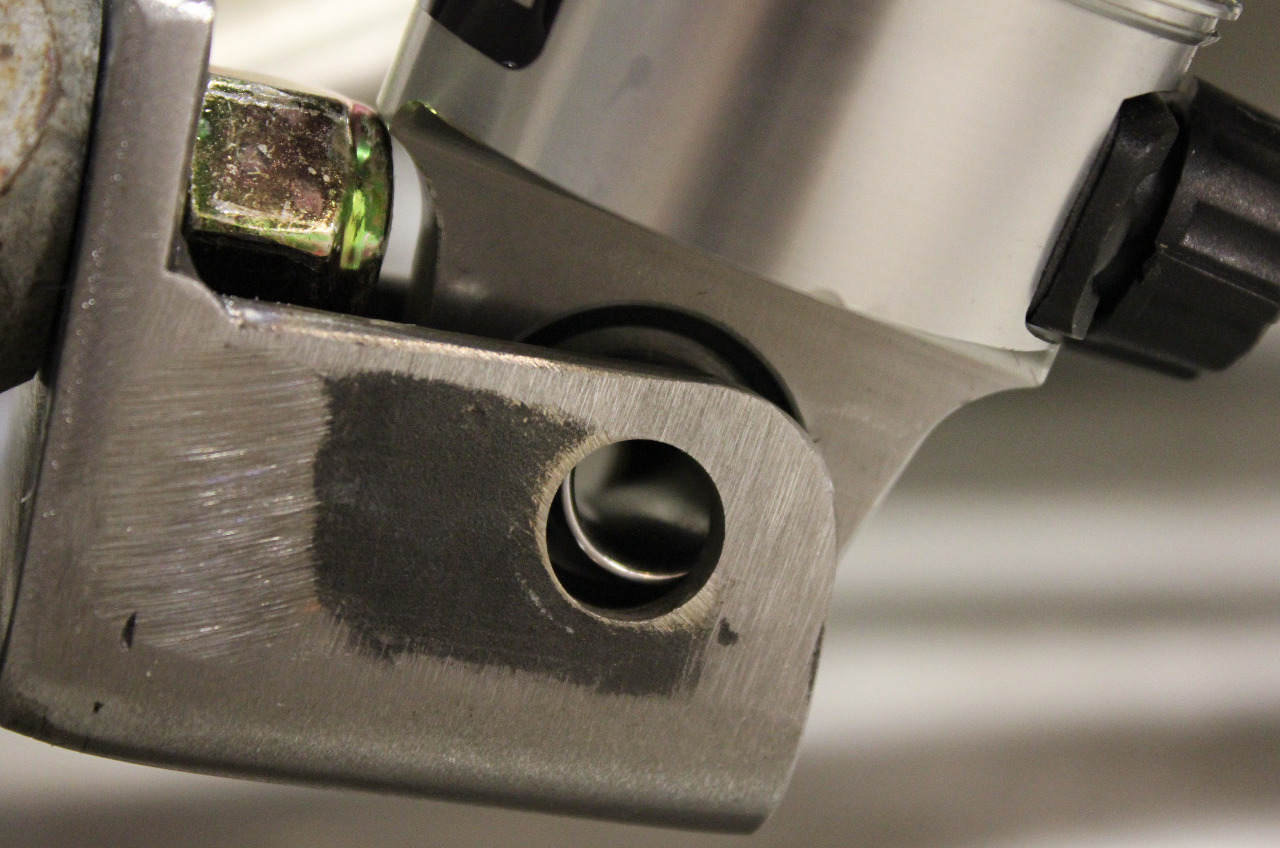
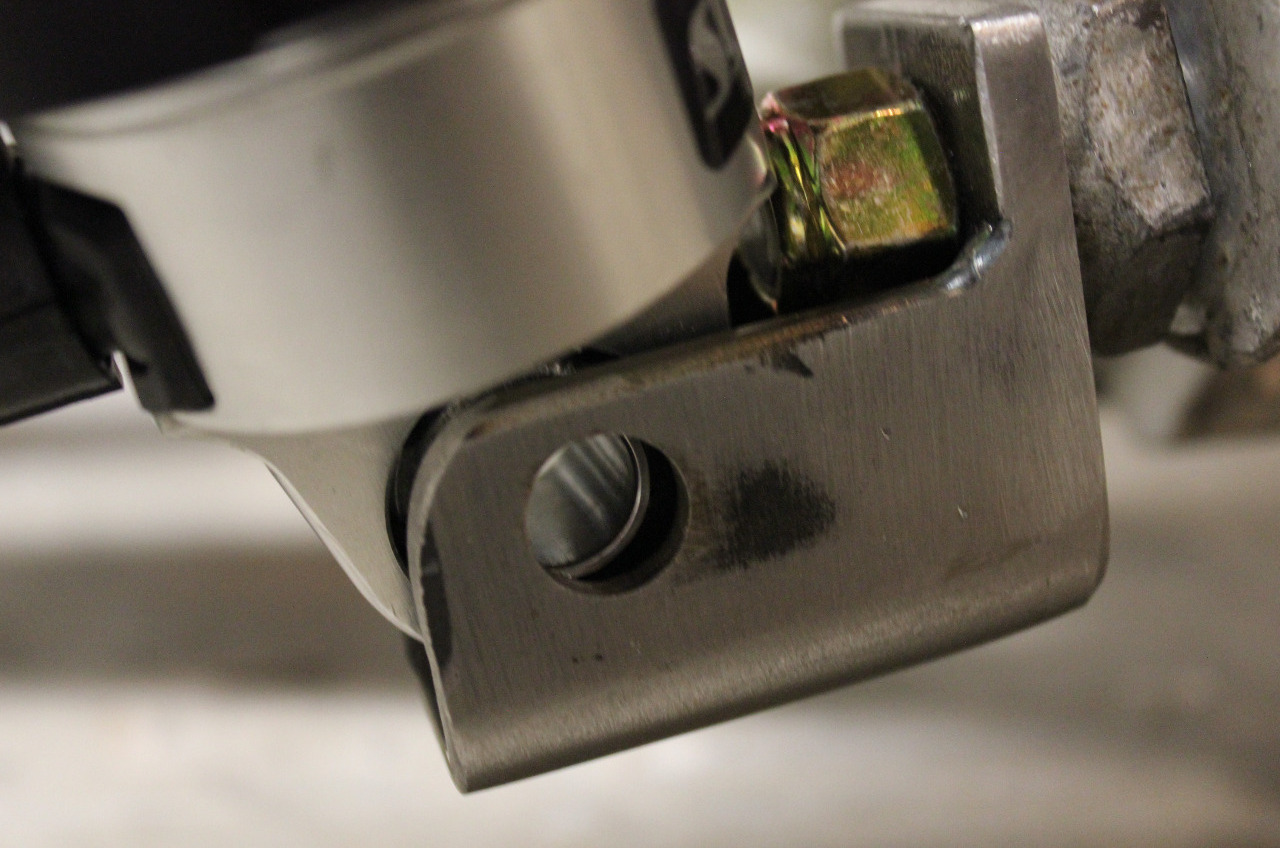
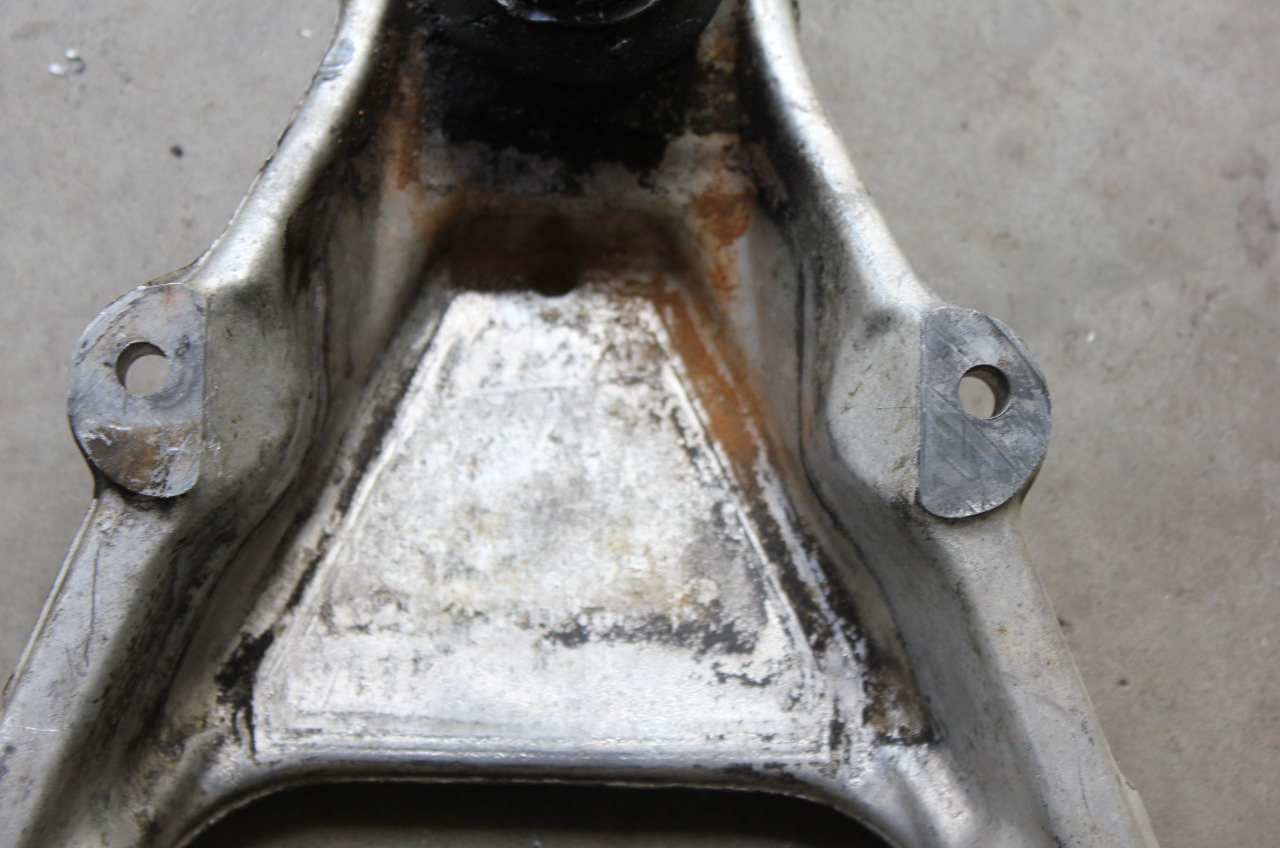
The fronts were a little more complicated as it required some drilling on the lower control arm. The brackets are really stout, and should work great. Luckily when I talked to Darrell, he explained what I needed to do, as there is an existing drain hole in the lower control arm which I thought he was using as one of the bolt holes.
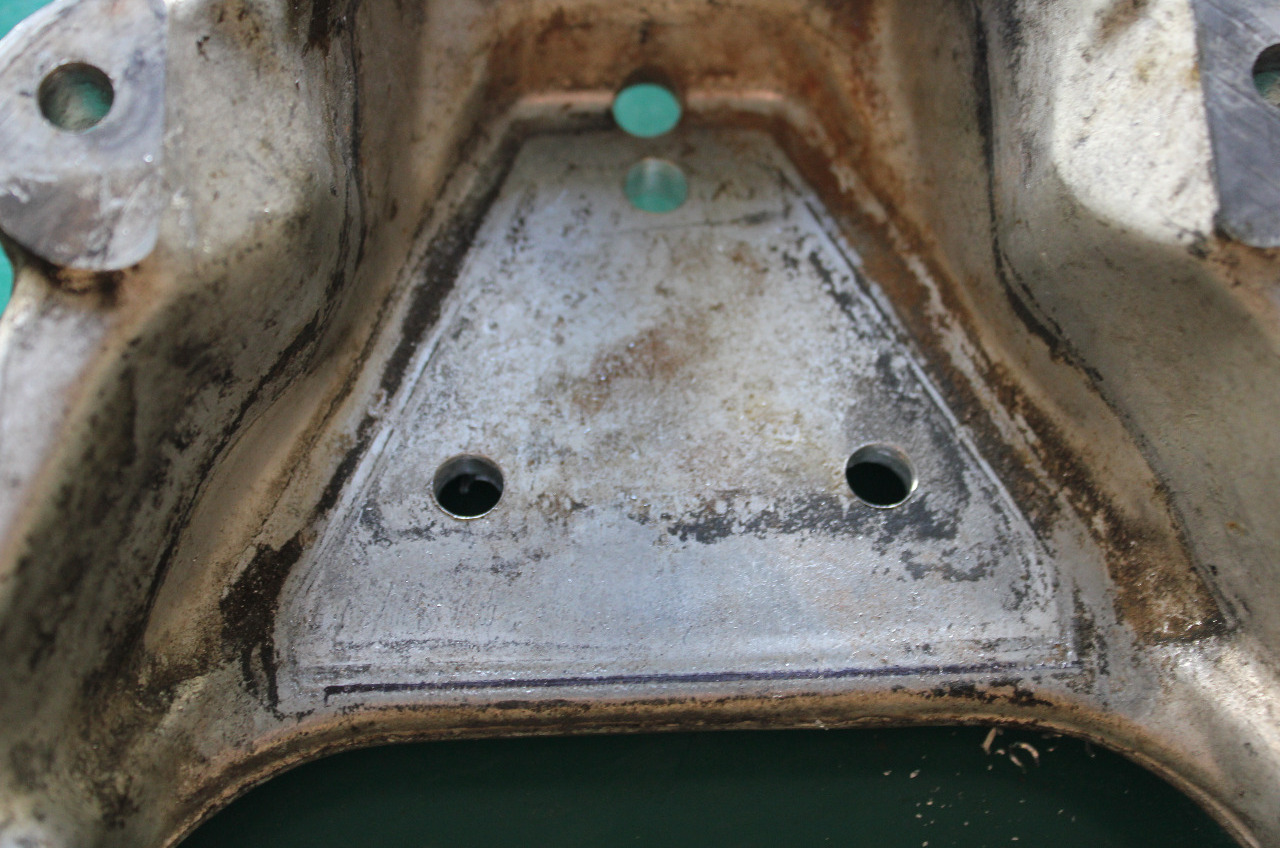
This is on a curved part of the control arm and the mount wouldn't sit flat. It took a minute talking with him to realize I was talking about a drain hole, and he explained that I needed to locate the mount on the flat portion of the control arm, and drill 3 holes.
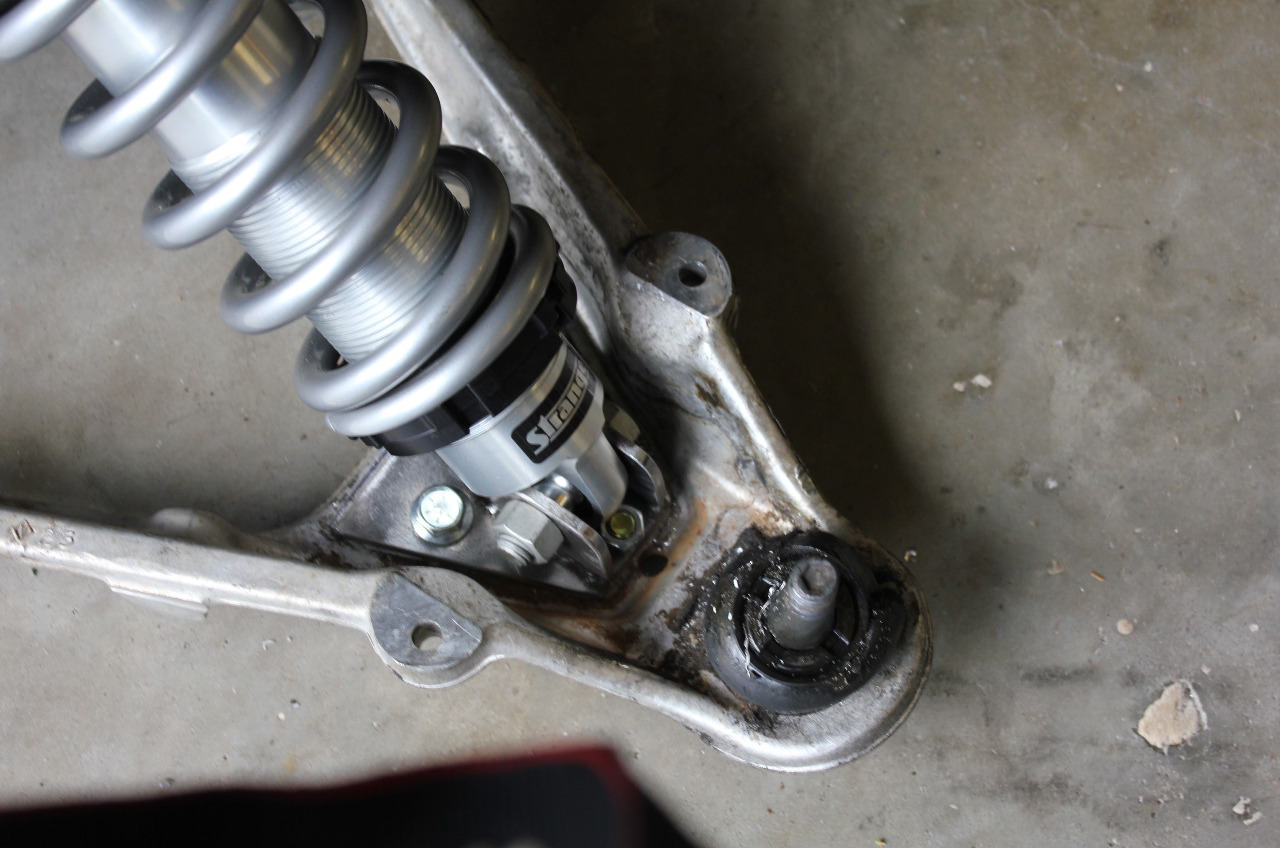
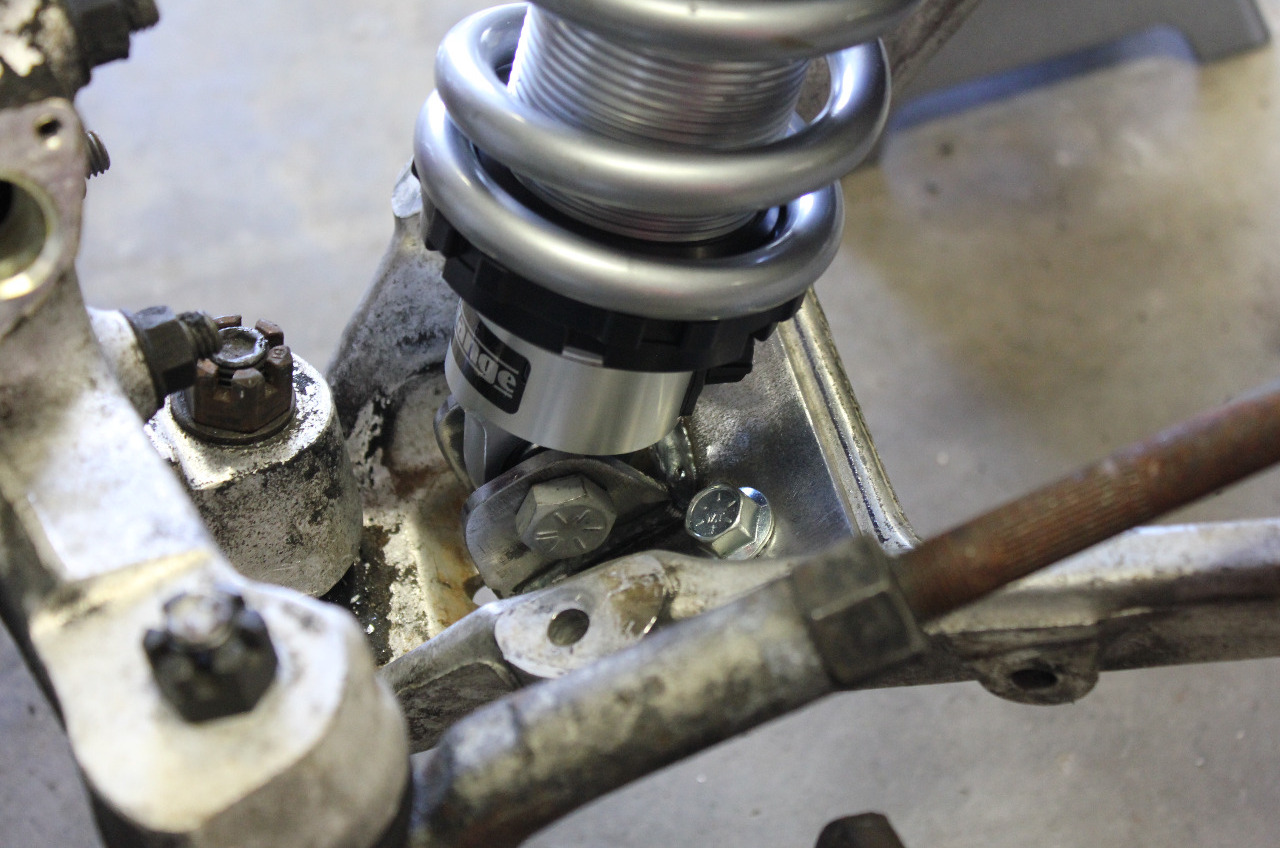
I may have been able to drill the holes with the control arms still on the chassis, but I learned long ago that a little disassembly sometimes makes the job go much easier, so I removed the lower control arms completely so I could drill them on the drill press. This way the holes lined up perfectly and I was able to use the 3/8x1 bolts I already had in 2 locations and bought some 3/8x1.25 bolts for the third location on each side. The coilovers are now completely attached in the front and look great. Of course, I still need the front sway bar links, and the updated rear lower coilovers from Darrell, hopefully next week.
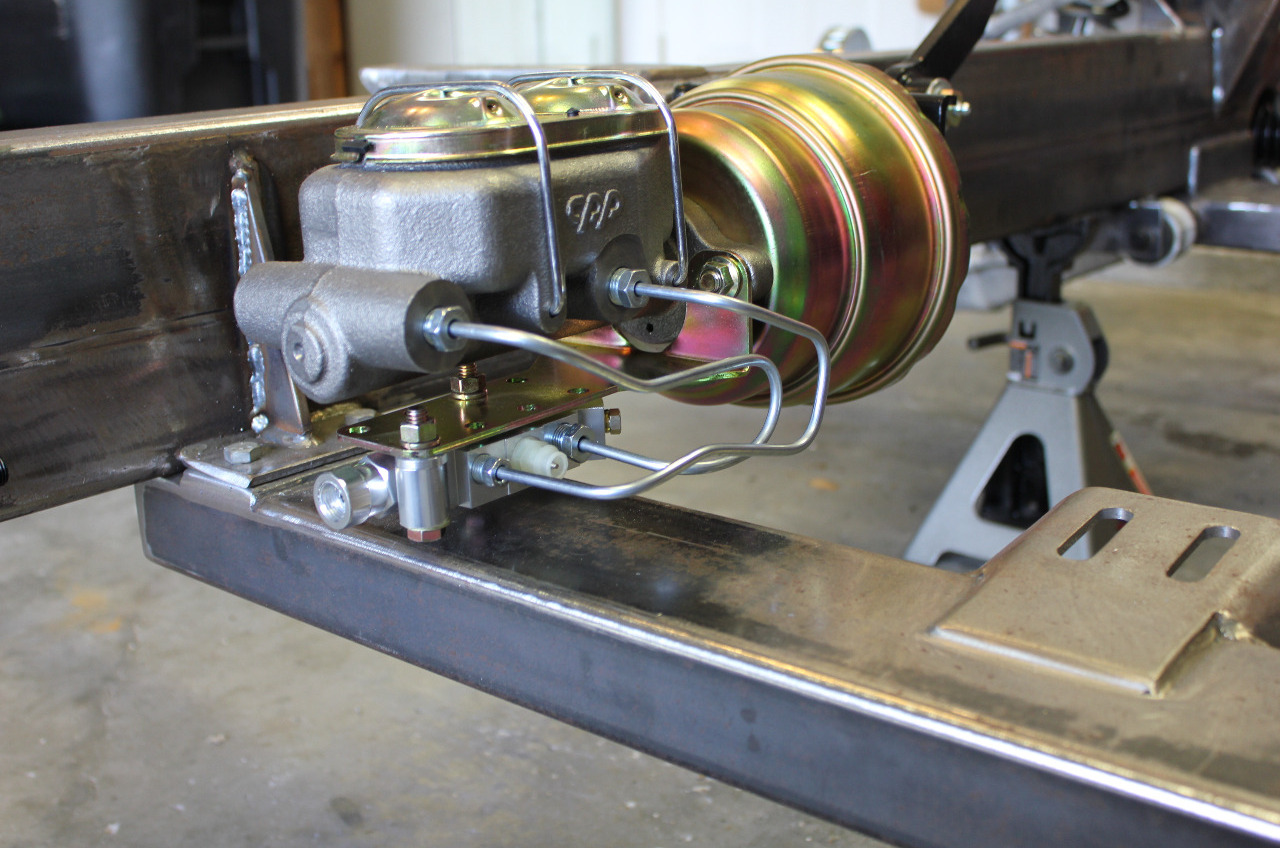
The proportioning valve for the master cylinder also came in today, and it mounted up easily. I may need to remake the brake lines between the master cylinder and the proportioning valve though, as the seem a little long and may intrude into the drivers side exhaust area.
This is a GM disc/disc combination metering and proportioning valve, but my research indicates that since the master cylinder is in a plane below the calipers, I will need a 2lb residual valve in the lines for both the front and rear to keep the calipers from draining back into the master cylinder.
I ordered the Wilwood residual valves and they should come in a few days. The rear uses a single valve, but I still haven't made the decision for the front brake lines yet. The master cylinder has 2 outlets for the front, one for each side, so I can either just run a separate line for each side, or block one and run a single line to a tee. At this point, I'm favoring separate lines, so I ordered 2 residual valves for the front.
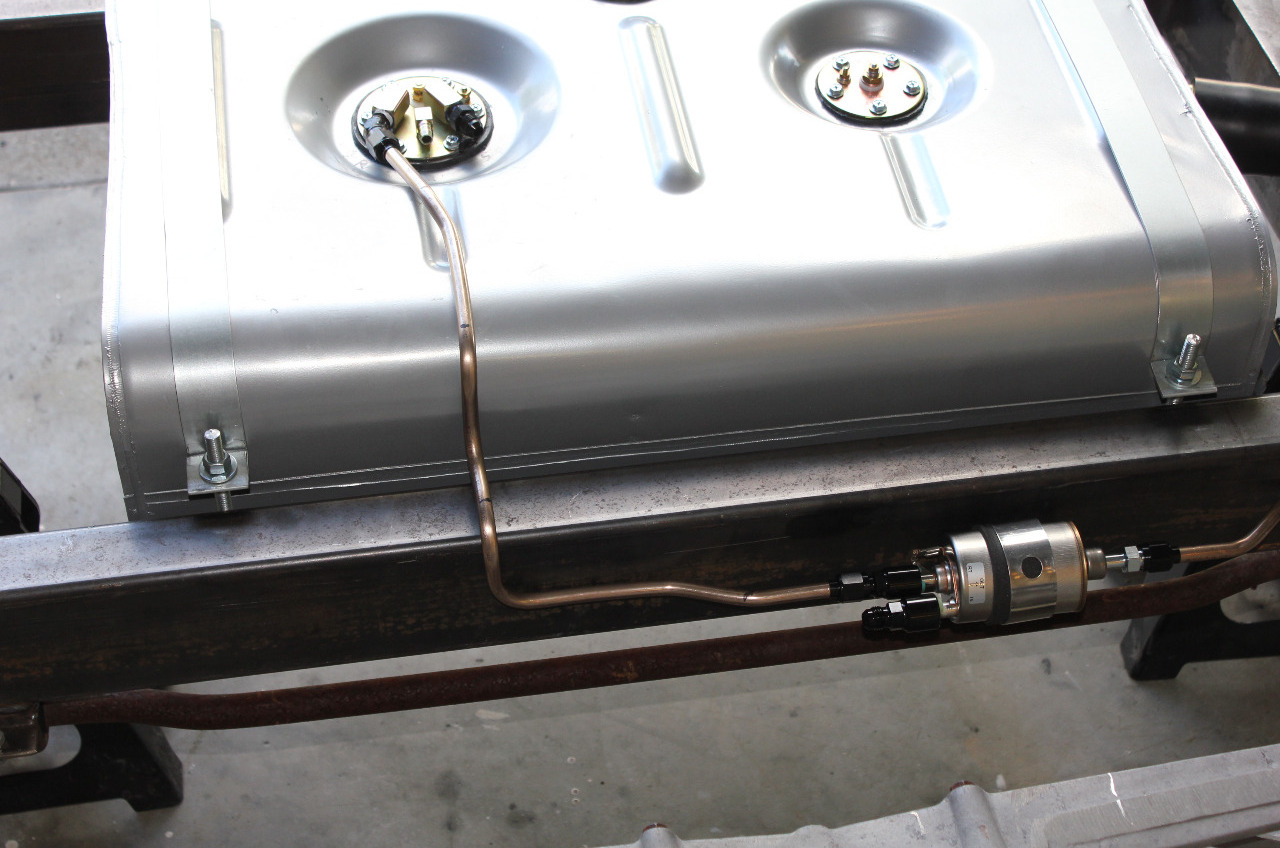
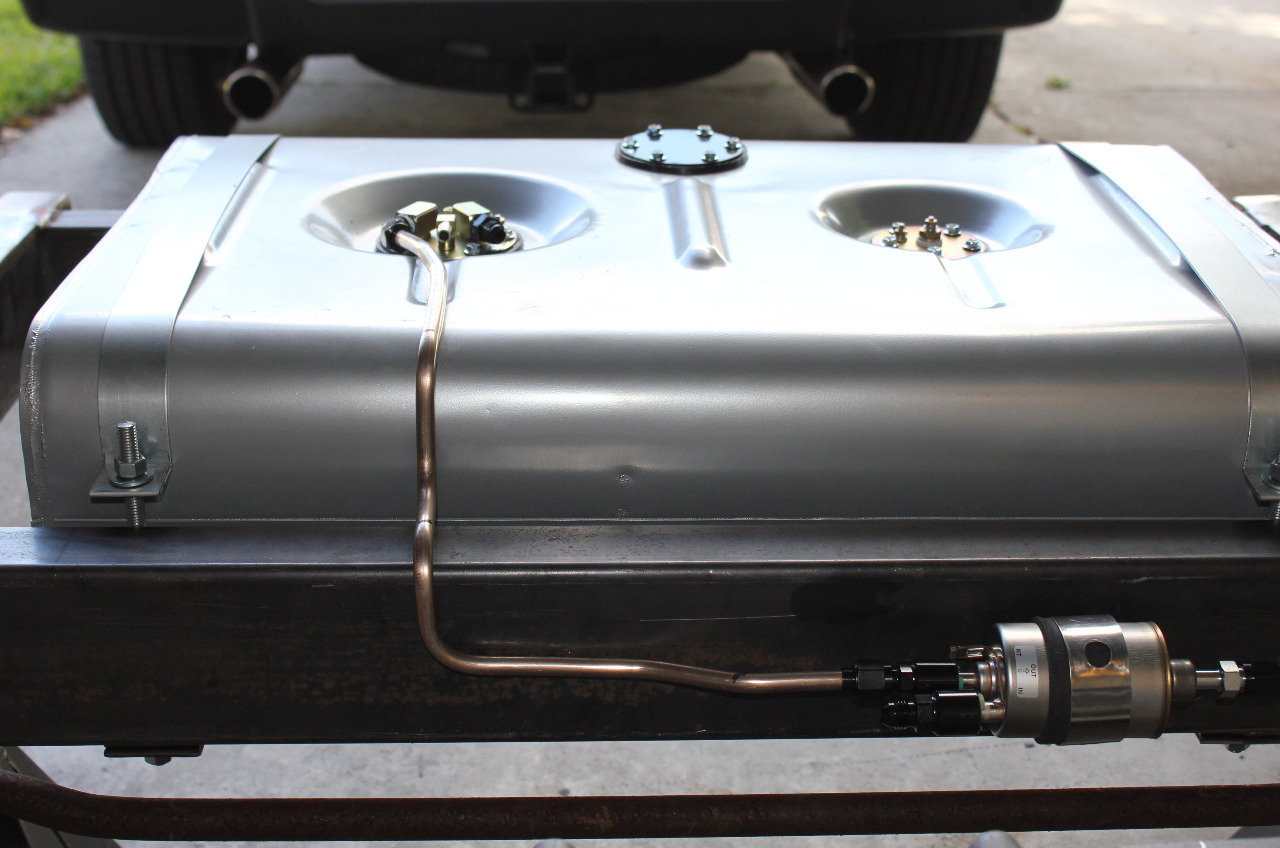
The 45 degree AN6 to 1/4 NPT fittings also came in the mail, so I ran the return line from the fuel pump to the filter. It came out great! Unfortunately the 45 degree fitting wouldn't fit on the supply line, so I will need to use the straight fitting and a 45 degree AN6 swivel. Ordered the swivel today, so I will have to wait a couple of days to run the fuel supply line.
Waiting for little parts and fittings to come in tends to cause a lot of starts and stops. Some are unavoidable, but others are just me not paying close enough attention to detail. It was clear from the online documentation for the proportioning valve that the rear outlet used a 9/16 tubing nut instead of the standard 3/8 tubing nut for 3/16 tubing. But I didn't notice until the valve came in, so I had to order the 9/16 nut. Some of these parts may be available locally, but most times it's just easier to order online and do something else until the part comes in. I will try to pay more attention to detail!
I am still trying to get my new MIG welder setup. I can get the argon shielding gas from the local Tractor Supply, but I need an empty cylinder to trade in. Tractor Supply gets a whopping $230 for a 40 cu ft empty cylinder and $36 to fill it. I was able to get the same empty tank for $130 with free shipping online, much better. They don't actually fill your brand new cylinder anyway. You just trade it in for whatever beat up old cylinder they give you when you do the gas cylinder exchange. The empty cylinder is due in today, so I should be able to fire up the MIG welder.


2025-05-22