 Orlando, Florida, United States
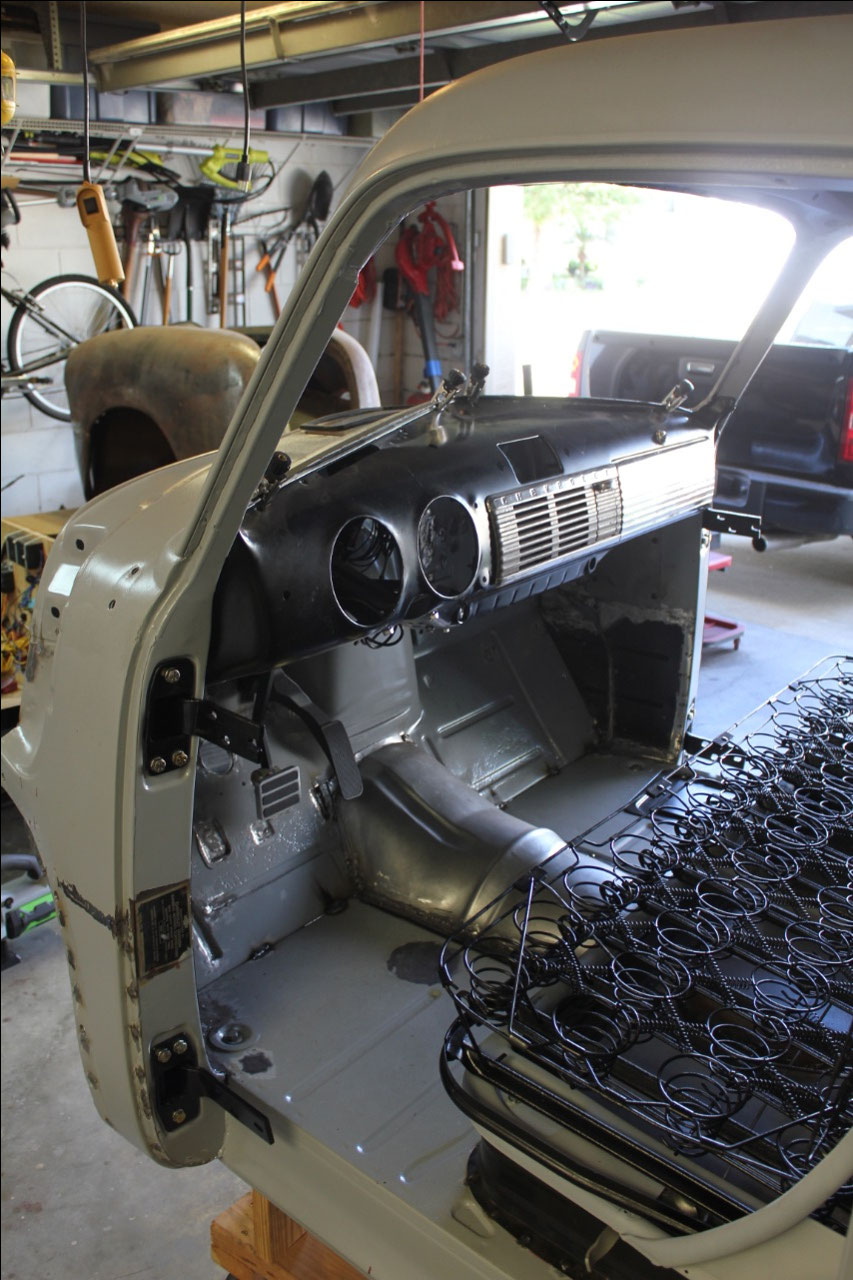
Now that the metalwork on the cab is mostly done, it’s time
to go through some of the rusty old parts and see what I can salvage and
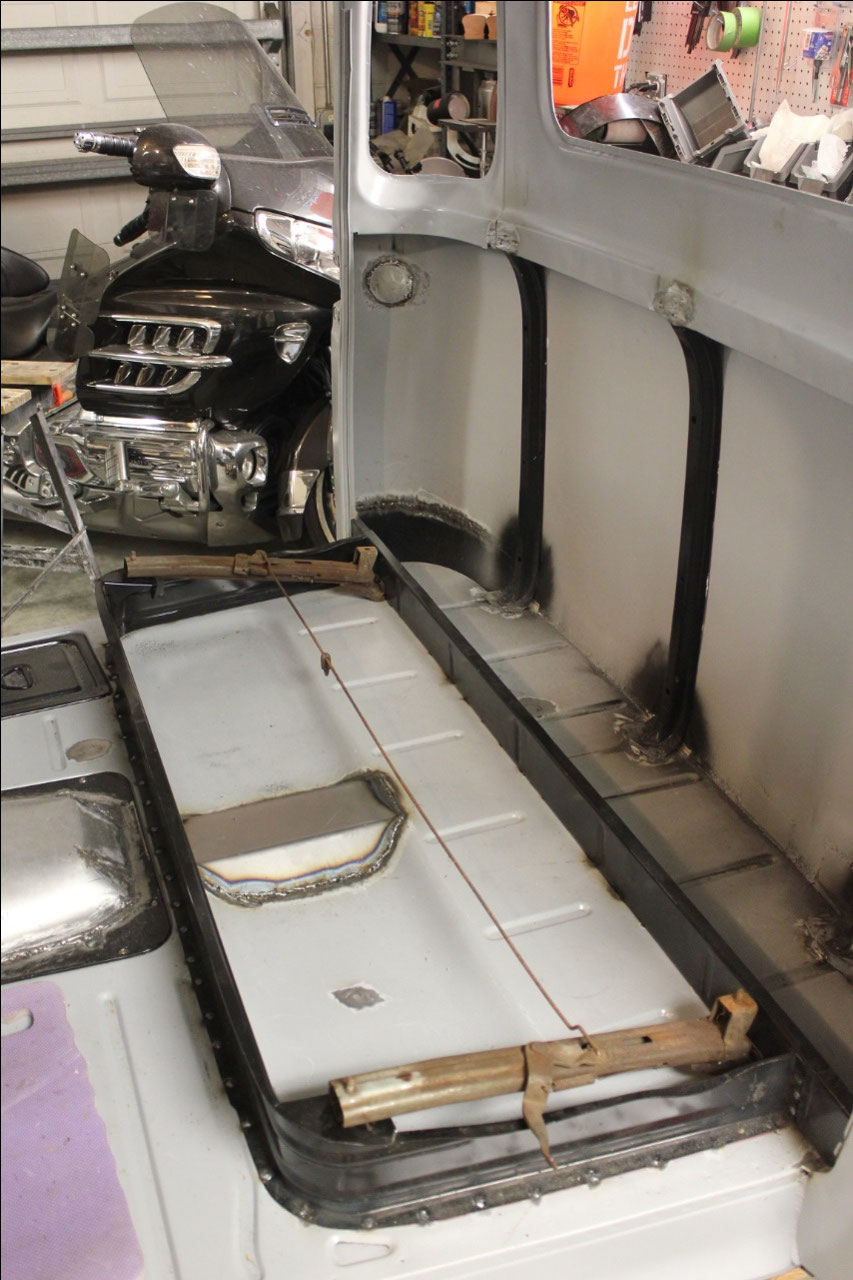
restore and what needs to be tossed and bought new. Since I had decided to keep the original seat
design, it was time to take it all apart and see what I had. I started by removing the cushions and
setting them aside. The seat base looked
good, nothing broken and just a lot of surface rust. The seat tracks also looked like they might
be good under all that rust and dirt.

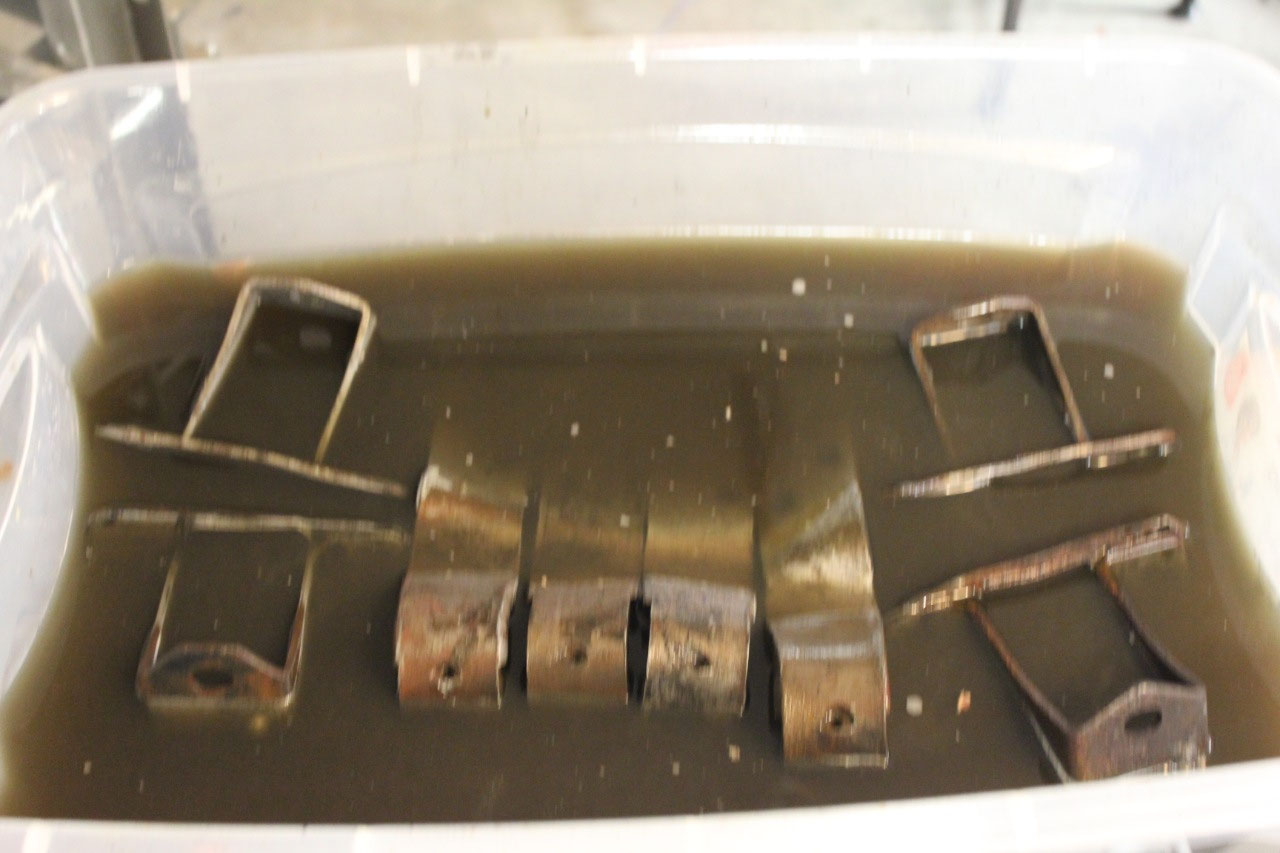
So I bought a couple of gallons of EvapoRust to soak the
seat tracks in, and let them sit overnight.
EvapoRust is supposed to be magic, removing all the rust with no strong
fumes or acid. We’ll see…
The seat base has a couple of sheet metal decorative skirts
that are removable, but of course they are held on with the infamous “clutch
head” screws. I ended up ordering a
couple of clutch head sockets from amazon and easily removed the clutch head
screws. The skirts were a little bent
up, but a little hammer and dolly work, and they looked good as new.
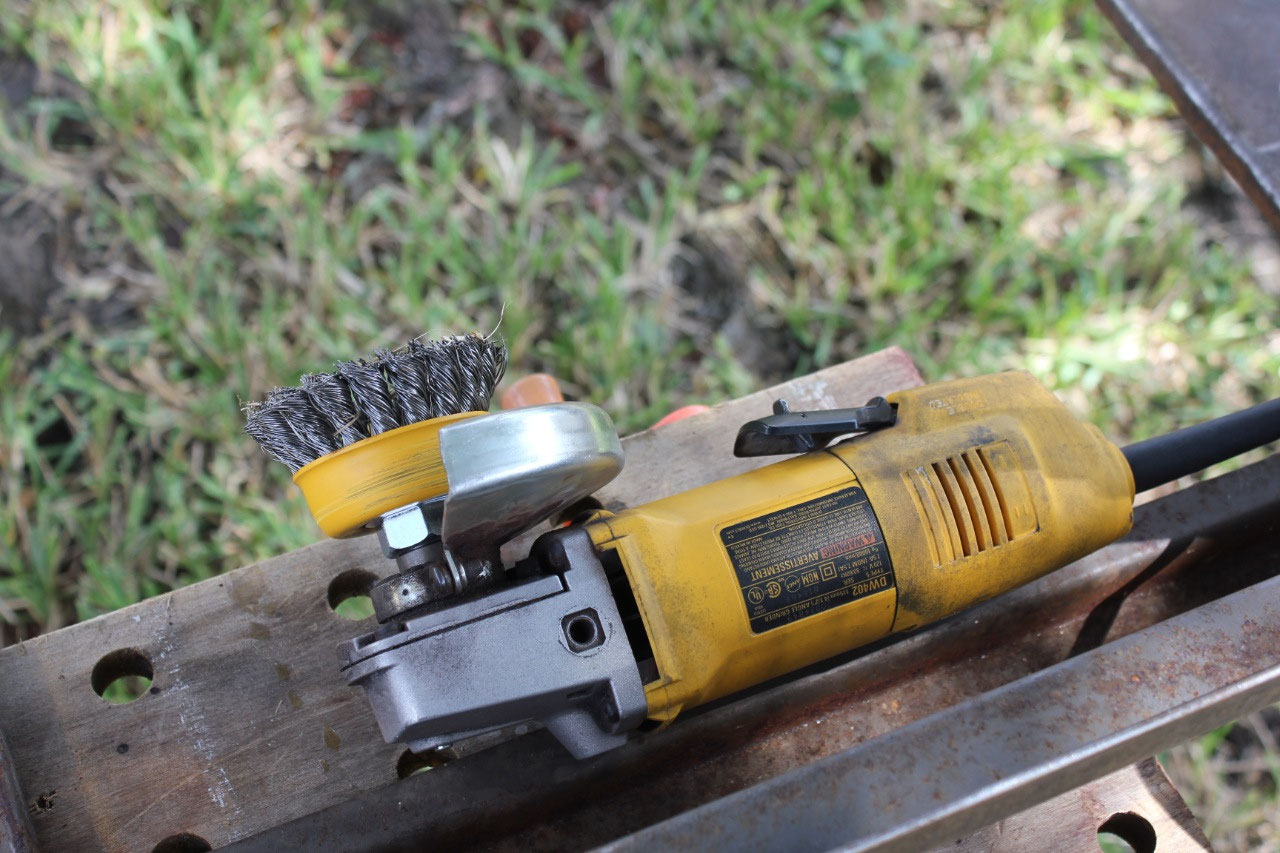
While the tracks were soaking, I decided to
attack the seat base with my angle grinder and a wire brush attachment. I moved to a bench outside on the front lawn,
attacked it first with the pressure washer to remove the grime, and after a
couple of hours with the wire brush, the seat base was down to bare metal and
looked great! I sprayed the seat base
with some rattle-can primer just to keep it from rusting, but I’ll have to do
something more permanent when I get around to painting.
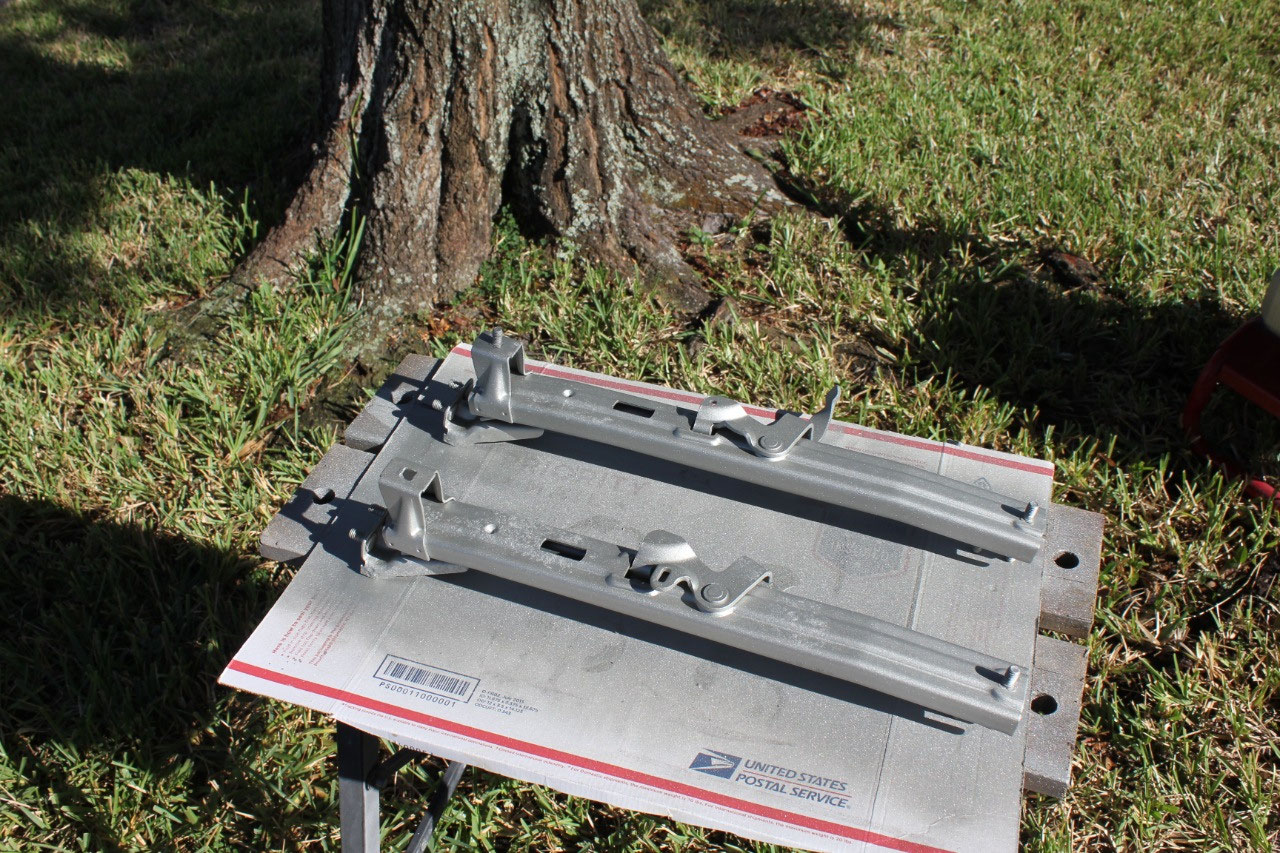
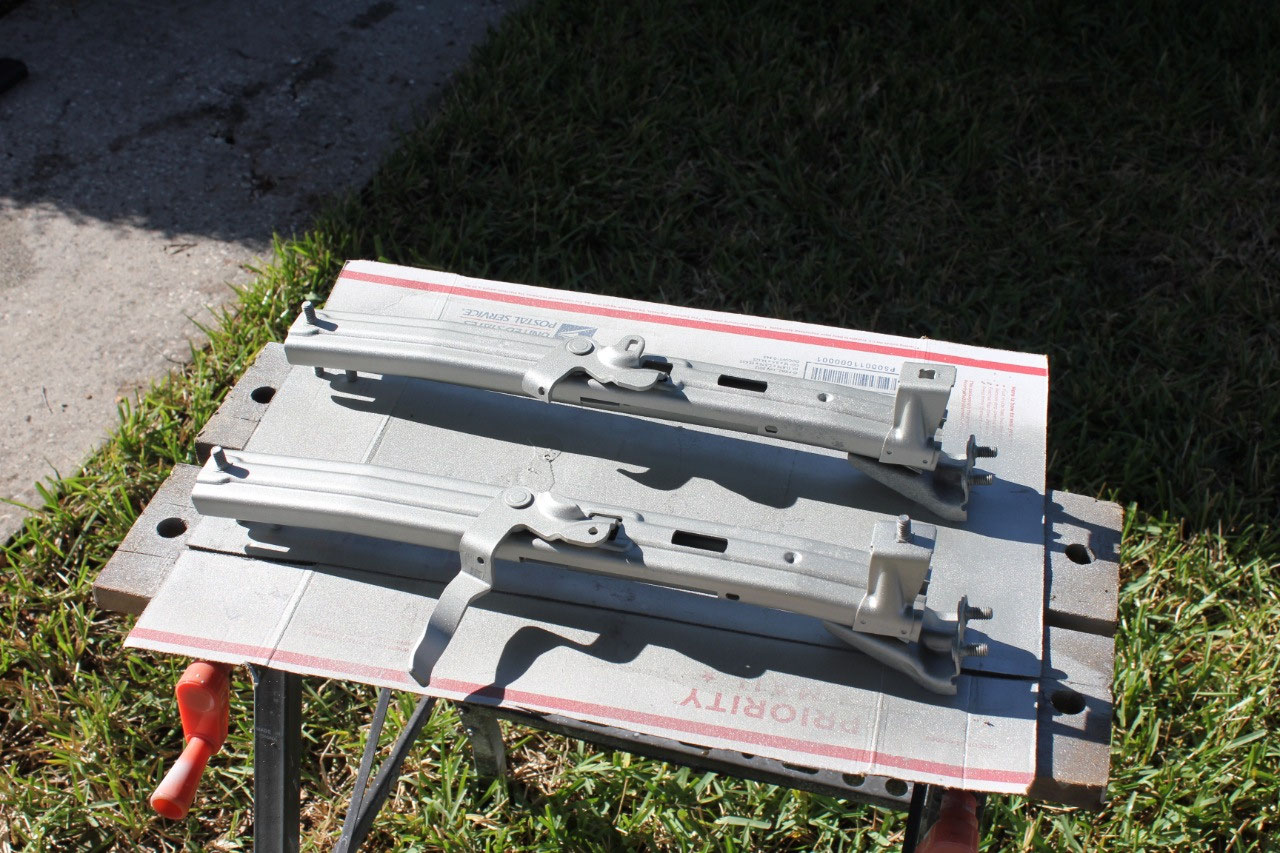
With the seat base done, it was time to tackle the tracks.
Amazingly, they came out of the EvapoRust rust free and bare metal. They were still stuck, but after working them
around, they freed up and would move.
The balls were still intact, and nothing looked broken, so after working
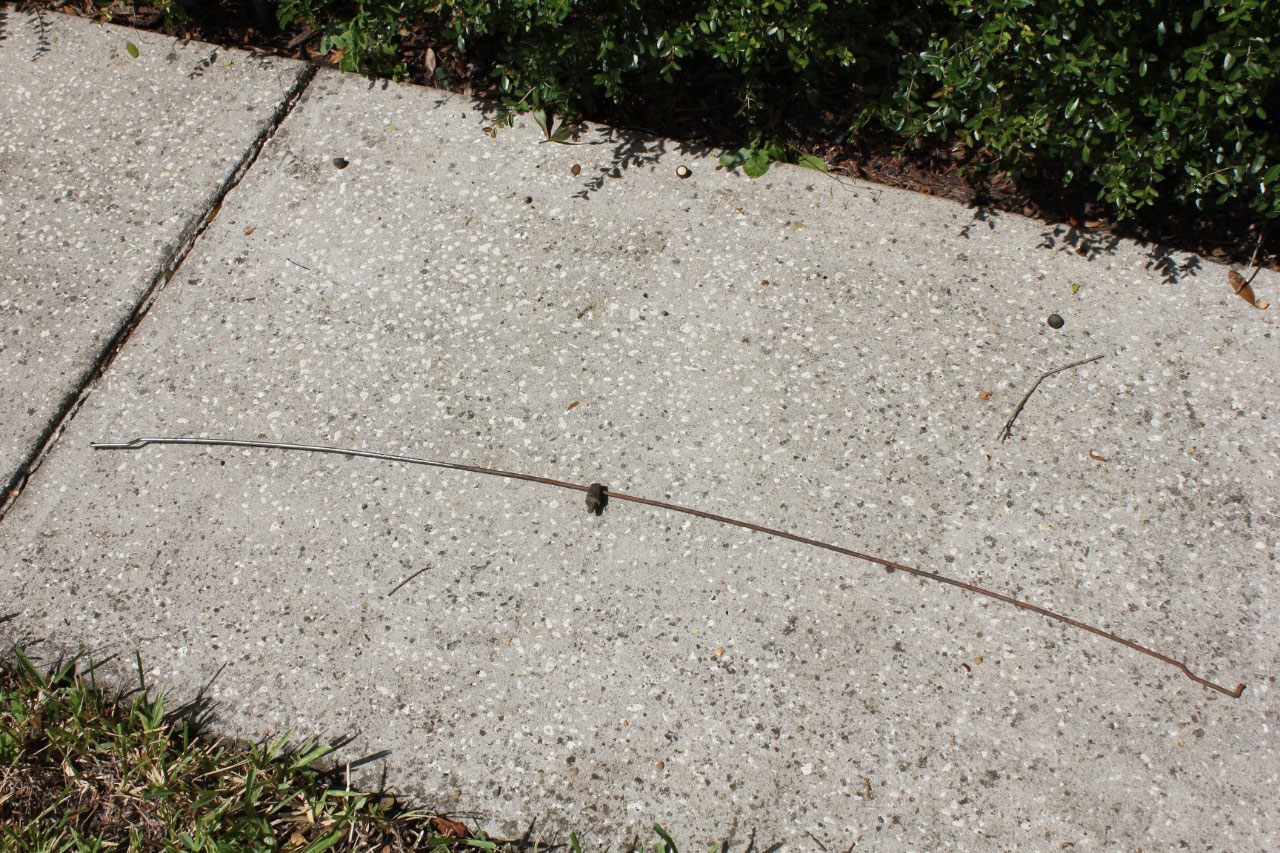
in a little lithium grease, they were moving as smoothly as new. There was also a rod that connects both of
the tracks together that I also cleaned up with the wire brush. After a little primer and silver paint, the
tracks looked as good as new.
After
installing the tracks, rod and seat base, I was able to test it all, and the
seat adjustment worked perfectly.
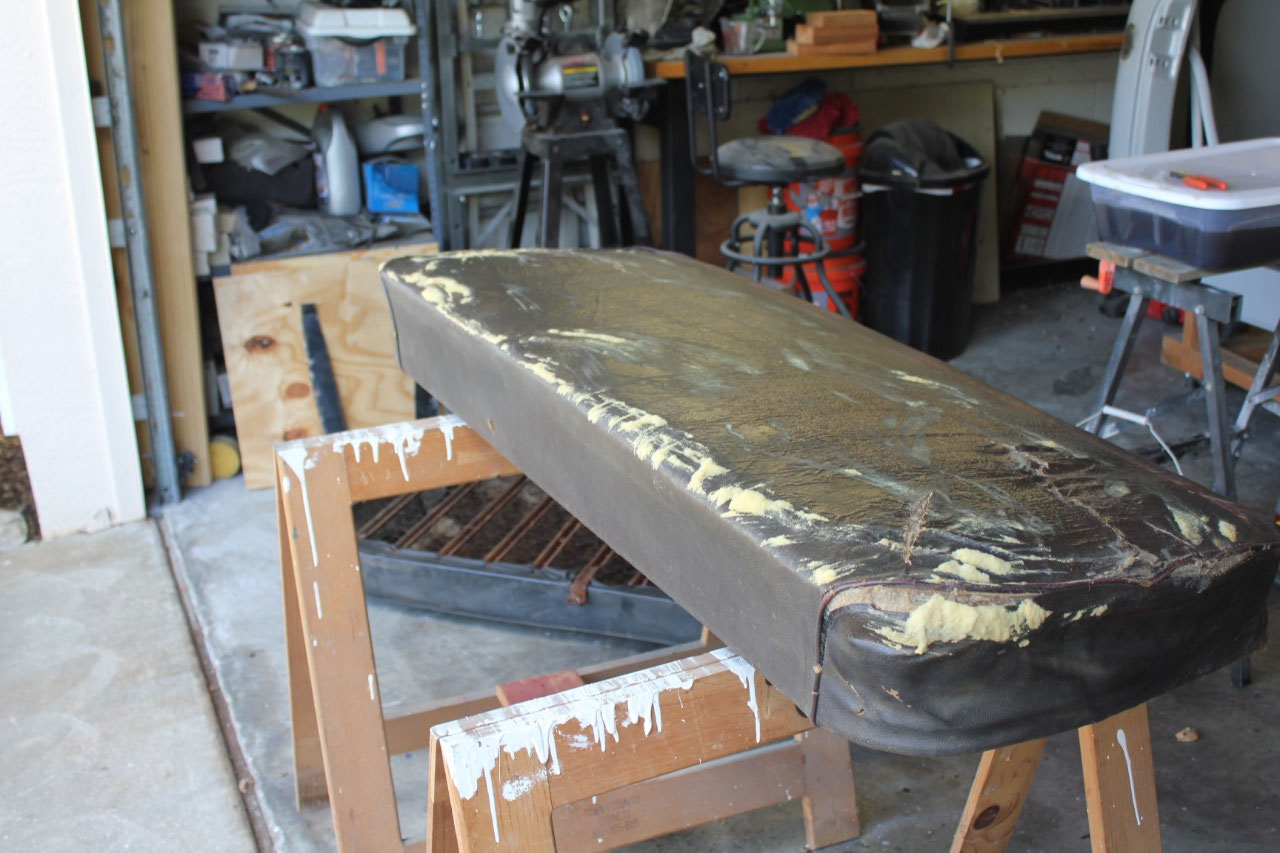
Now that I was psyched up with the success of the seat base,
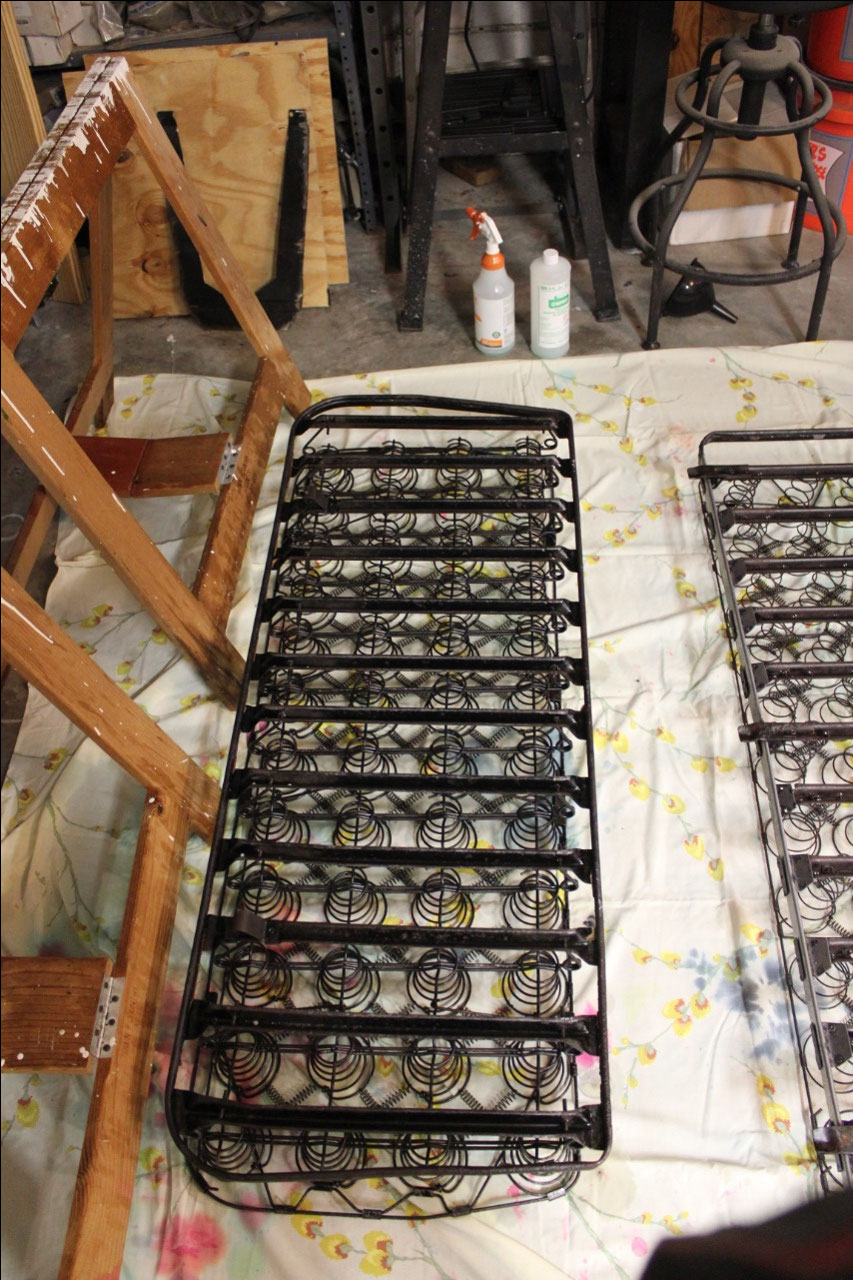
it was time to tackle the cushions. They
obviously needed reupholstery, but it was time to check the condition of the
springs. With the old covers installed,
the seat bottom was rusty, but looked intact.
The seat back looked complete, but there was obviously a significant
rust problem at the bottom. Evidently,
there must have been a water leak in the cab, and the bottom of the seat back
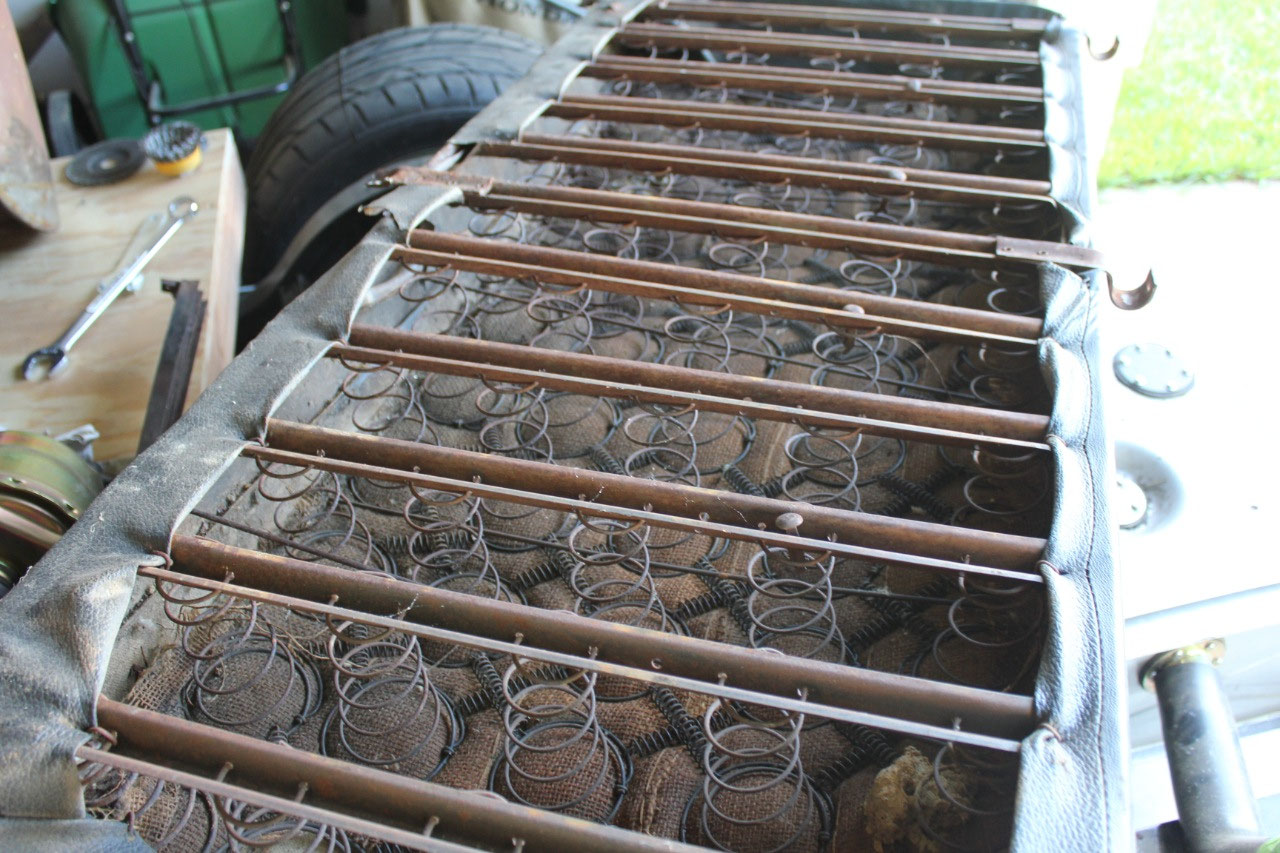
had rusted through. I started with the
bottom, and after cutting through all the hog rings, I removed the seat cover
and found the original seat cover still intact.
This was a bit more difficult to remove as it was held in place with
C-clips. Once removed, the seat bottom
springs looked rusty but perfect.
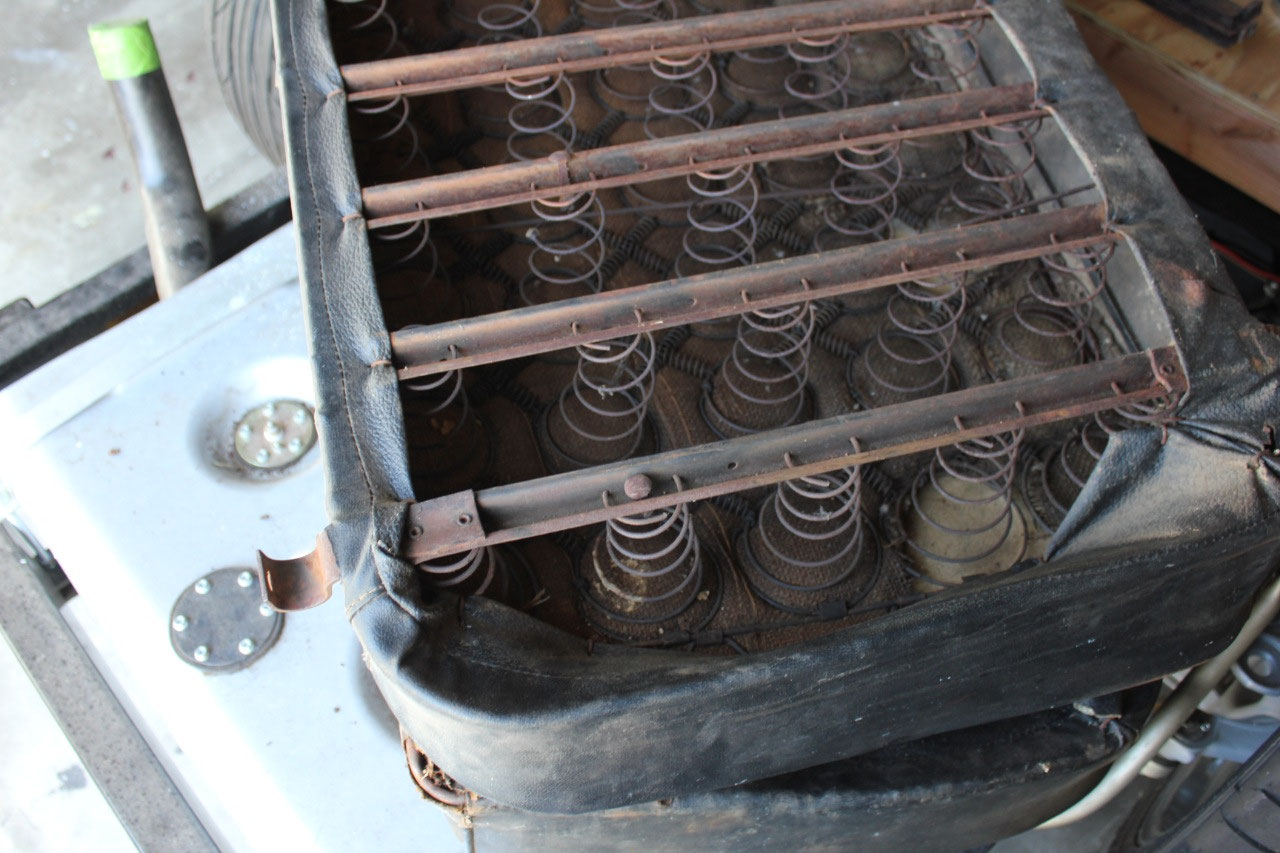
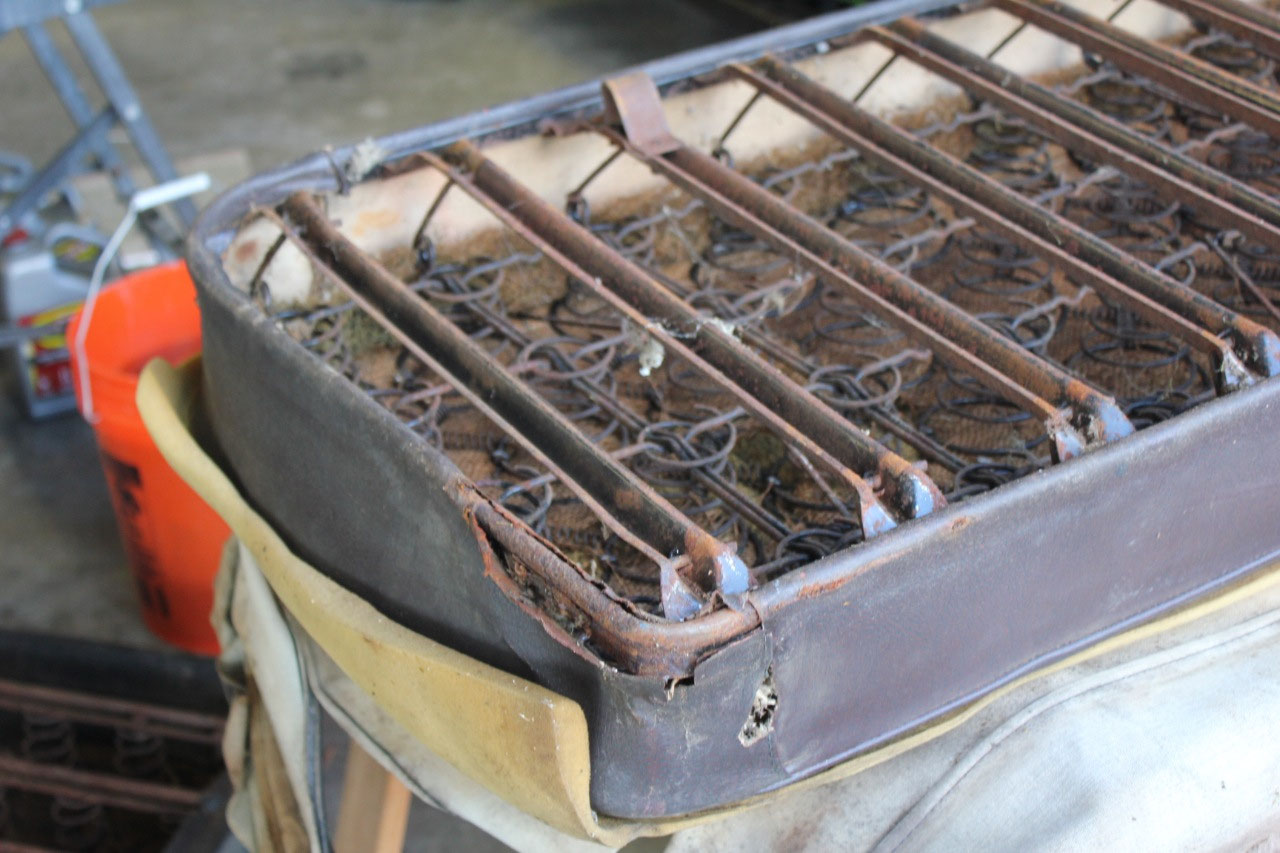
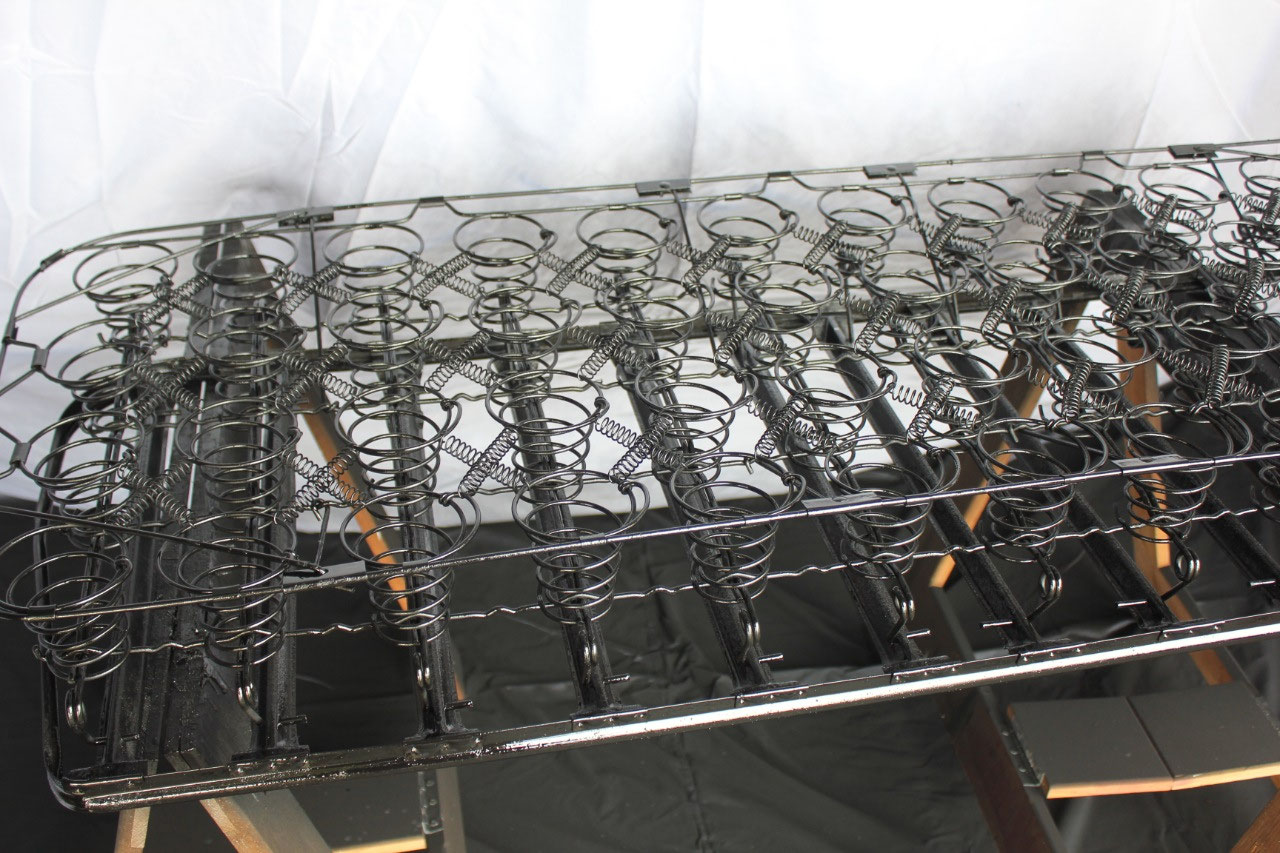
I was not so lucky with the seat back. The seat back only had the replacement seat
cover as the original had been removed.
When I cut through the hog rings and removed the cover, the rust damage
was apparent. Around the perimeter of
the seat back spring is a piece of folded 16 gauge sheet metal about an inch
wide. The entire bottom of the perimeter,
a section about 4 ft. long was completely rusted through. In addition, 3 pieces of 1/8” music wire that
goes from top to bottom of the spring and attach to the rusted portion of the
perimeter were also rusted through.
I
looked online, and replacement spring assemblies were not available for this
truck, and I couldn’t really find anything used online. So I decided to see if I could fix the
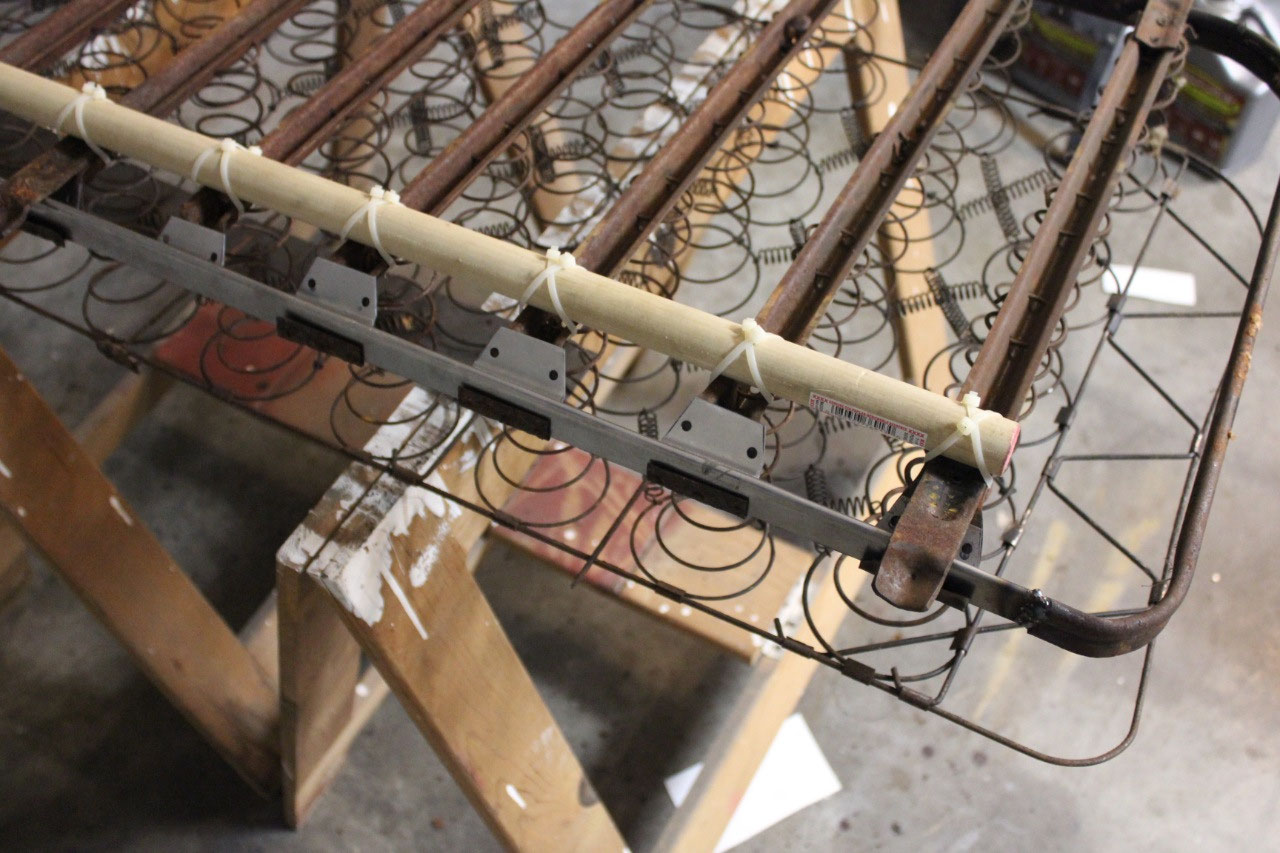
existing spring assembly.
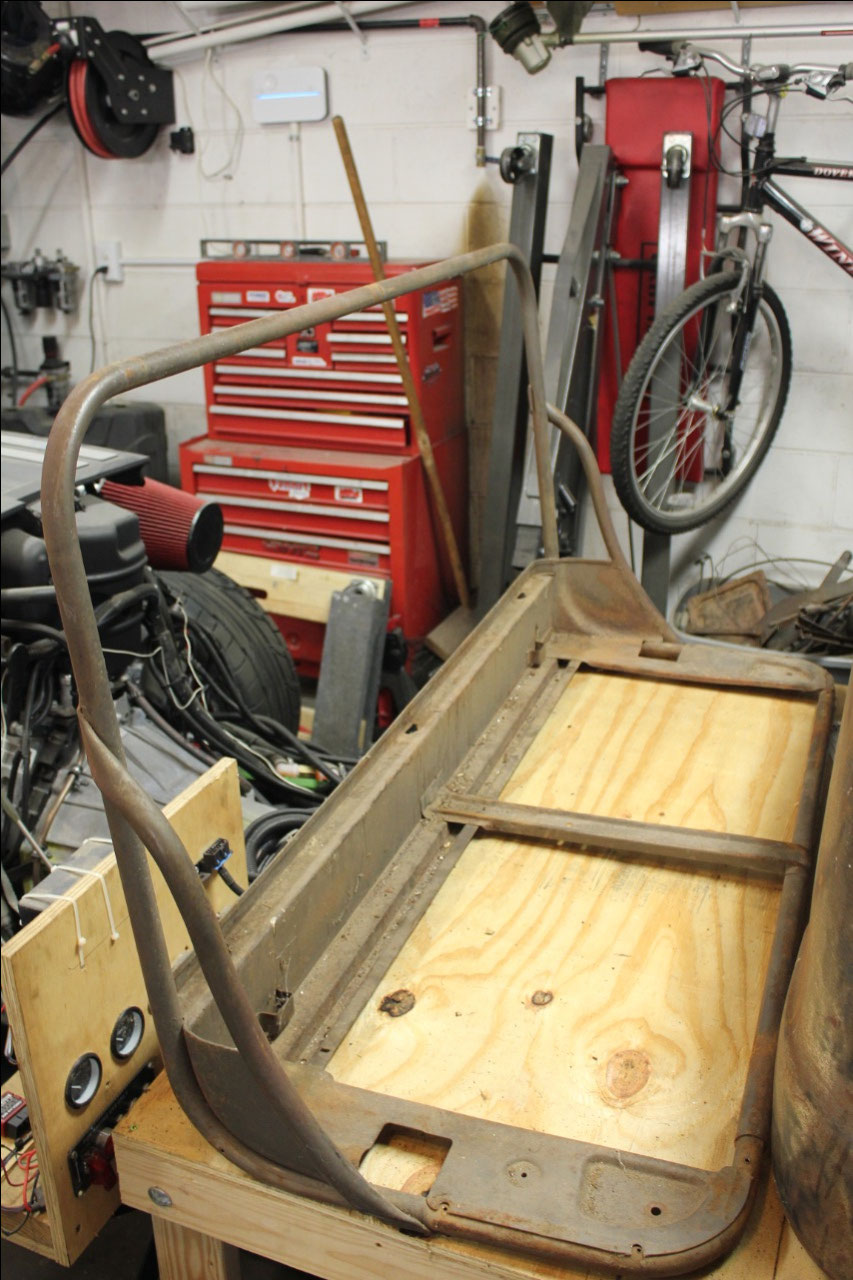
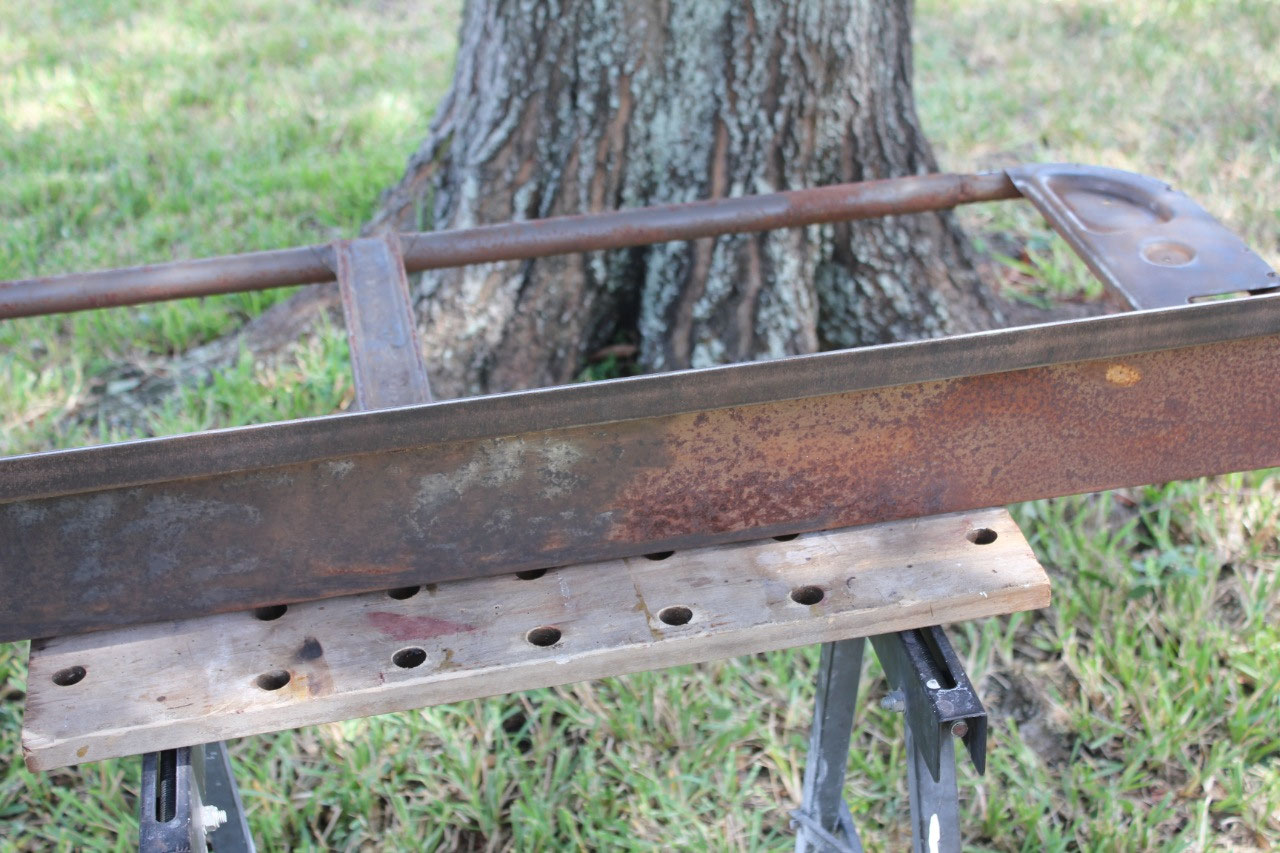
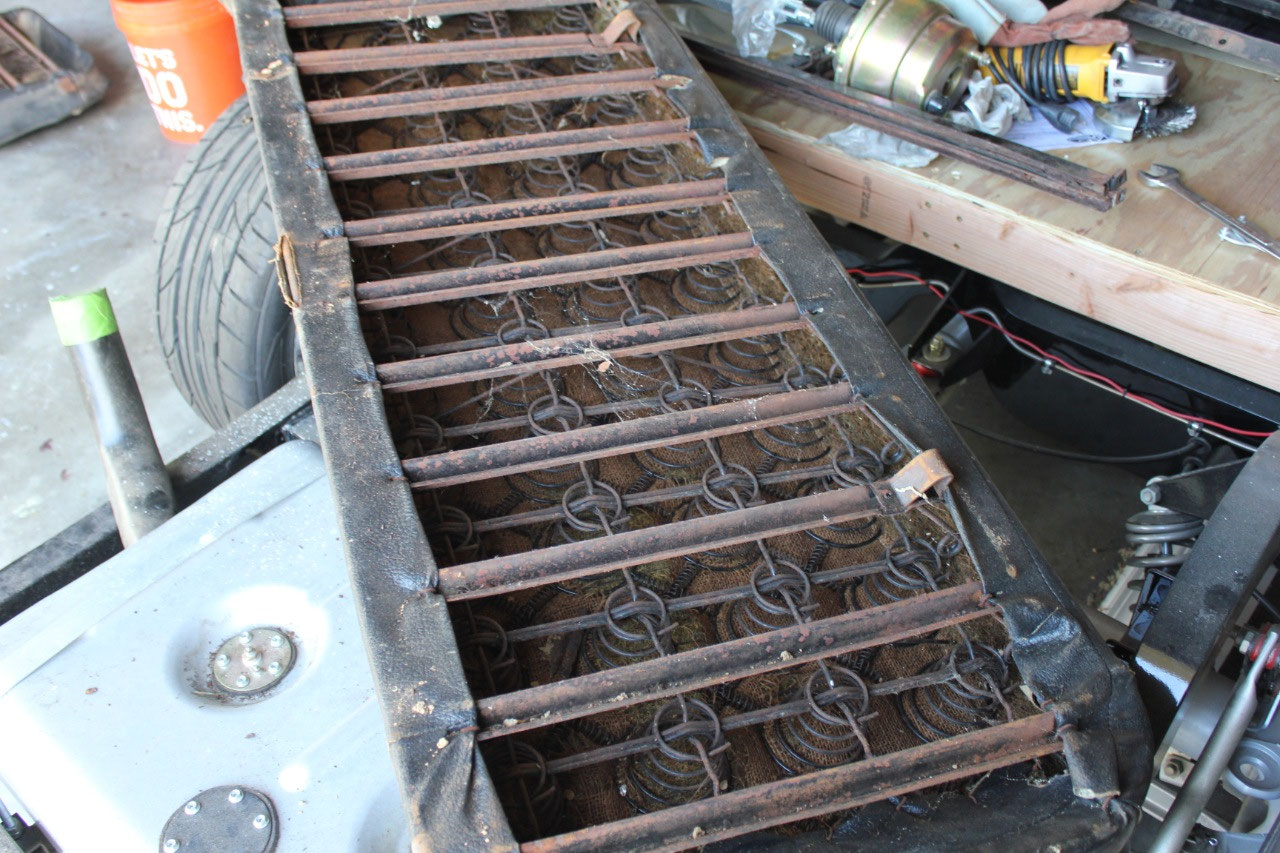
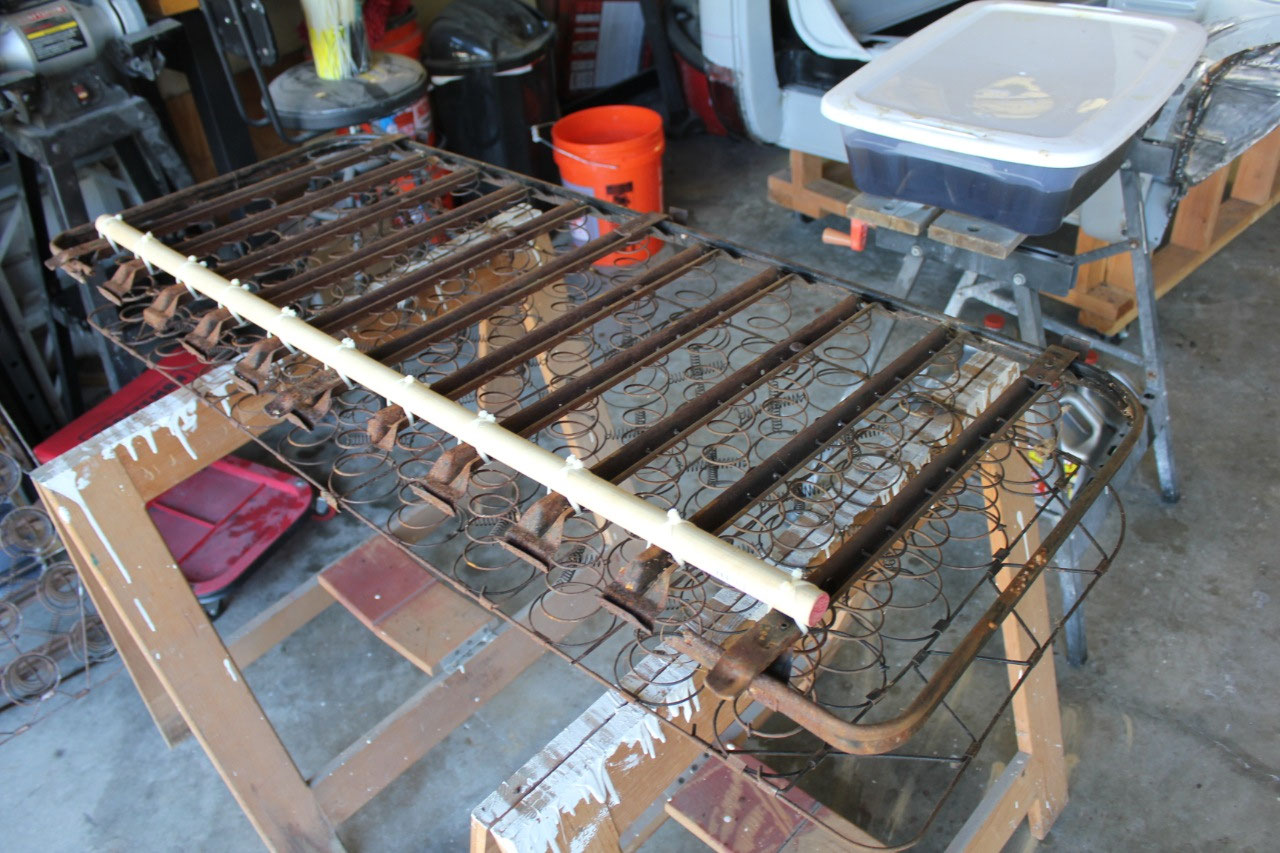
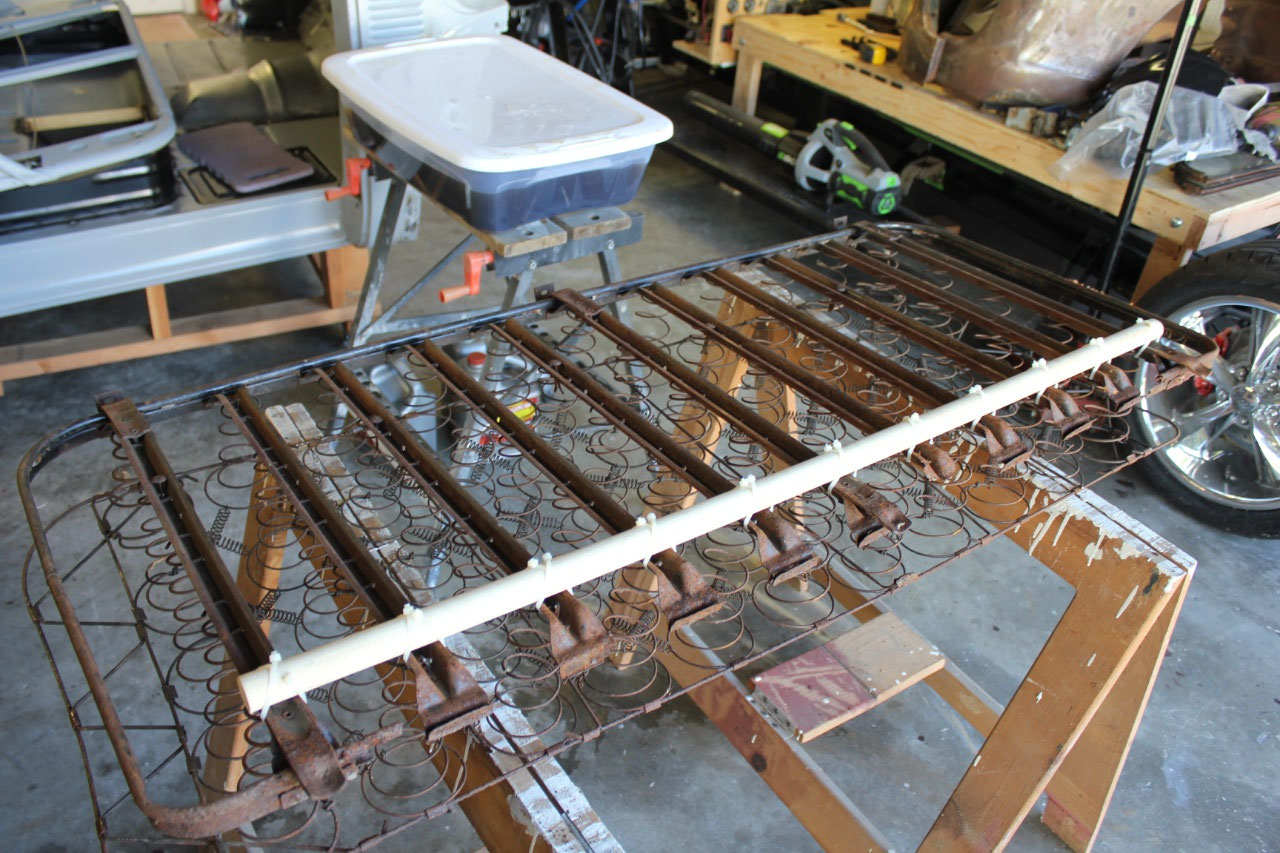
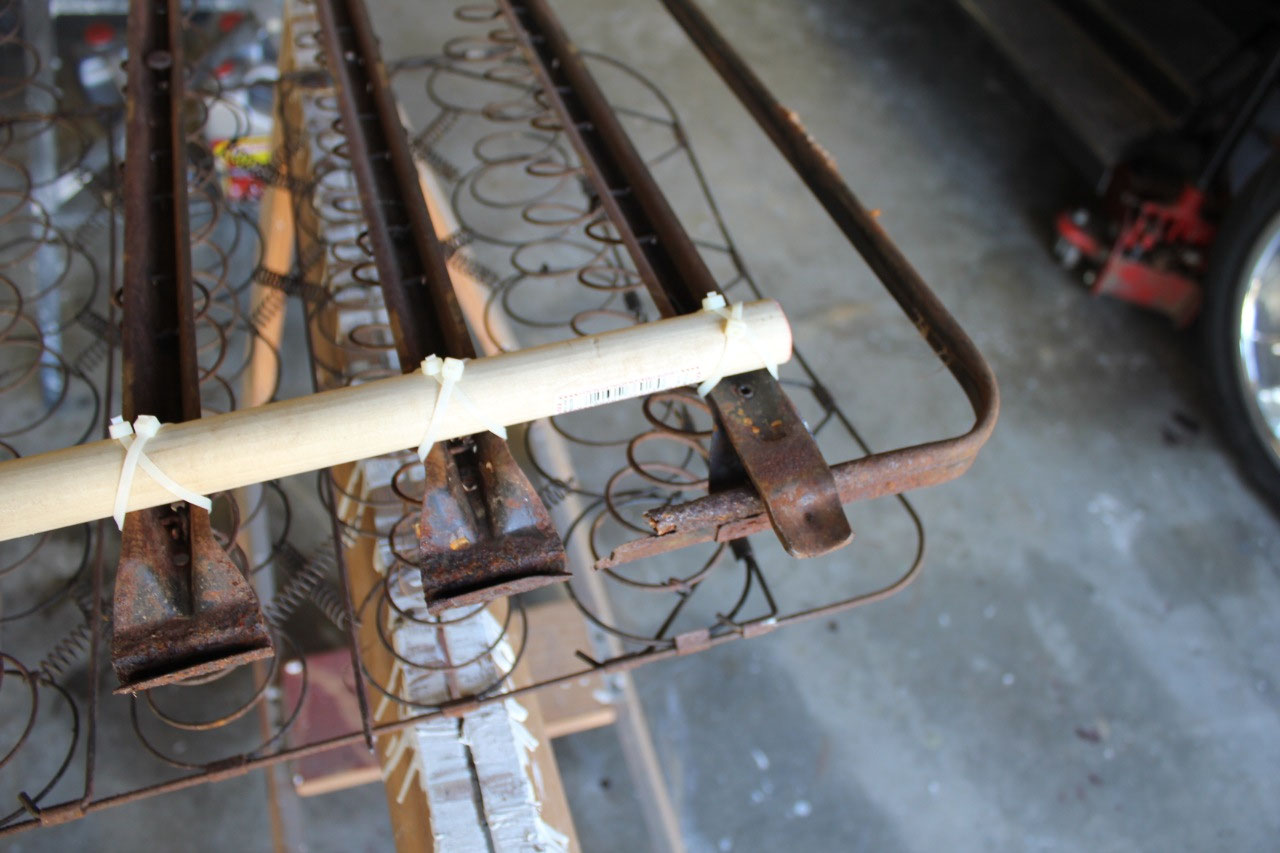
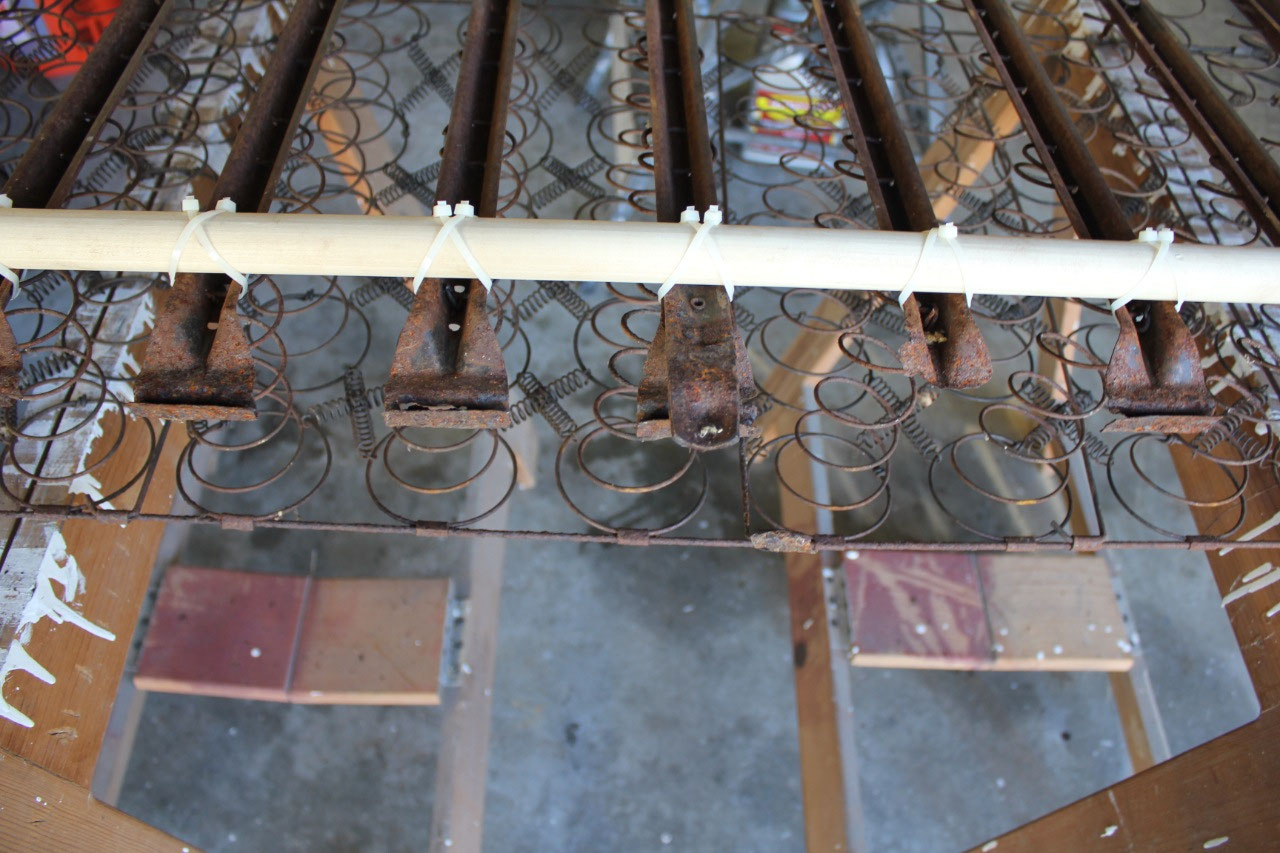
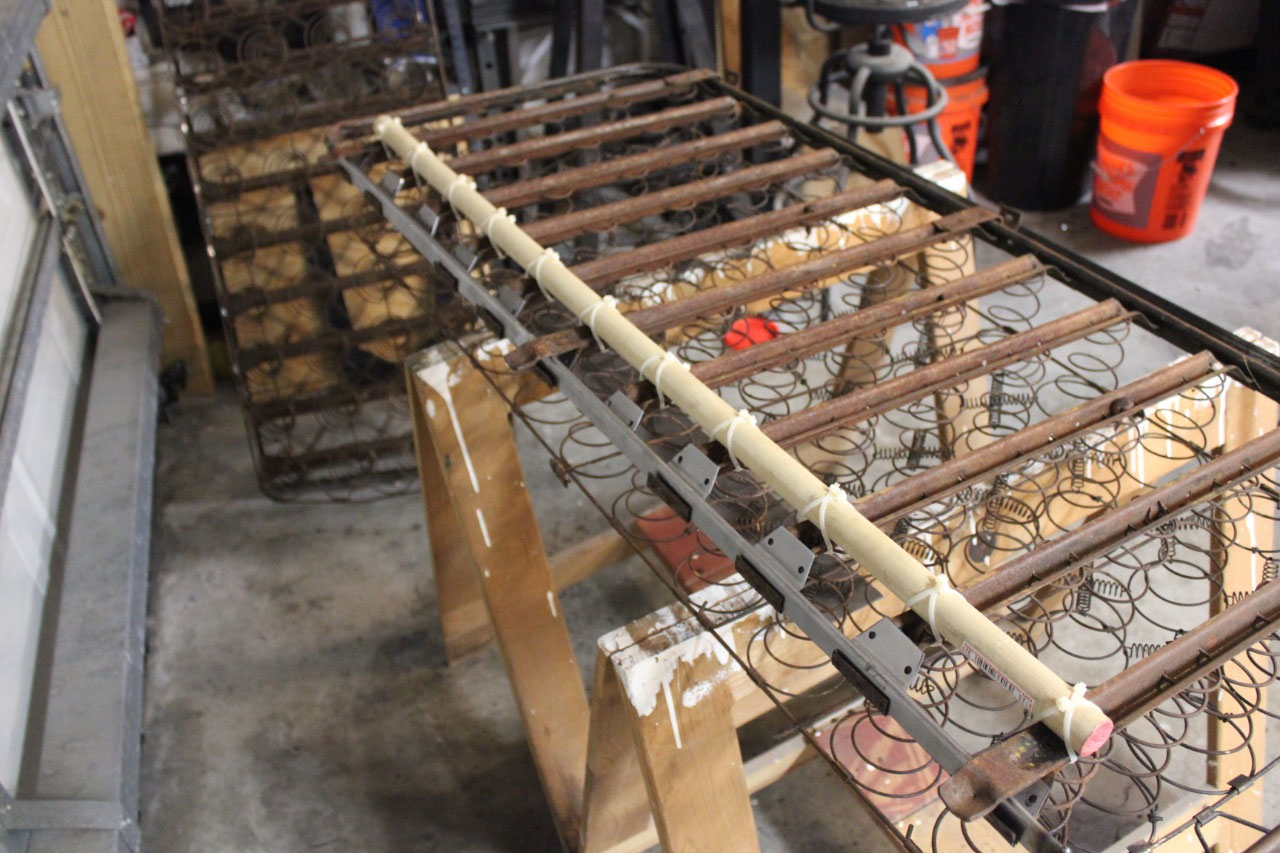
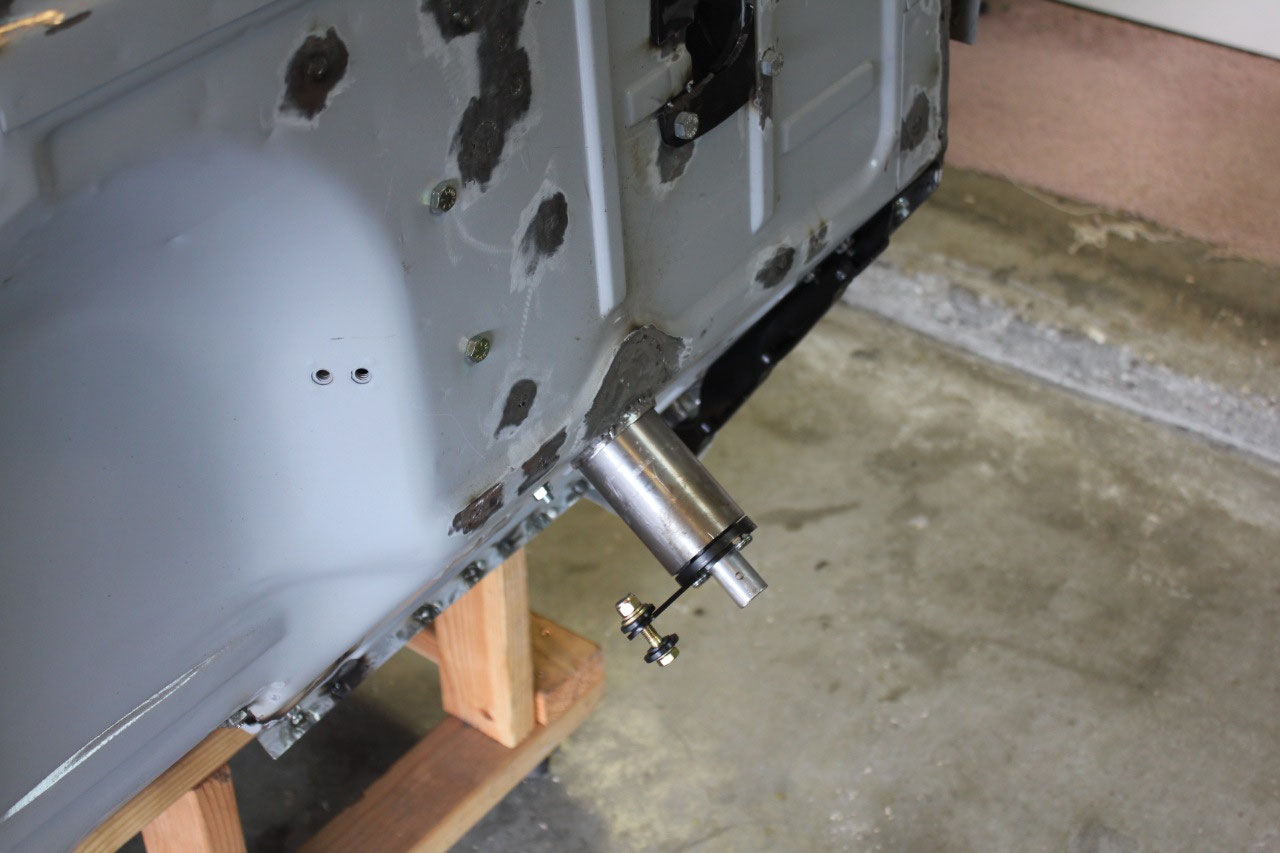
I started by tying the seat rails to a block of wood, to
hold everything in place while I cut out the 4 ft. section of rusted
metal. I bought a 2 ft. length of 16
gauge from Home Depot, and cut it into 1-1/2 inch width and folded it over to 1
inch on my sheet metal break. By the
way, 16 gauge sheet metal is hard to bend.
I wasn’t really able to fold it on the break, so I just clamped it and
hammered it over until it was close to the shape I needed. I did this twice until I had two 2 ft.
lengths. I welded them together and made
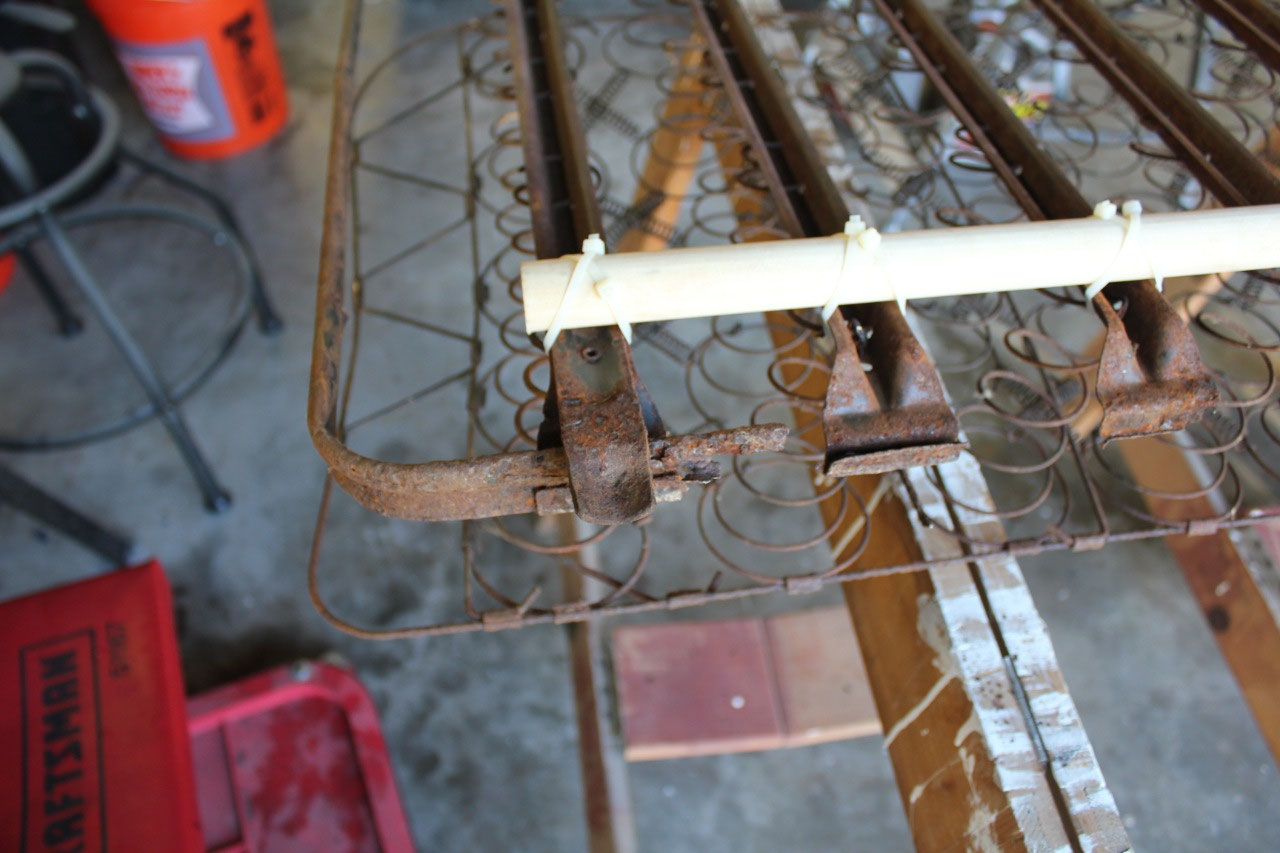
a 4 ft. length. I set it in place on the
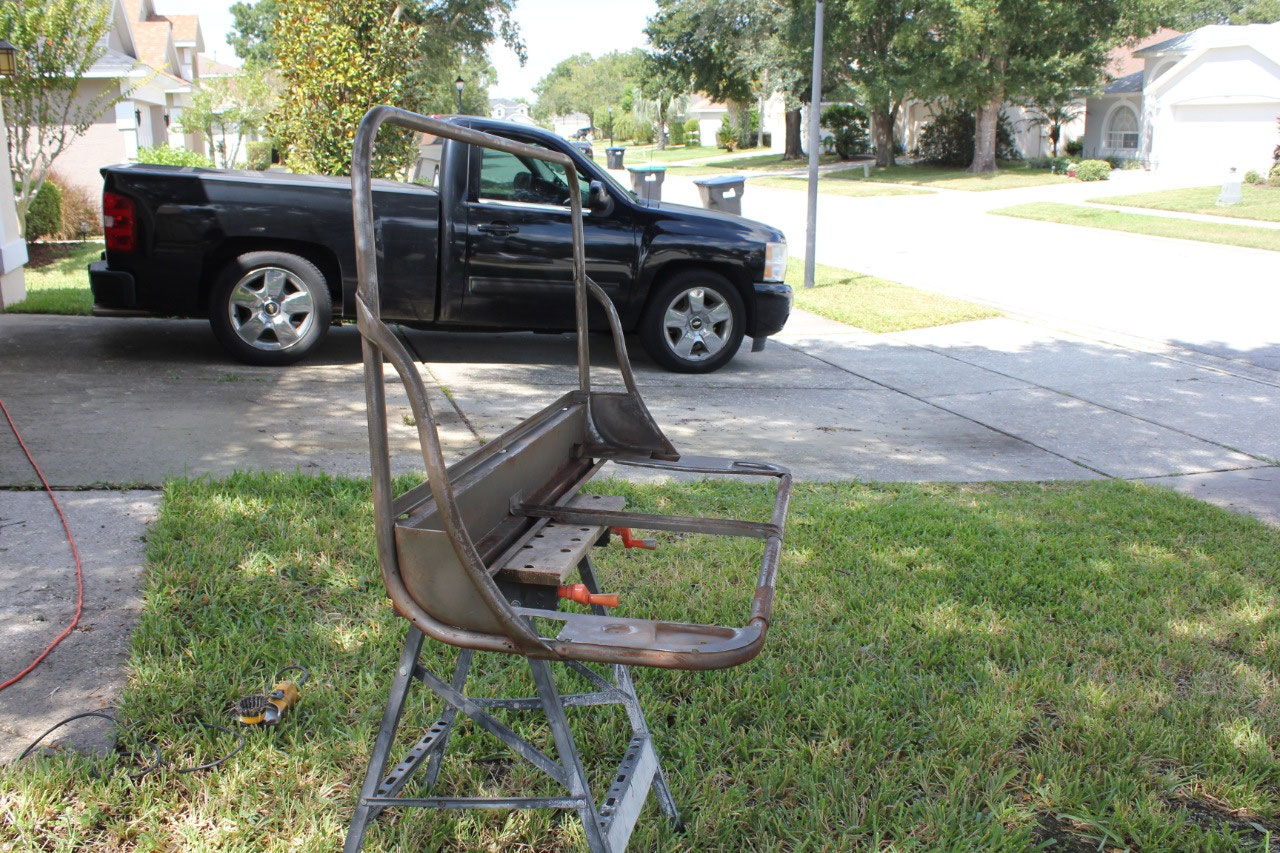
seat spring and cut and welded the perimeter until it all looked good. The seat spring top to bottom braces were
mostly intact, and I was able to cut some 16 gauge triangles to weld to the
braces and my new piece of perimeter metal.
It was all looking pretty good, so I ordered some 1/8” music wire from
Amazon to replace the rusted ones.
Fortunately, one of the original ones was not completely rusted through
so I could get an accurate measurement of the length I needed. I was able to reuse the attachment clips at
the top, but had to make my own where they attached to my new perimeter
piece. I welded the clips in place, and
the whole thing looked great and felt at strong as original. Success!
All I needed to do now was to clean everything up and
protect it all with a fresh coat of paint.
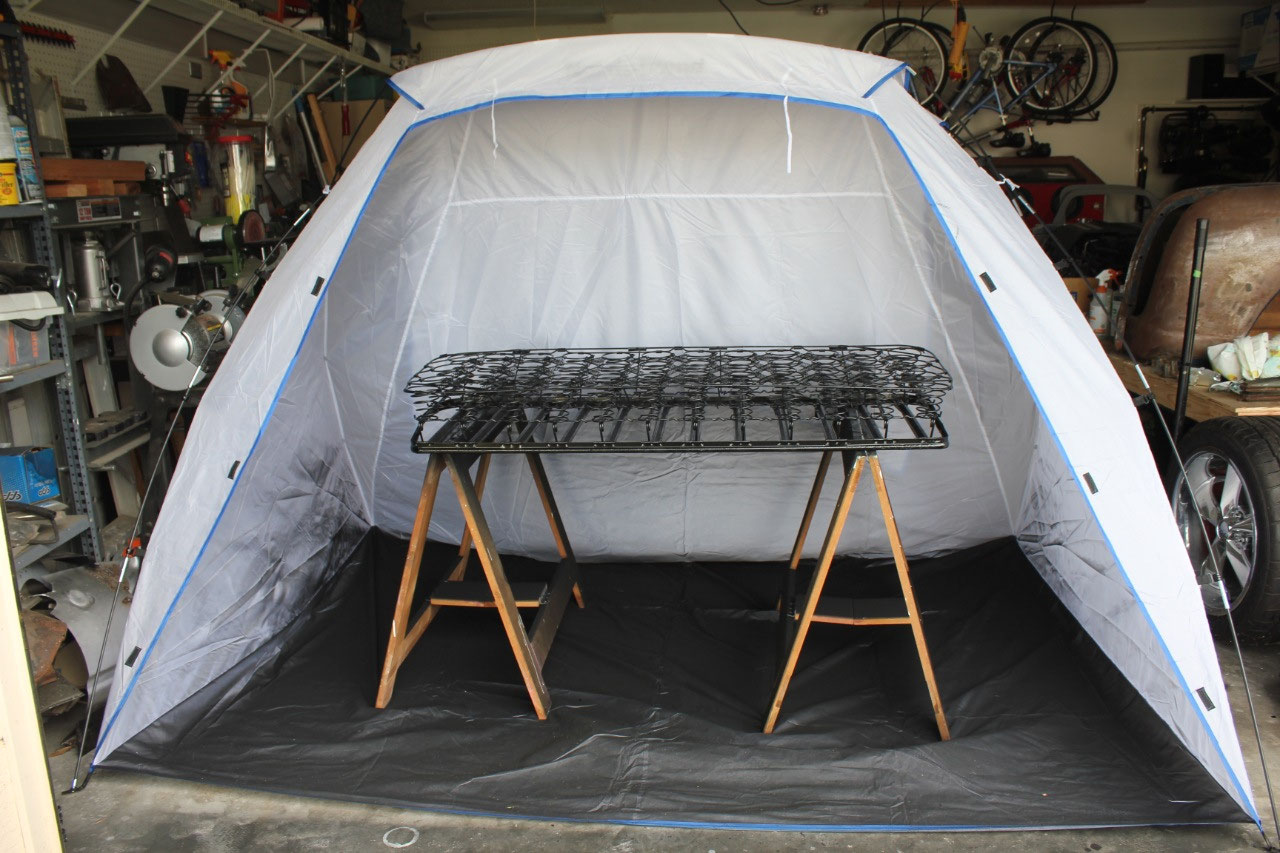
The springs are too large to soak in EvapoRust, and too delicate for a
wire brush, so I decided to try something more traditional – Ospho. Ospho has been around a long time, and is
based on phosphoric acid. It smells bad
and is all around some nasty stuff, but you just spray it on and let it dry and
it “converts” the rust. There are all
kinds of controversies about whether you can paint over it, but to be safe, I
followed the recommendation to wash it off in preparation for paint.
To do this, it must be re-wet with Ospho the
next day, and washed off with water while it is still wet. That’s what I did, and I used the pressure
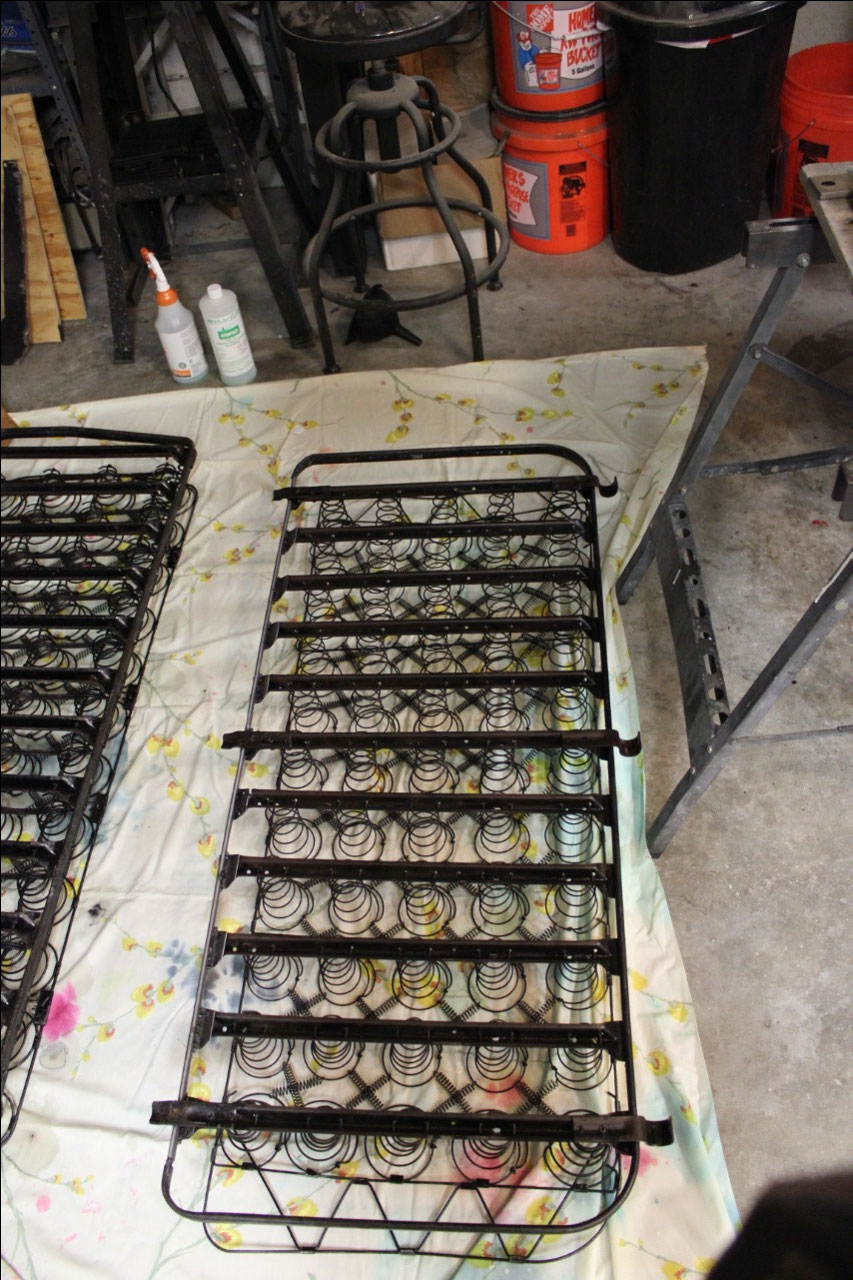
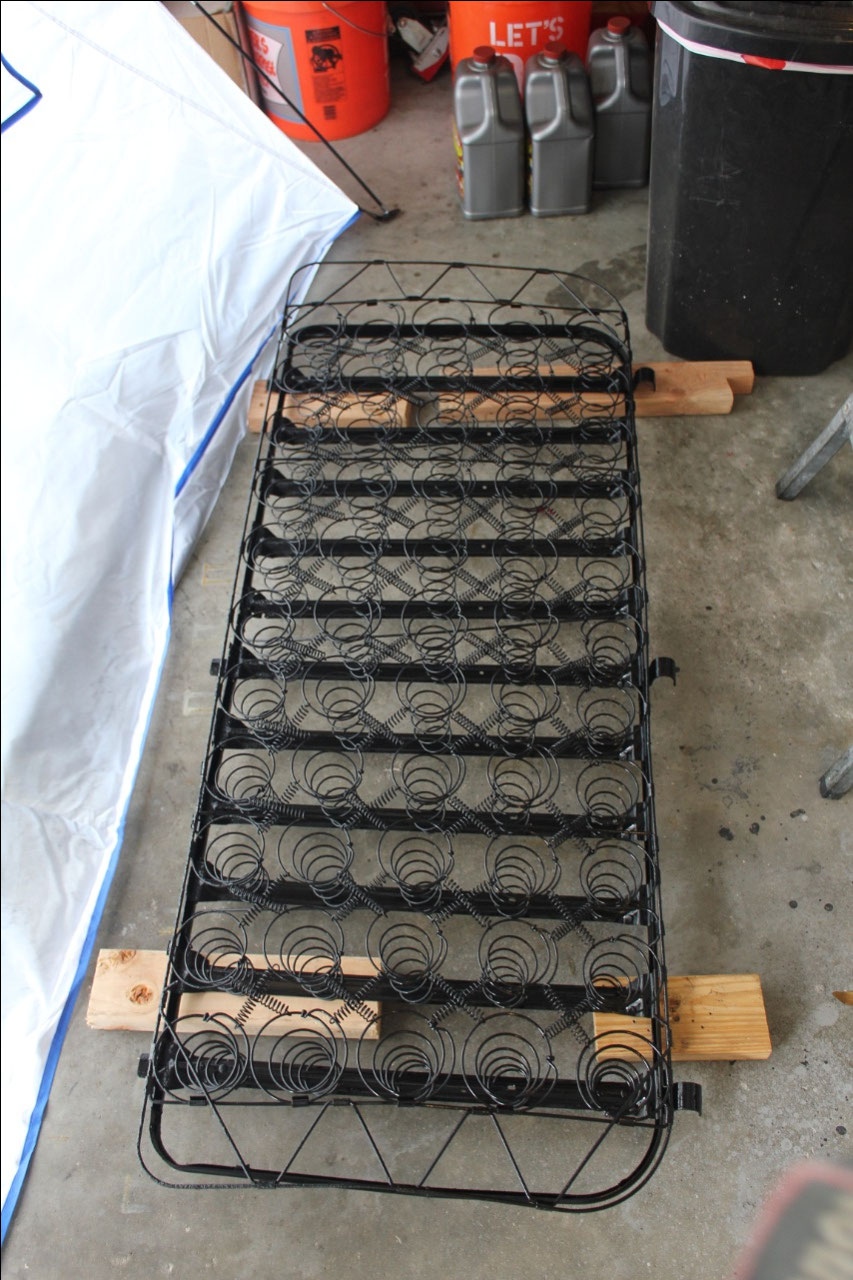
washer to clean it off. I then primed it
with a Rustoleum rust converter and painted them gloss black. Both spring sets look like new!
Now that the springs are restored, I installed them in the
seat base, and ordered the seat covers from RayBucks online. Since they are made to order, they should be
ready in 2-4 weeks. Meanwhile, the next
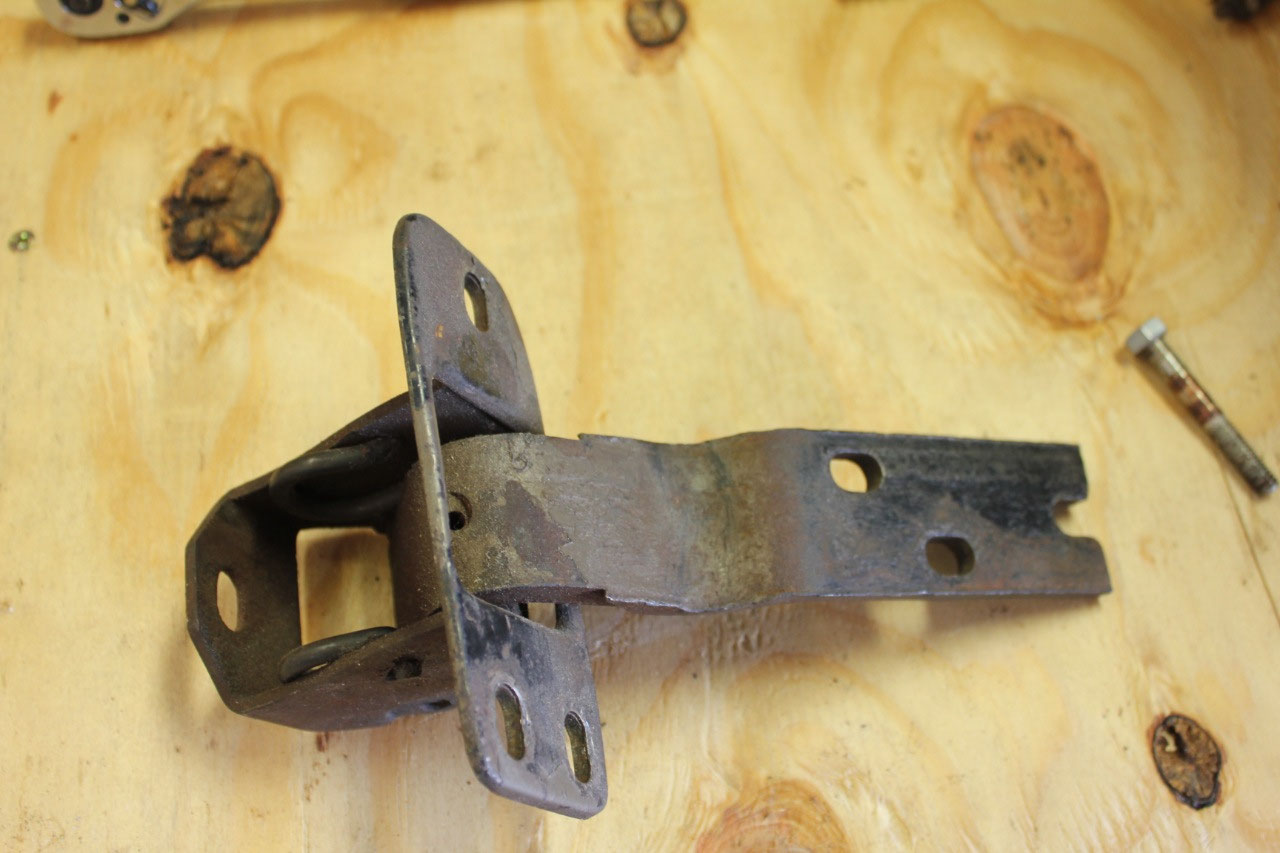
project to tackle were the door hinges.
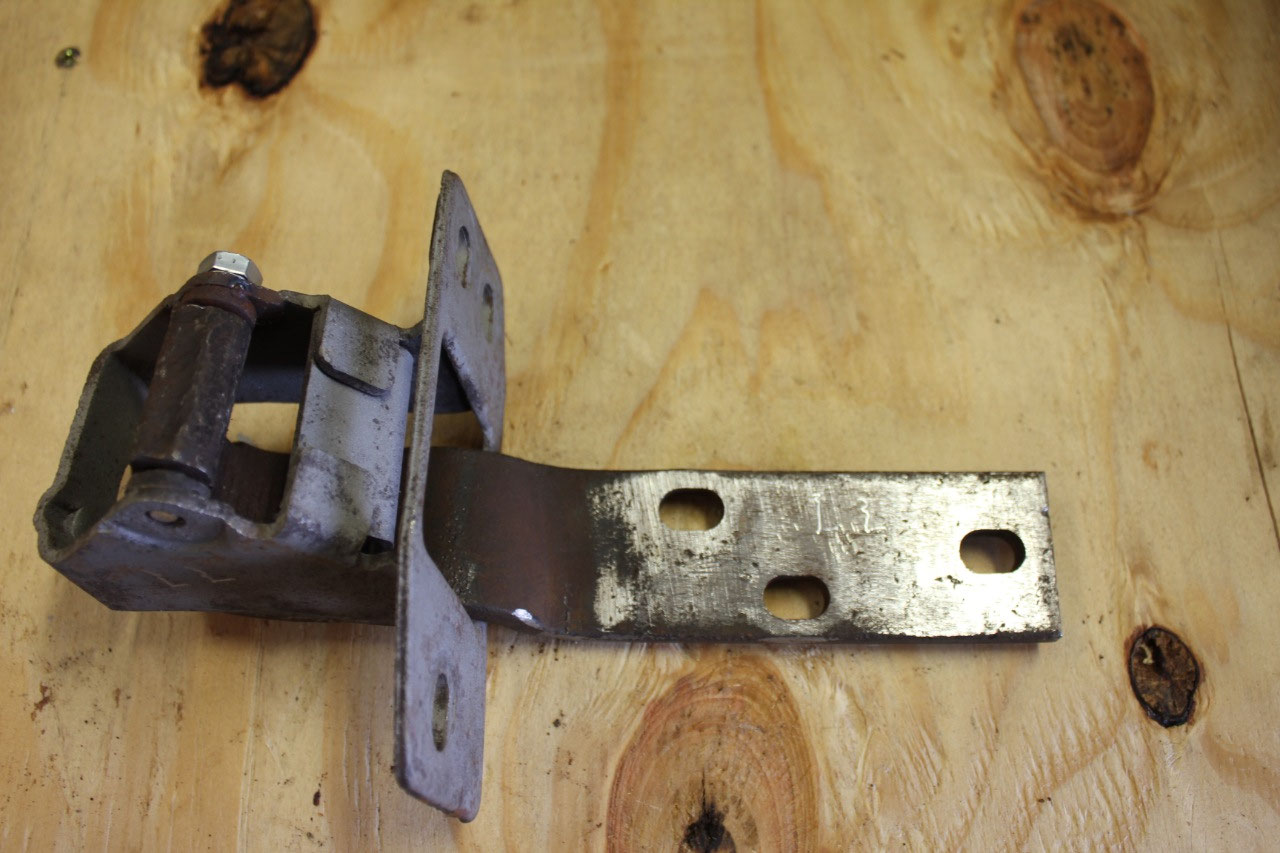
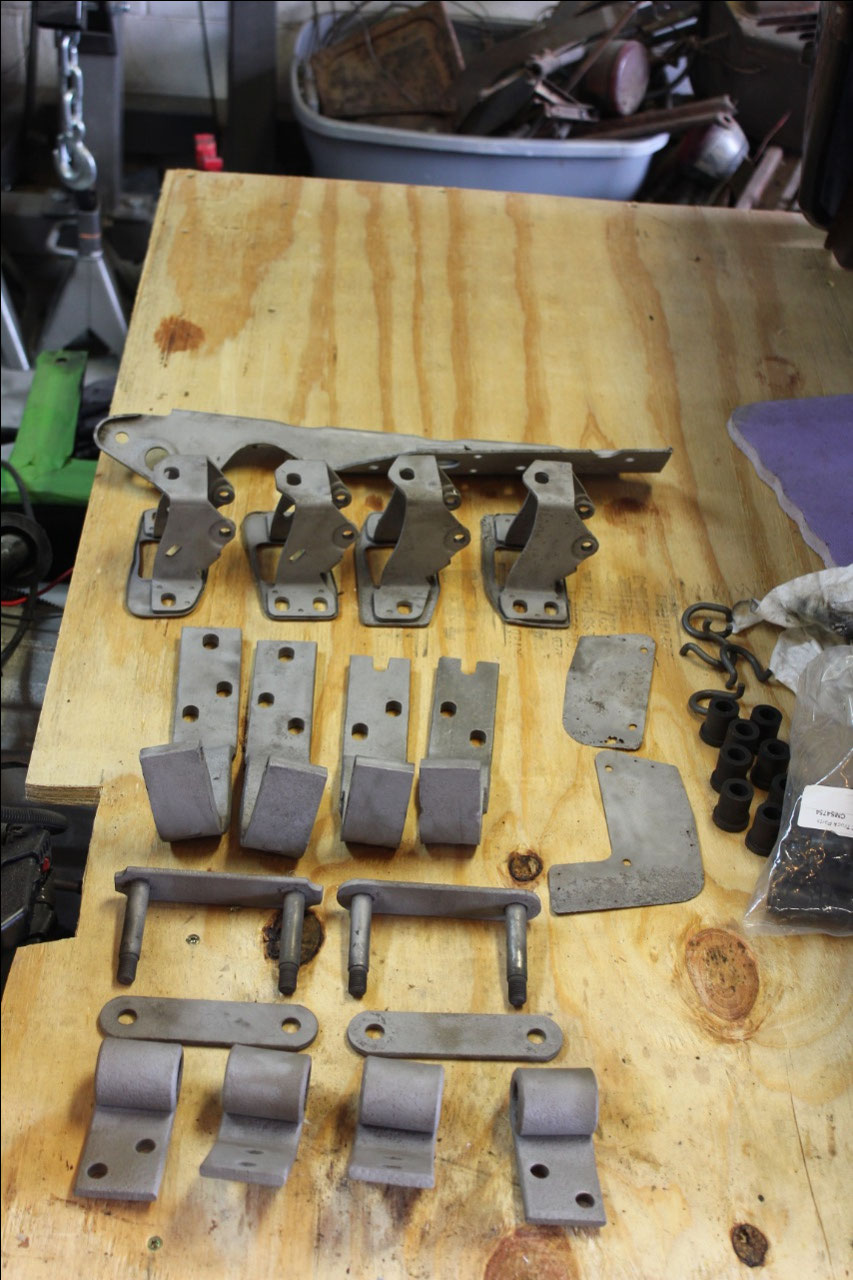
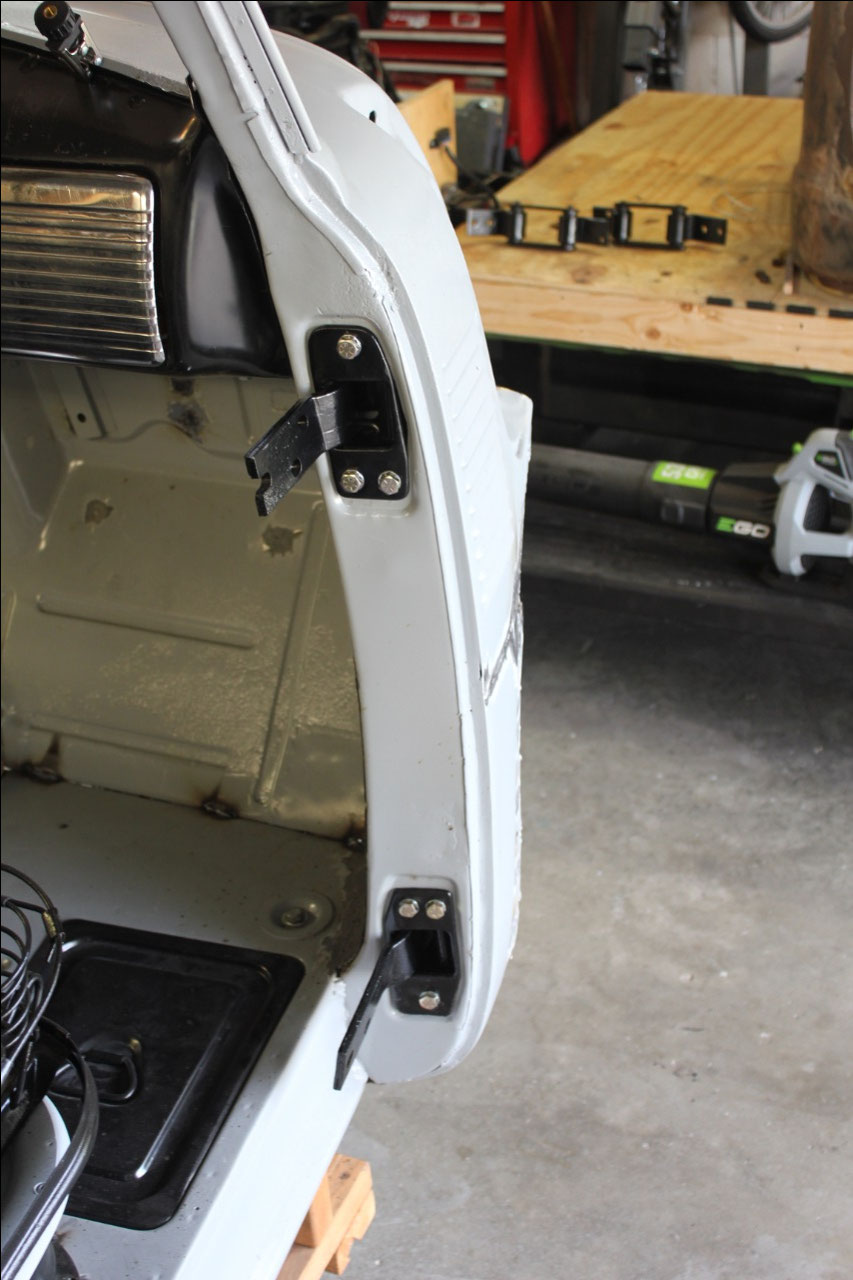
After reading all the complaints about the replacement hinges, and
seeing that they cost $150-$200 per pair, I decided to go ahead and refurbish
the originals. The normal hinge pin is
5/16”, and what happens when they get old, is that the hole size wears out and
the hinges get sloppy. Mine were even
worse, as 2 of the hinge pins were missing and had been replaced with 5/16”
bolts. Replacement pins are oversize at
11/32” and cost about $2.75 each. You
just have to drill out the holes in the hinges to 11/32” and press in the new
pins.
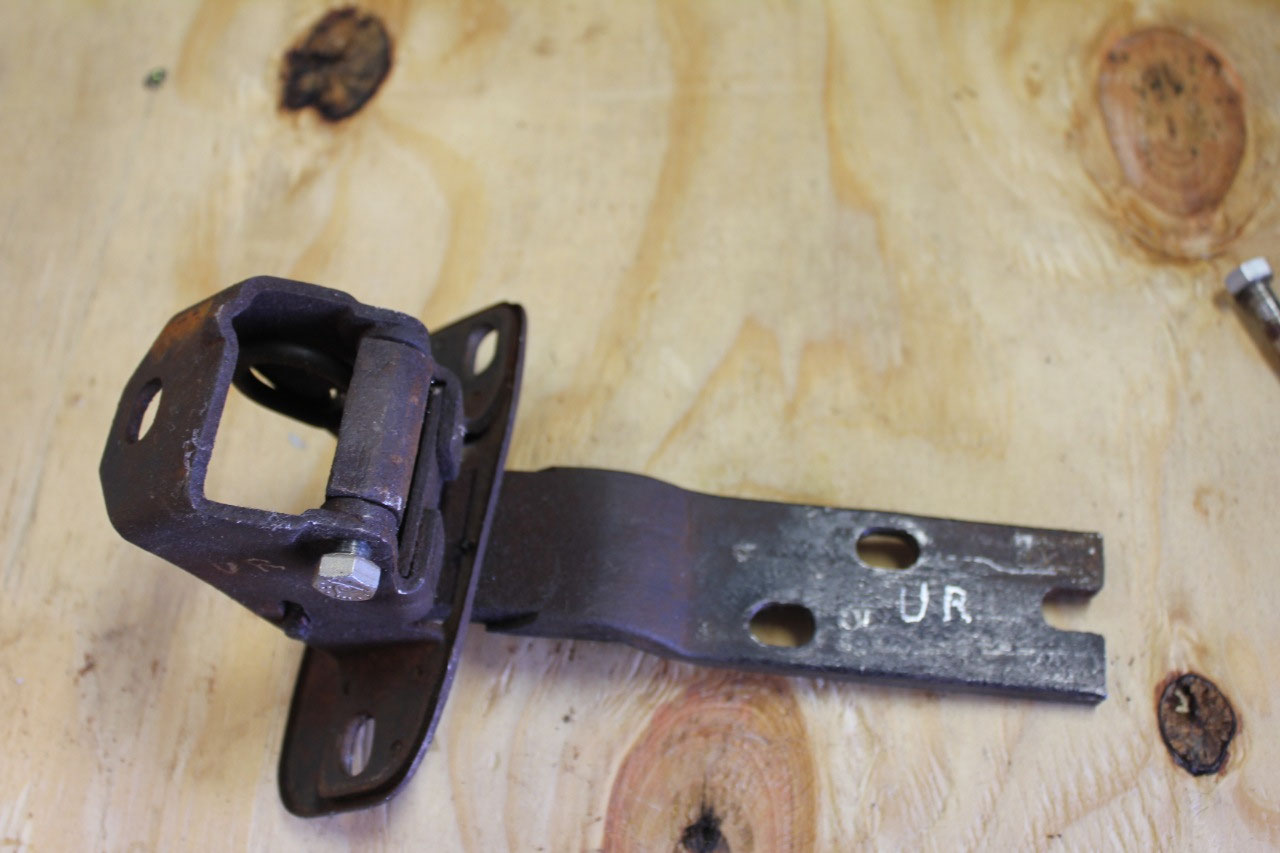
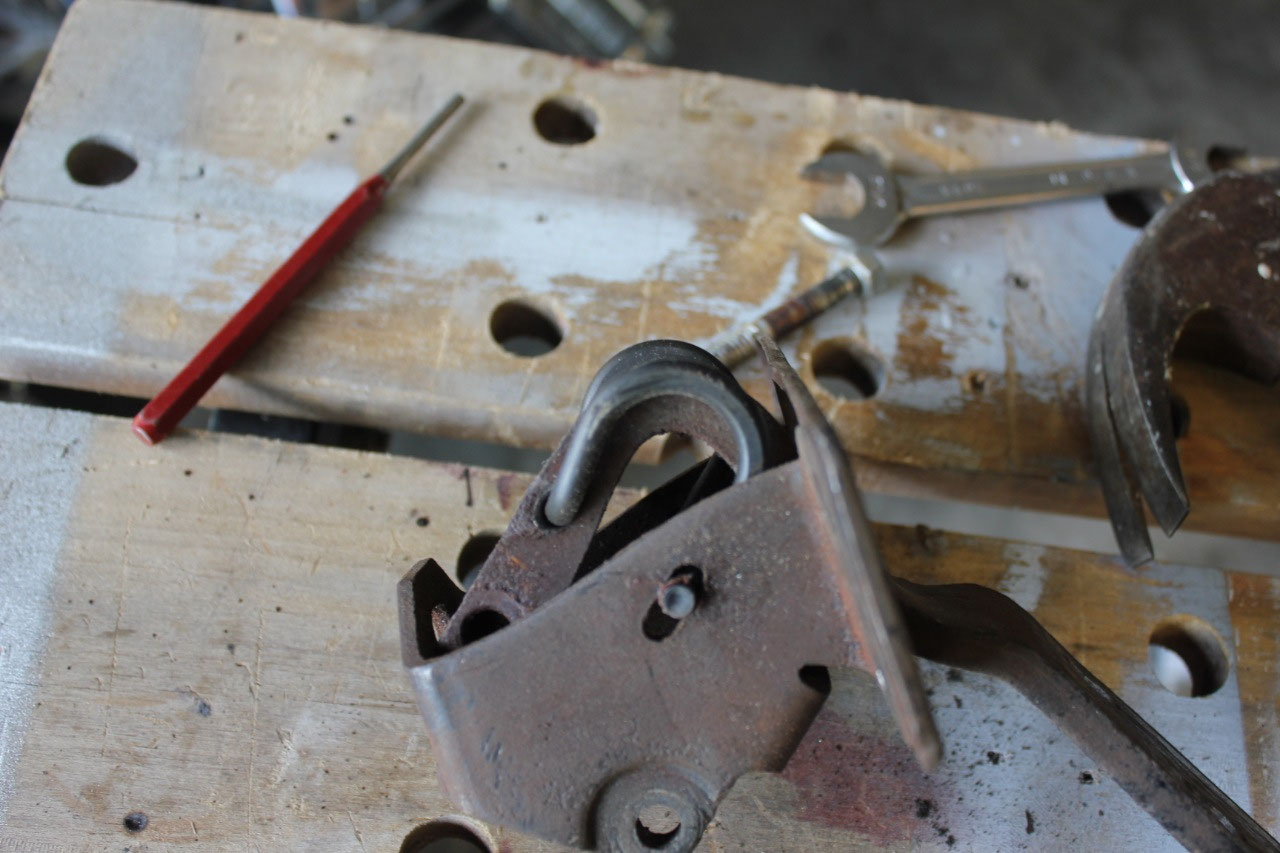
In addition, the upper hinges have springs to keep the door
open, and the YouTube video showed that the holes in the hinge for the spring
are usually worn out also. The fix for
the spring hole is to just weld it shut and drill a new hole. This whole task went easier than I expected,
and before I reassembled the hinges I also ran them through EvapoRust and
powder coated the bare metal.
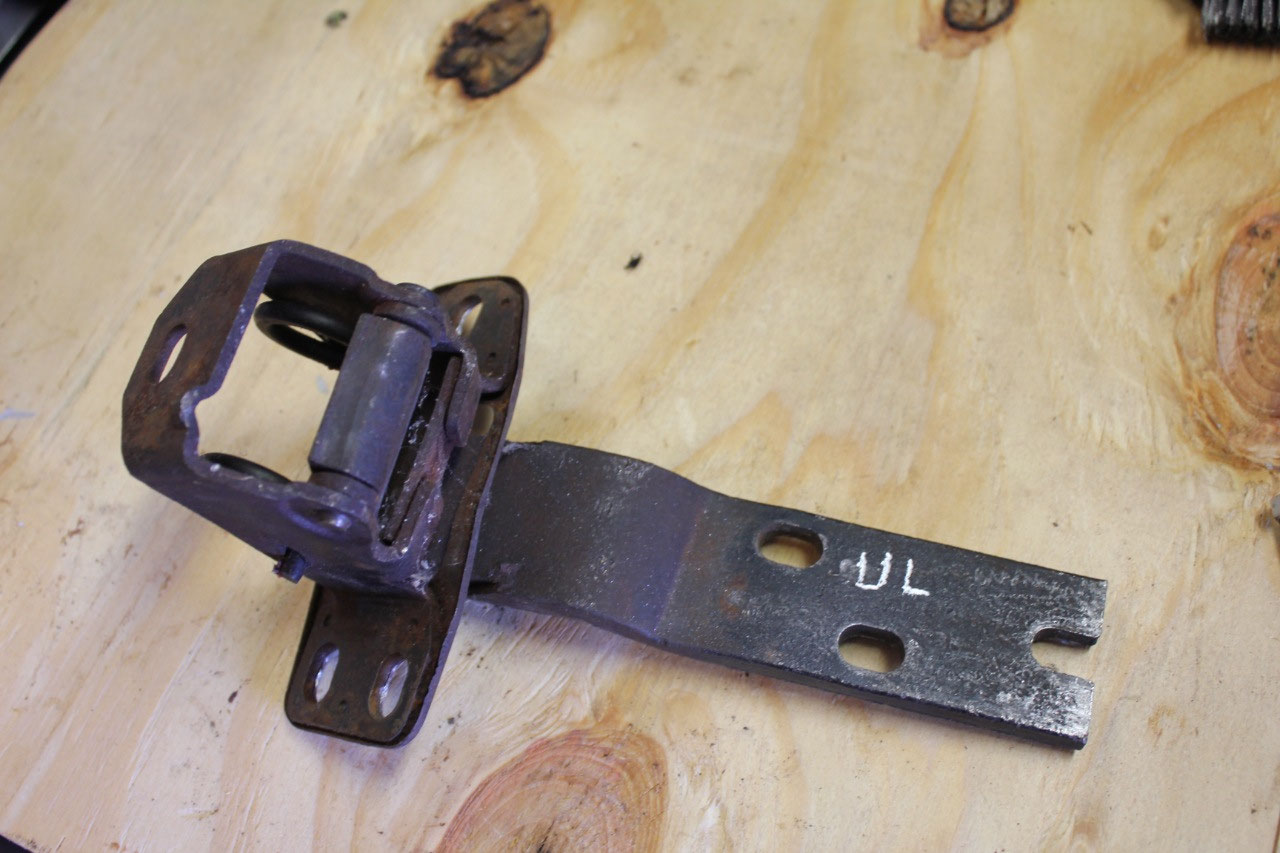
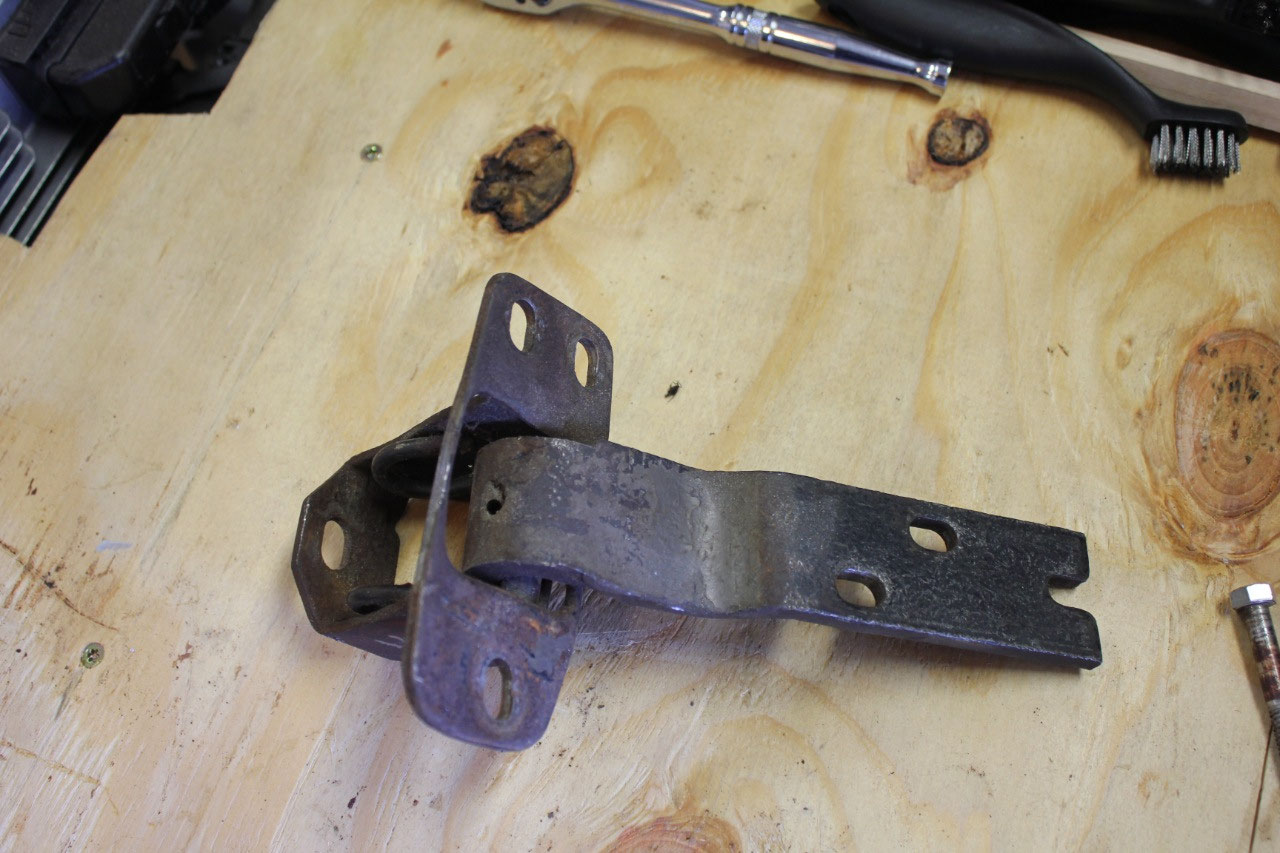
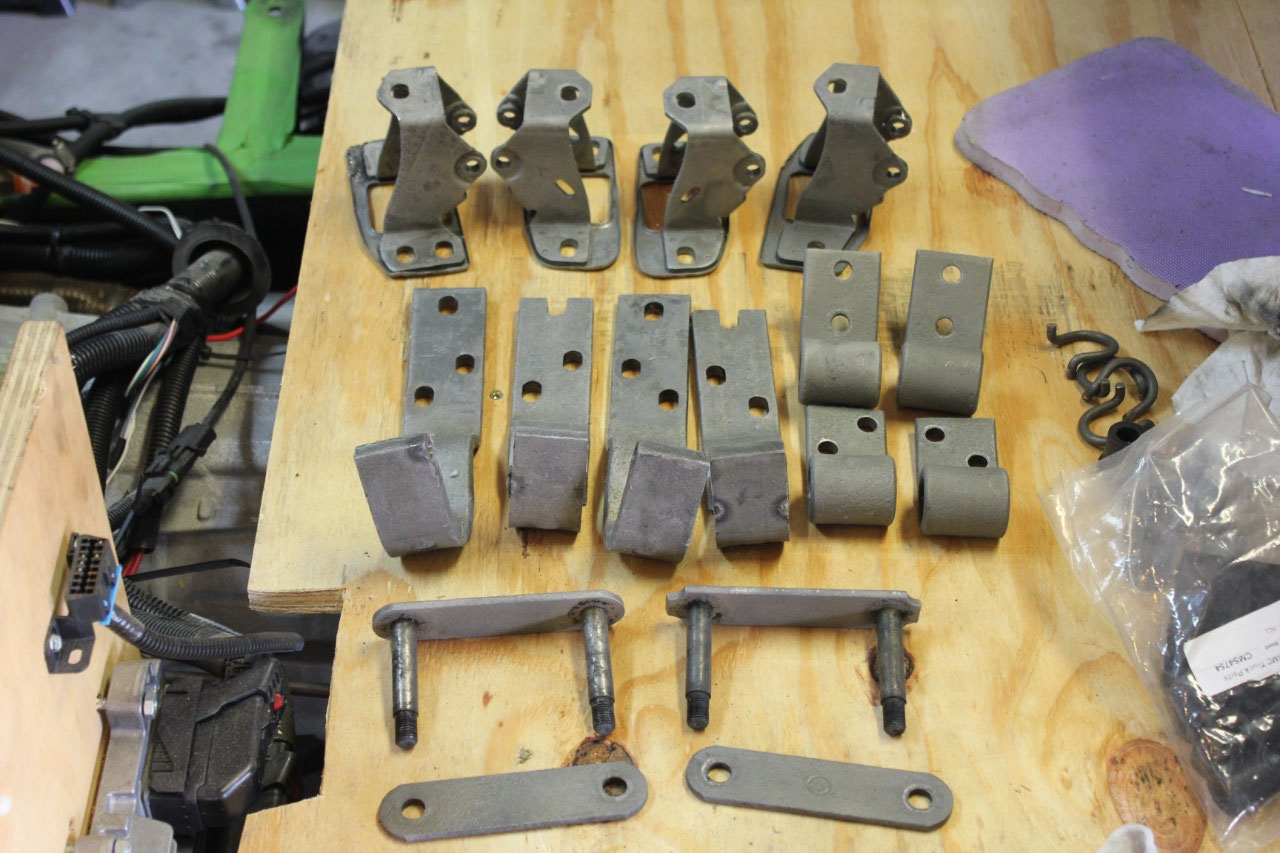
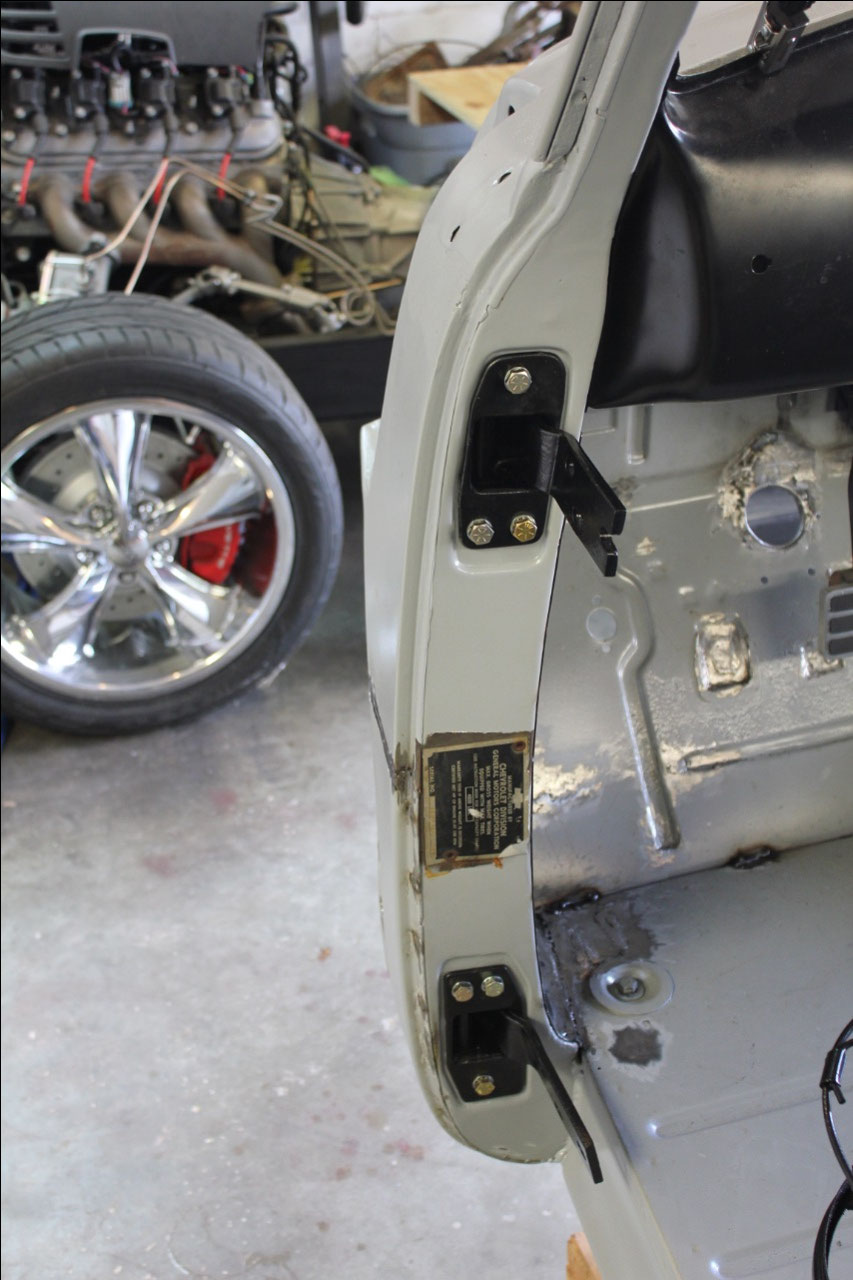
They look
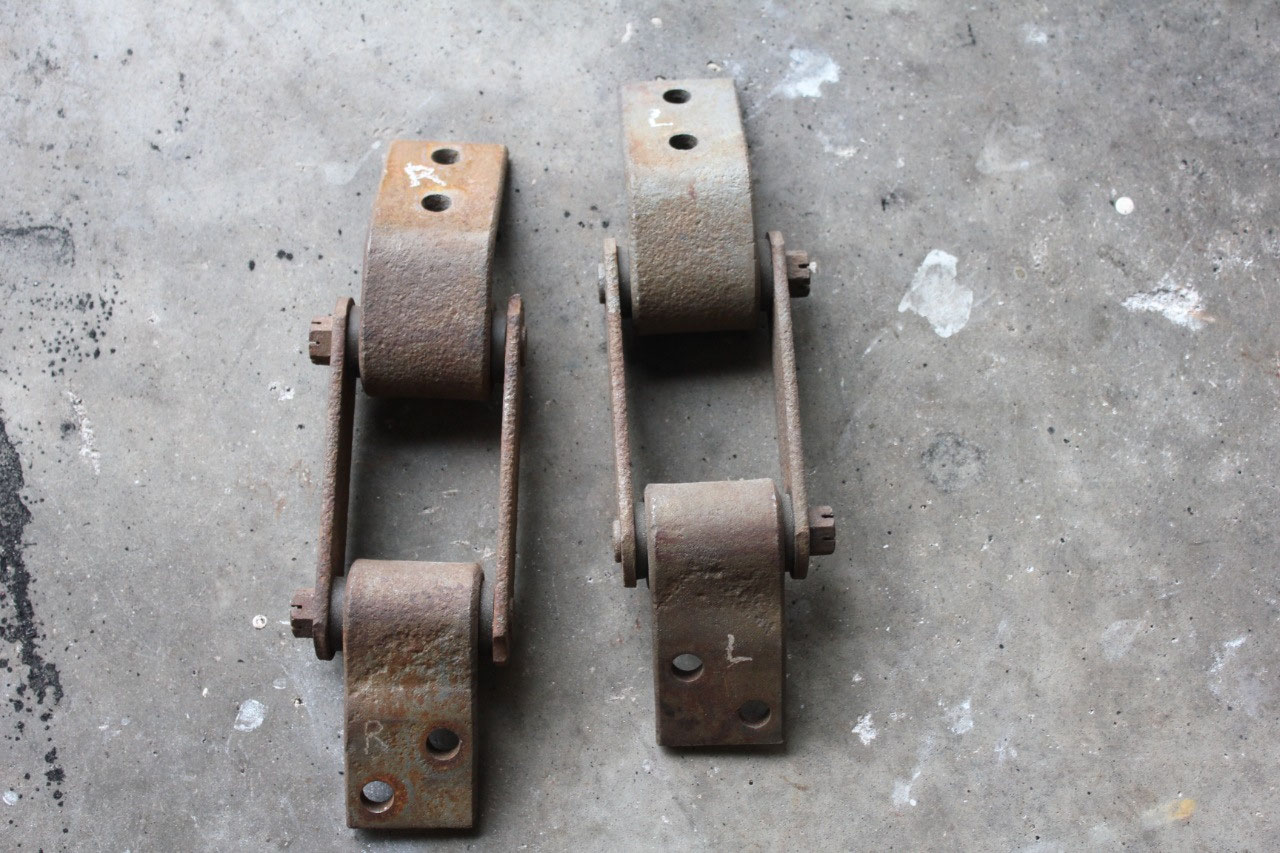
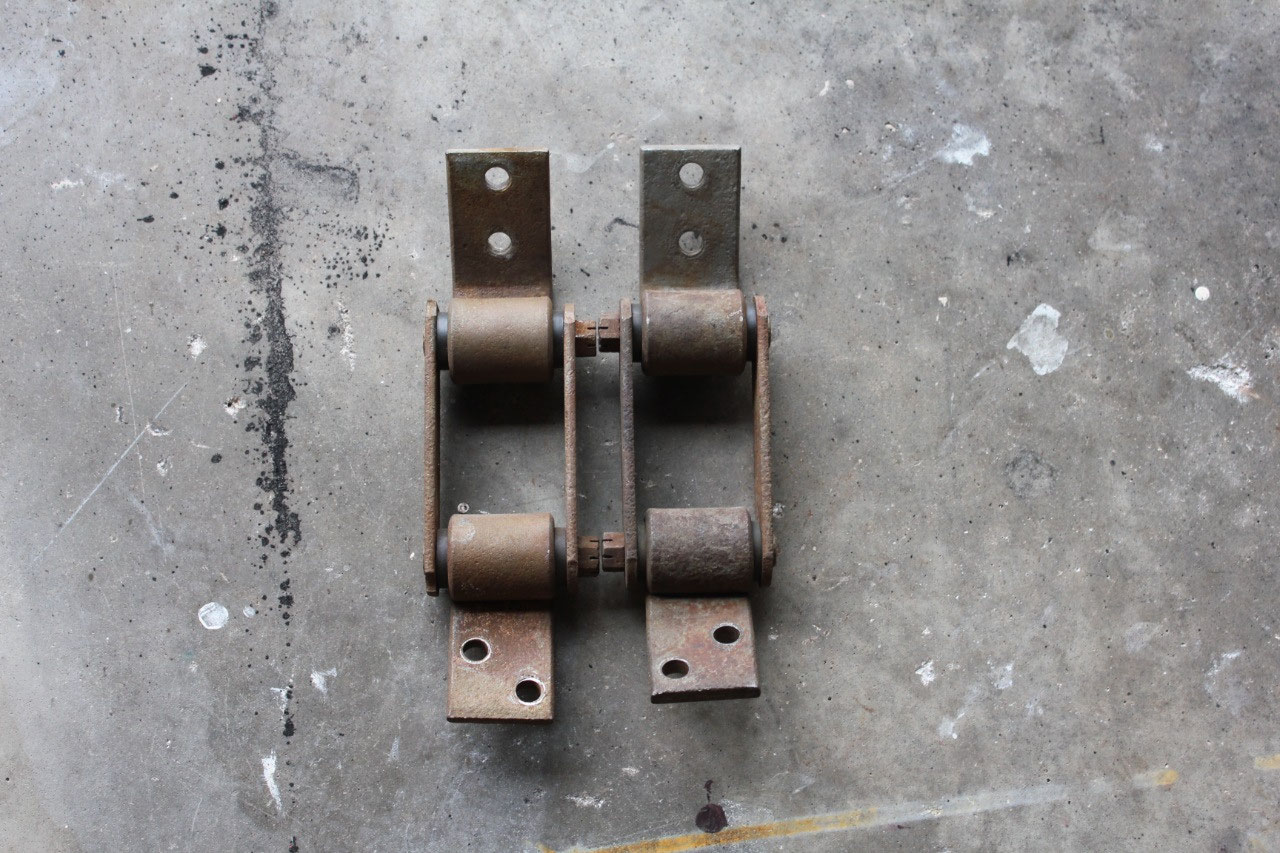
just like new! While I was busy powder
coating, I went ahead and did the same with the rear cab mount shackles, also
replacing the shackle rubbers and lock nuts.
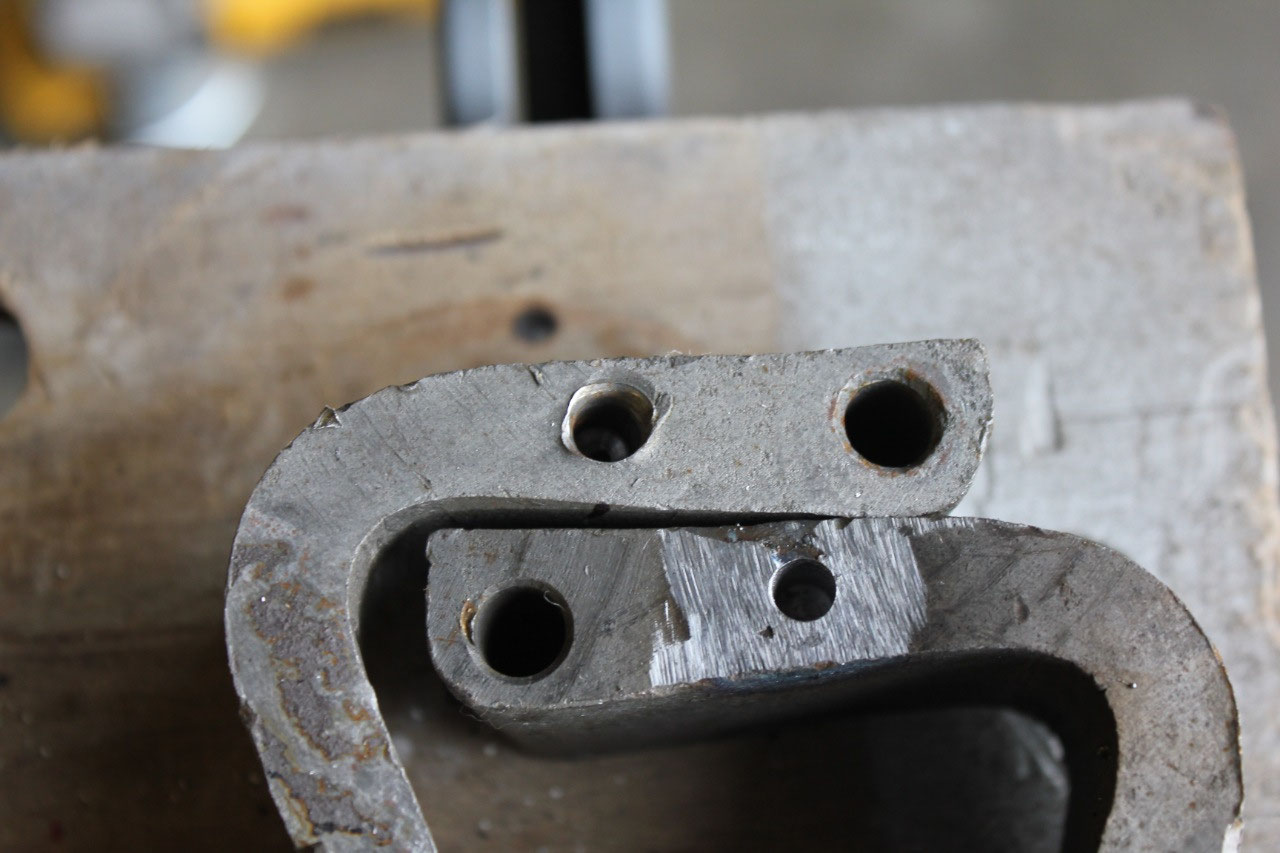
Even though the EvapoRust was amazing at the rust removal, it doesn’t
touch any existing paint. So before
powder coat, I still run the small parts through the sandblast cabinet for a
quick touchup.
Now there were still a few miscellaneous small tasks to
finish up. I decided to go ahead and
pick up the chassis wiring harness from American Autowire. I wanted to go with Painless Wiring, but it
wasn’t as customized for this application, and the American Autowire was more
complete with ignition switch, headlight switch, and dimmer switch. The fuse panel mounts to the driver’s side
firewall using extra-long hood hinge bolts.
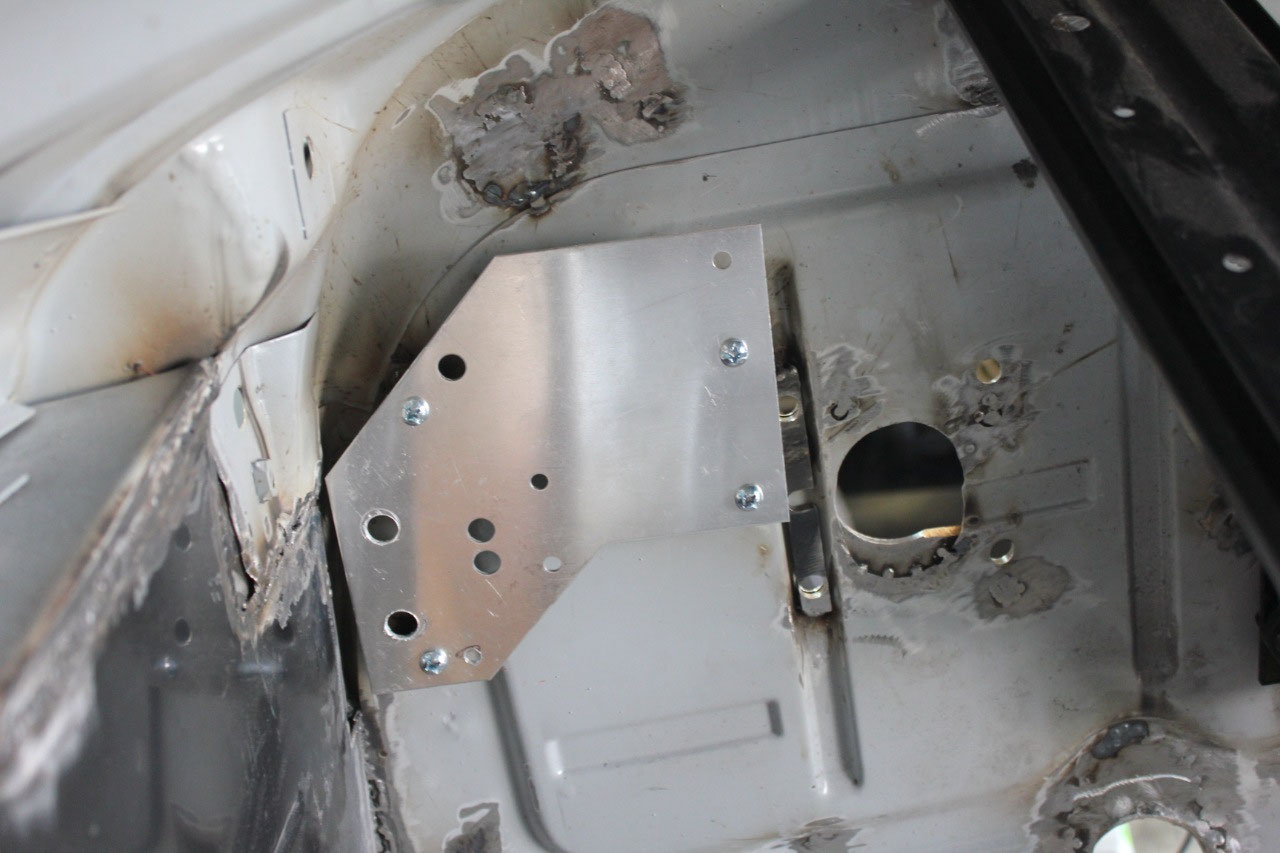
I liked the mounting plate, but decided to weld threaded standoffs to
the inside of the firewall rather than use longer hood hinge bolts. It’s more rigid, and won’t let the fuse panel
fall off if I remove the hood hinges.
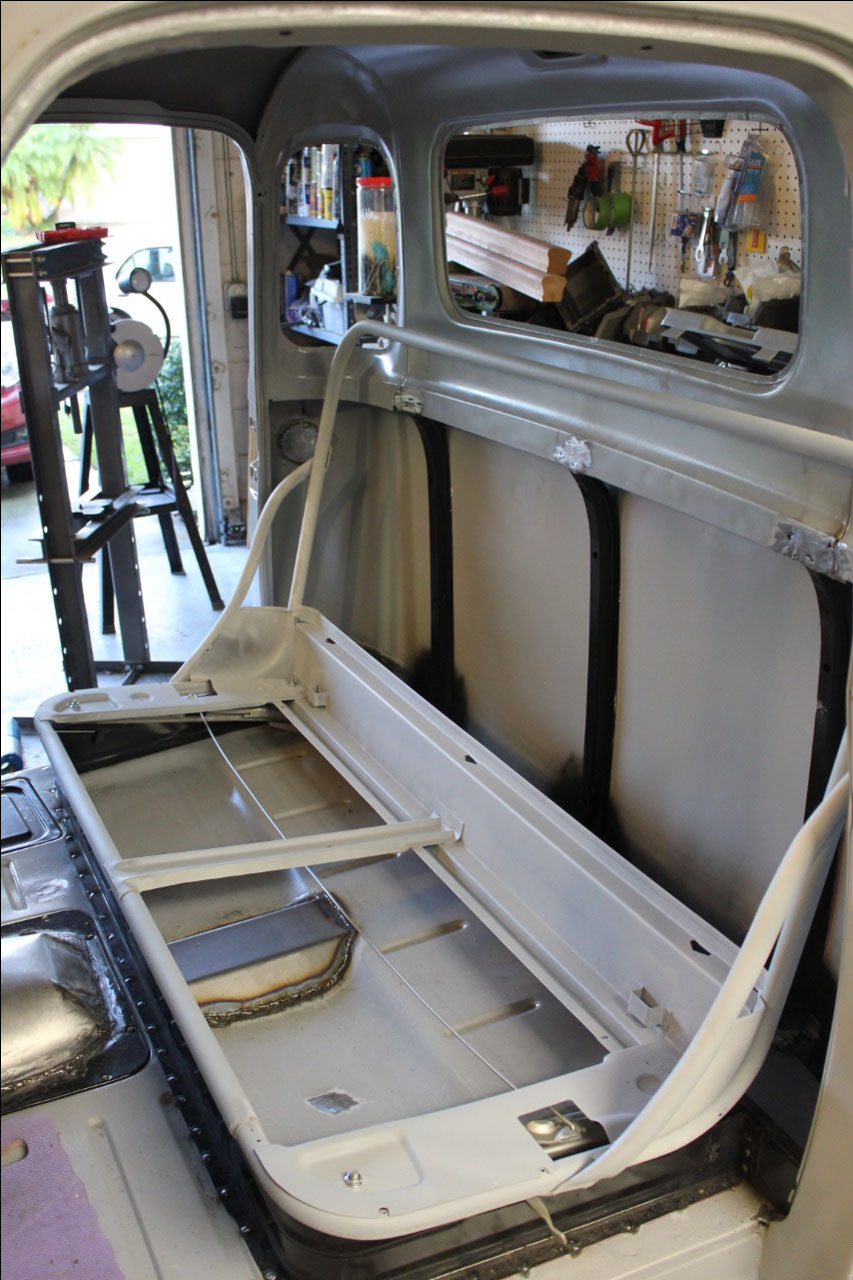
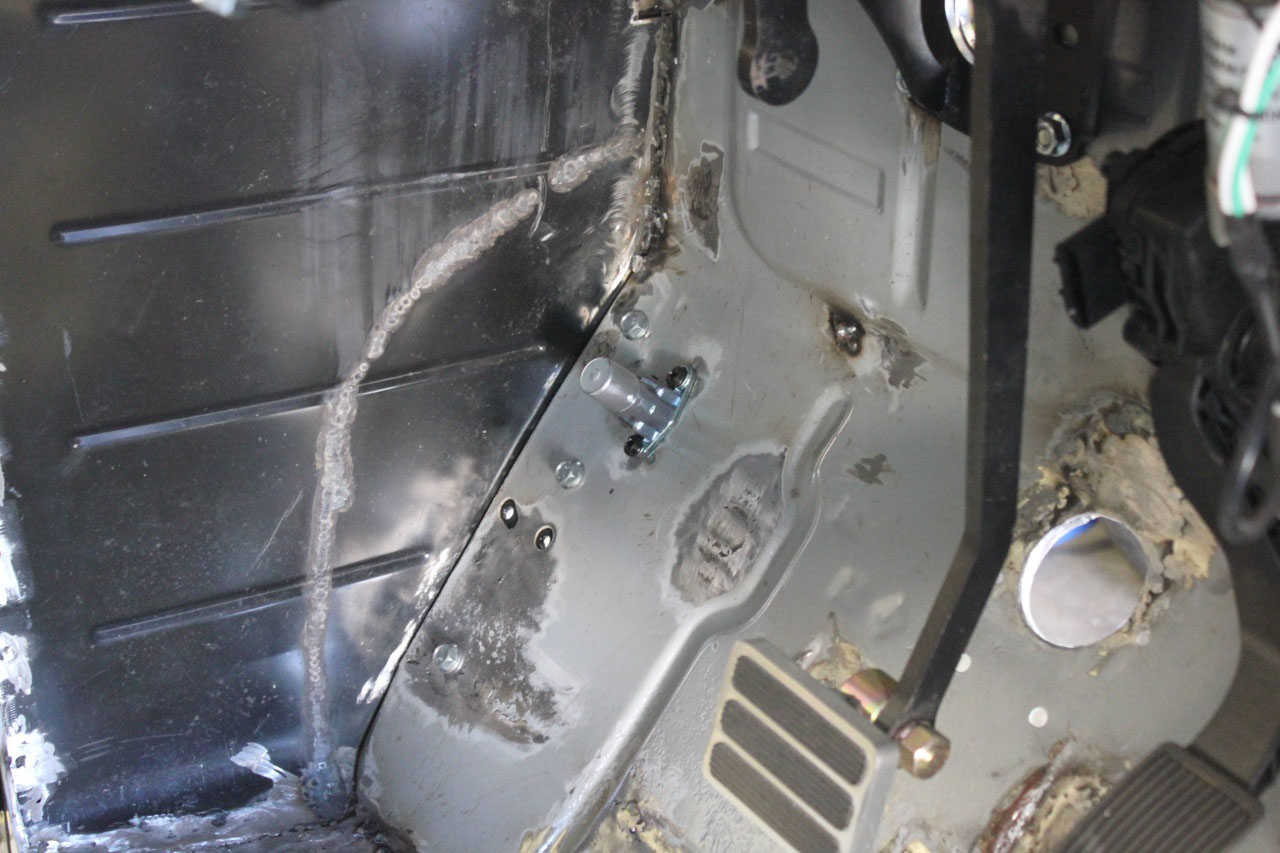
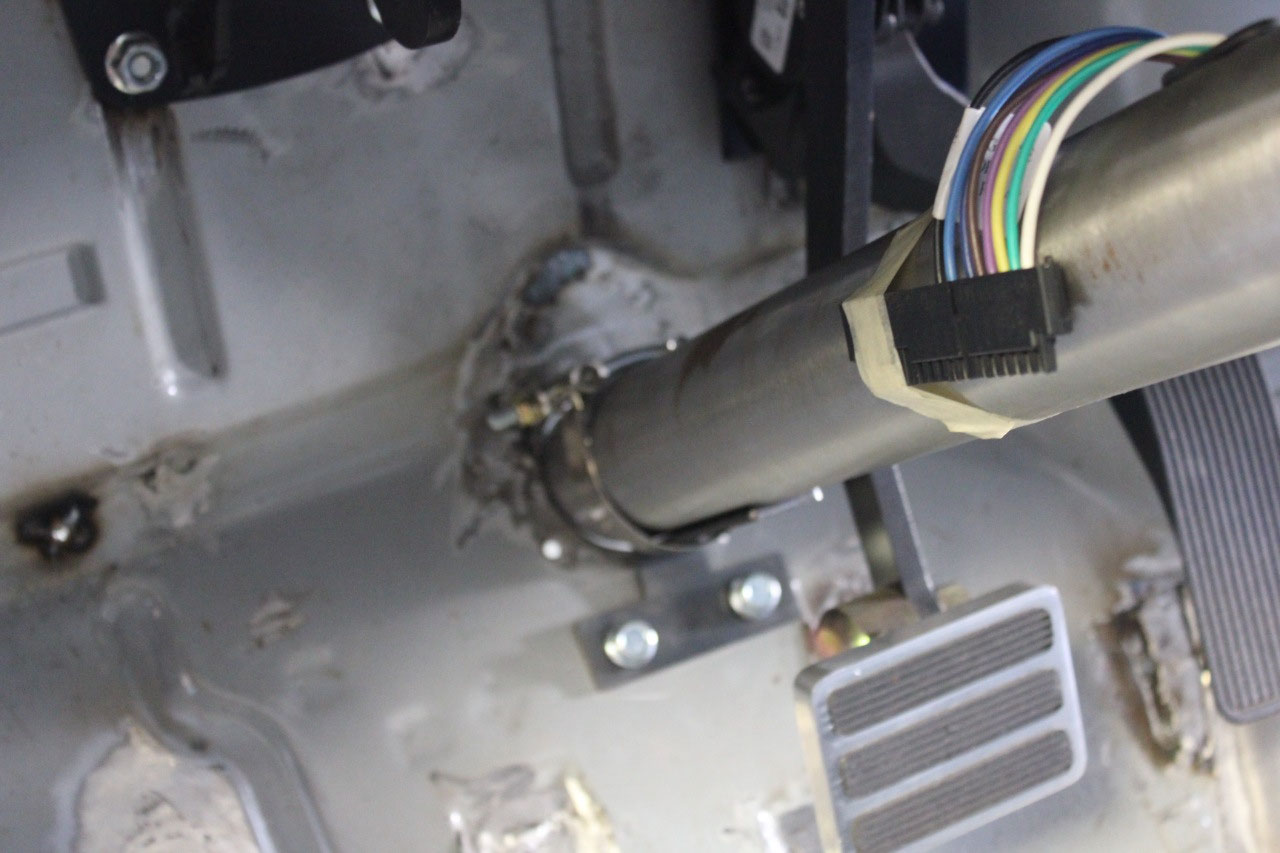
I also test fit the dimmer switch and found that the original
mounted through the floor with the wiring outside the cab. The one included in the kit used the same
mounting holes, but the connection was inside the cab under the carpet which is
much better. This means that I needed to
weld up the center mounting hole. As I
looked at it though, I realized that the dimmer switch was located more toward
the center of the cab than near the kickplate to allow room for the huge
original parking brake. Since I am using
an electronic parking brake, I went ahead and welded up all the dimmer switch
holes and move the dimmer switch to the left.
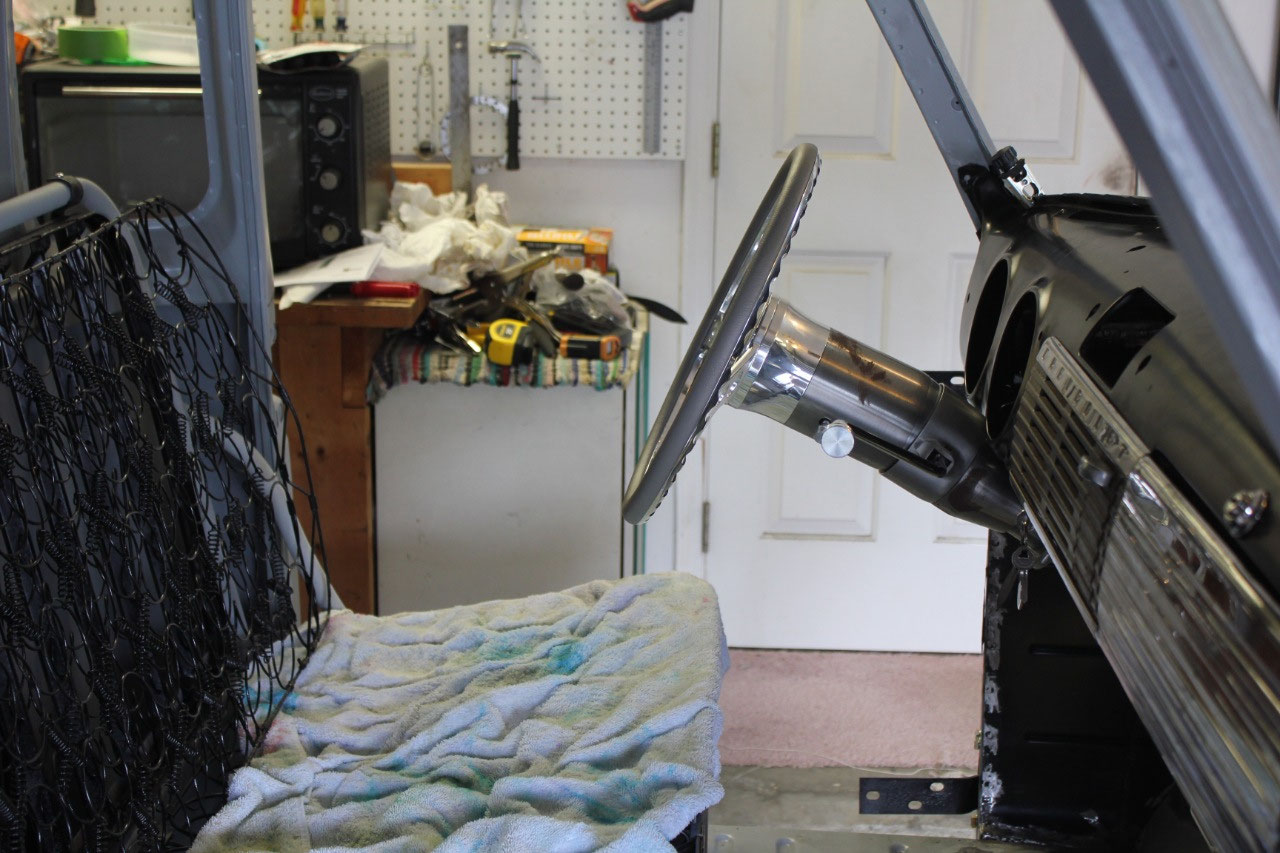
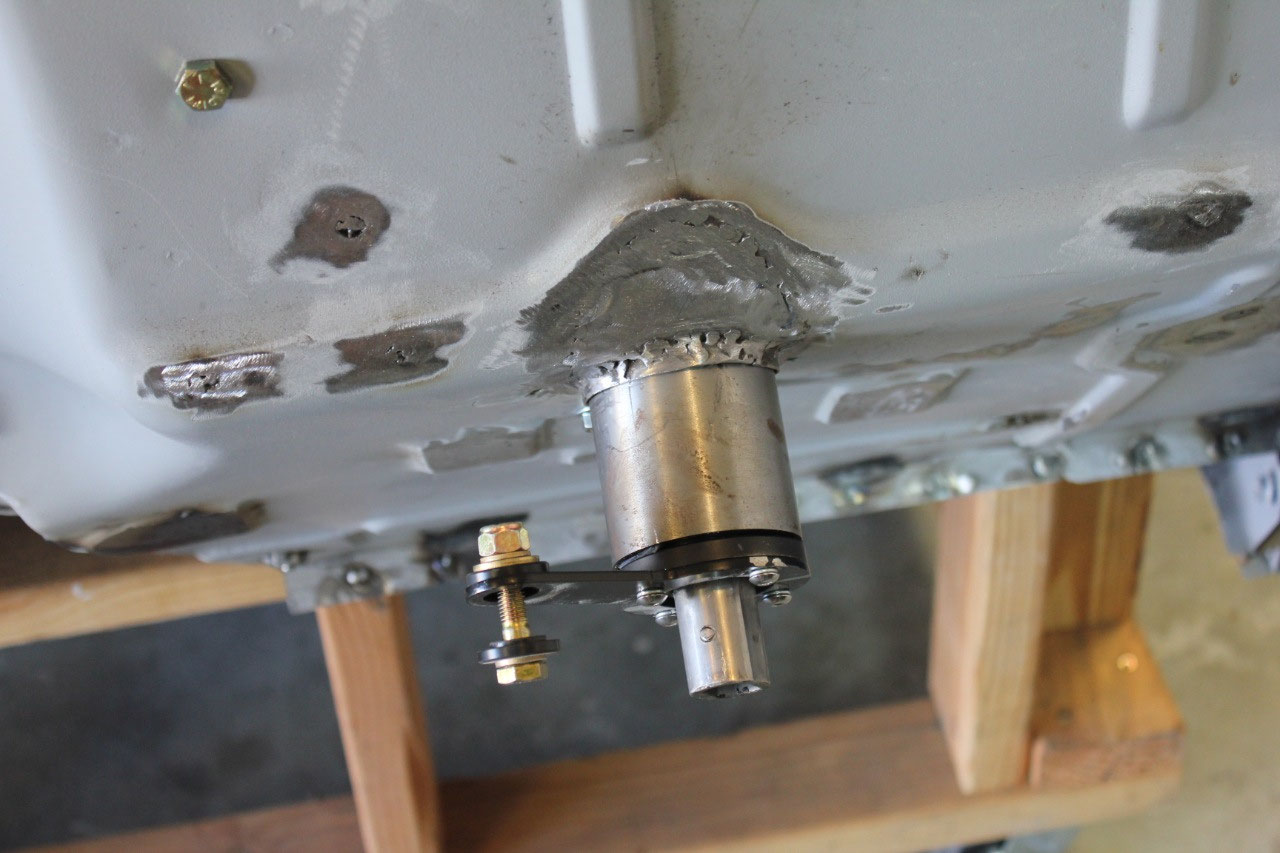
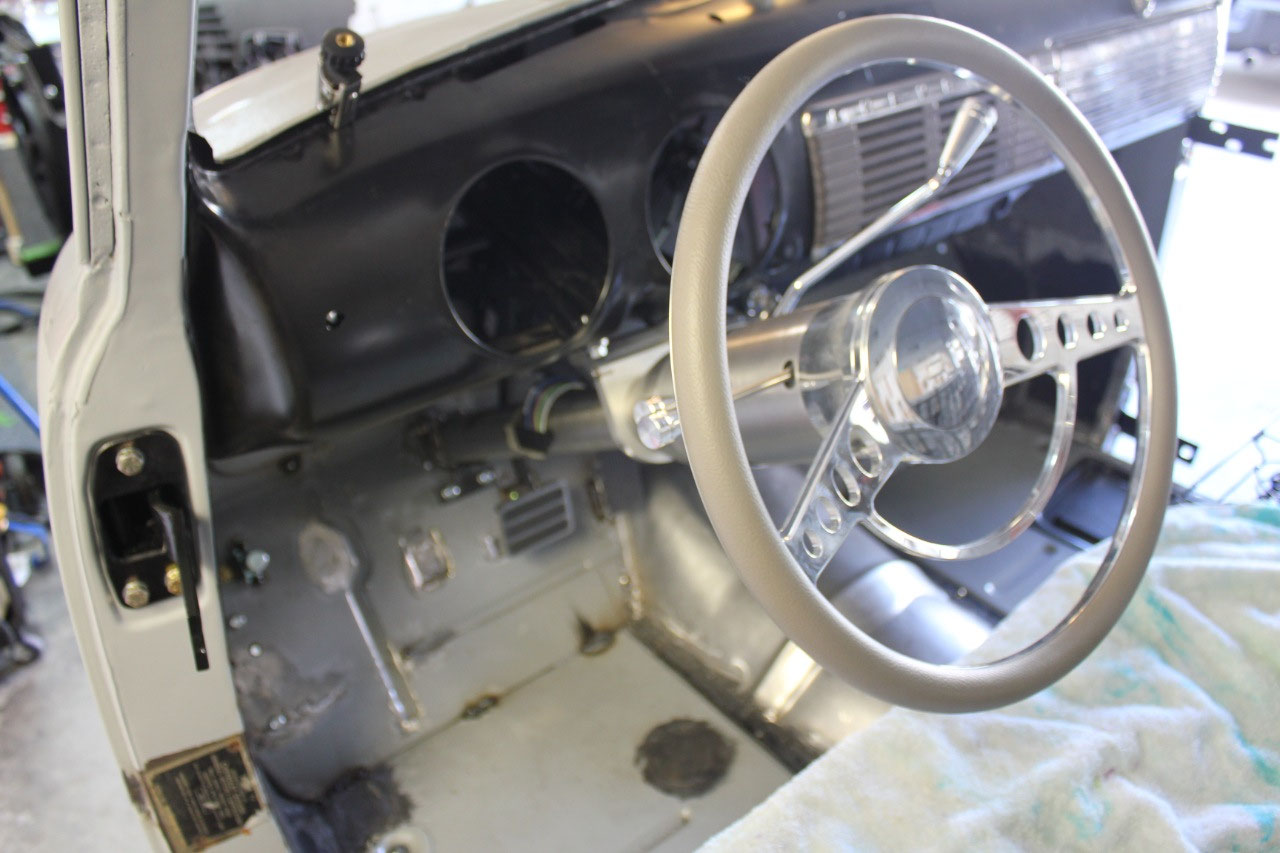
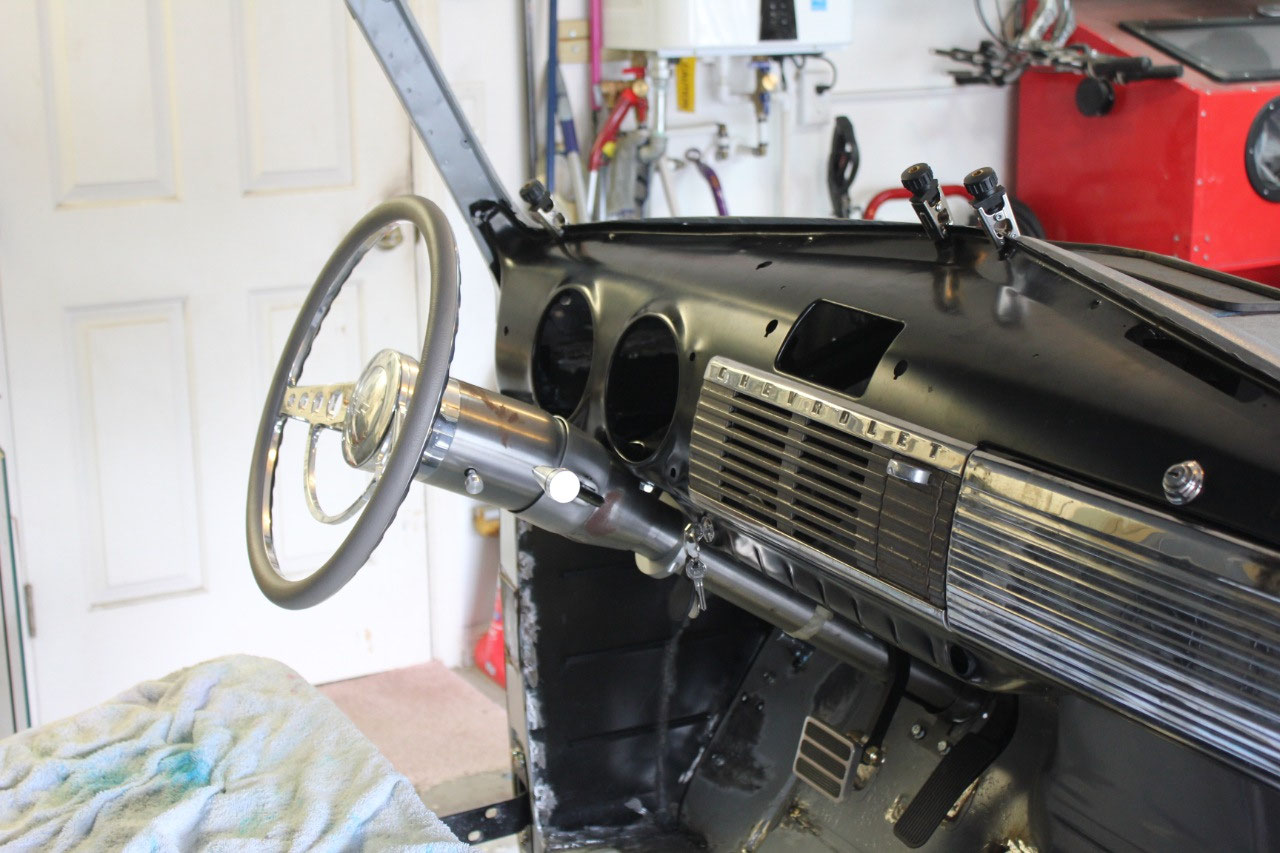
Finally, I reinstalled the steering column and decided I
just didn’t like the location afforded by the Ididit support bracket. It was just a little low and the wheel was
just a little too close to the seat. So
I discarded the Ididit bracket and drilled some new mounting holes in the base
of the dash that tucked the column up into the dash much better and allowed for
better adjustment in and out of the dash.
I will have to wait until the cab is reinstalled to see how close to the
dash I can move the wheel.


2025-05-22