 Orlando, Florida, United States
This week we returned from the beach, and I was rested and
ready to tackle the next part of the project.
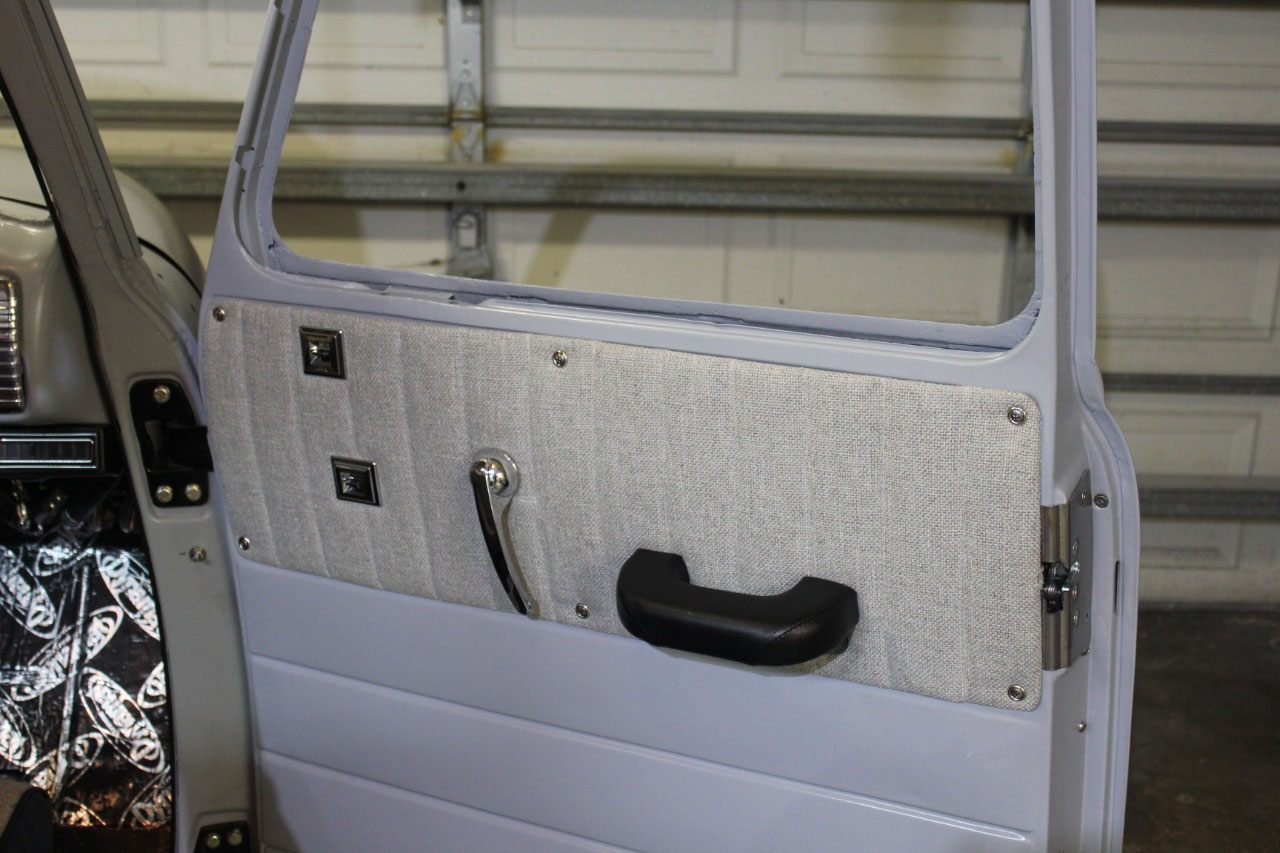
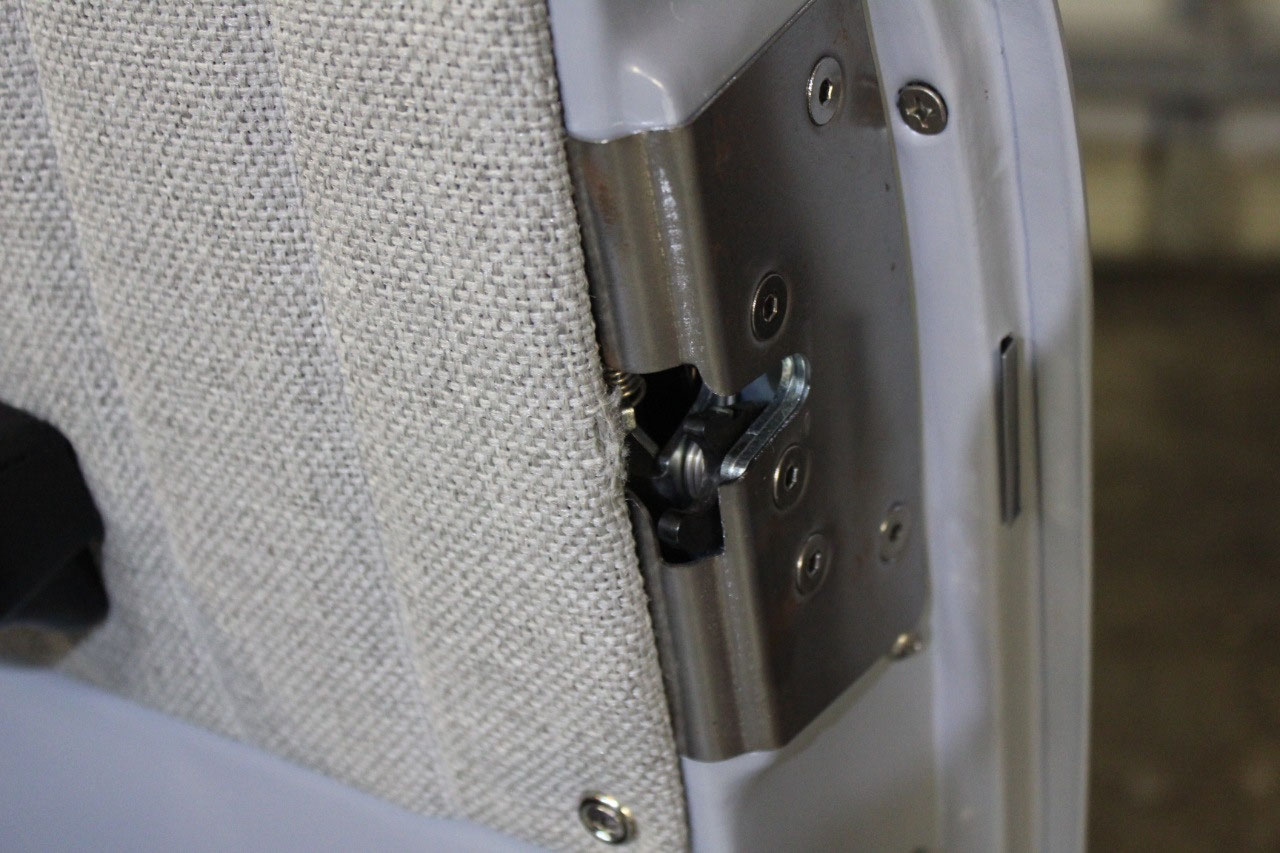
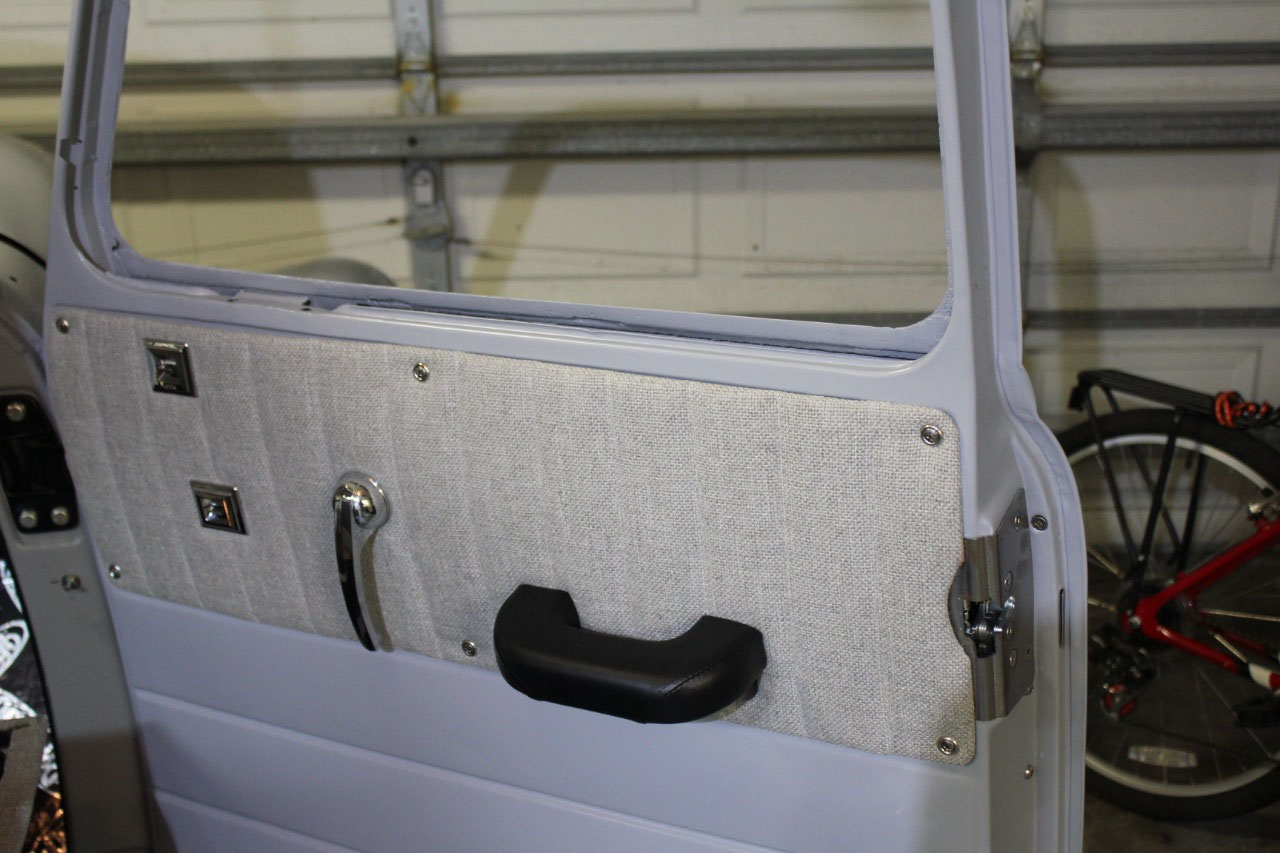
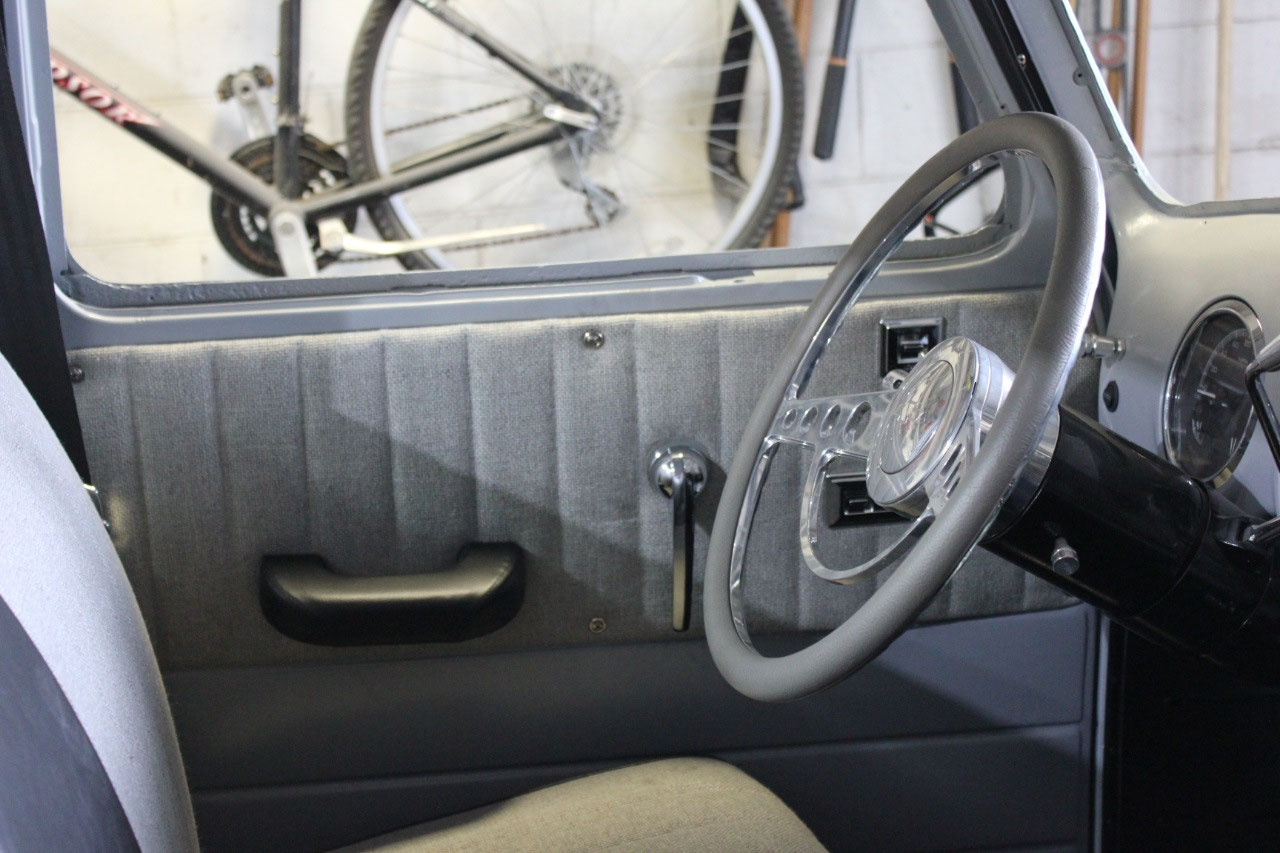
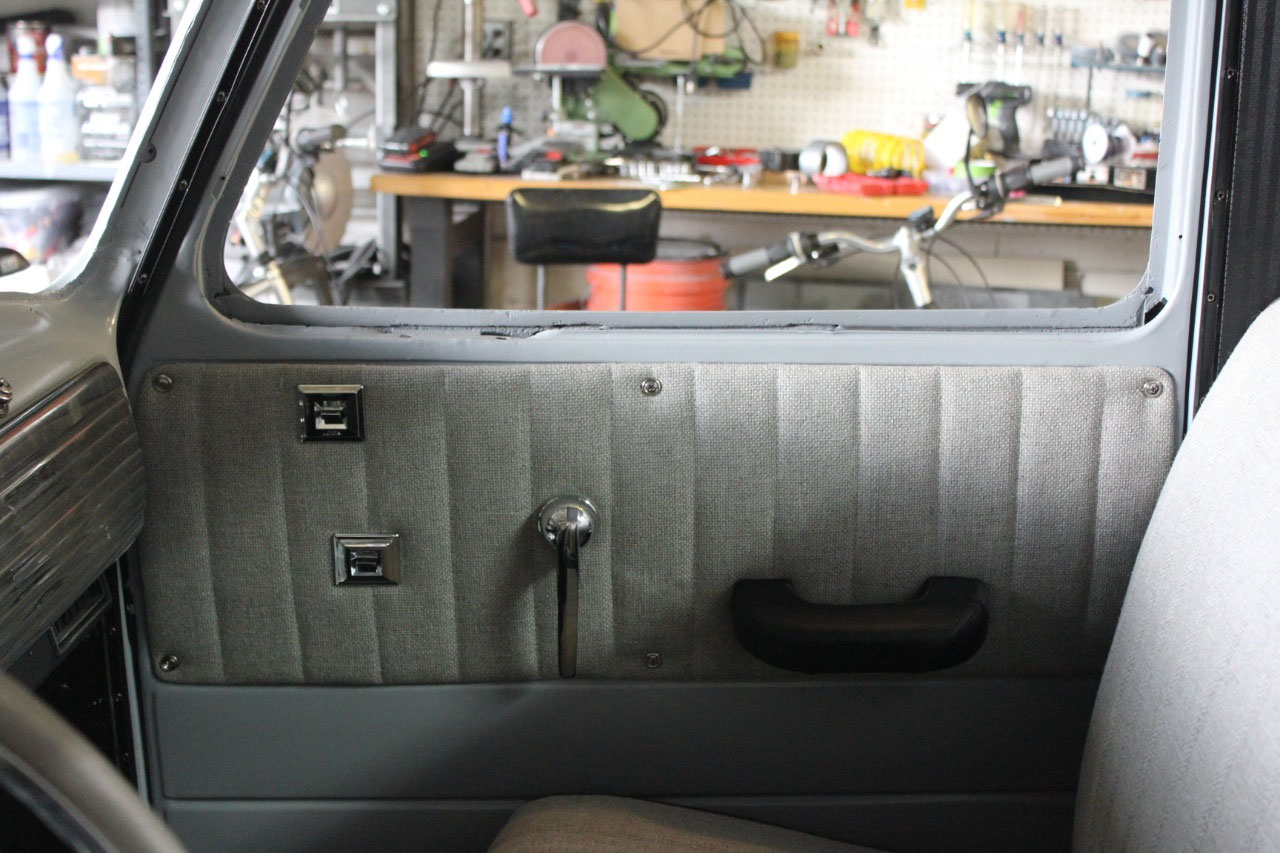
Unfortunately, shipping on the bed is taking longer than expected. In the meantime, the door panels are finished
and ready for installation. Xtreme Auto
Upholstery did a great job and they look awesome! Installation was straightforward and they
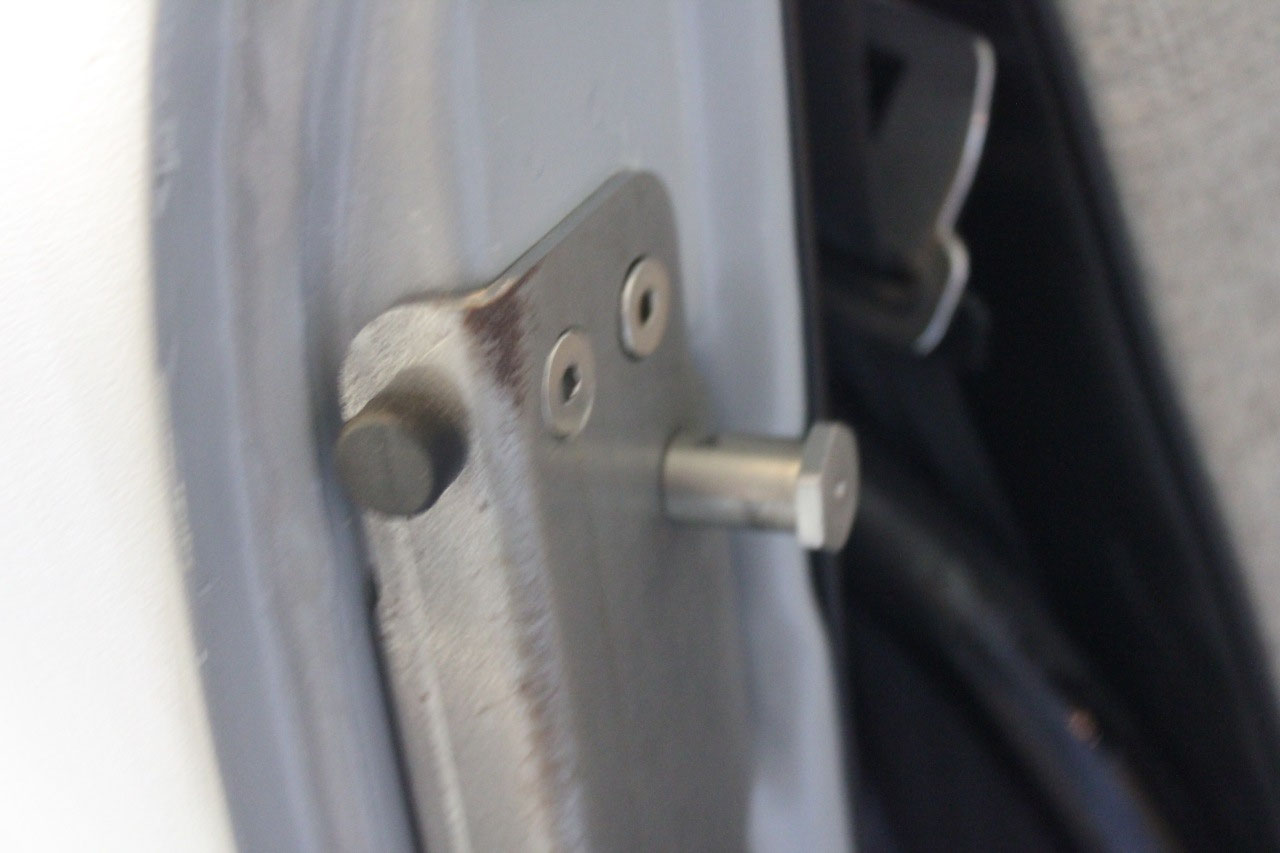
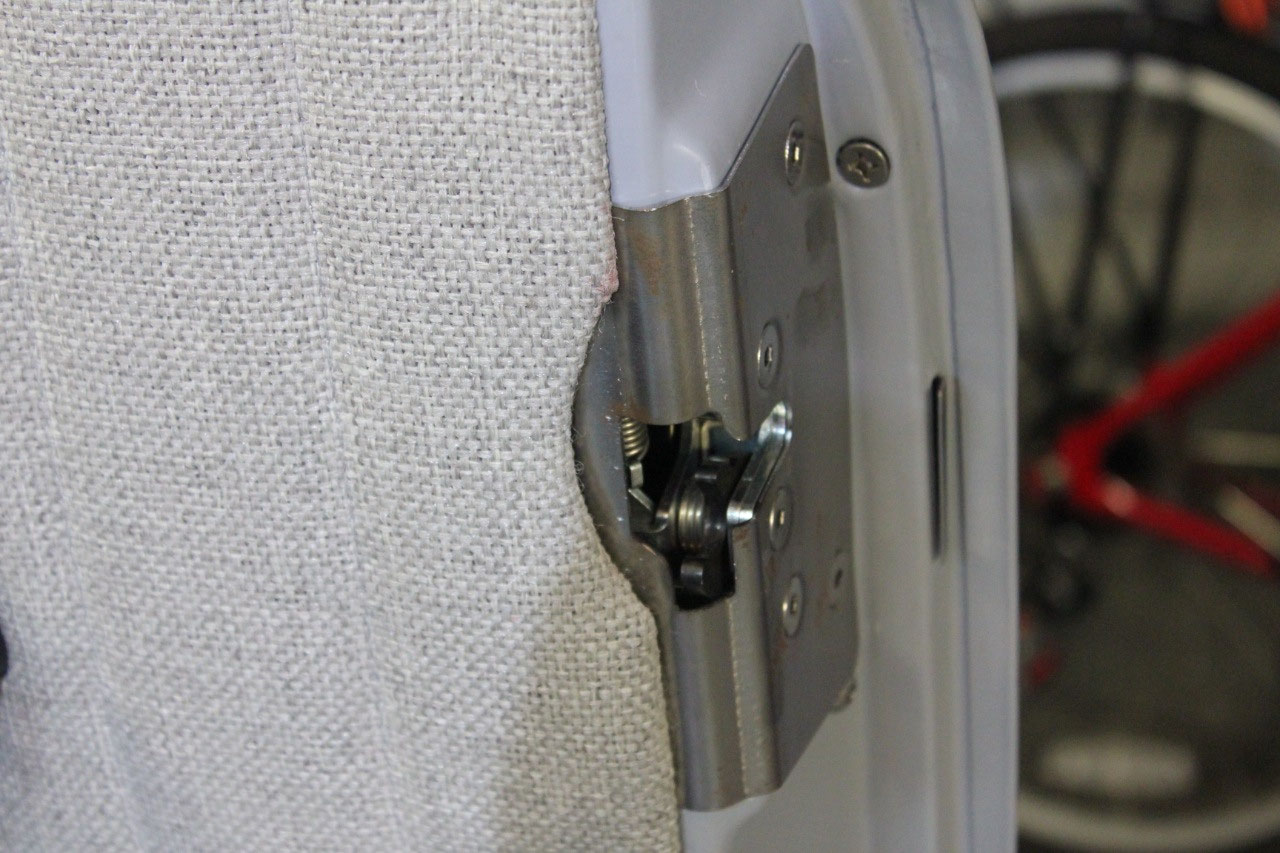
look great, but there was a slight interference with the pins on the Altman
door latches. This was my fault as I
gave the door panels to Xtreme for covering and did not notice where they would
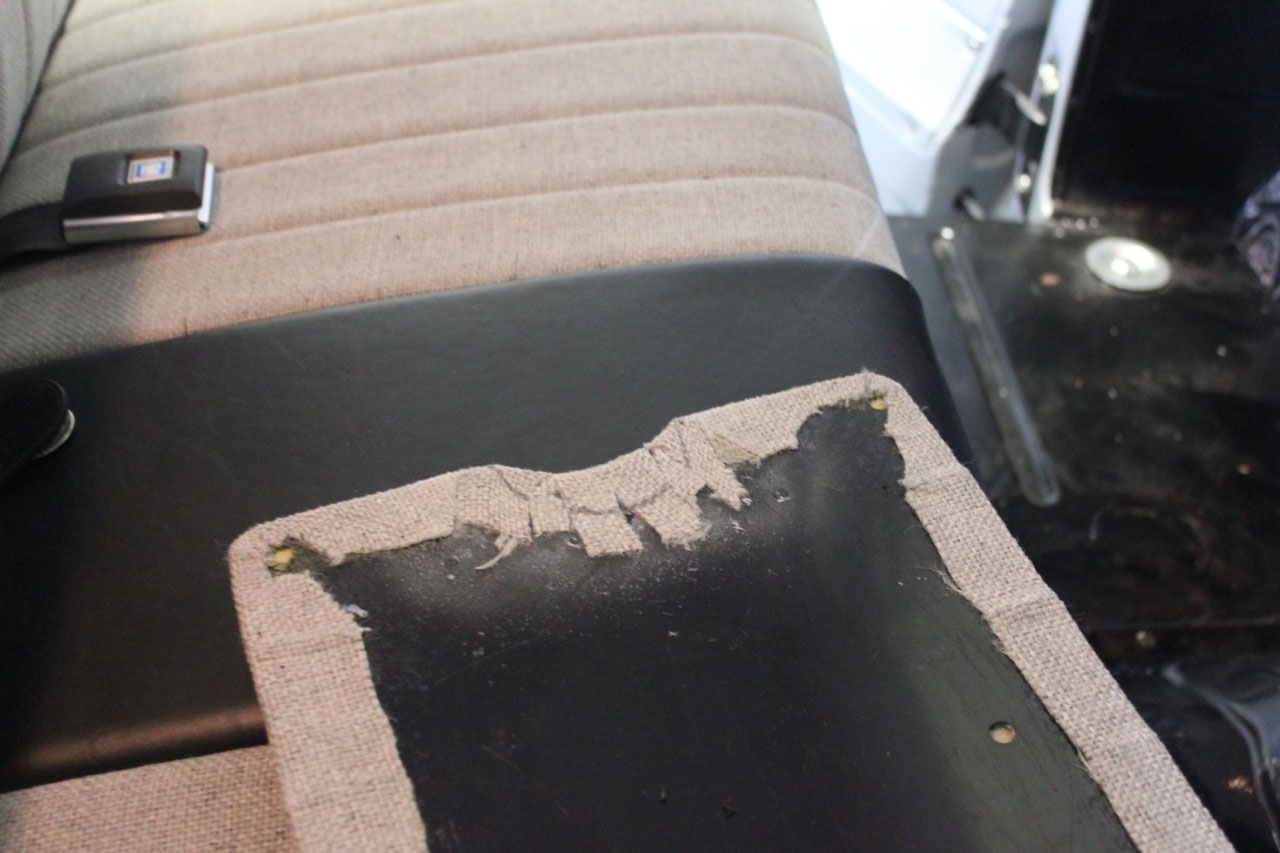
hit. Rather than taking them back for
modification, I just peeled back the cloth where it interfered, trimmed back
the backing and re-bonded the cloth using 3-M upholstery adhesive. They look great and no more interference!
Since the bed is STILL not here, I decided to tackle the
glass. There are many companies that
make glass for this truck, and it’s mostly simple flat glass except for the
corner windows, with plenty of horror stories of replacement glass needing trimming
as it was the wrong size.
I still have
all the original glass, but it is very discolored and cracked. I kept it to verify sizes. Original glass is all laminated, where modern
glass is only laminated on the windshield, and other glass is tempered safety
glass. Also, modern glass for these
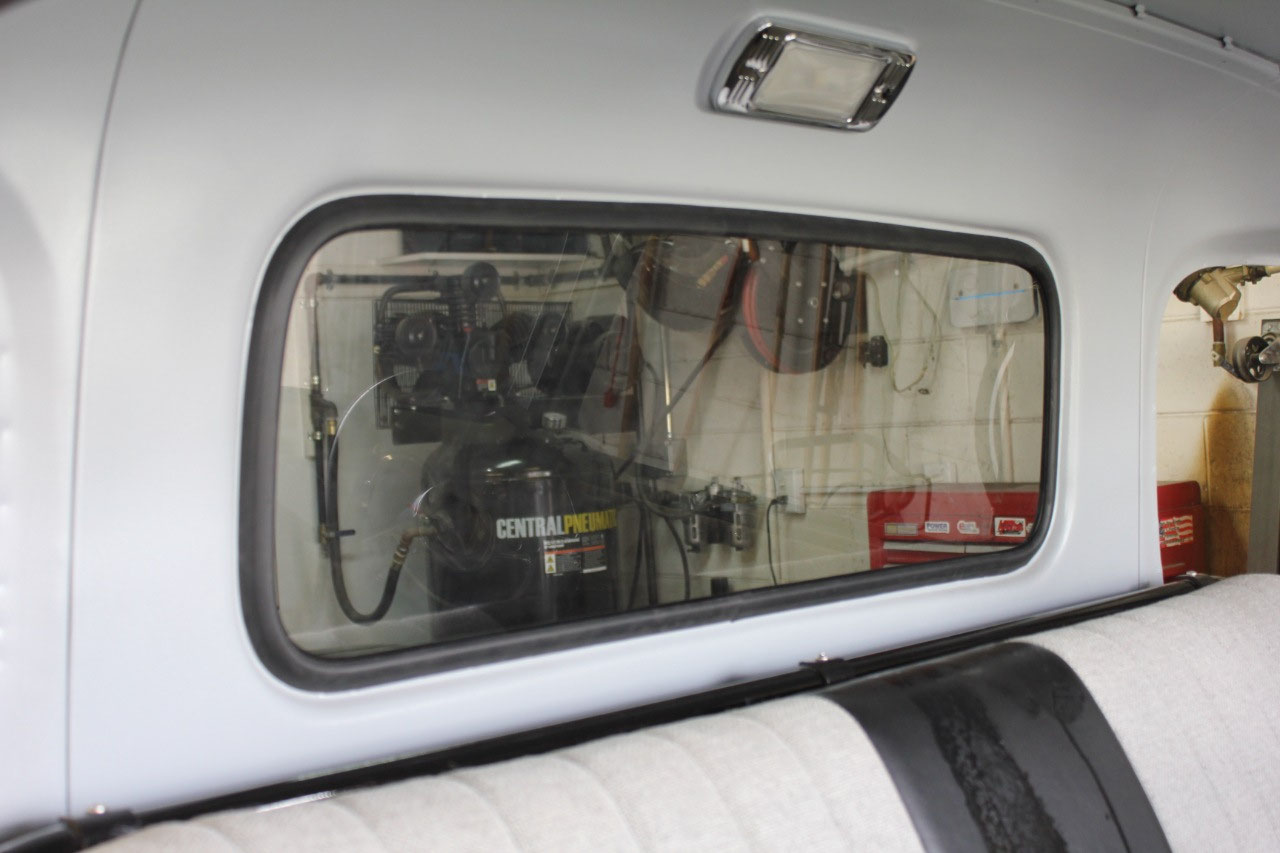
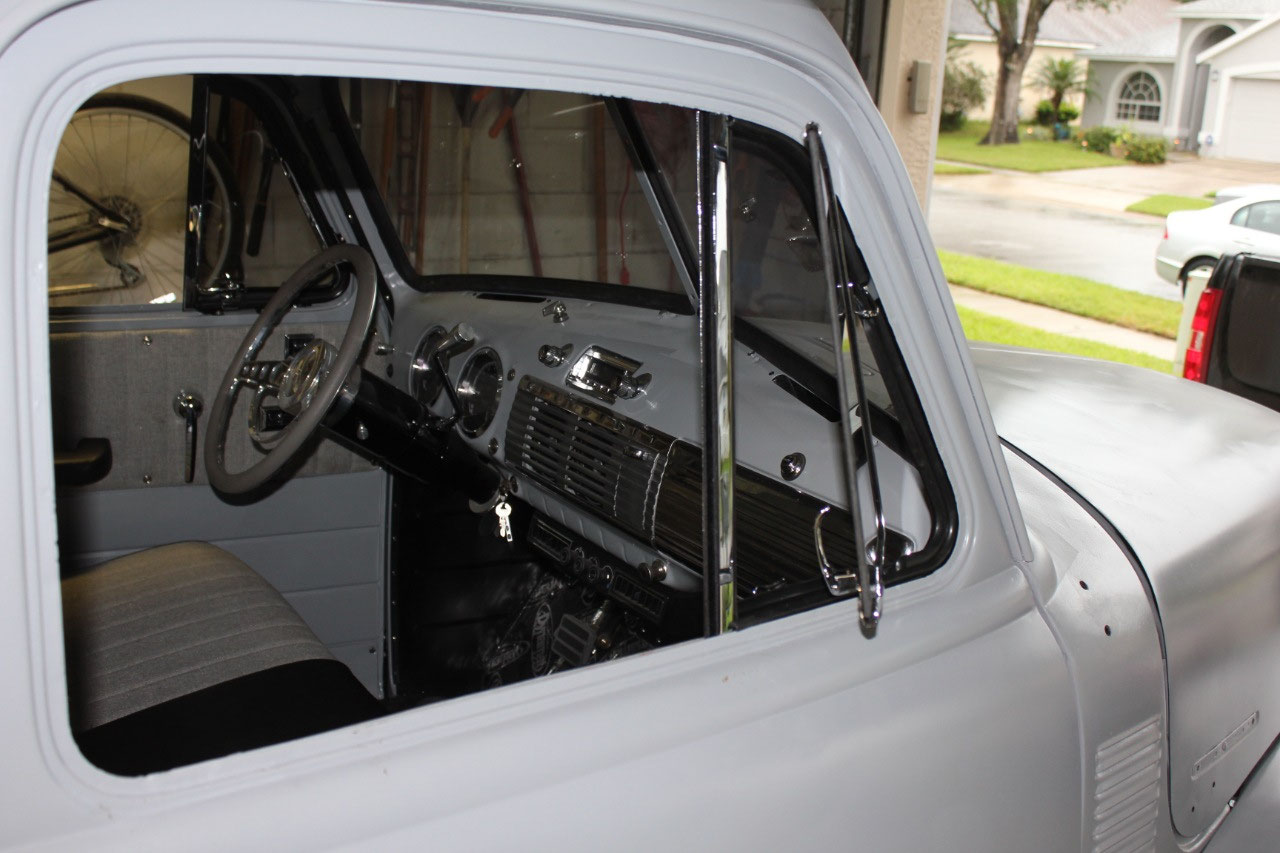
trucks is available in clear, green tint, or smoke gray tint. I decided on the smoke gray color,, but found
that it was only available as for vent windows as loose glass, and was not
available in pre-assembled vent window assemblies. Since I wanted new, chrome vent window
assemblies, this meant I might need to disassemble some new vent window
assemblies and replace the clear glass with smoke tint.
Fortunately, I went on Facebook, and found a company in
Minnesota, Auto City Classic, that specialized in classic car glass, that would
sell me the vent window assemblies in chrome, with smoke tinted glass, along
with a great price on all the remaining glass for the entire truck. All the side and rear glass is the same smoke
tint, and even the windshield has a slight tint, with smoke gray banding.
All DOT approved. It all looks great, and I matched it up with
the original glass, and the size looks perfect’
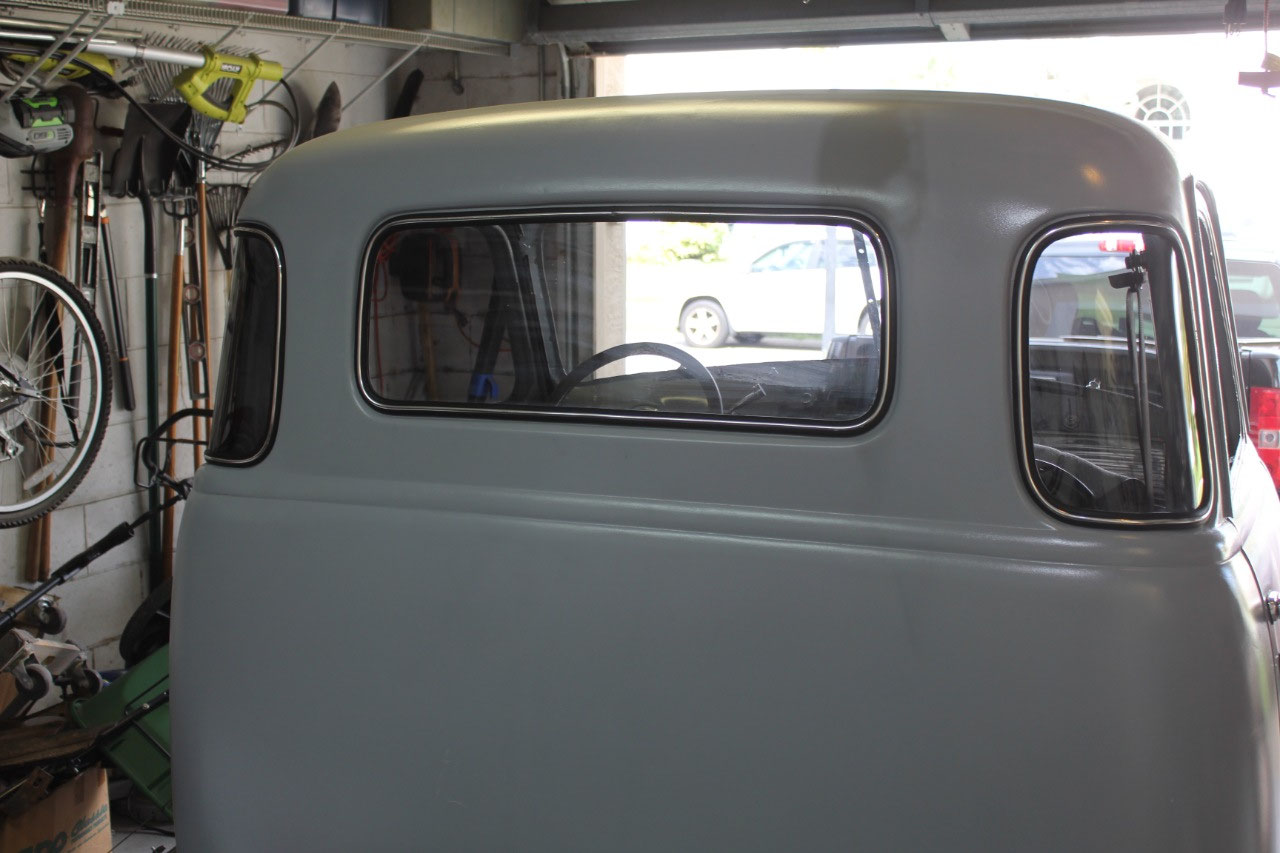
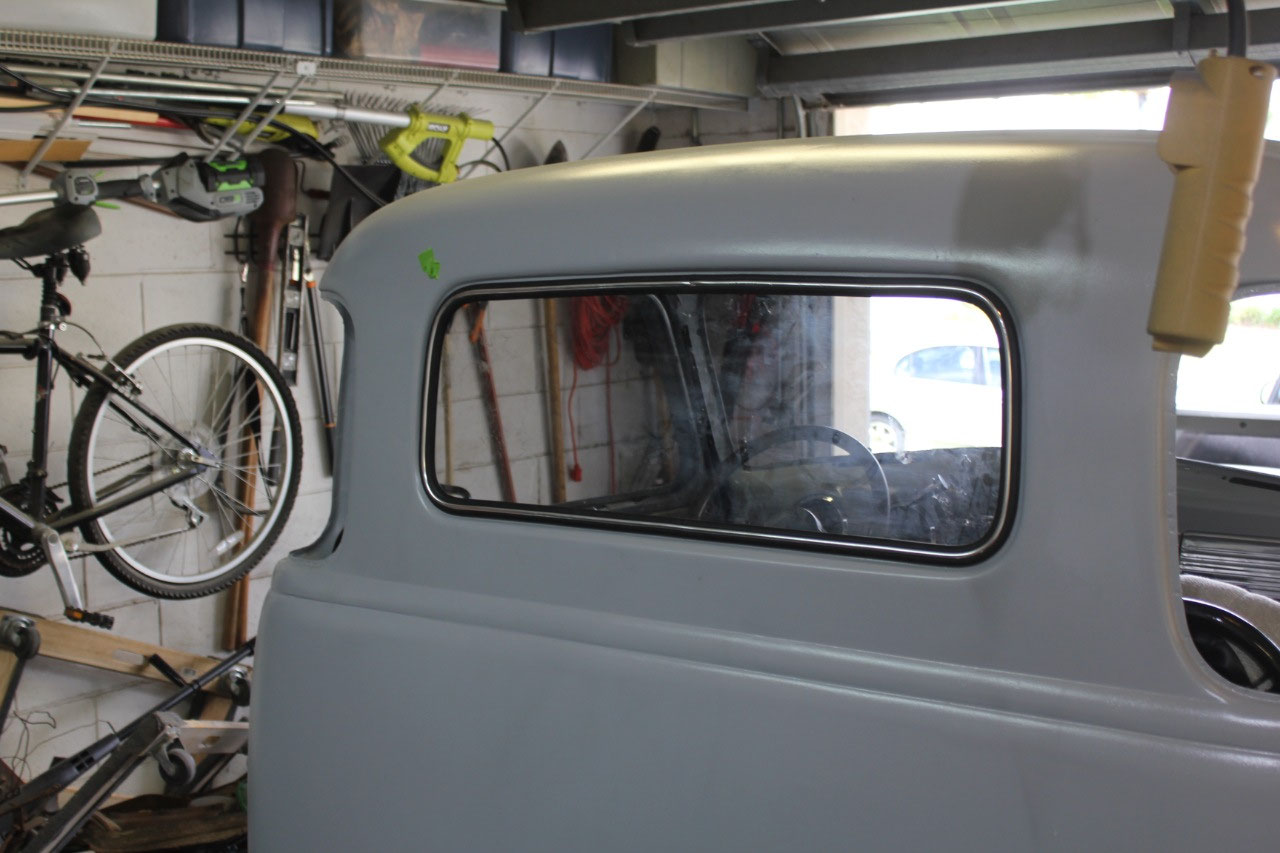
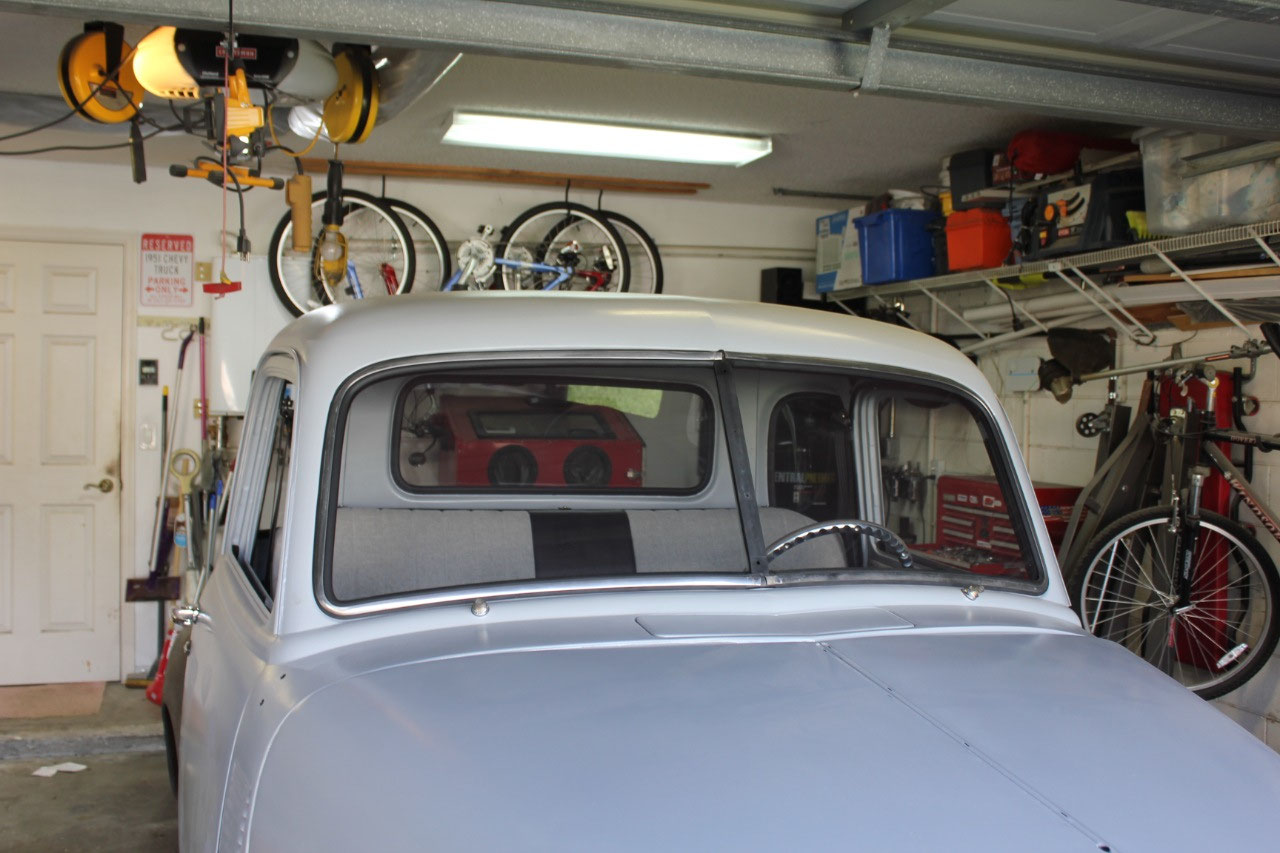
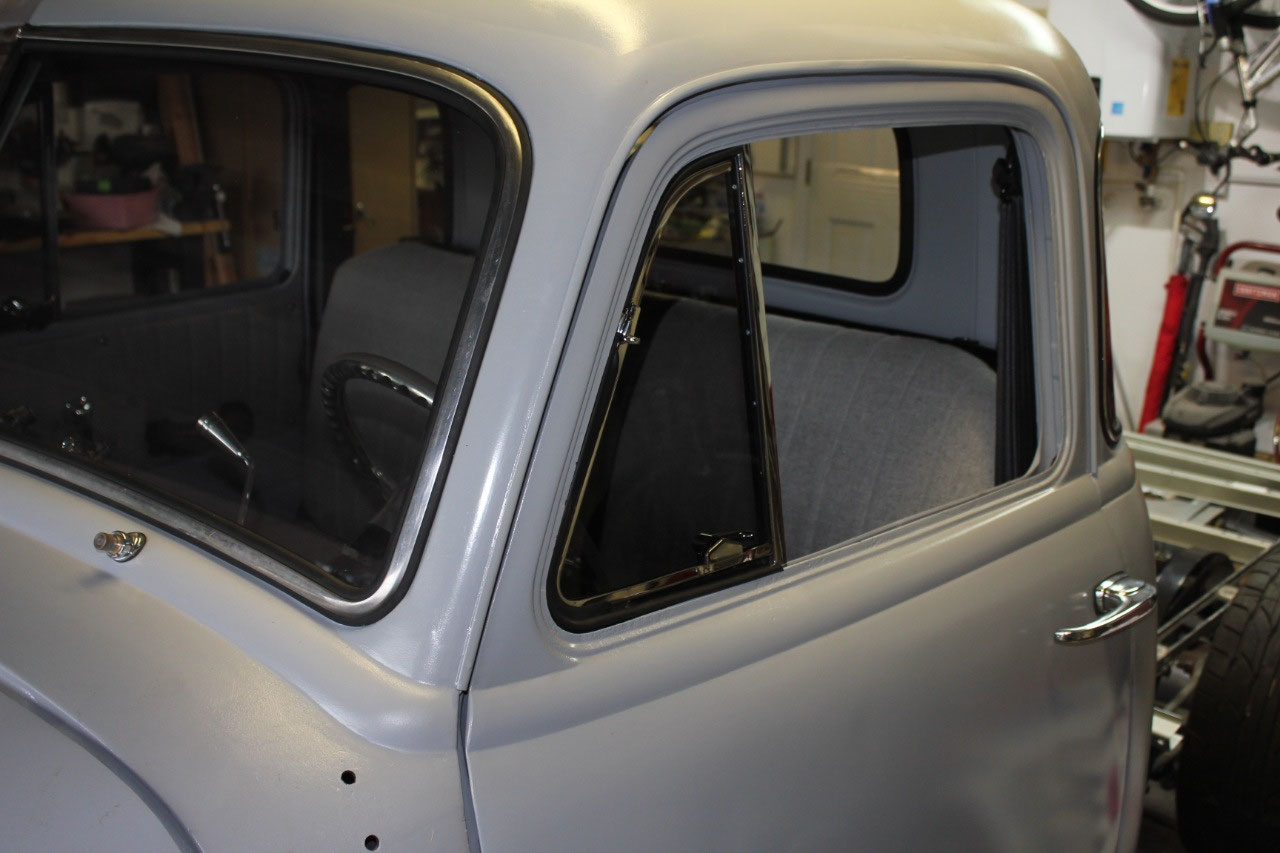
I started the glass installation with the rear glass as it
seemed to be the easiest, and installation was just as easy as it looked on
YouTube. I used a rope in the groove to
pull the rubber through, and the special tool to install the locking trim. I installed the glass dry, without adhesive,
as I expect to remove it all later for paint.
I also just used the cheap rubber from LMC, but at final installation I
plane to use the “good” rubber from Steele.
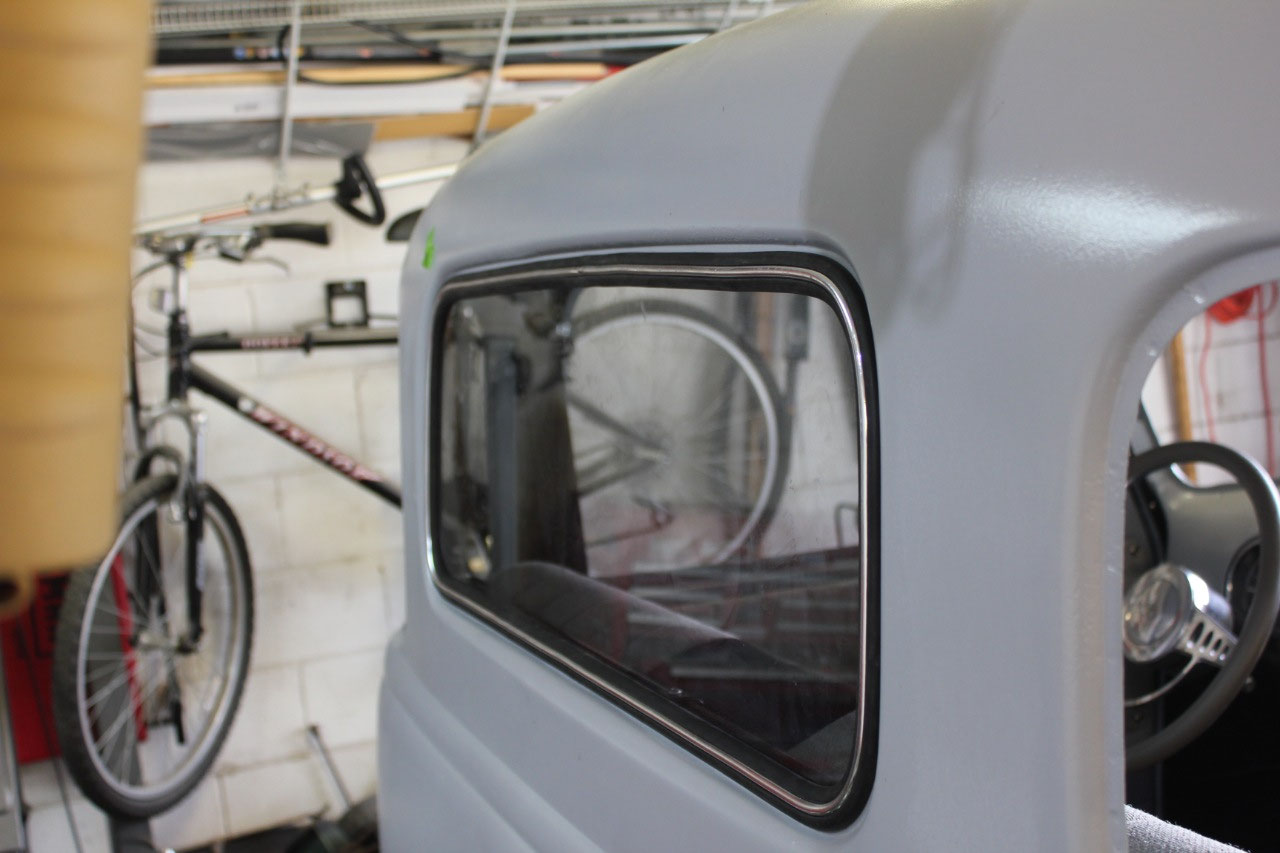
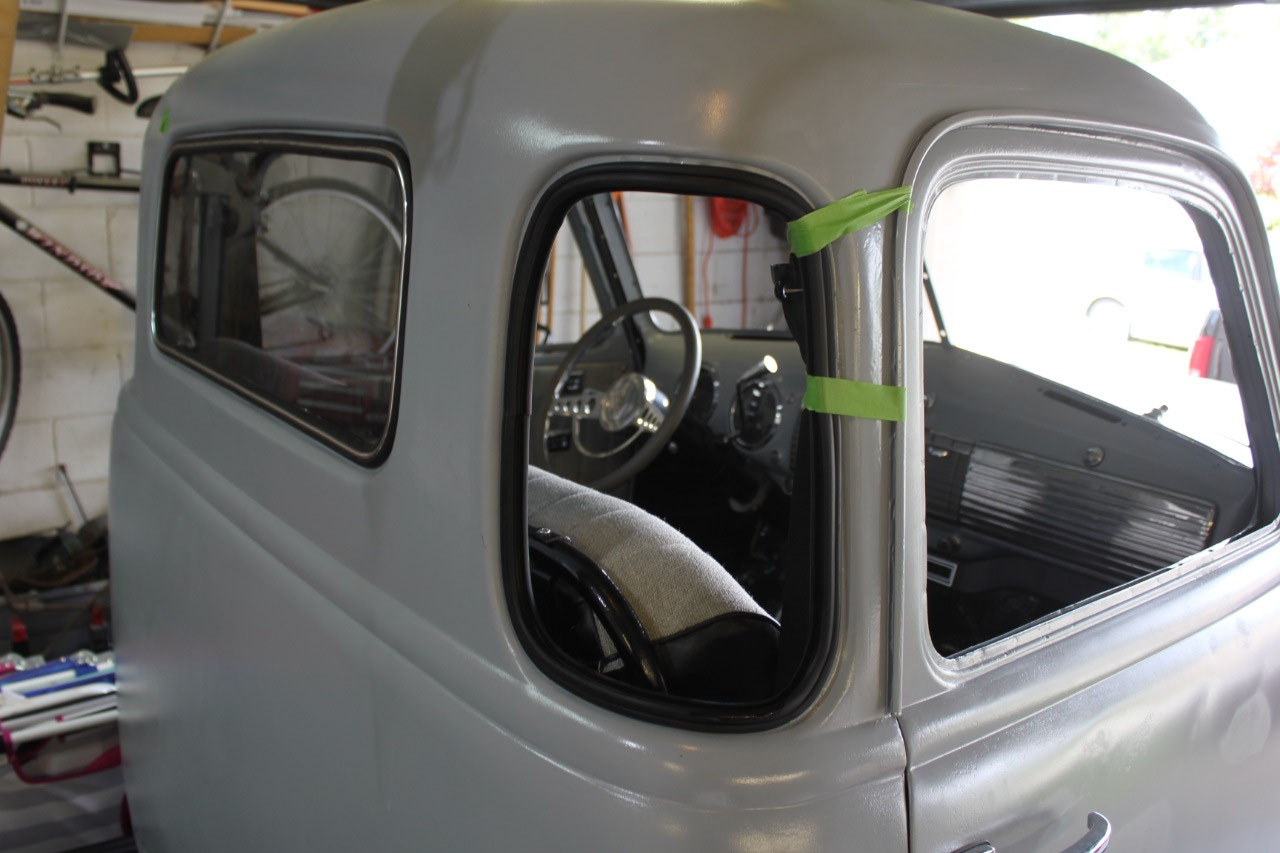
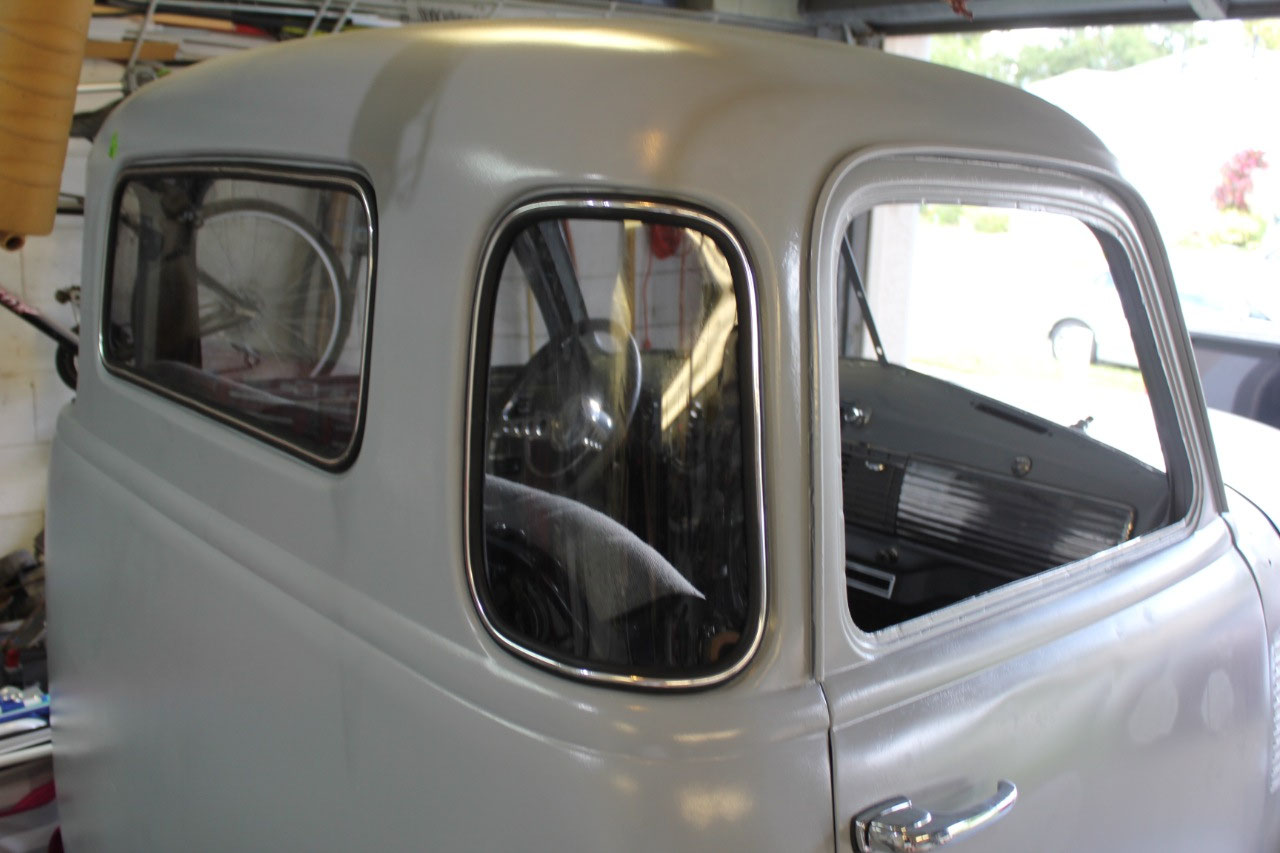
The corner windows were just as easy as the rear, so I was hoping the
windshield would also be just as easy.
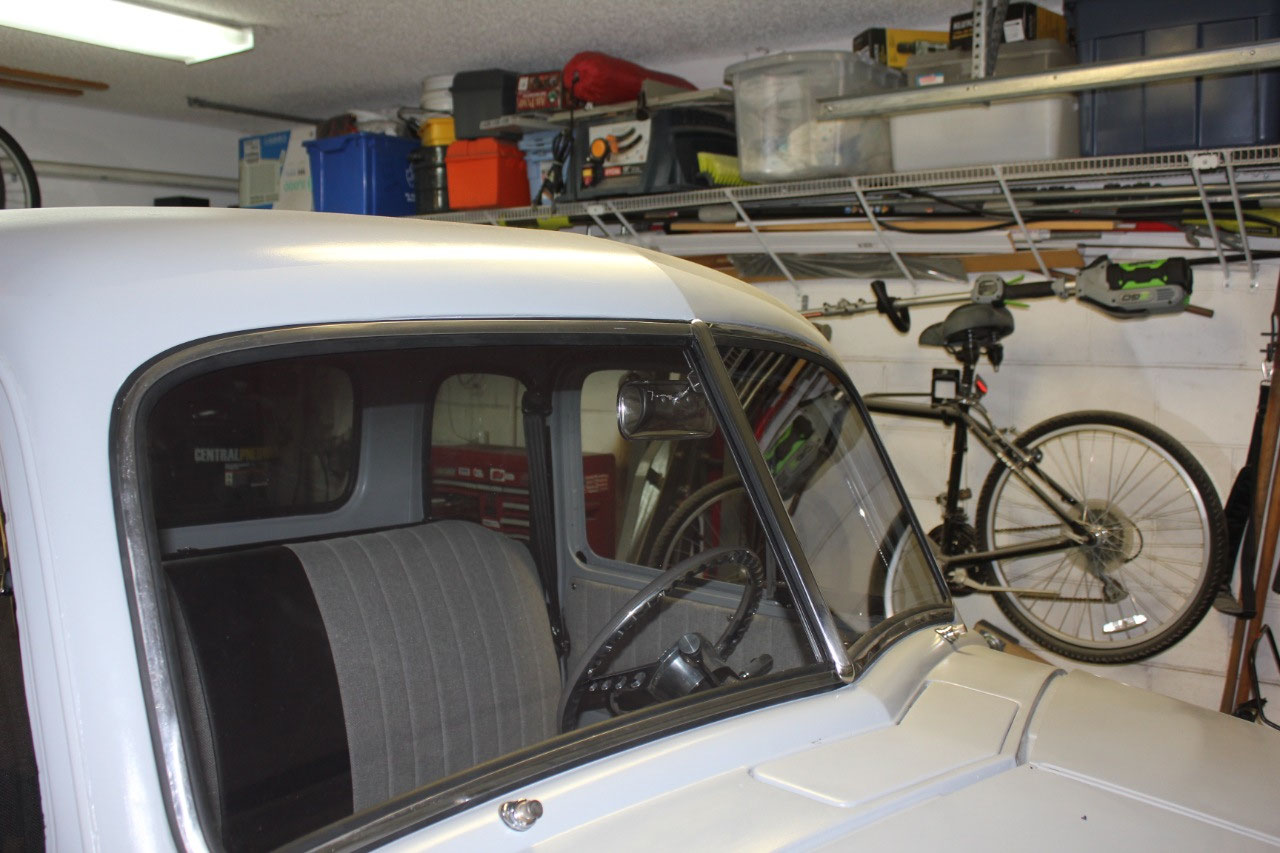
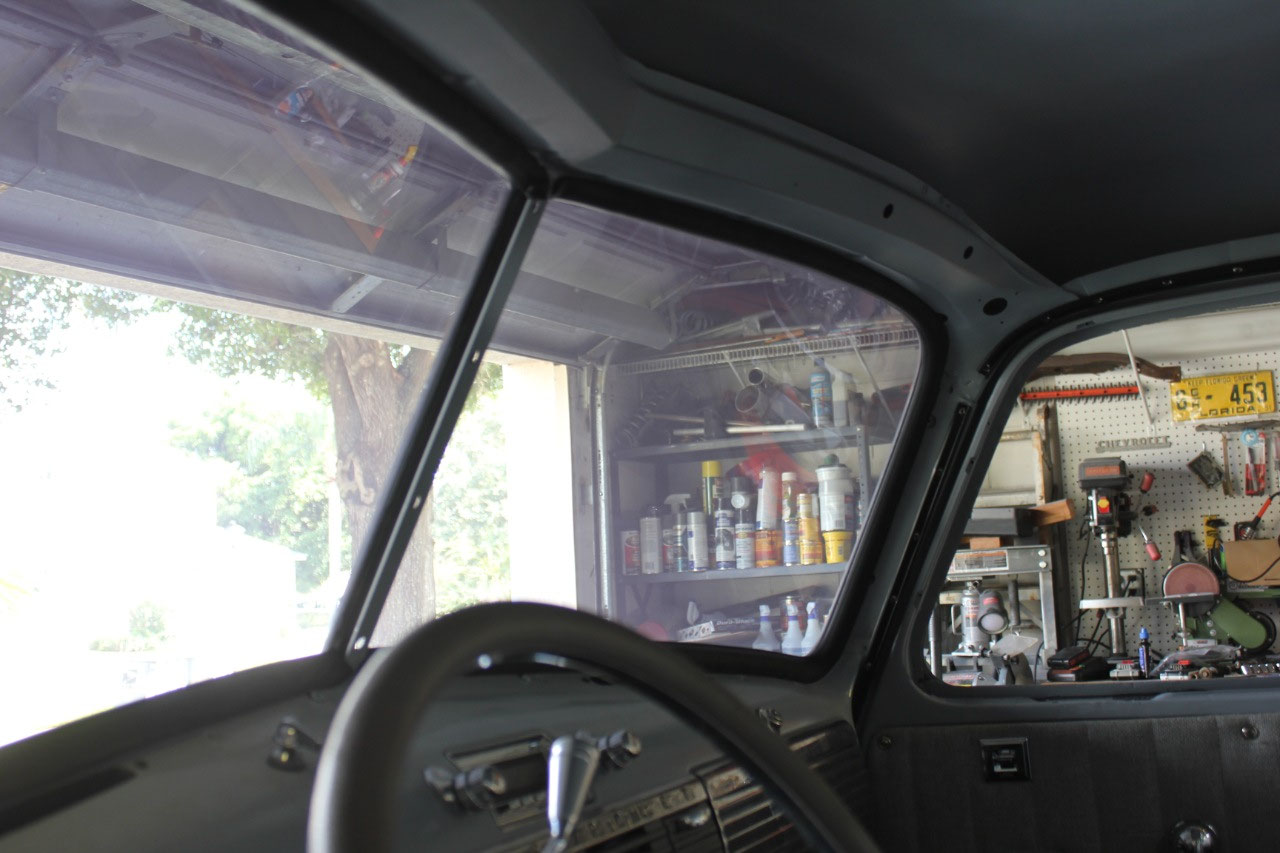
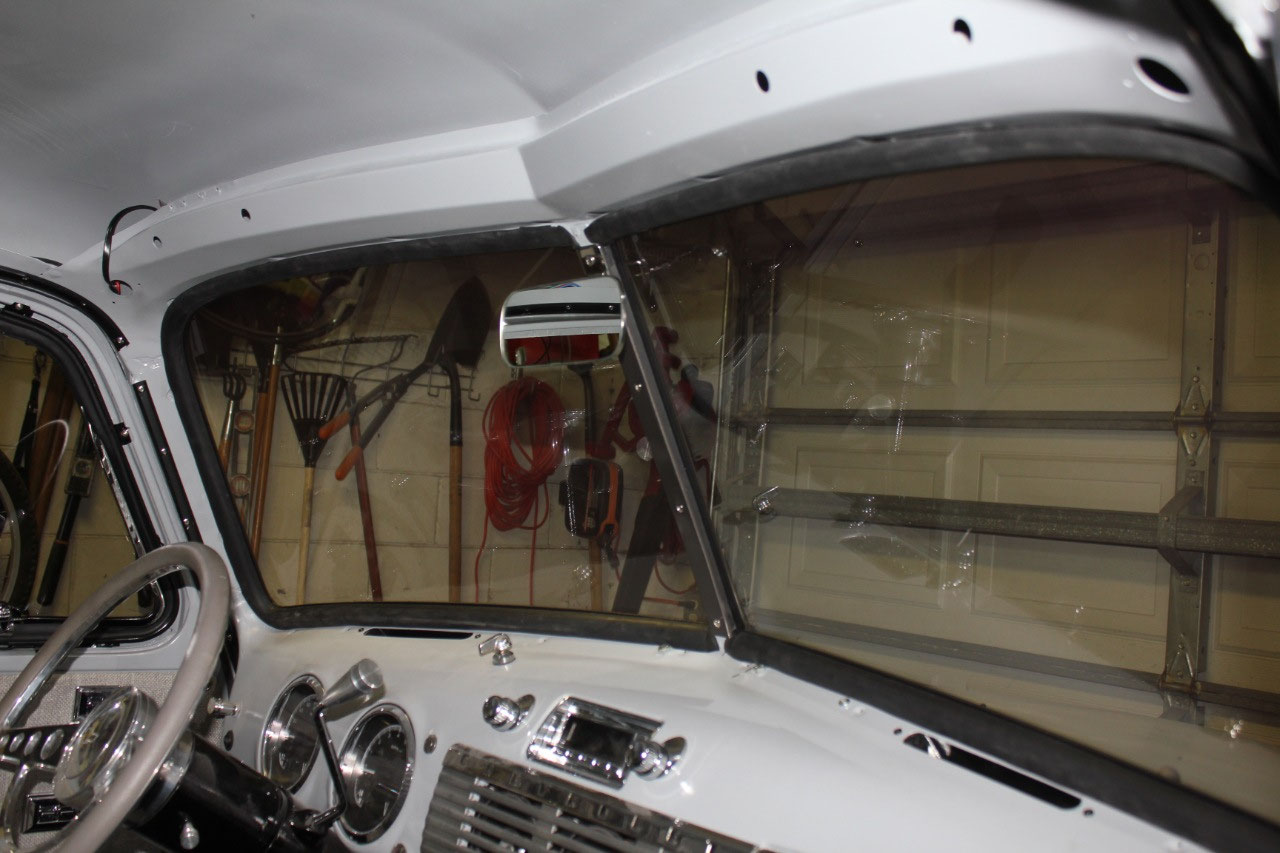
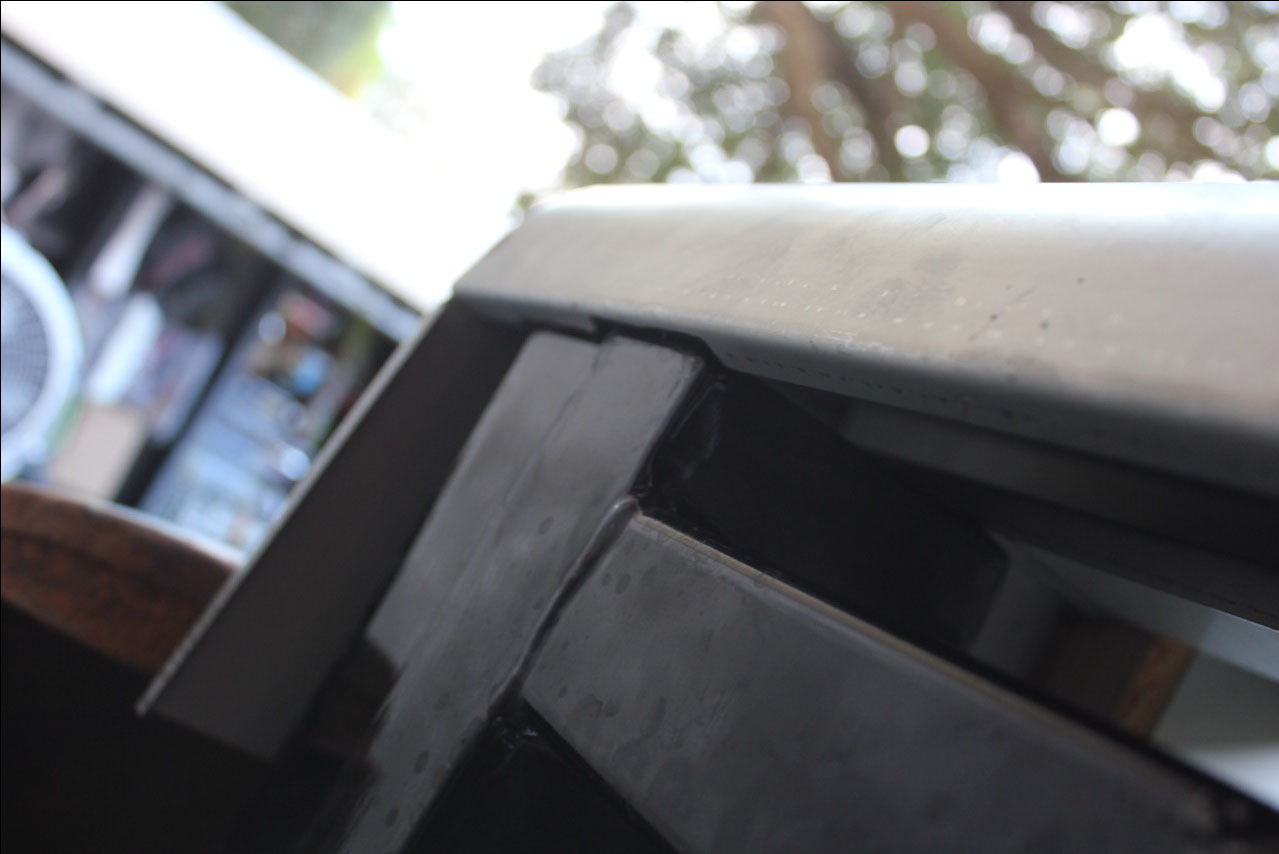
No such luck! The windshield
wasn’t bad, I’m sure some of the fit problem was the cheap LMC rubber and the
Steele rubber will probably be easier.
The only real problem was the center bar.
After installing all the top and sides of the windshield
rubber, there was about a ½” gap between the inside and outside center
bars. It looked pretty terrifying to
think of prying on the windshield and I was afraid it might crack.
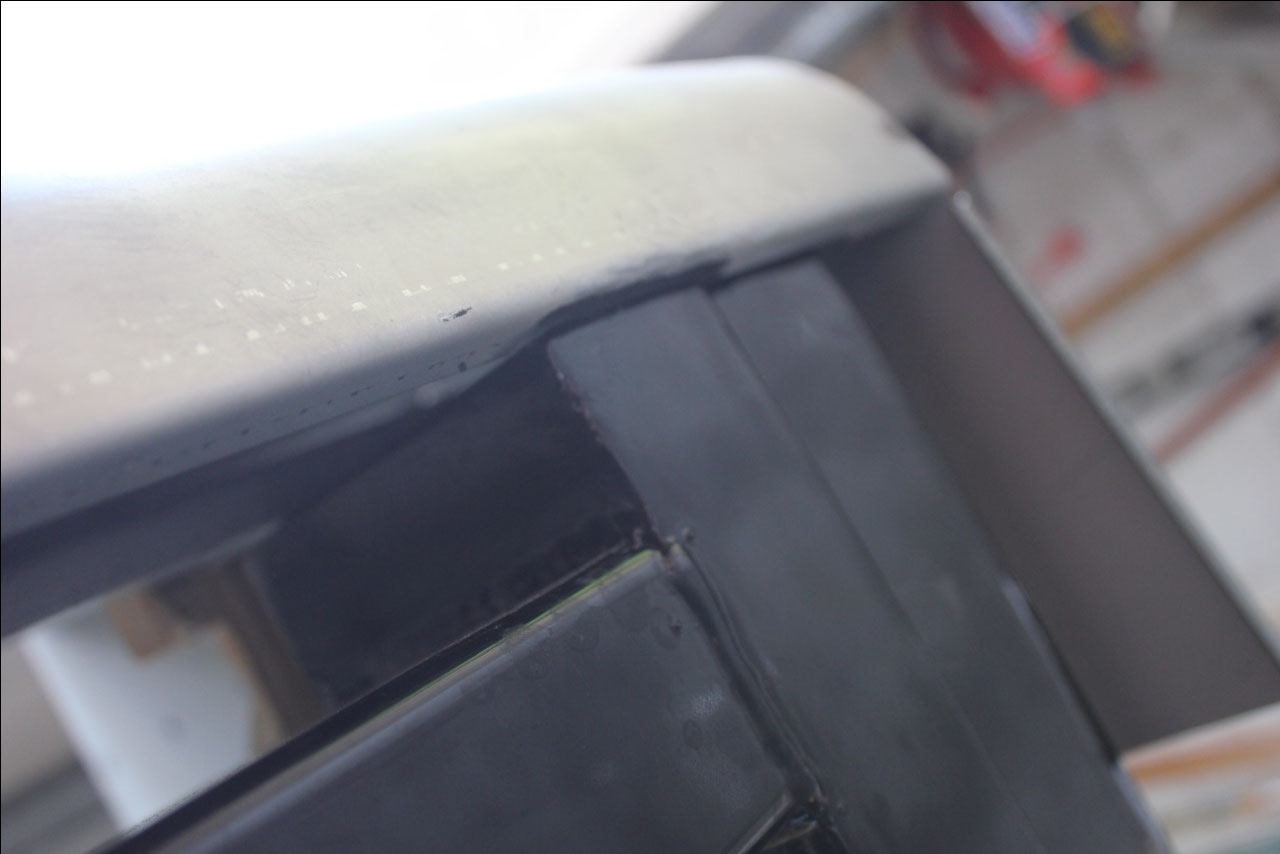
I checked on Facebook, and several people
told me this wasn’t particularly unusual, but that it would pull into
place. The 10-32 screws between the
front and rear bars were too short to reach, but I just used longer screws that
would reach, and tightened them down to pull in the bar. I then replaced them with a series of shorter
screws until the gap was gone. It all
pulled in great, and the windshield did not crack!
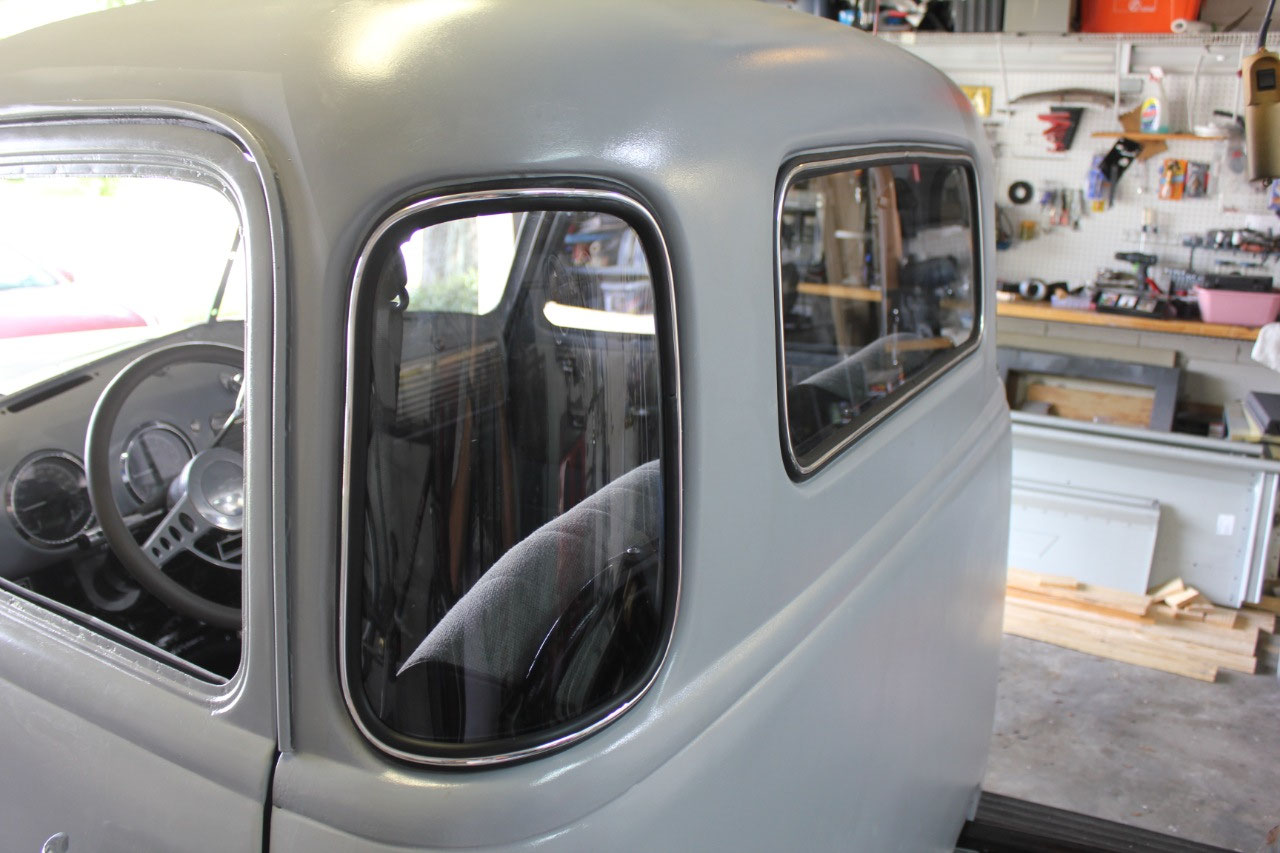
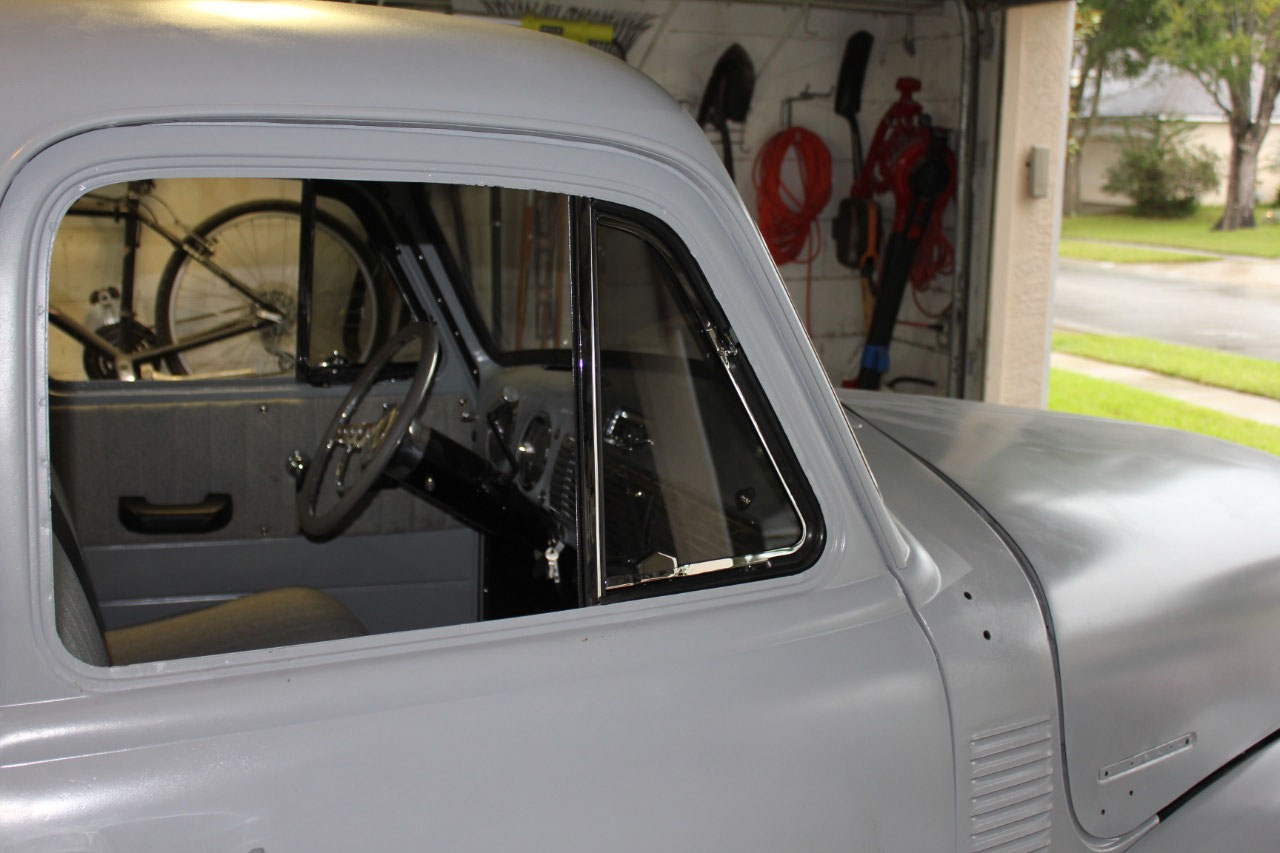
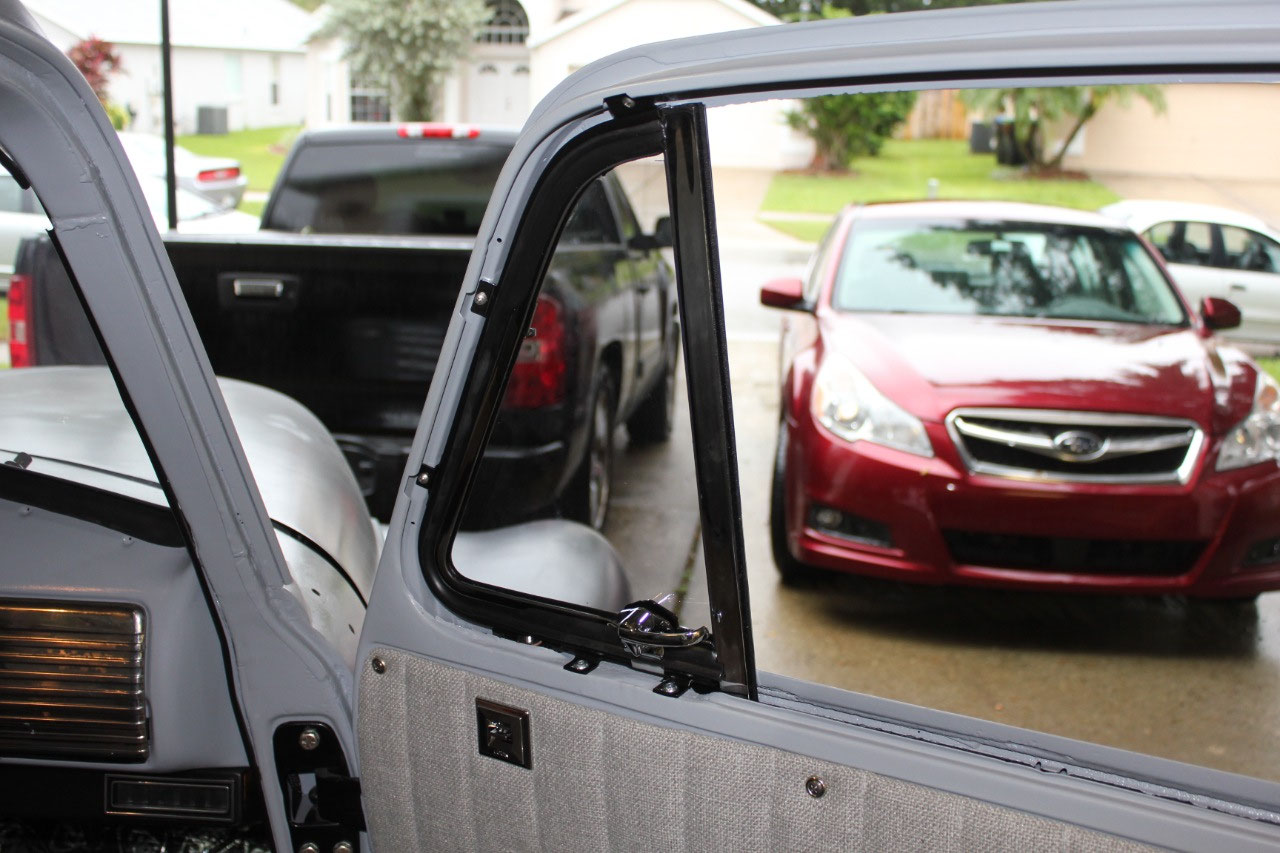
I was going to install the door glass, but figured out I
would need to glue the window track in place, and in the end, I decided to save
that task for later, and settled for installing the vent window
assemblies. Everything looks great! I’m glad I went with the vent windows and
the chrome vent window frames.
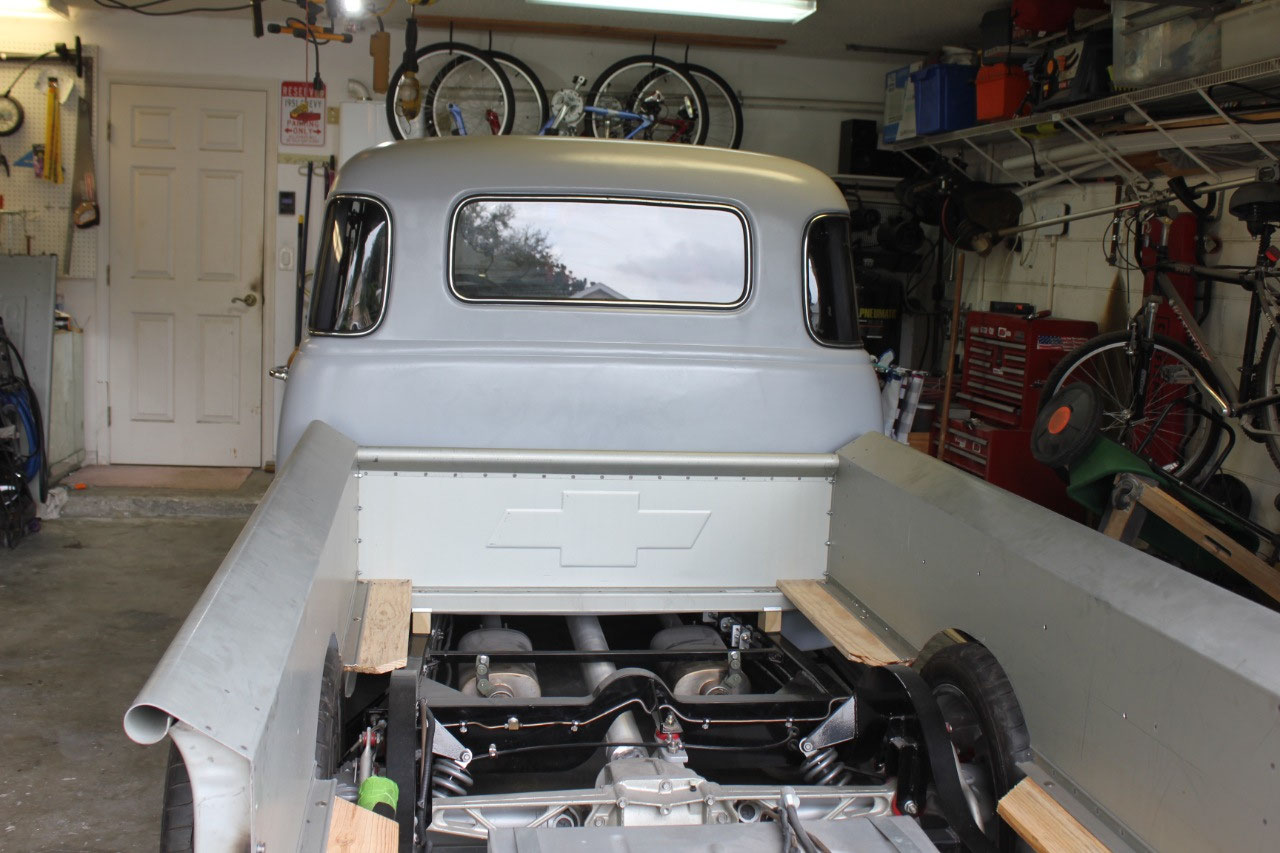
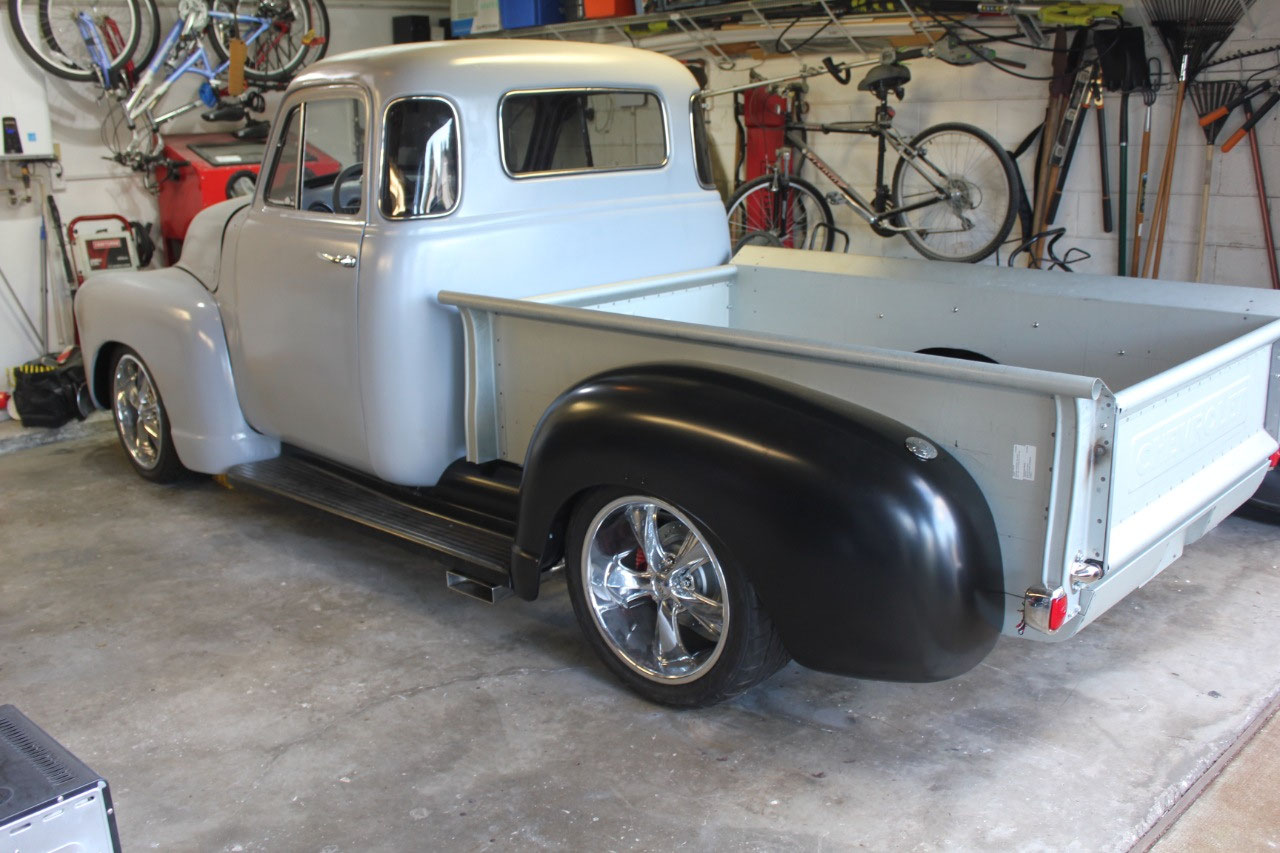
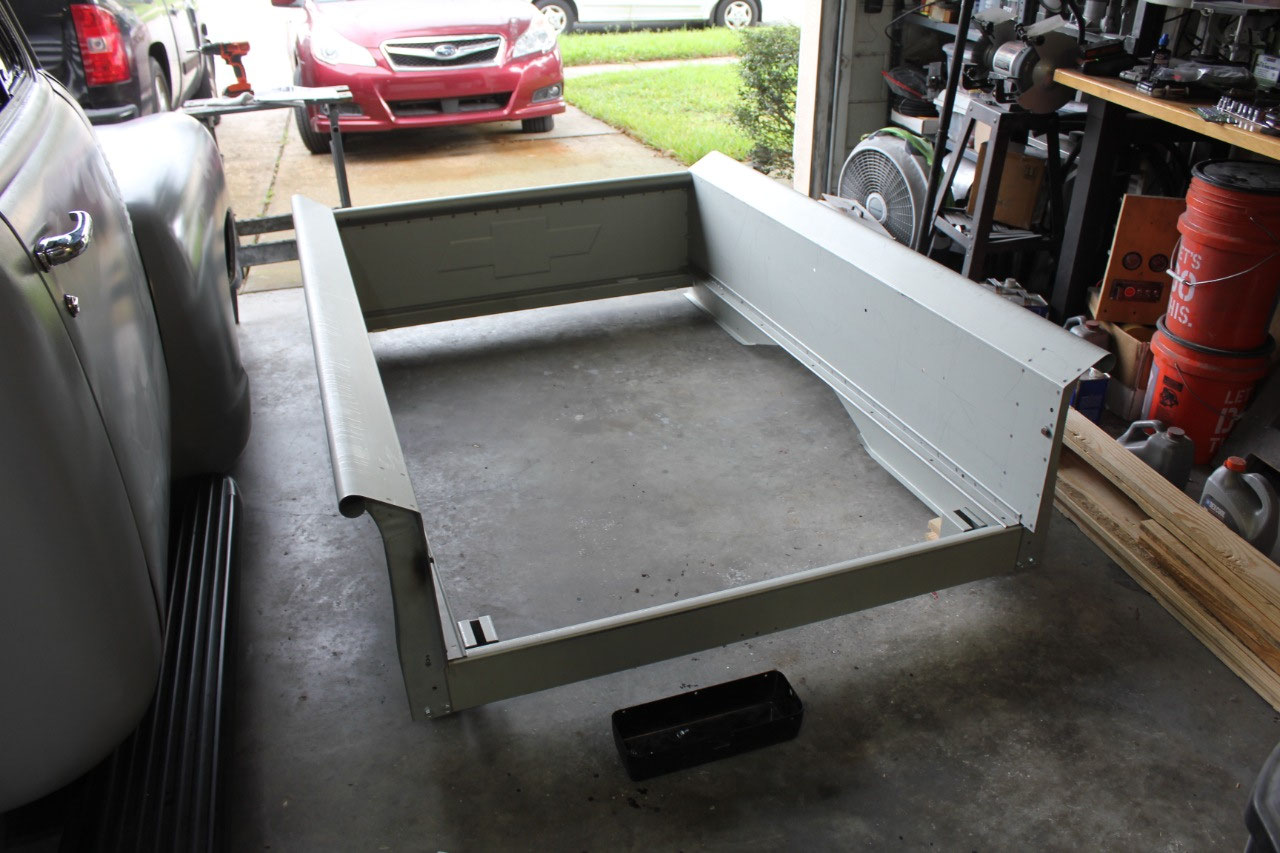
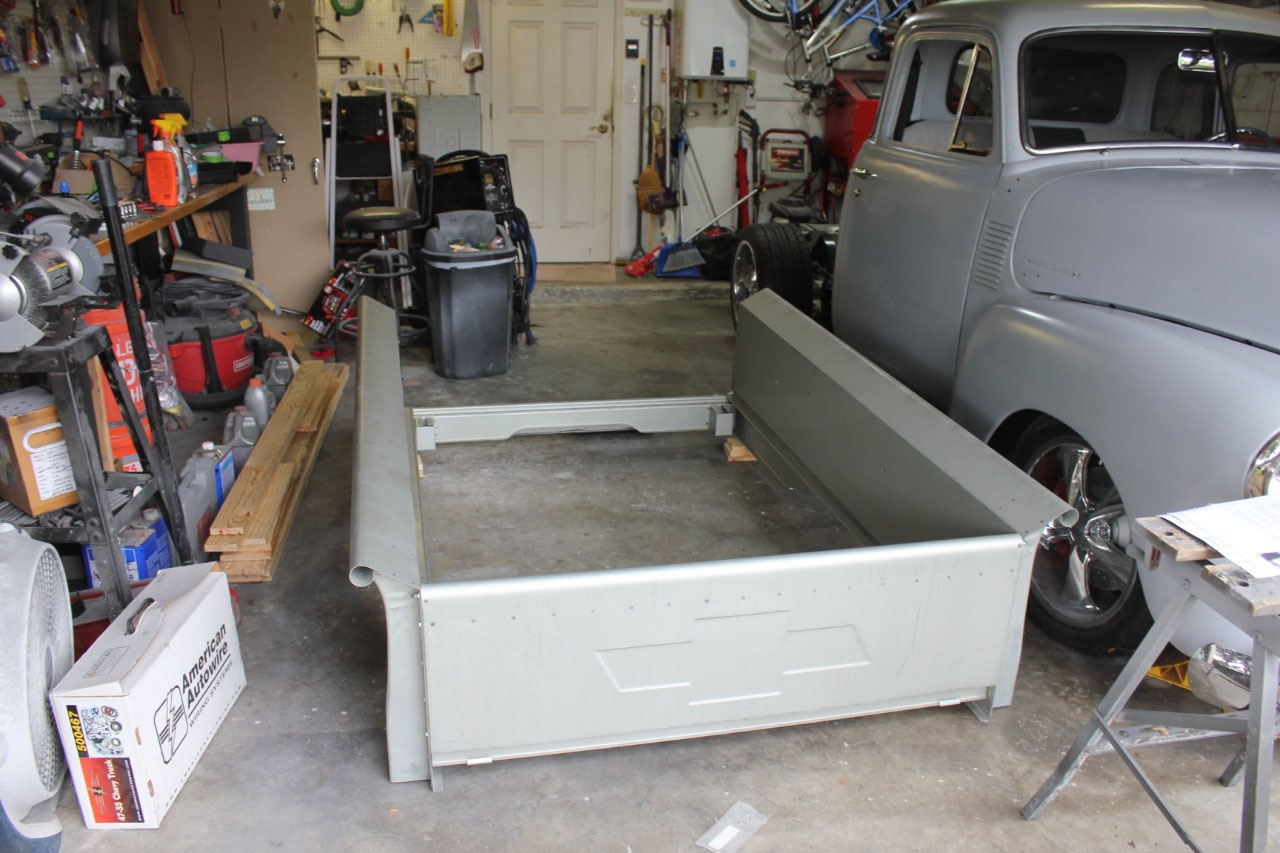
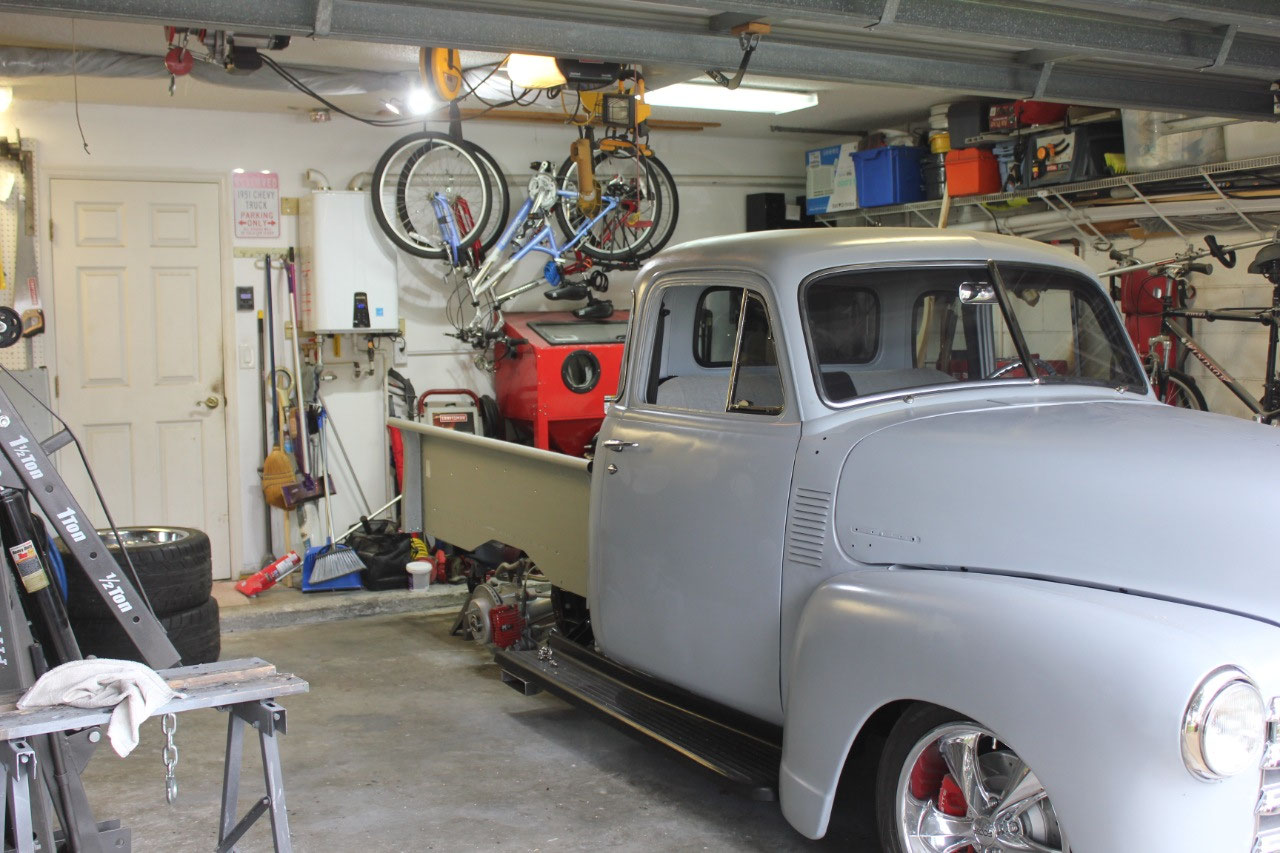
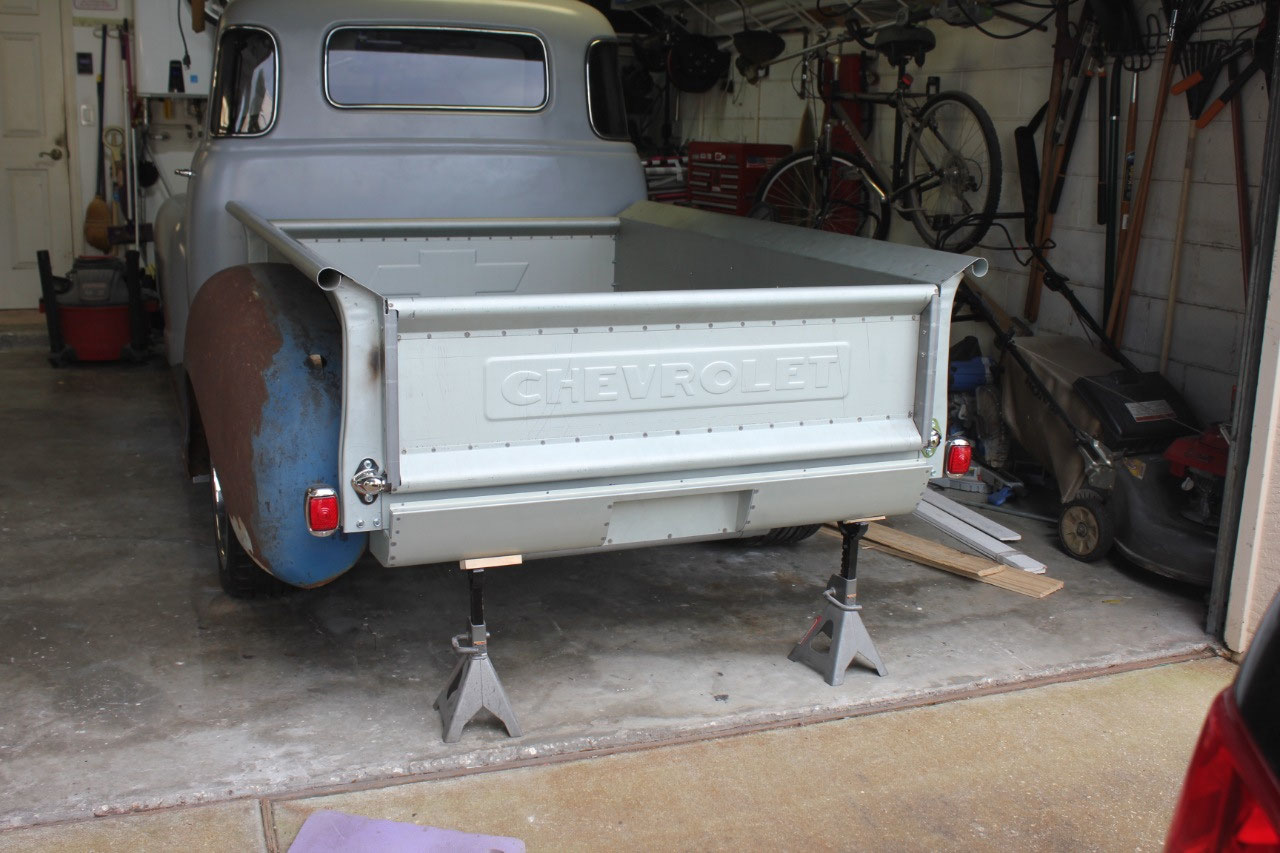
The bed arrived from Mar-K, and I have to admit, I was
really impressed with the quality.
Everything is much nicer that previous replacement panels. Rather than the typical pine or oak bedwood,
I went with cherry (all the wood in my house is cherry) and it looks
great! I’m sure it will be beautiful
when it is stained and finished! But
that will not be for quite a while.
Meantime,
it is stored away in the house for safekeeping along with the stainless bed
rails.
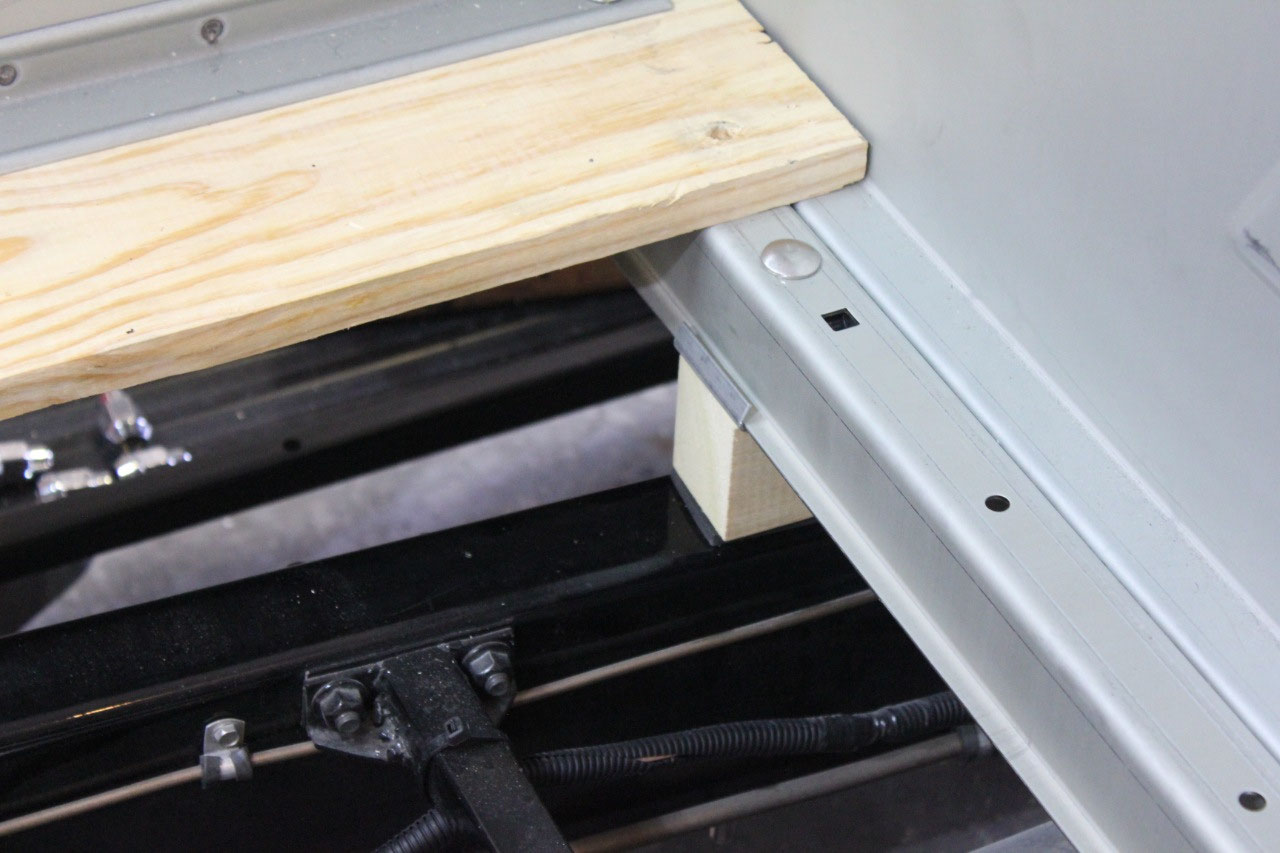
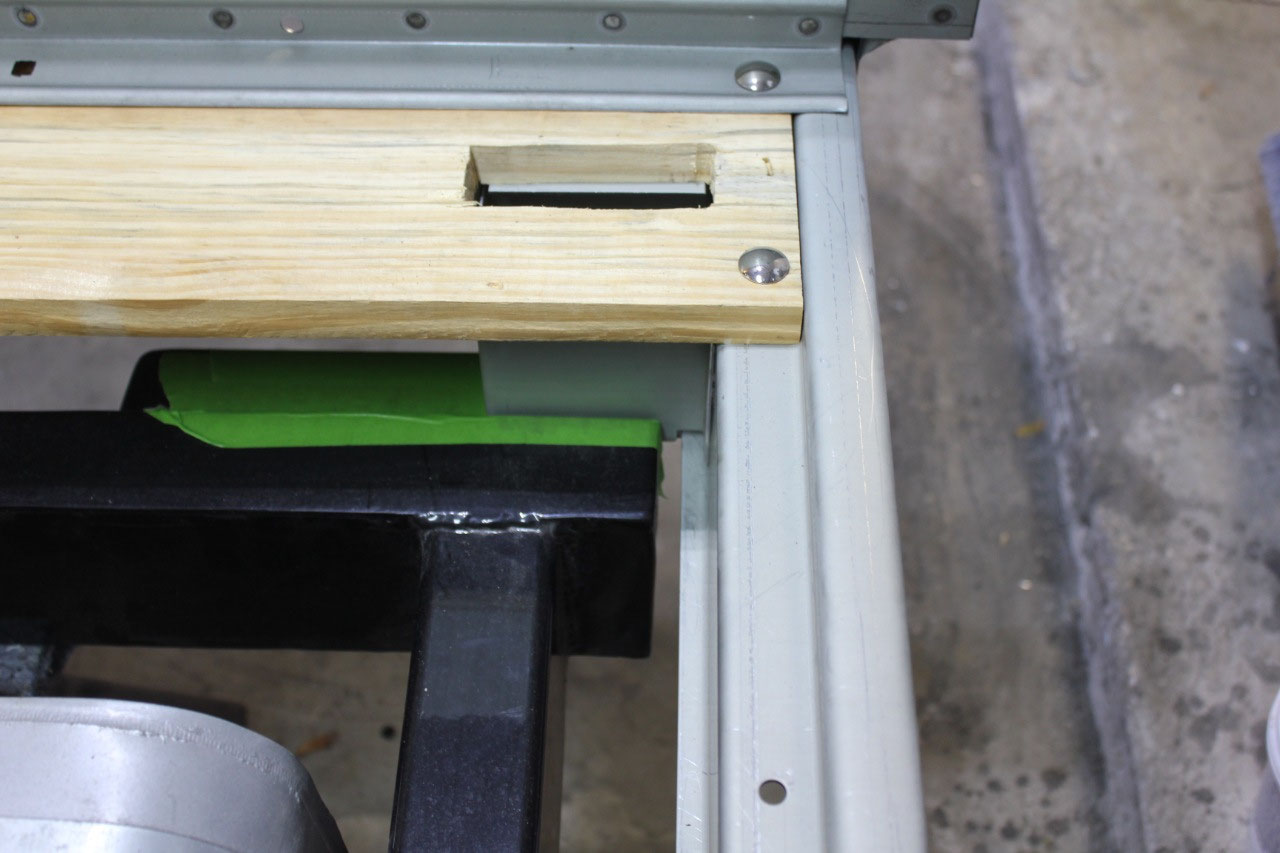
The bed bolted together easily with the included
hardware. I needed it install some small
1” boards at the corners to simulate the bedwood in the corners to get the
spacing correct. The bed hardware is
available as either zinc plated or stainless, and I chose a mixture. In places where I expect to paint the
hardware, like the bed front panel, and places where I don’t expect to paint
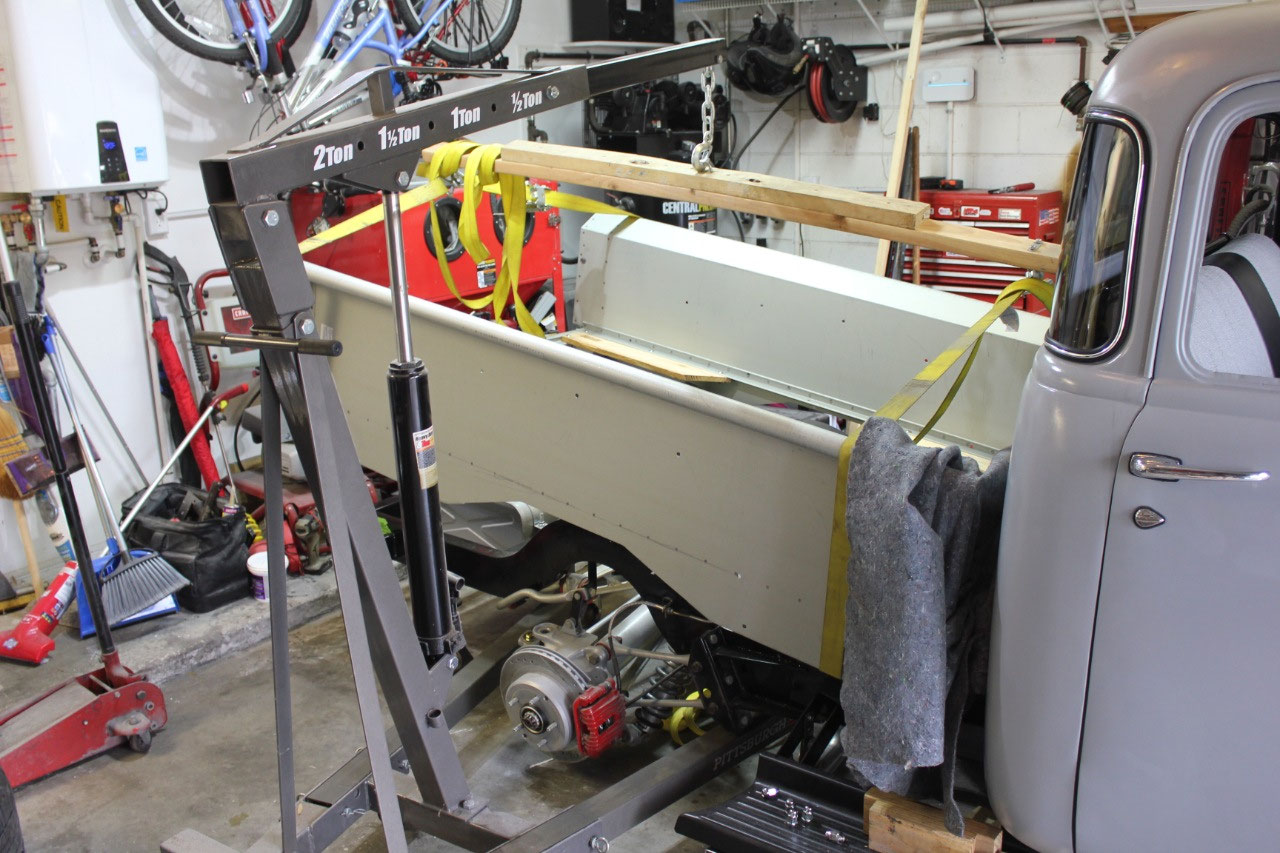
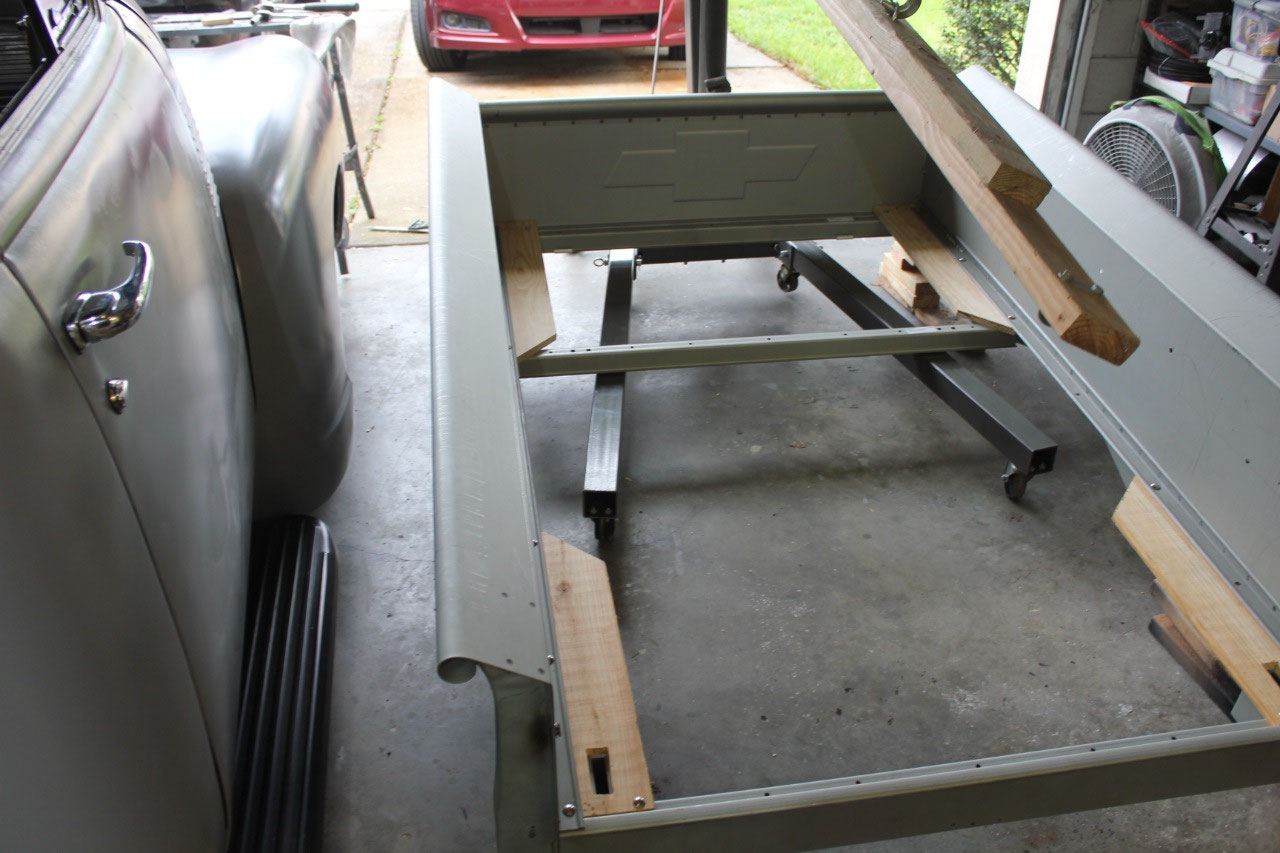
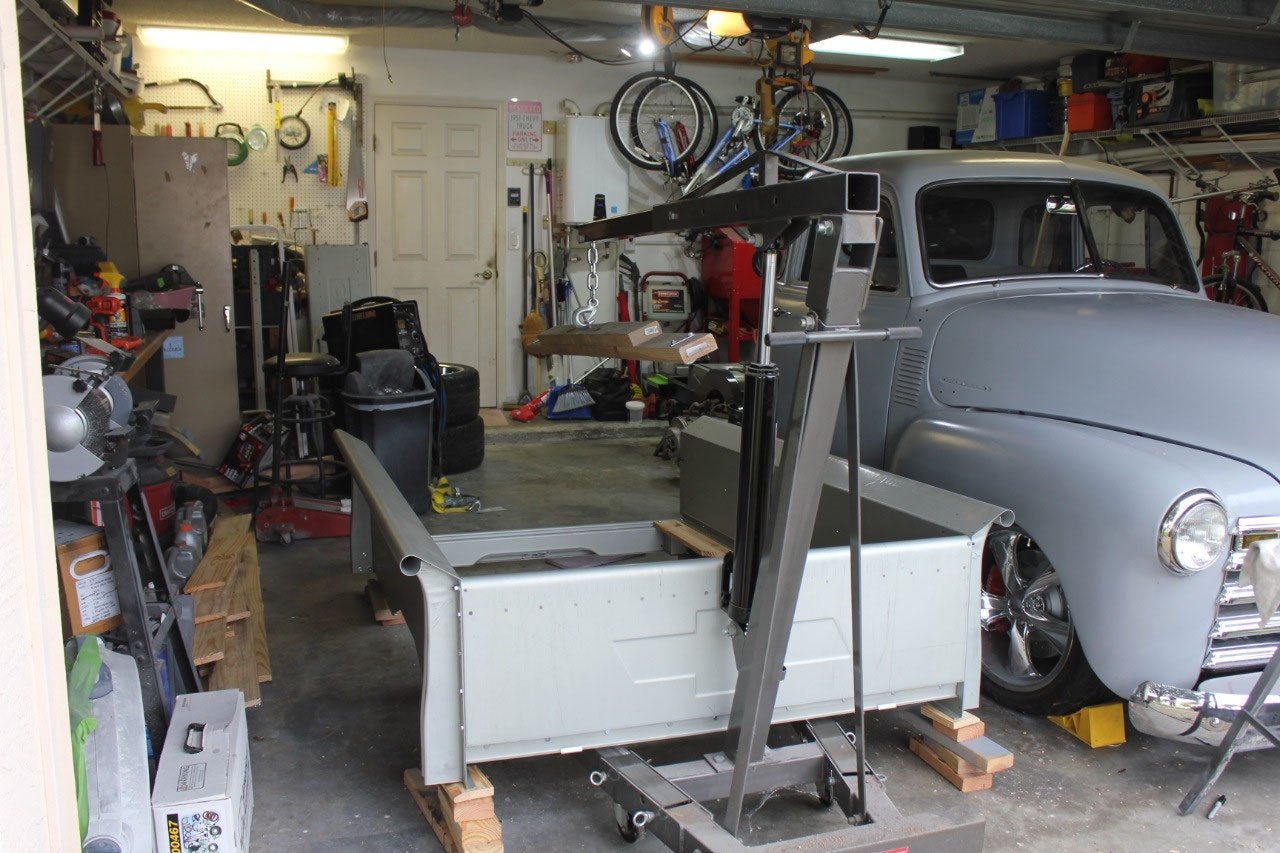
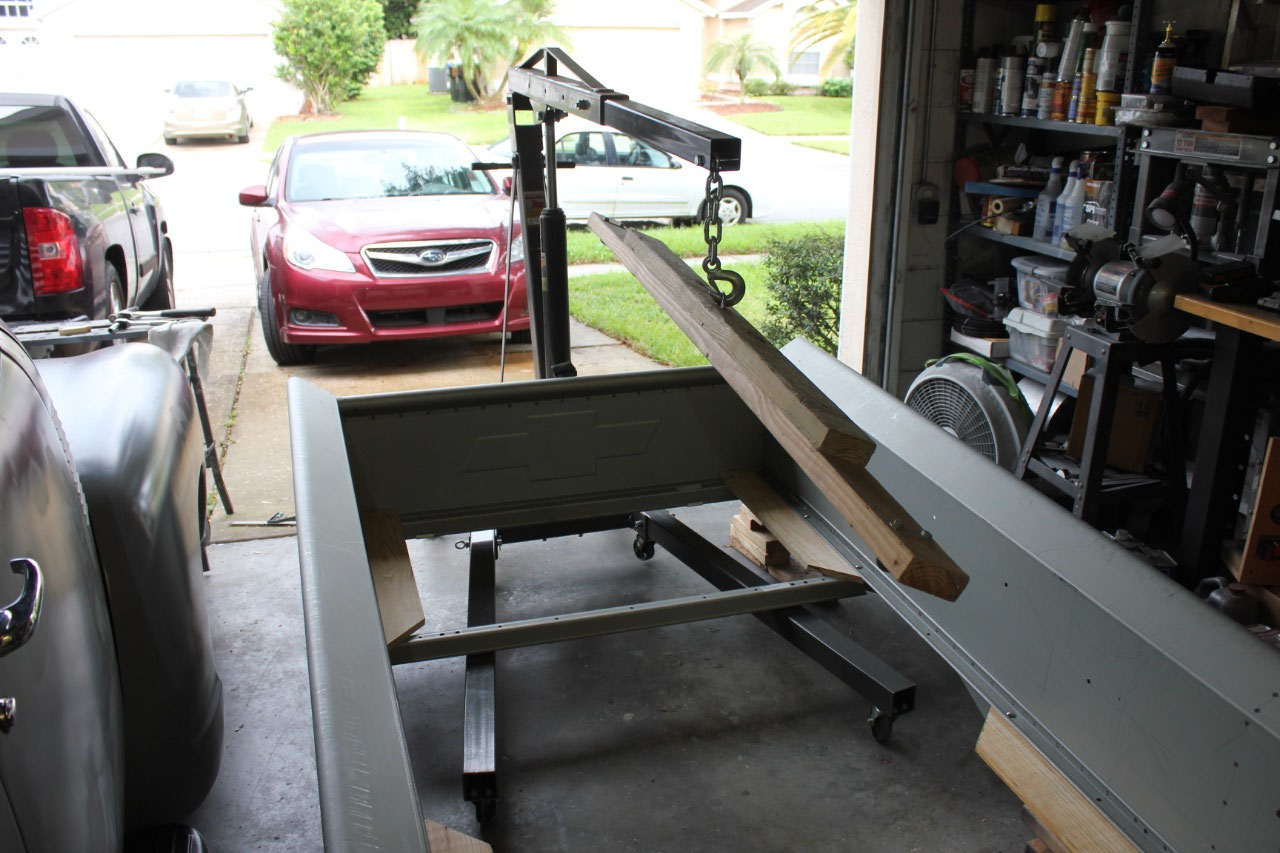
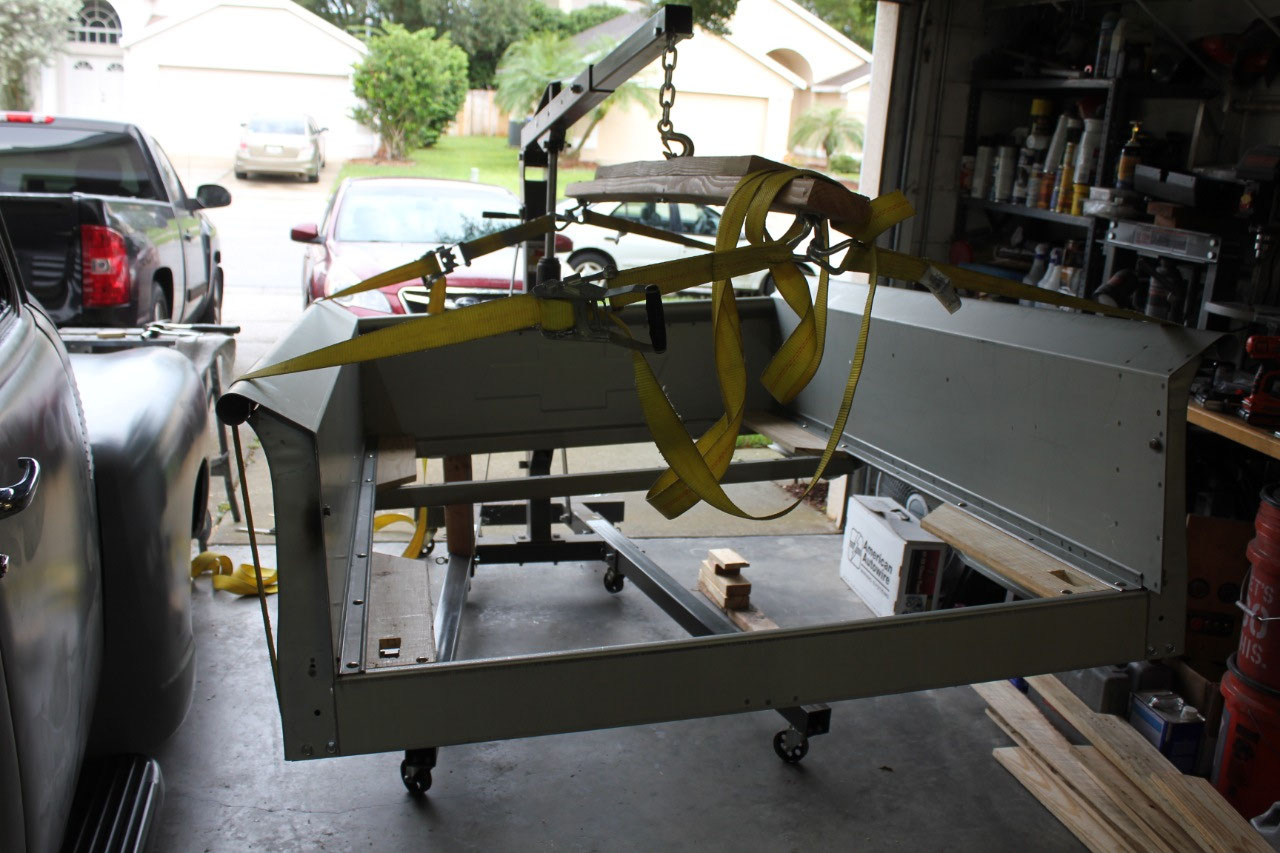
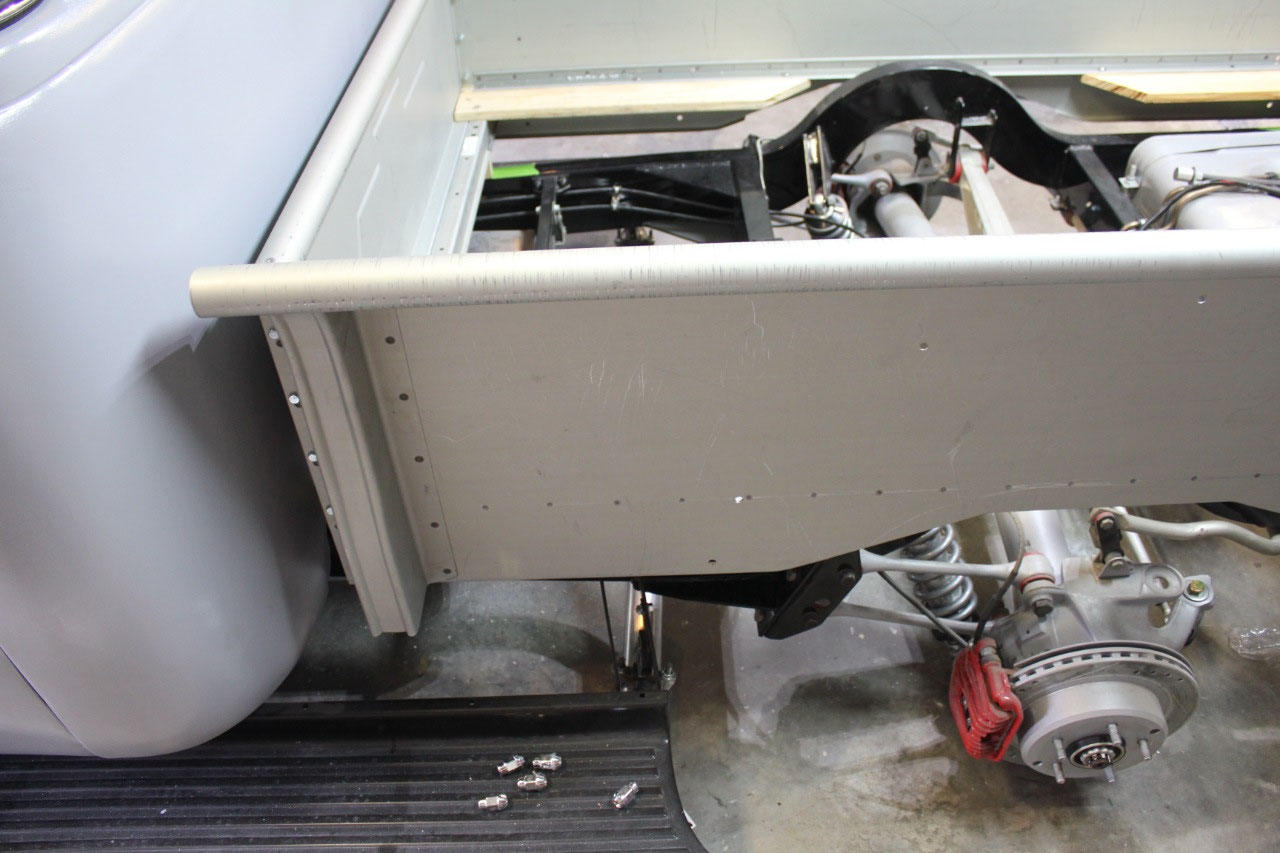
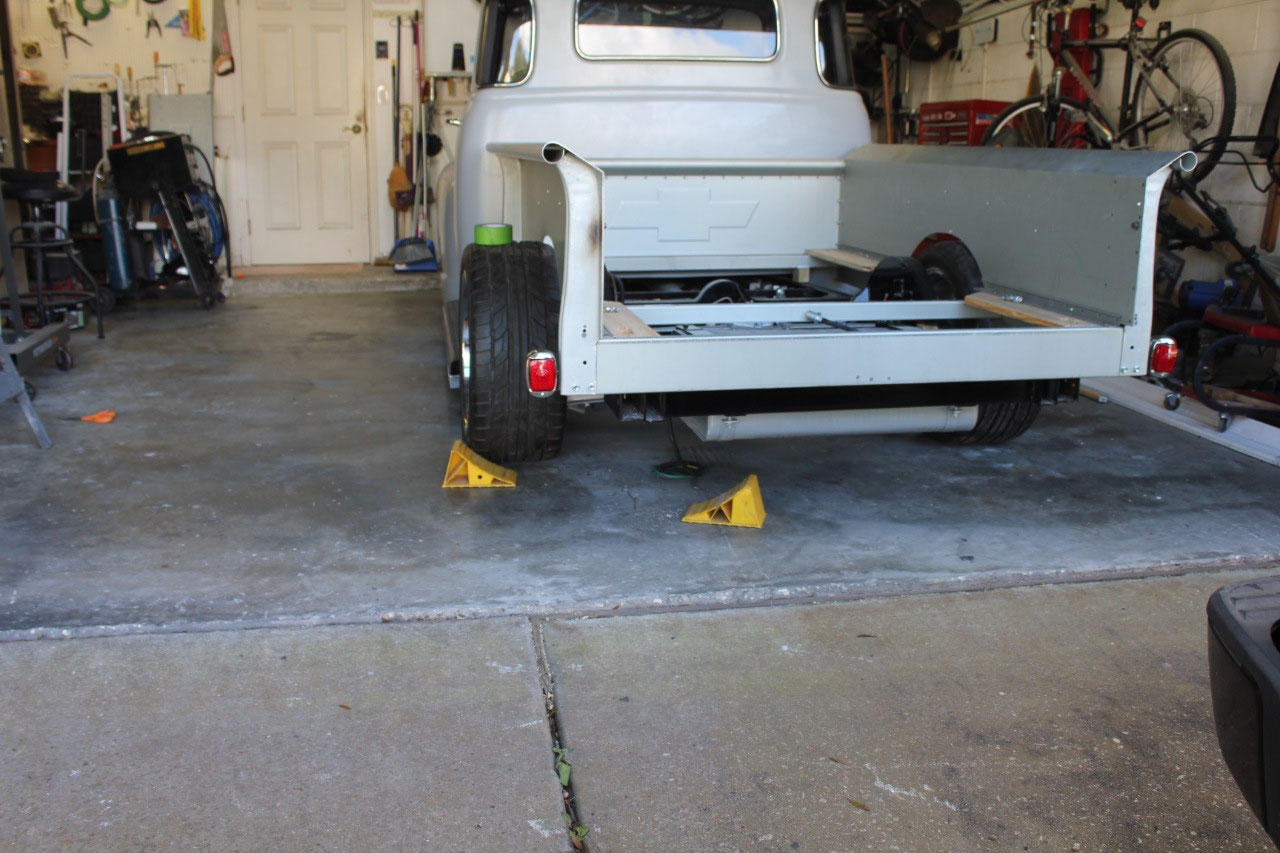
the hardware, like the fender mounting bolts, I chose stainless. I was able to lift the bed using a
combination of the cab lifting fixture, and the engine hoist. It was a little precarious, but I was able to
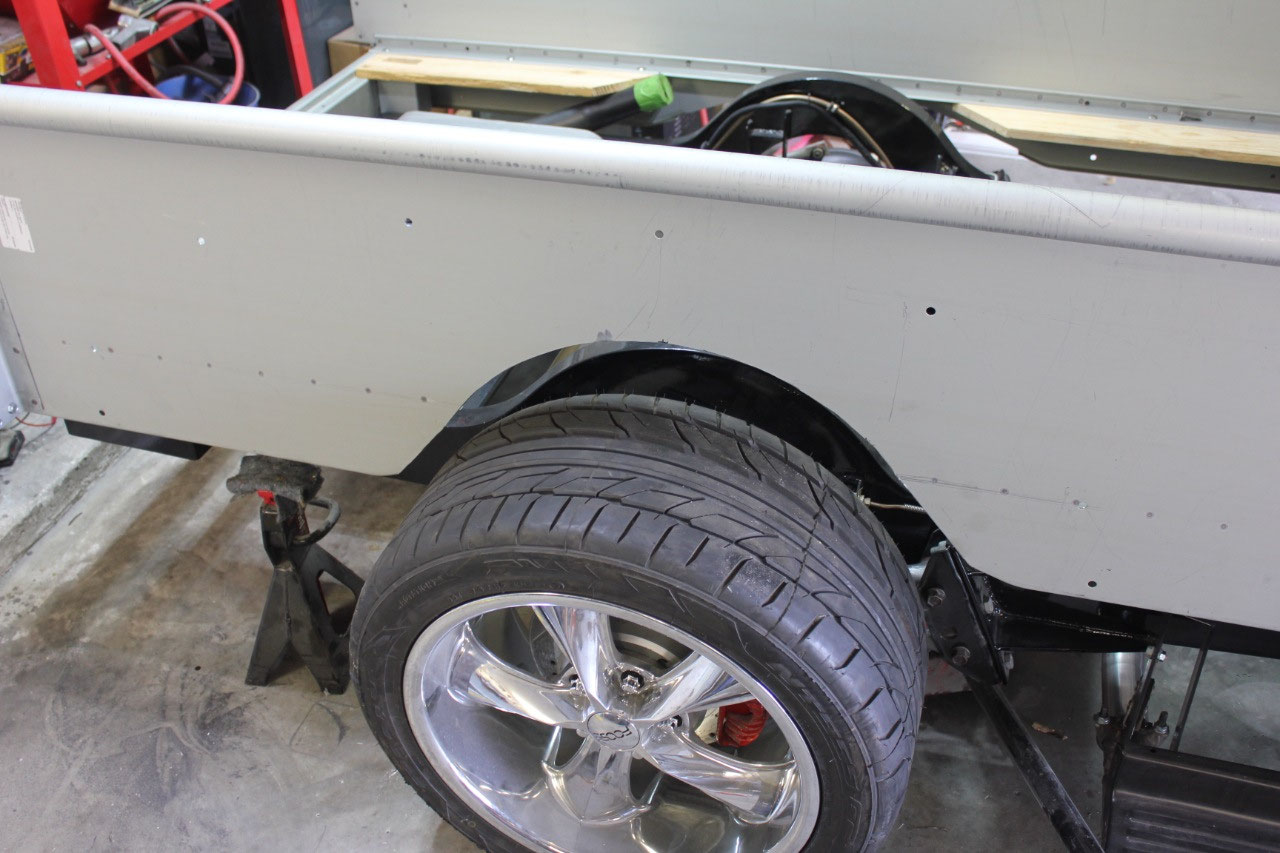
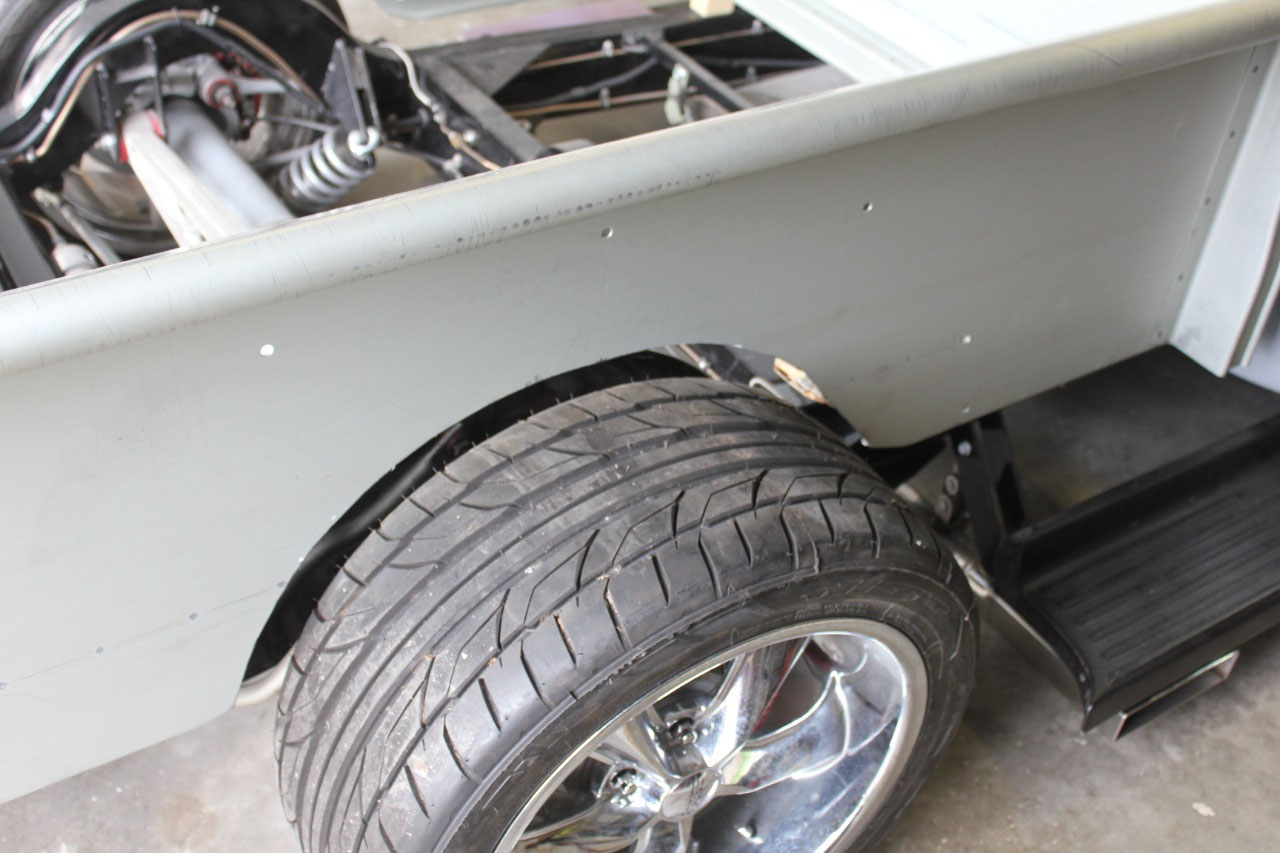
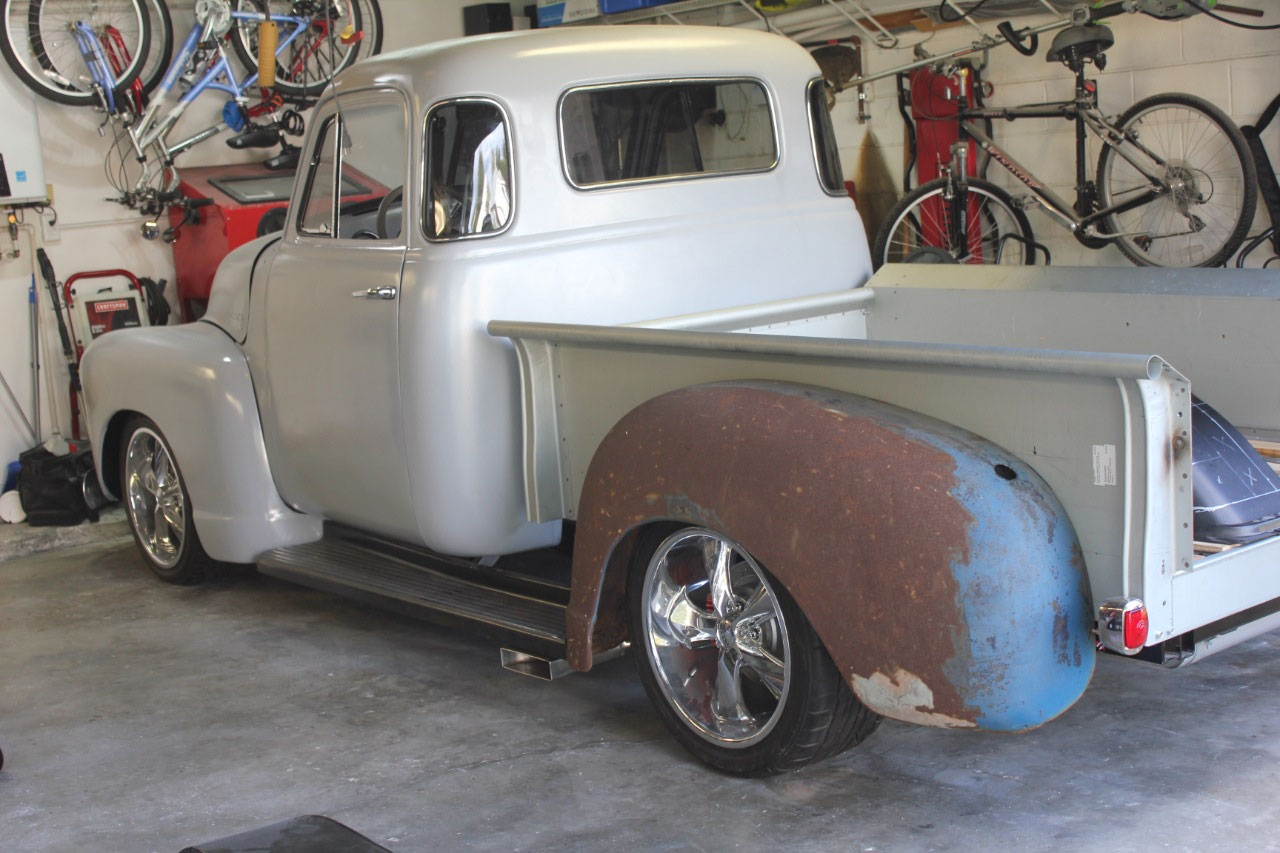
set the bed in place. The rear tires had
to be removed to install the bed, as there is an interference between the rear
tires and the bed sides. This was
expected, and I expect cut out the bed sides for clearance and to fabricate
some inner fender tubs.
After squaring up the bed by measuring diagonally, I had to
drill the mounting holes in the frame for the front and rear cross
supports.
I had intentionally had
Rockabilly leave the frame holes undrilled to be sure it would all fit
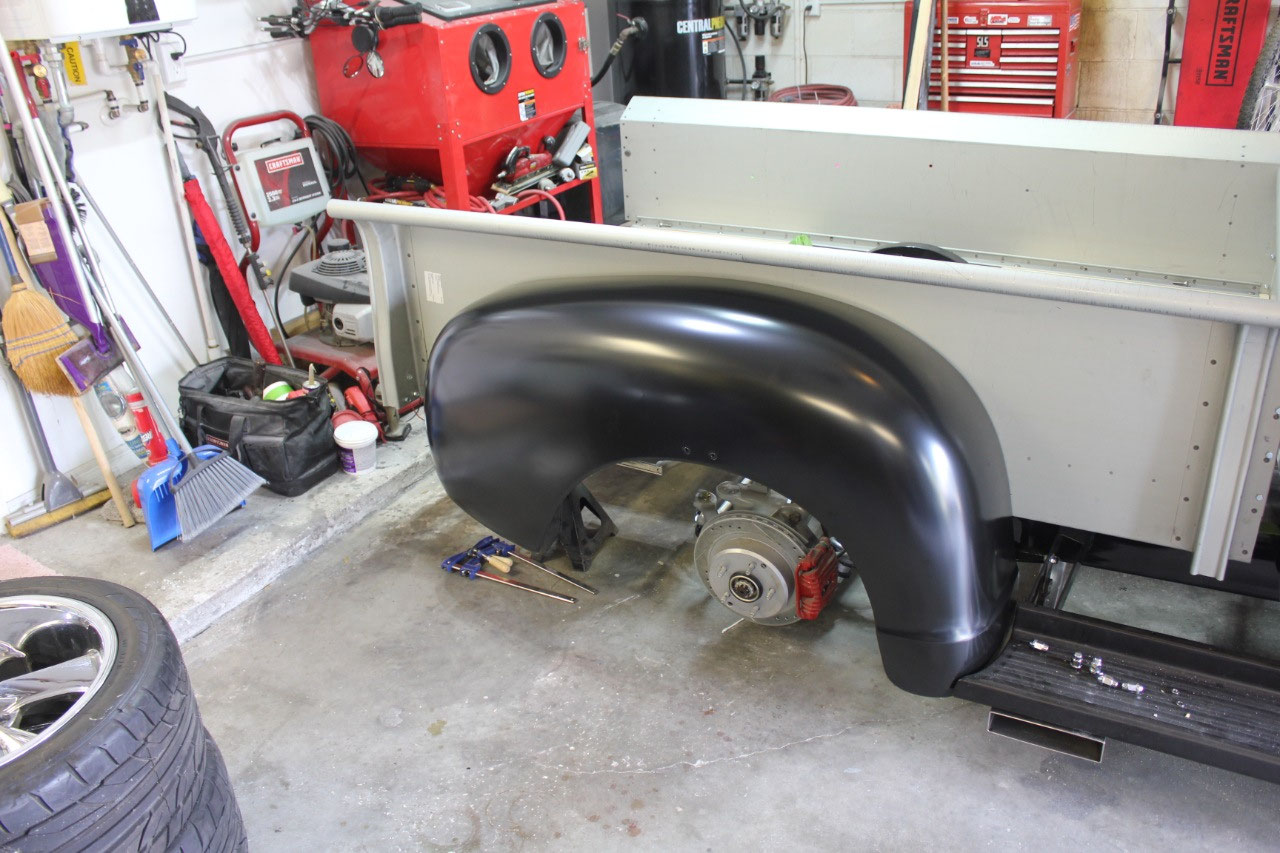
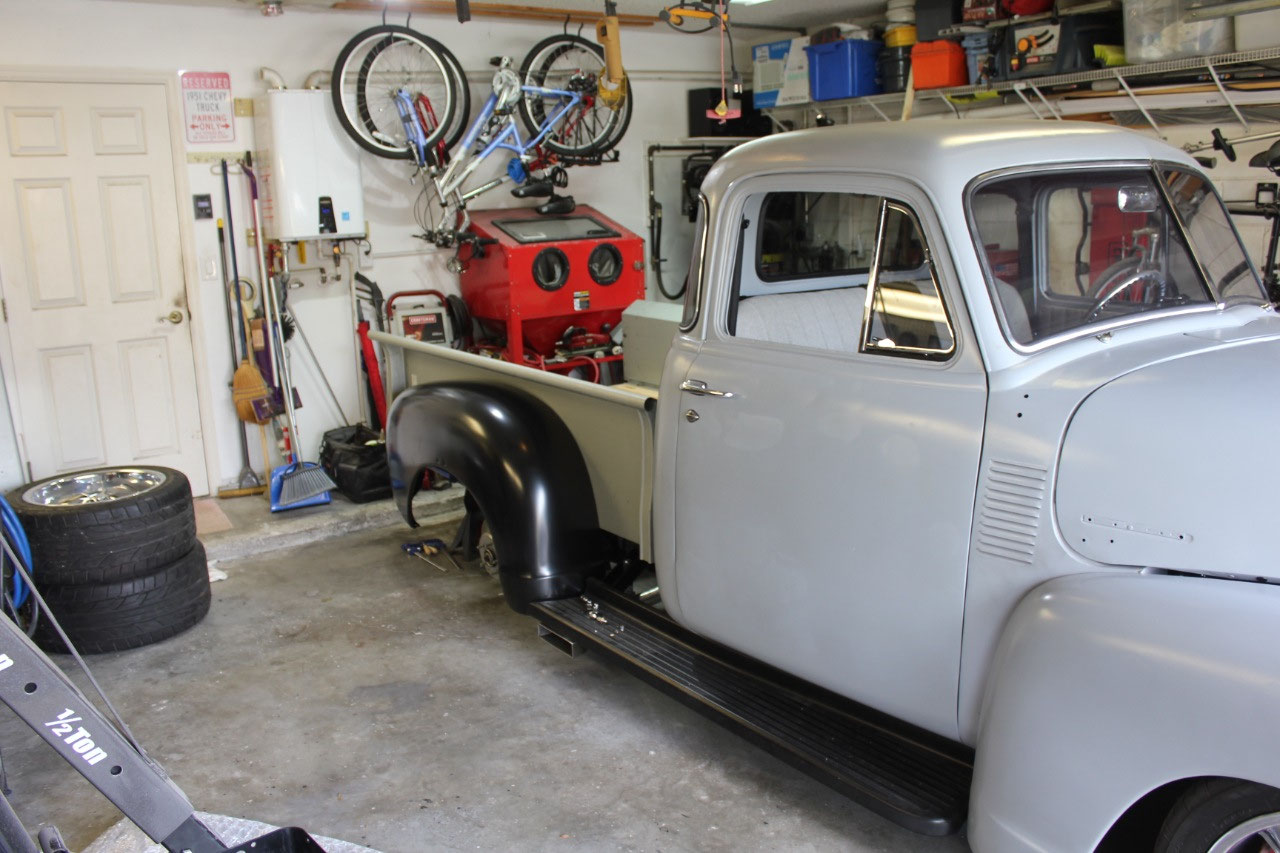
better. I went ahead and temporarily
installed the rear fenders, so could be sure that the fenders would line up
with both the bed sides and the running boards.
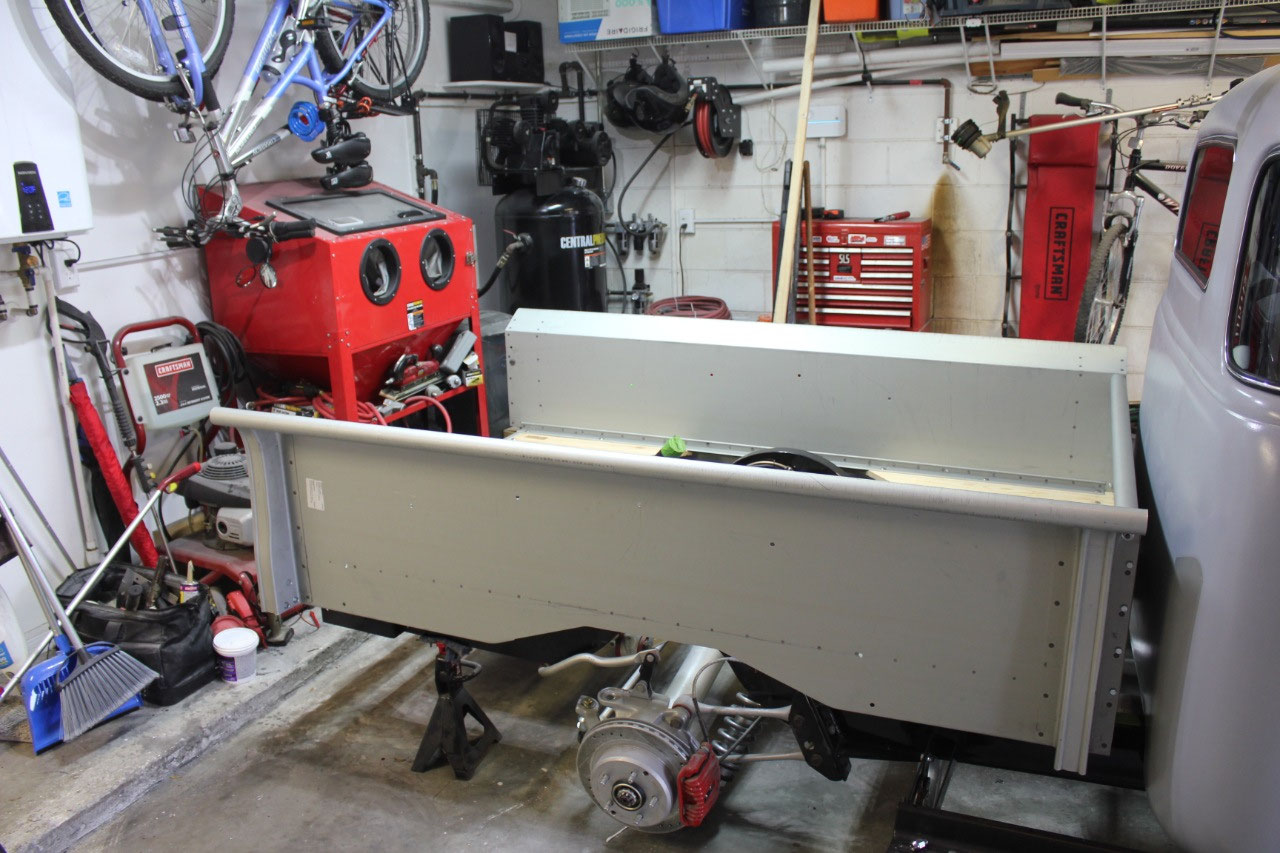
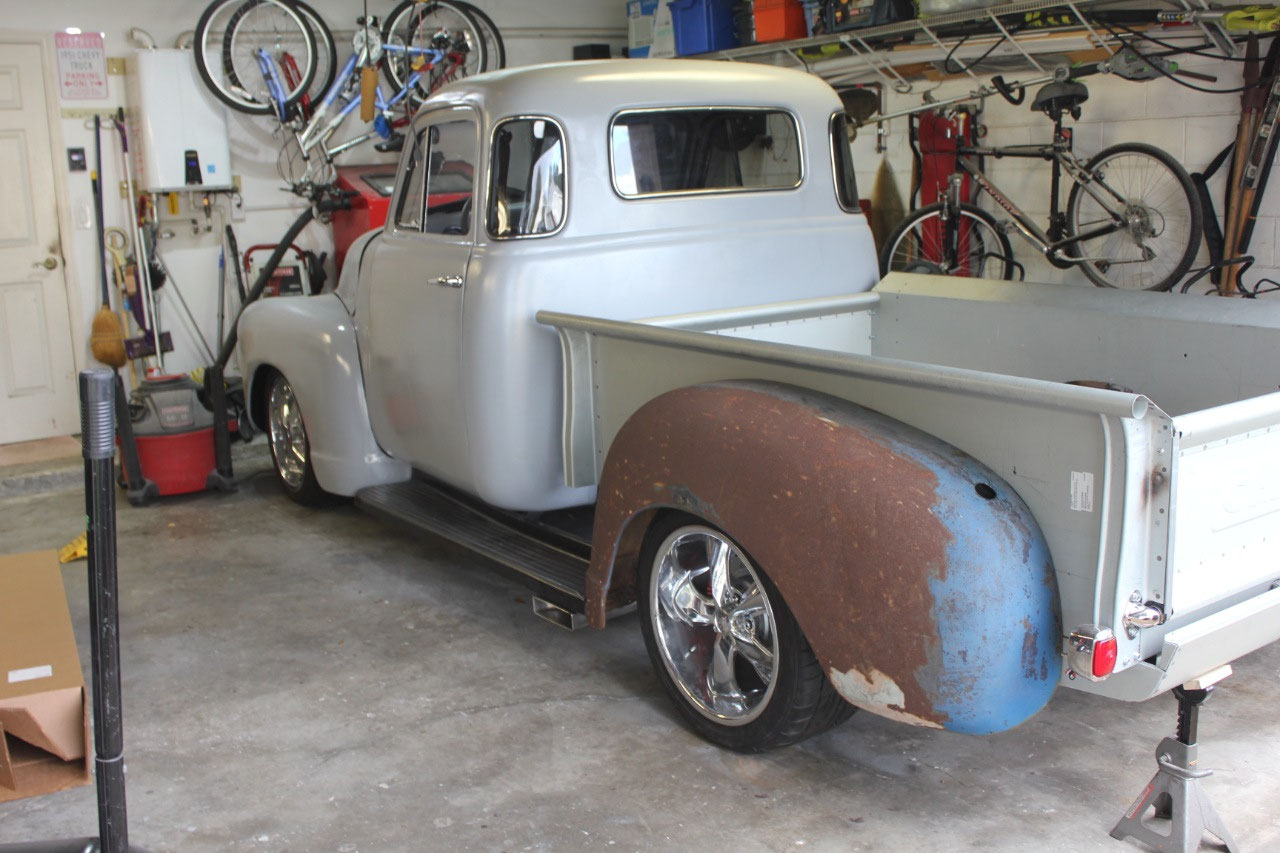
Once everything lined up, I went ahead drilled the frame holes so that
everything was locked in place. Spacing
to the cab looks good, and the rear tires are centered in the rear
fenders. Everything looks great!
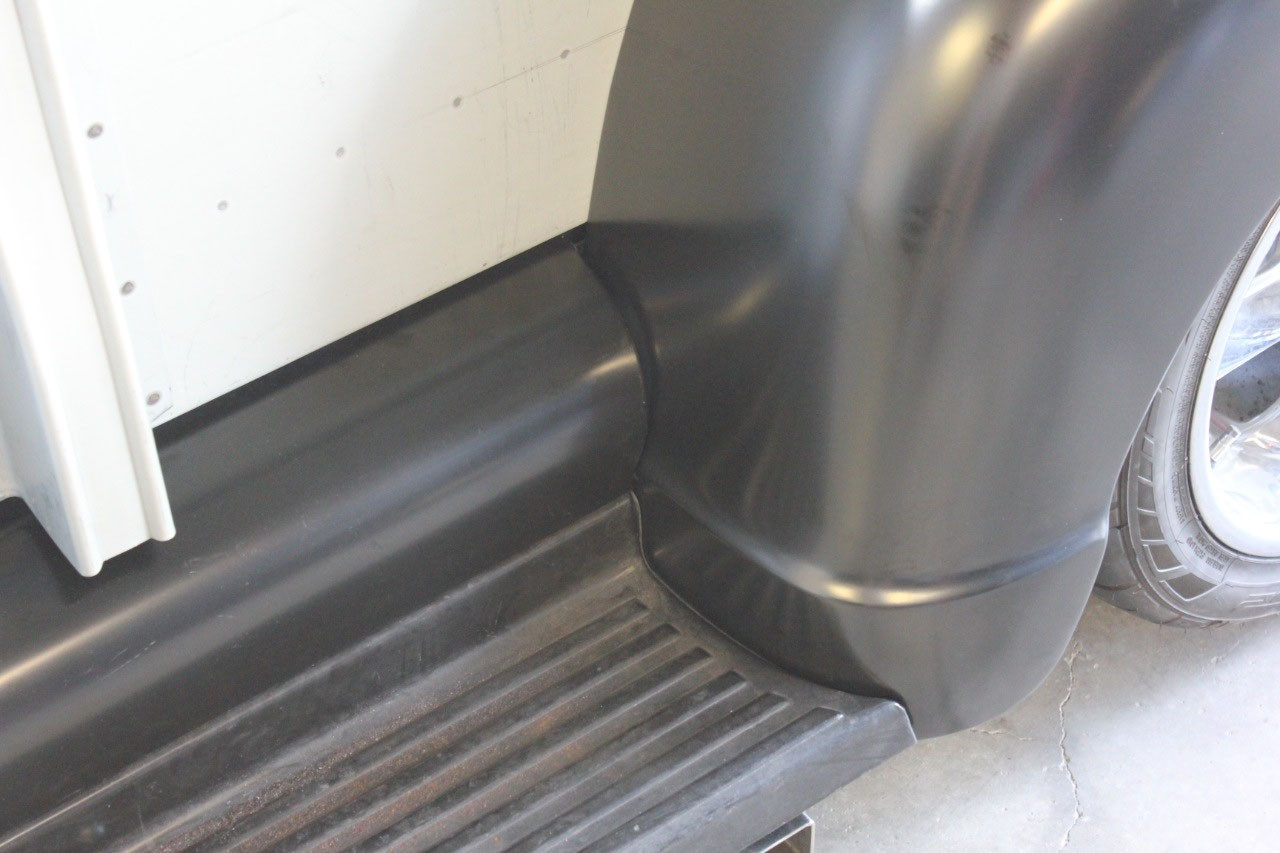
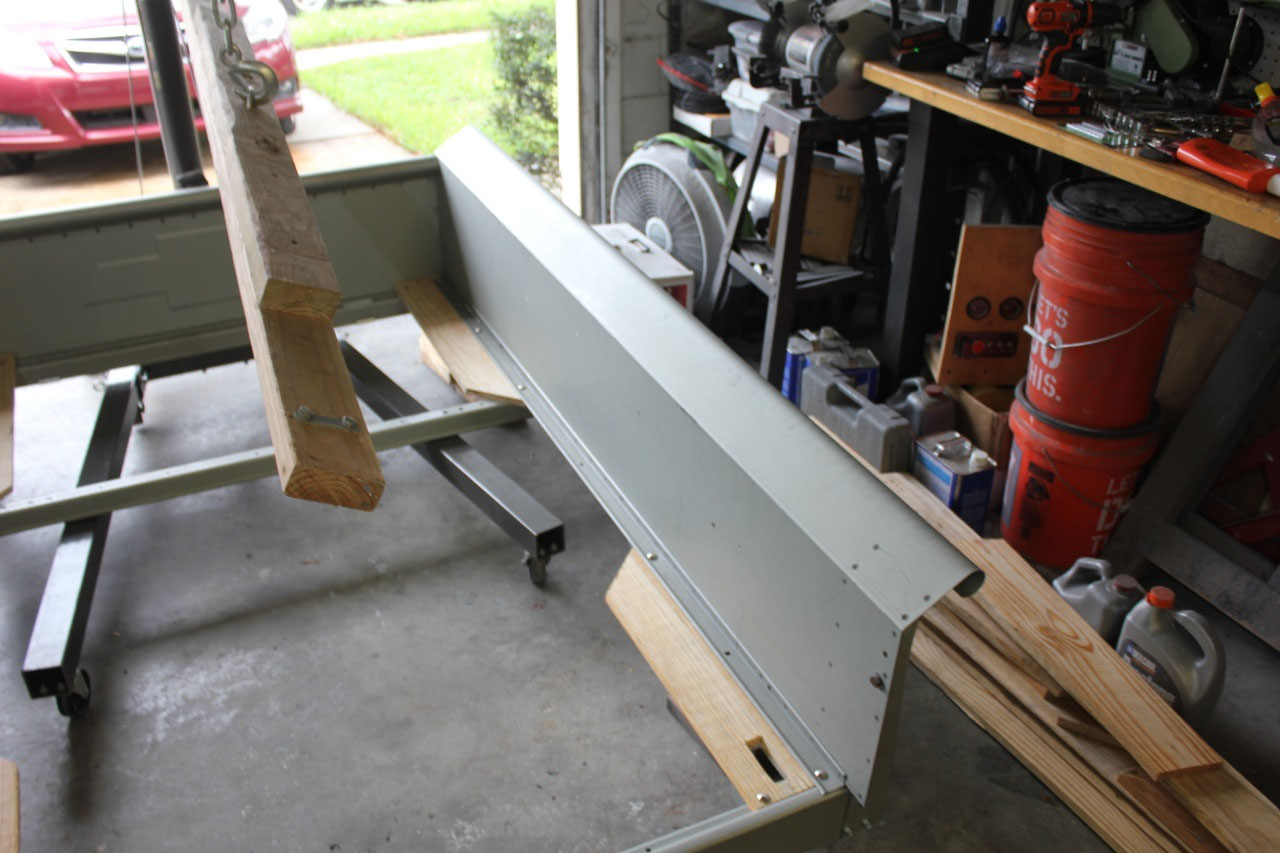
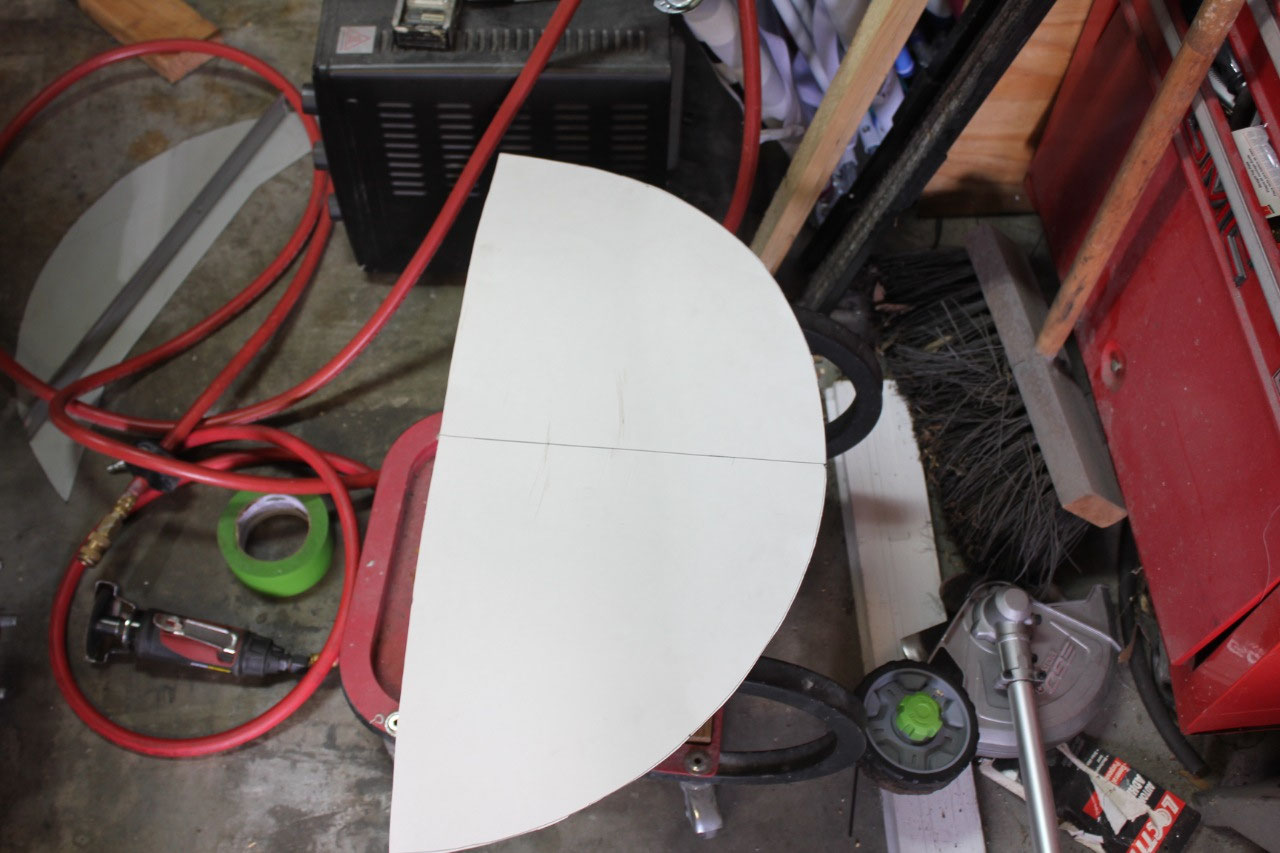
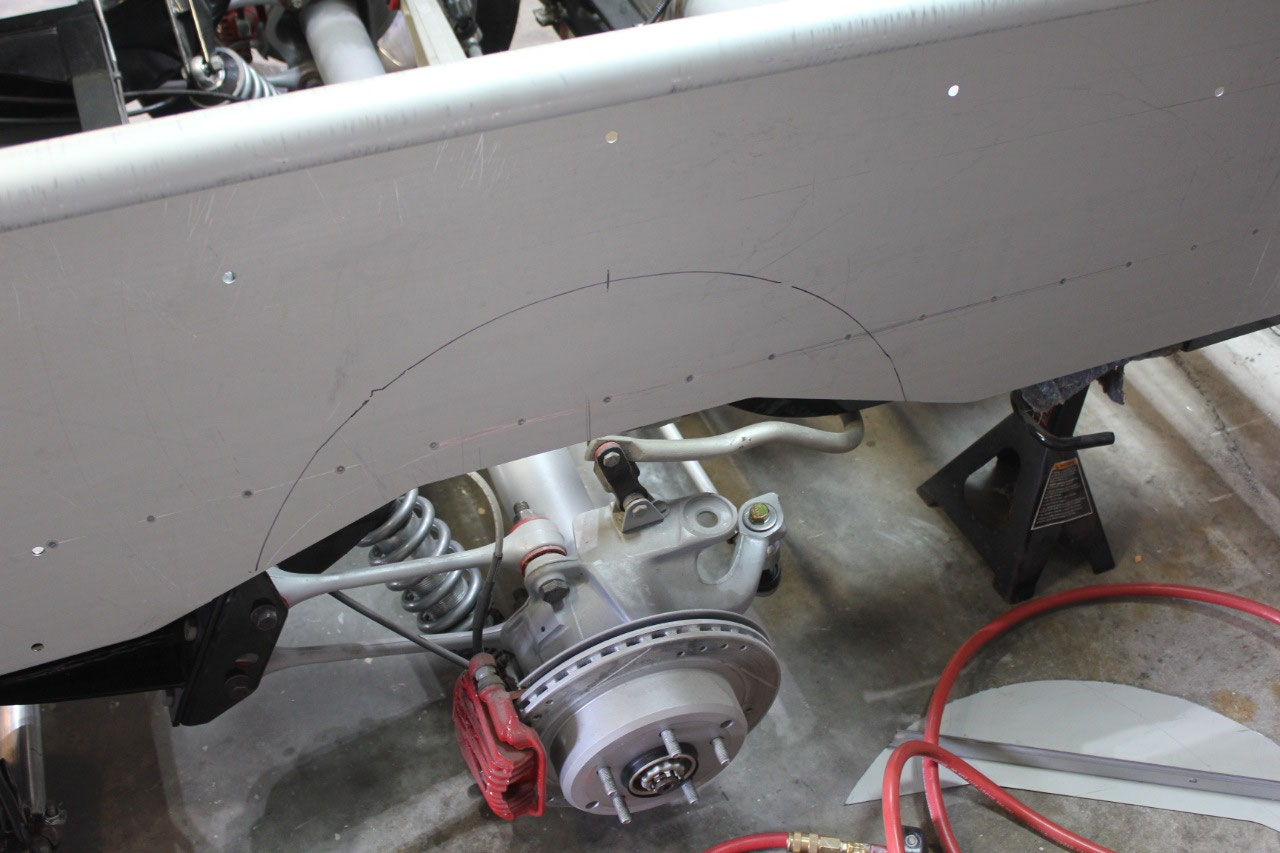
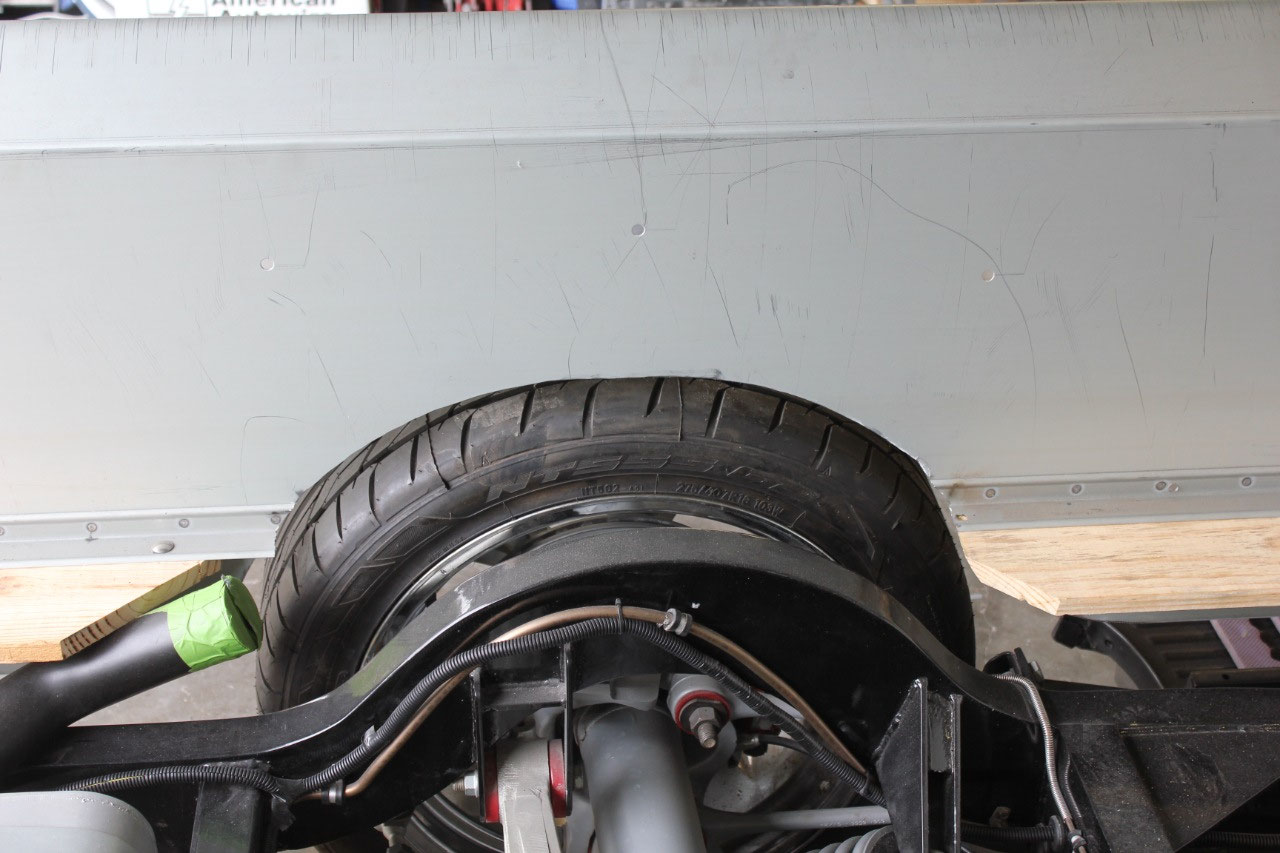
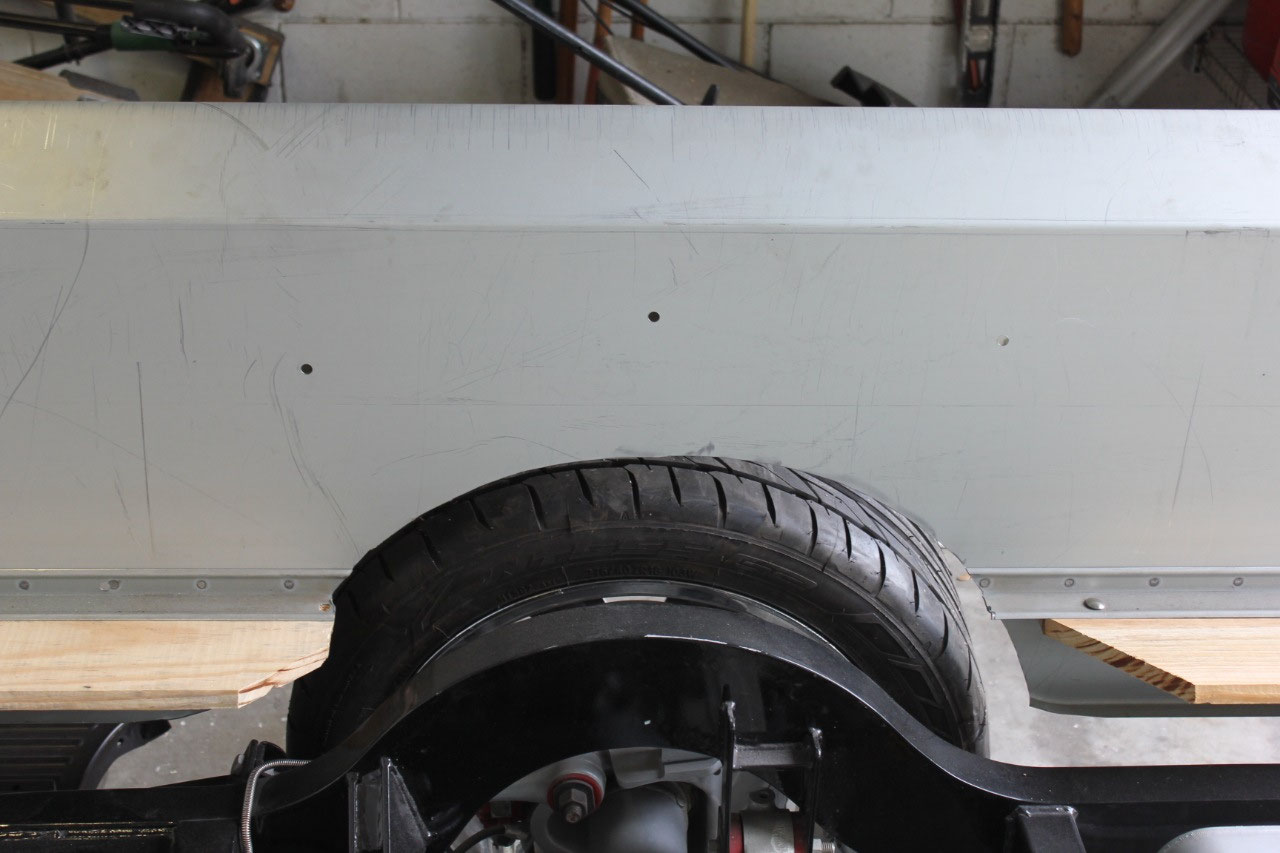
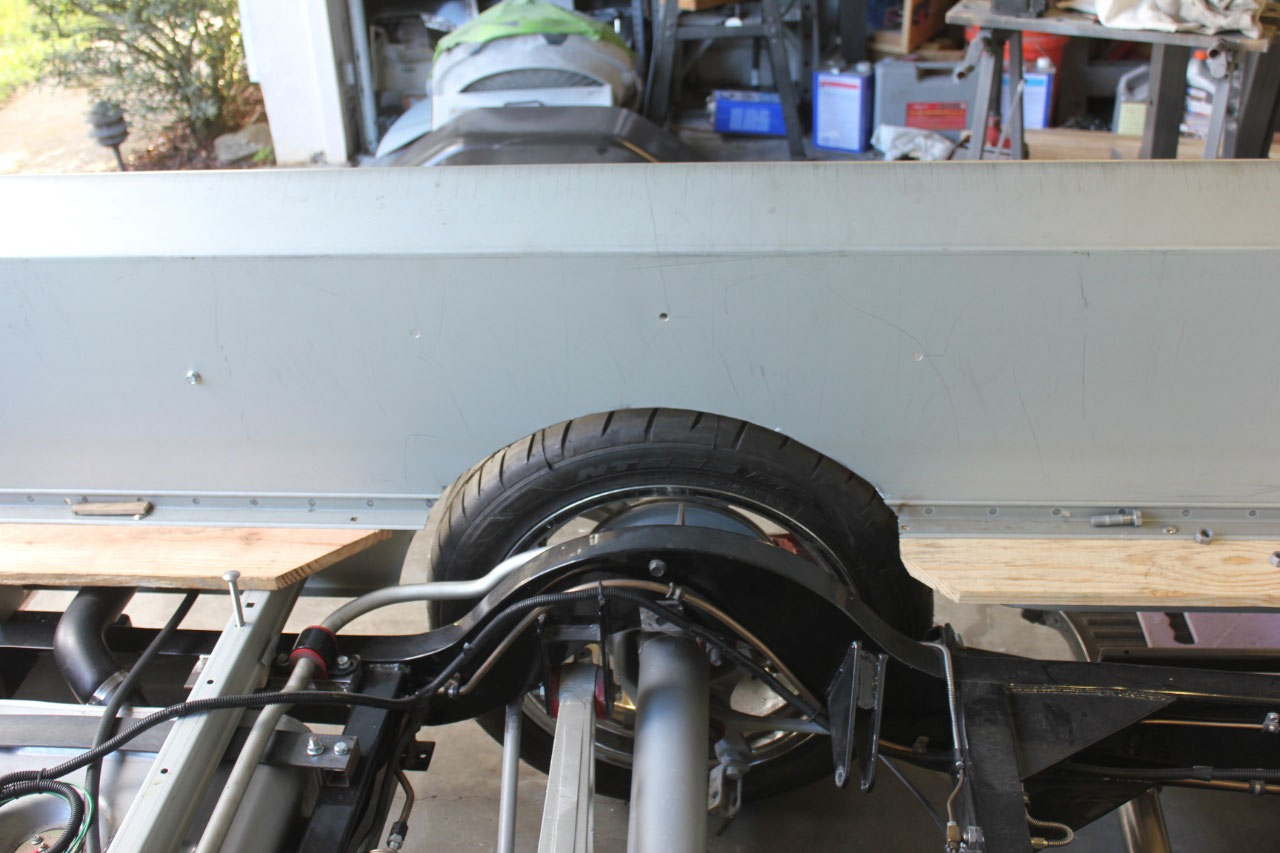
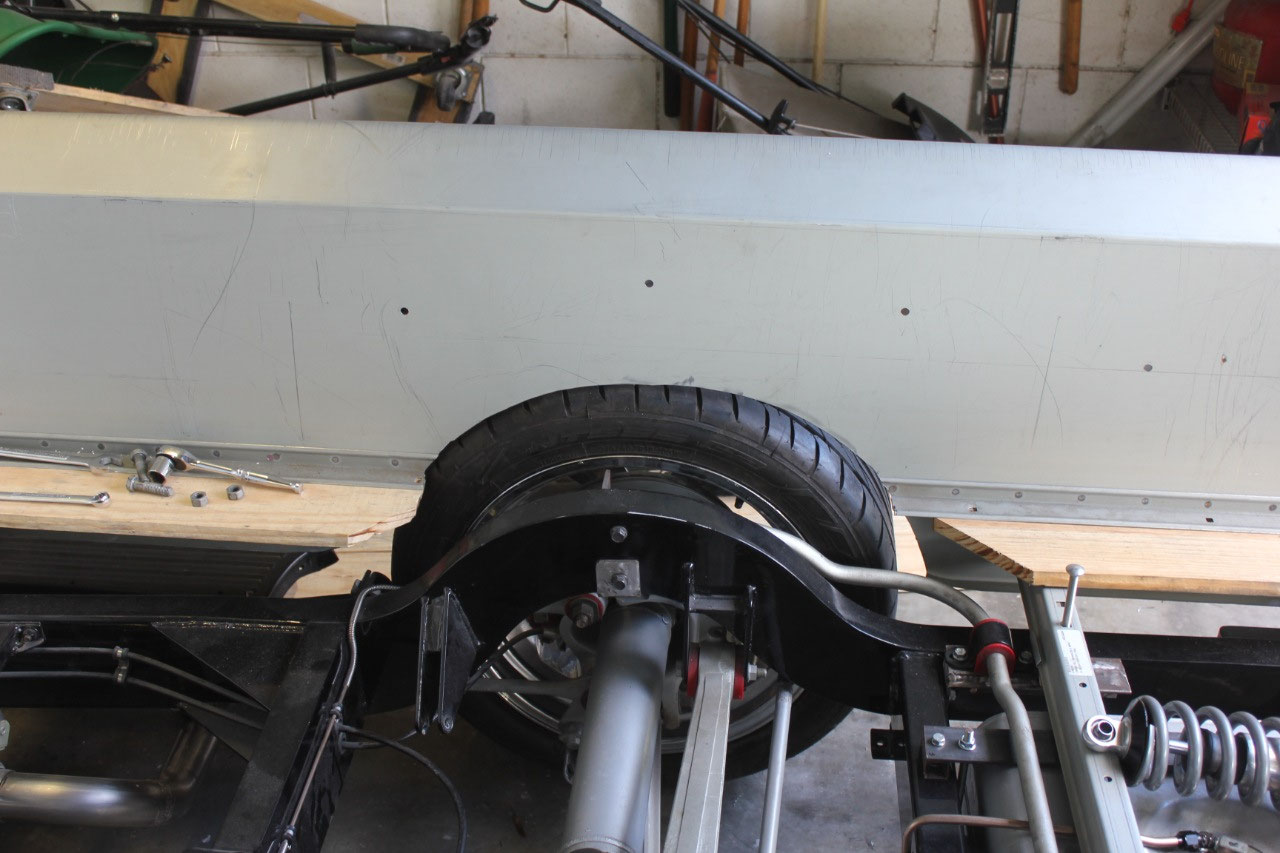
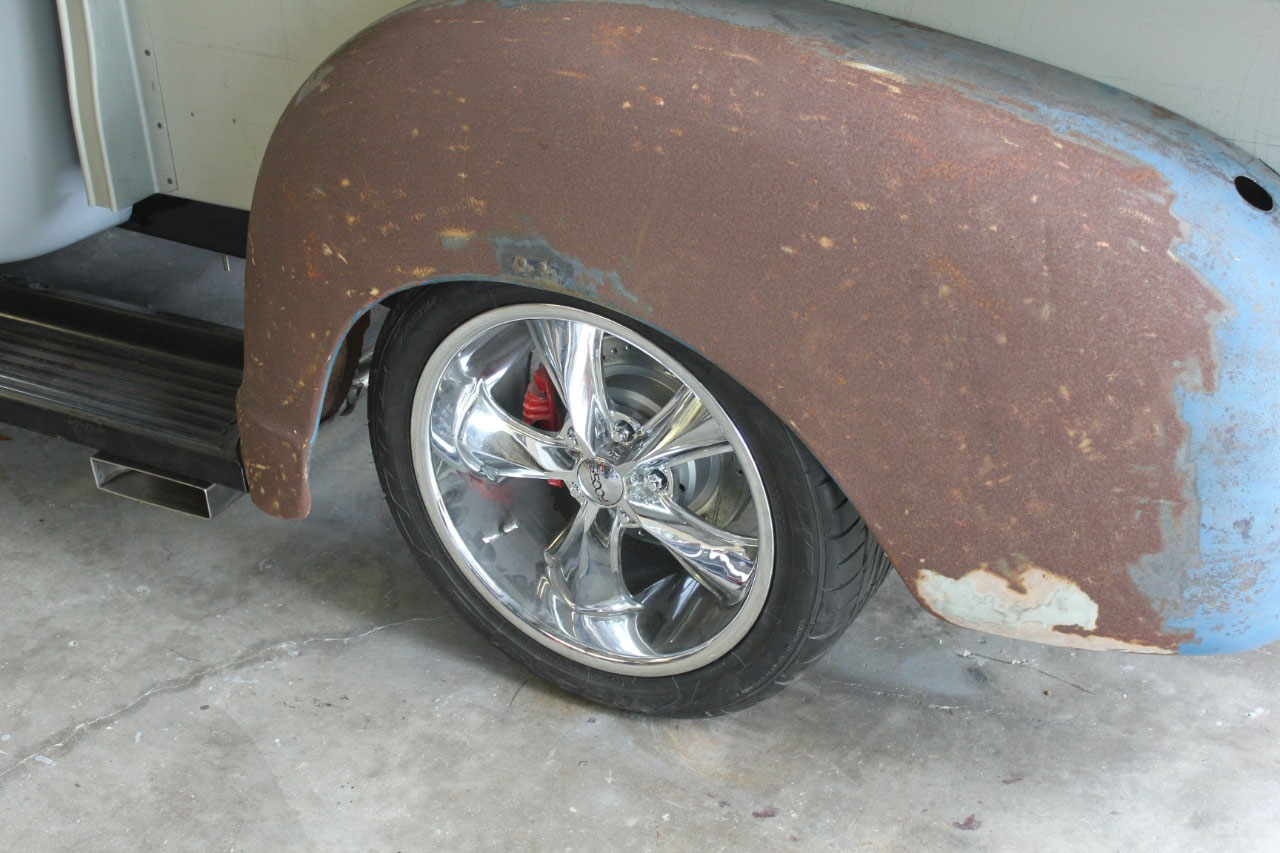
Using the rear tires, I made a semicircle template to cut
out the bed sides. Using the air
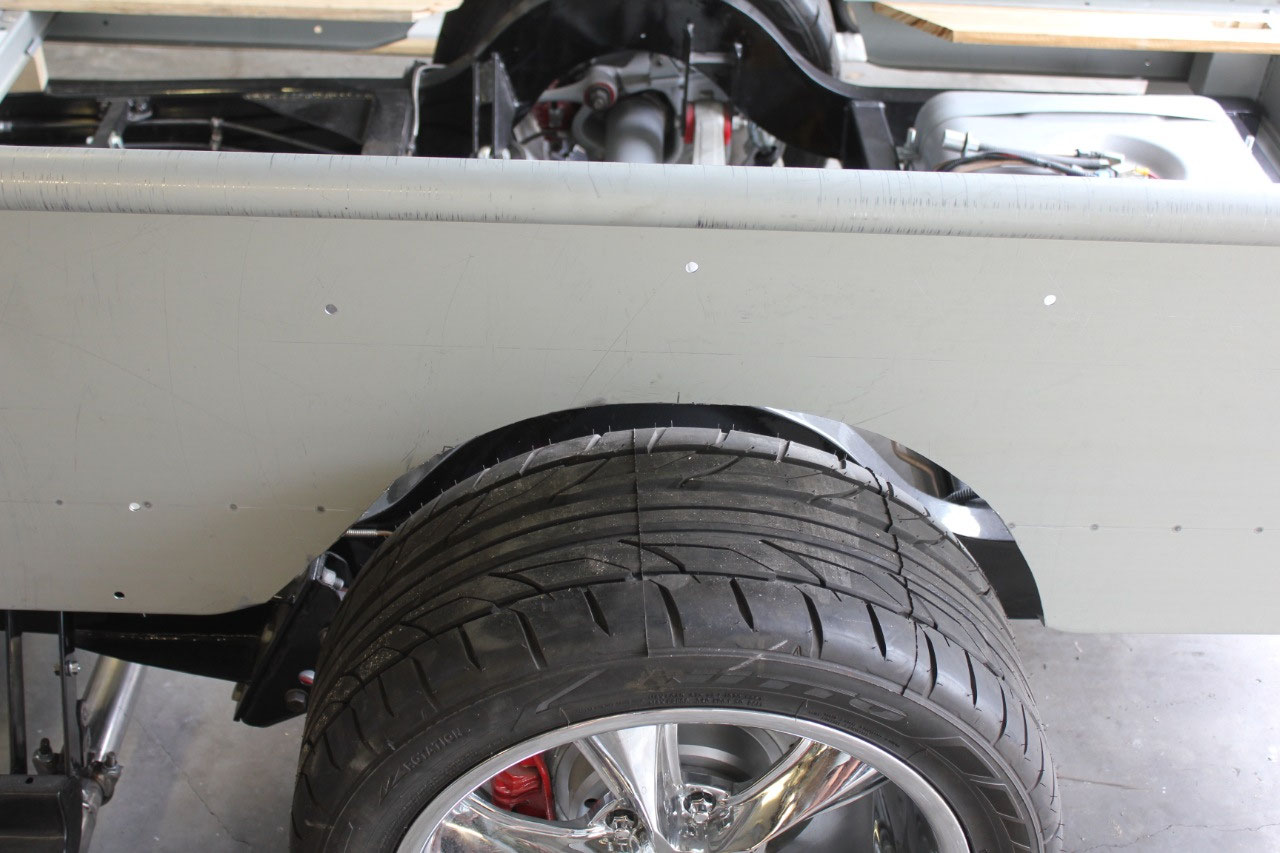
die-grinder and a cutting wheel, the bed side cuts were easy. The height of the cut was perfect, and to add
a little clearance for the frame, I went ahead and elongated the opening at the
bottom. I reinstalled the tires, and
the clearances look great!
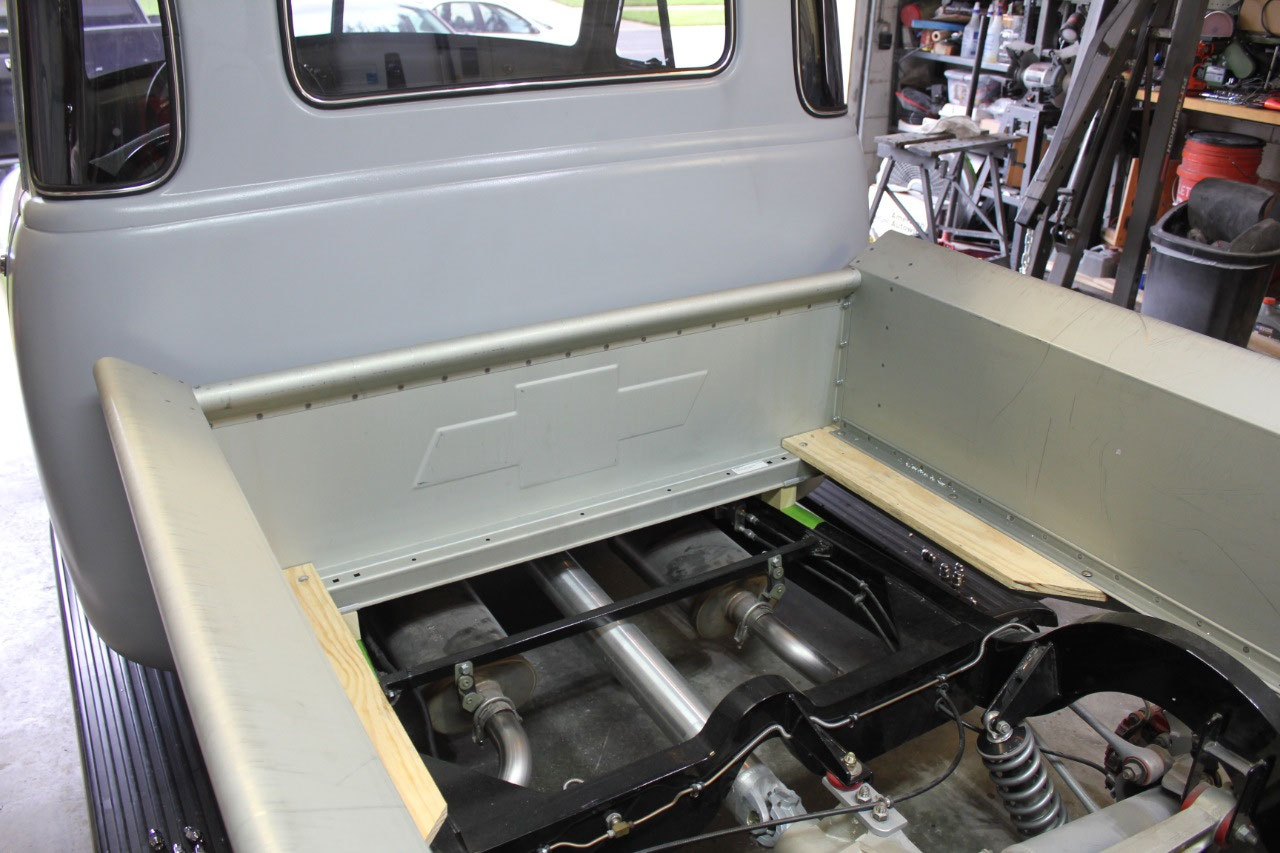
In addition to the front and rear cross braces on the bed,
there are also 2 center braces. These
center braces cannot be installed in the original locations as the frame
kick-up for the Corvette suspension is wider.
This means that I will try to install the center braces as far from the
front and rear as I can to maximize support, but I may need to add an
additional center support for strength.
The front center support does not attach to the frame, and just supports
the boards to each other. There is
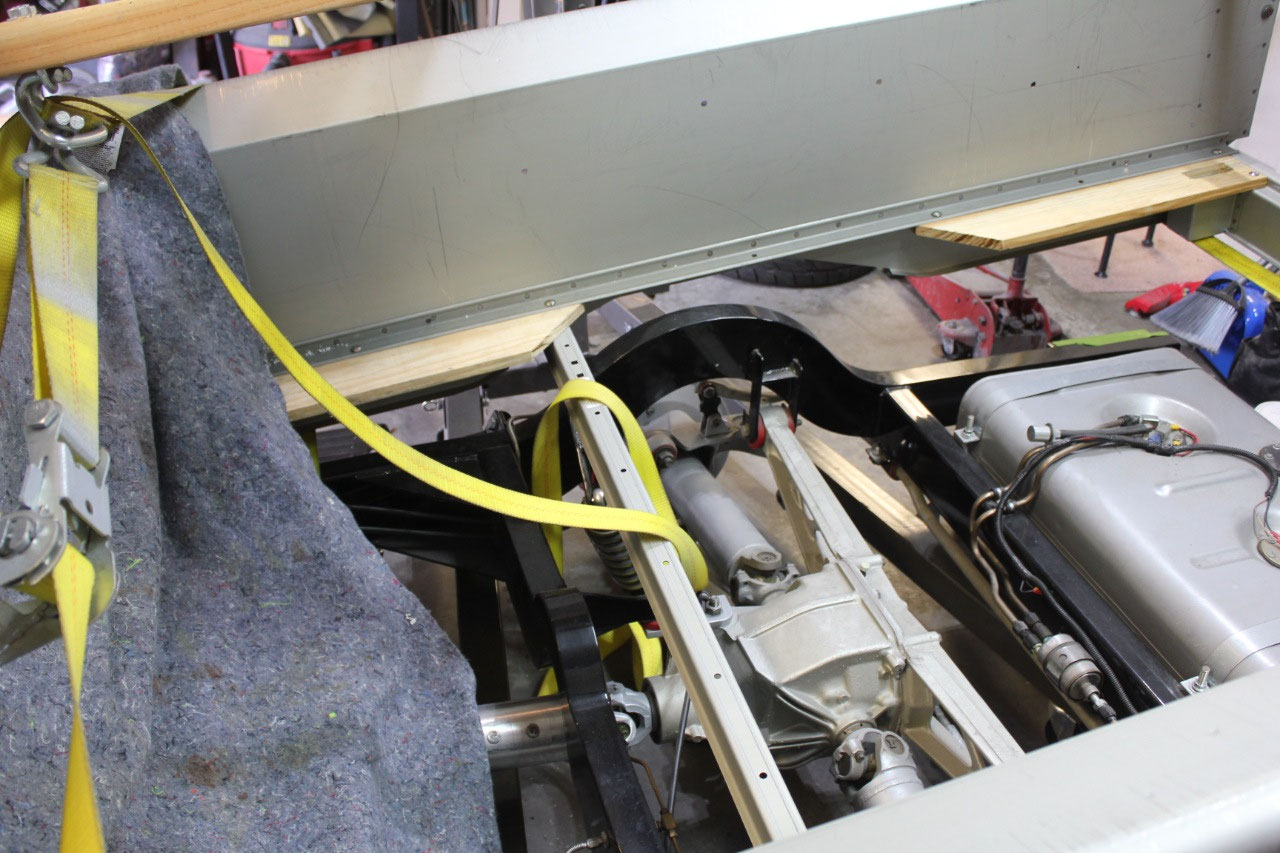
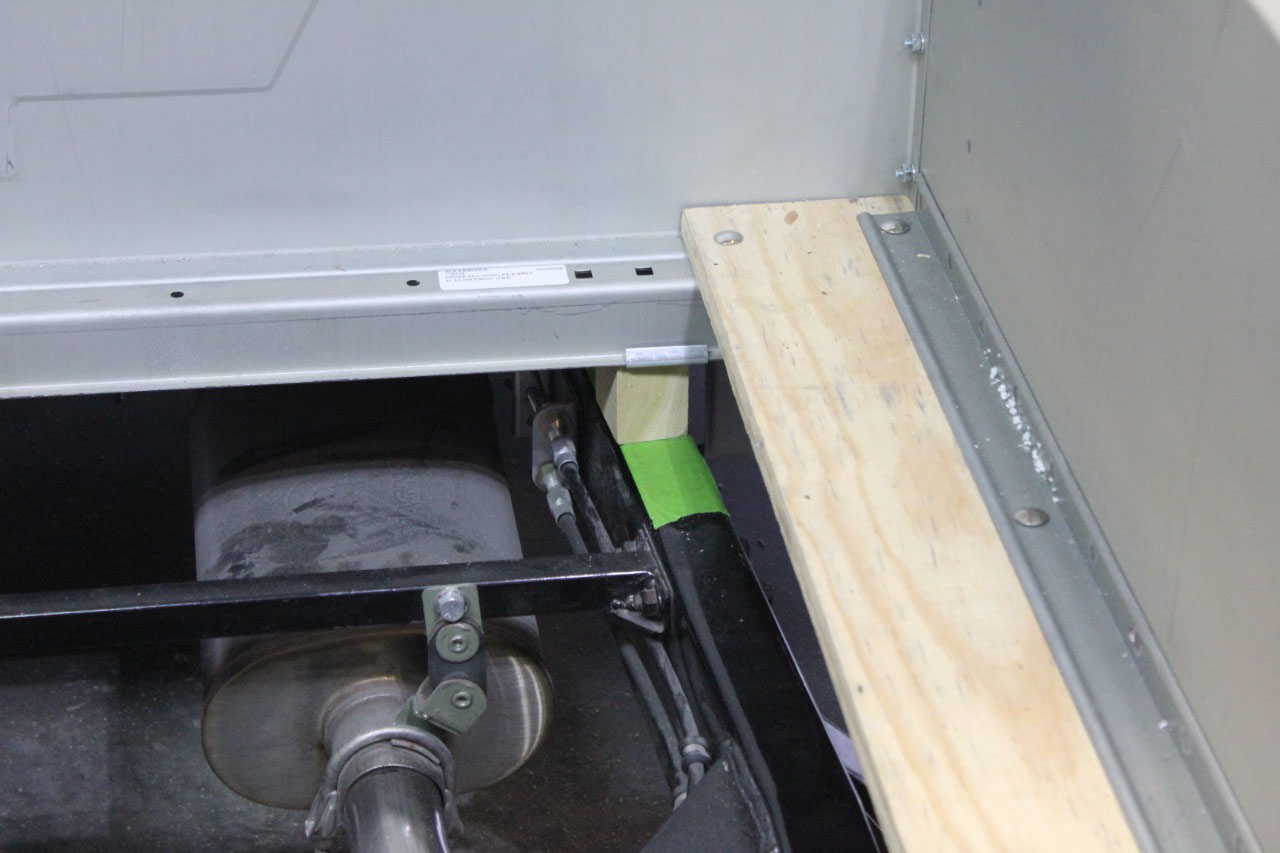
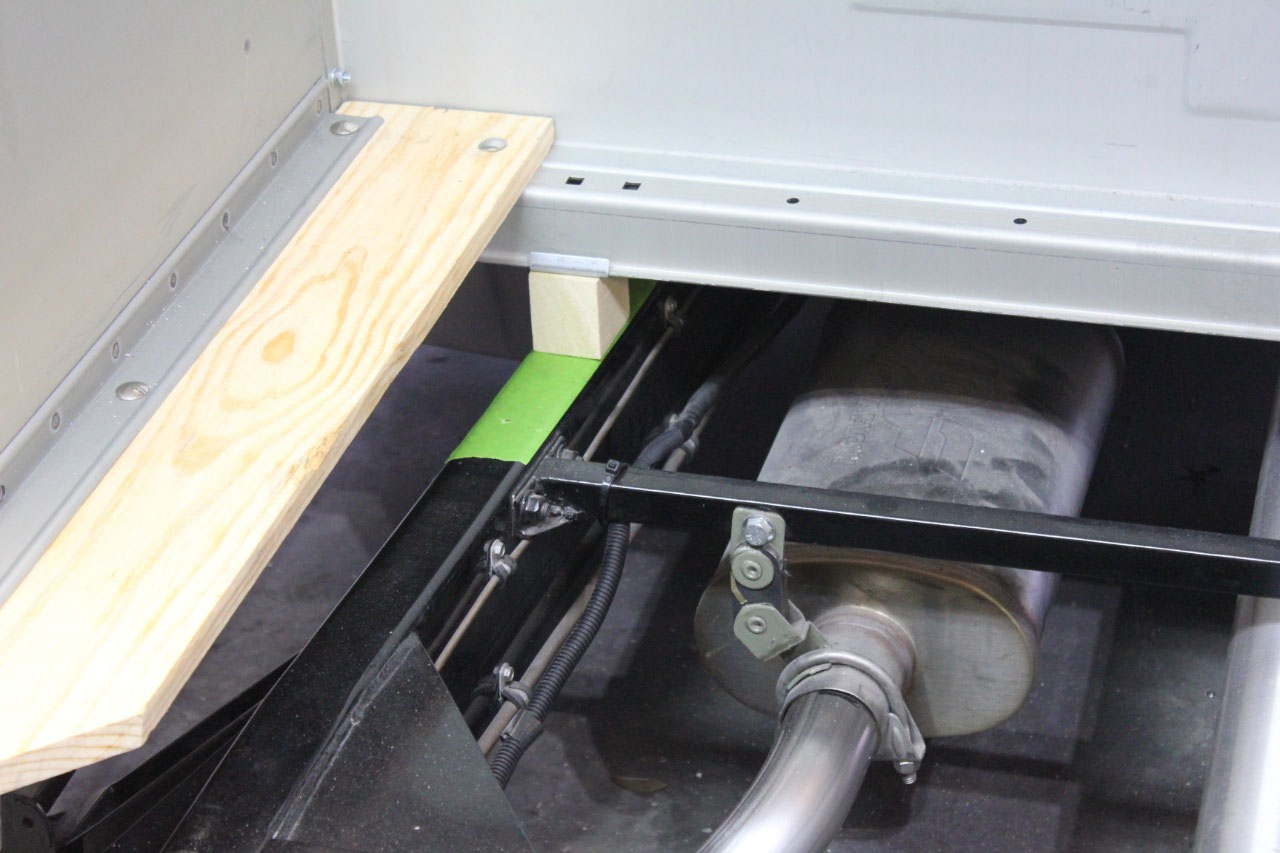
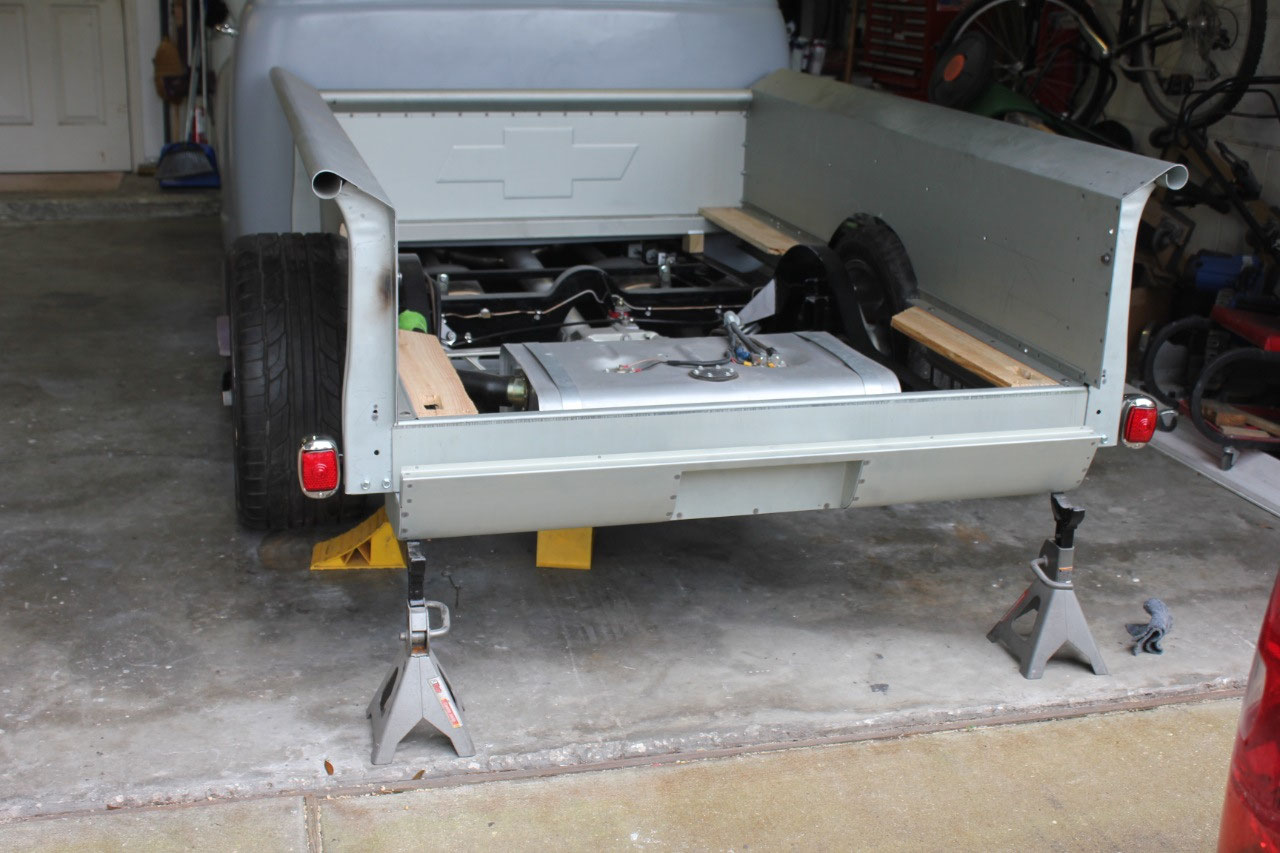
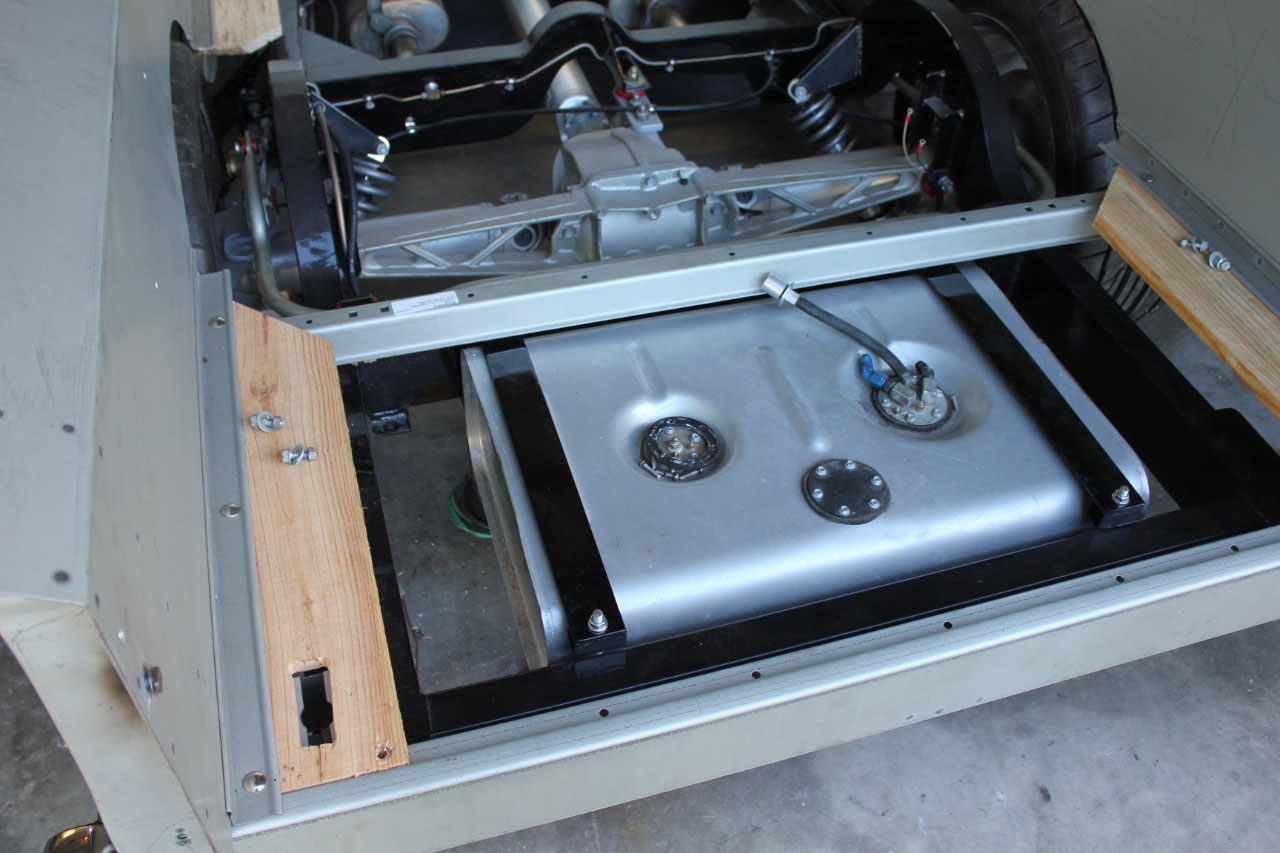
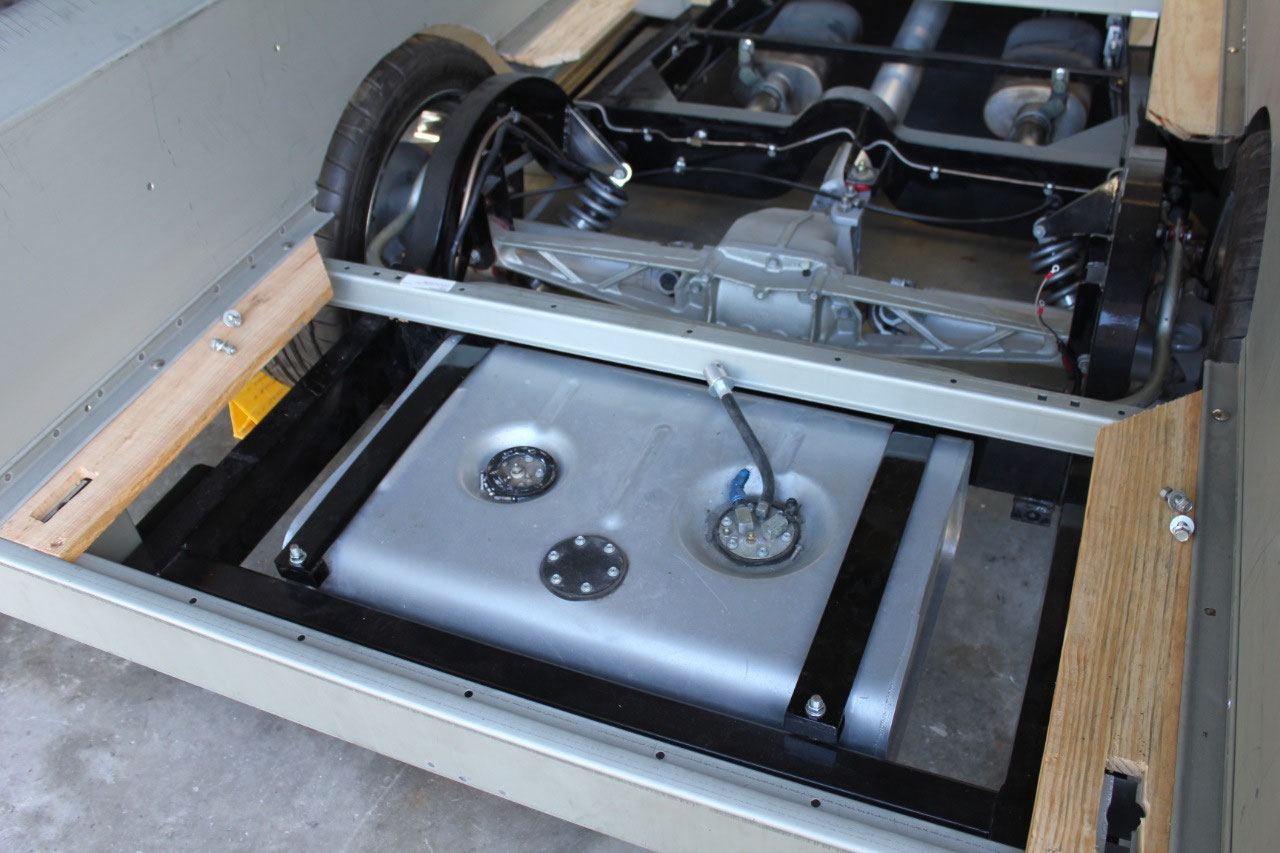
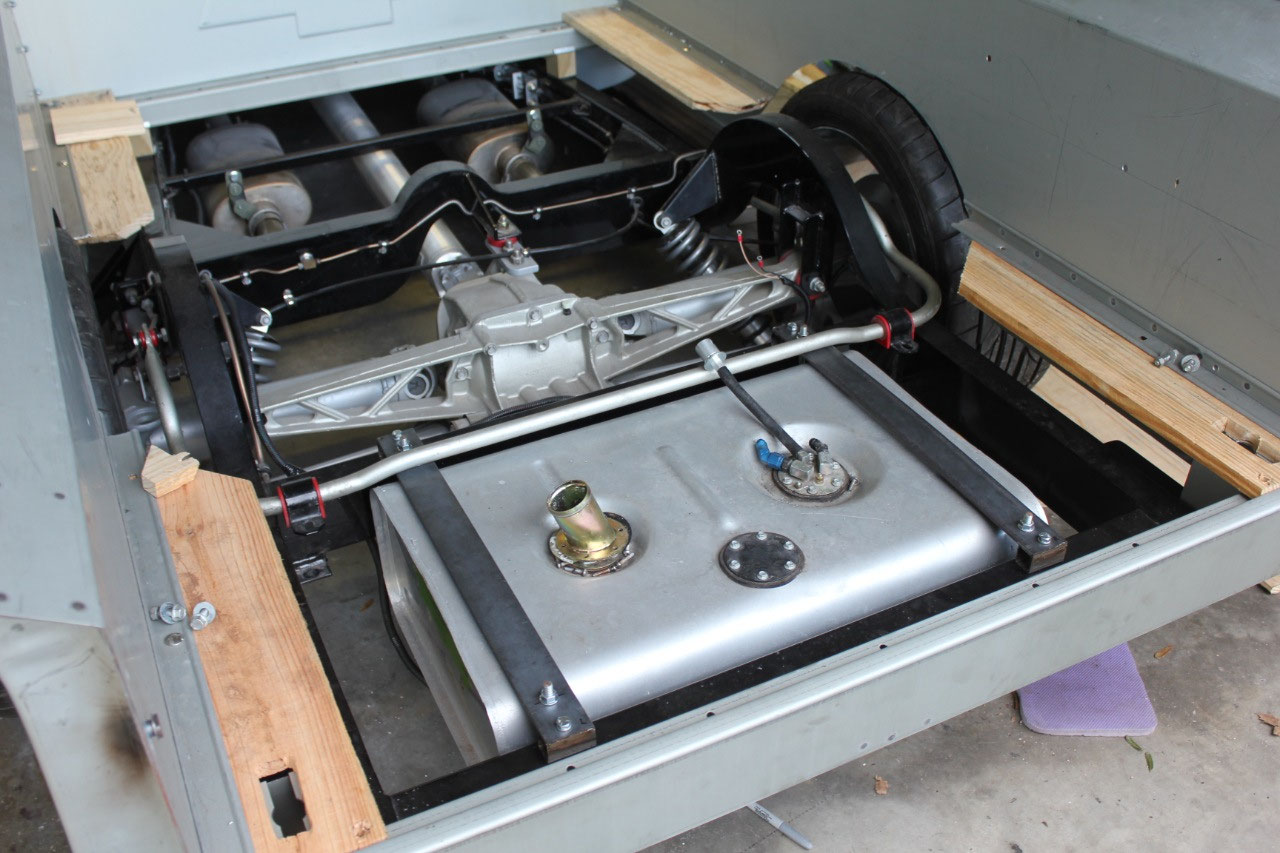
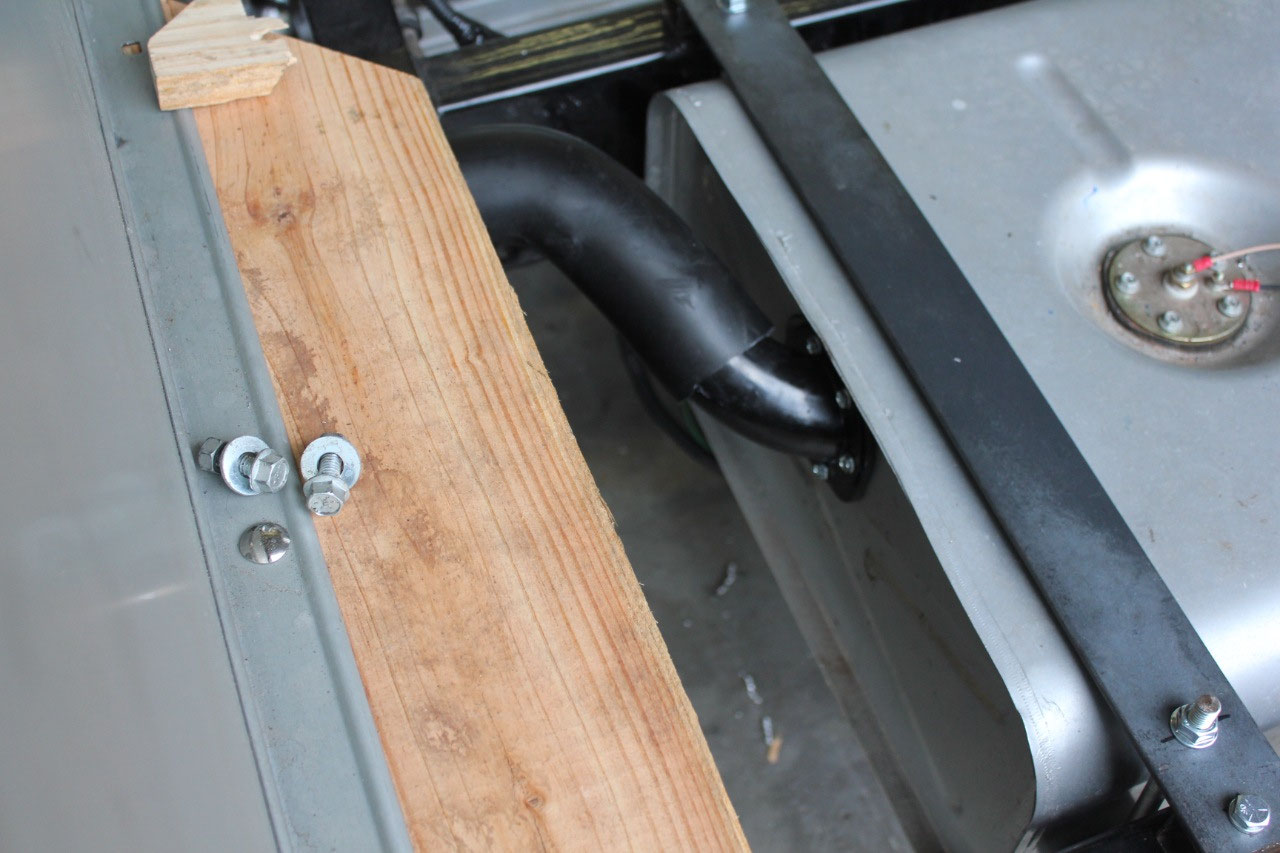
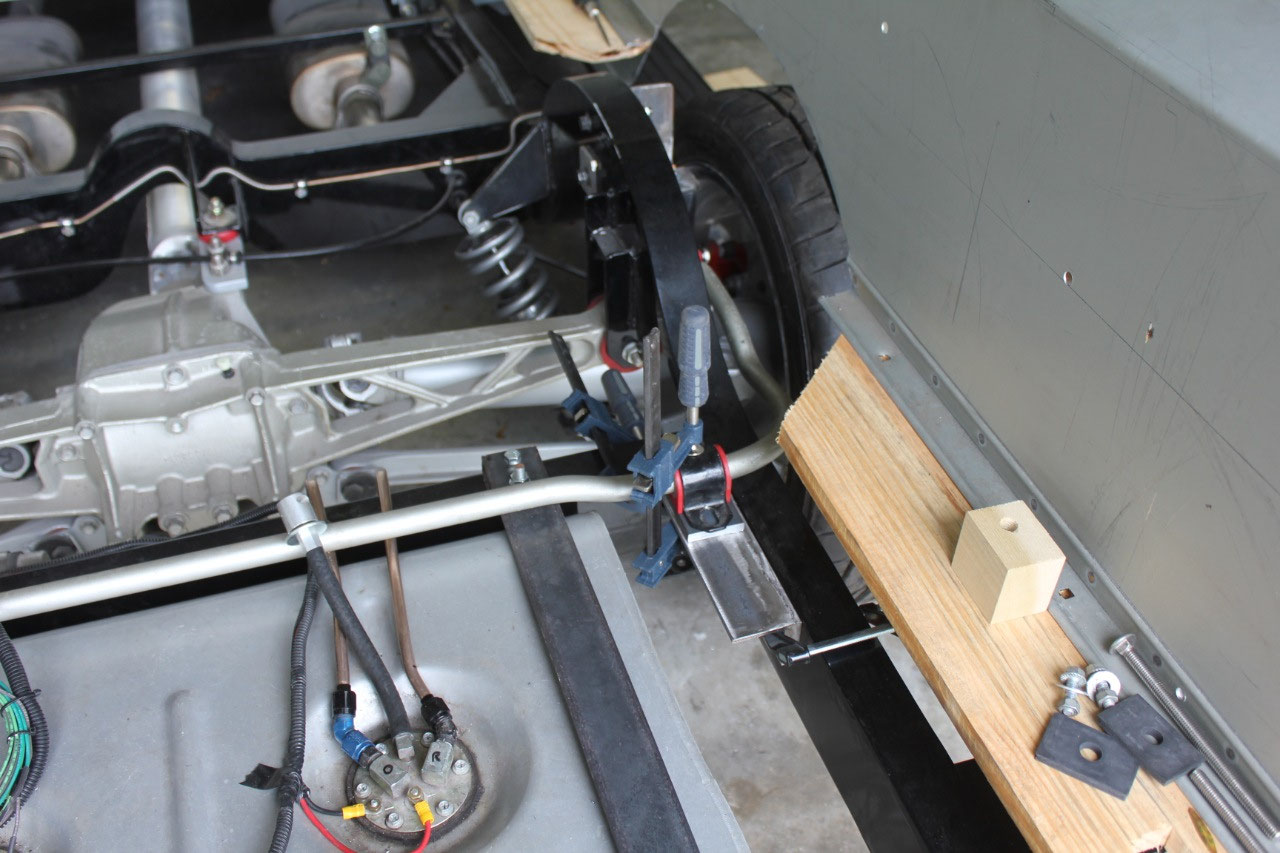
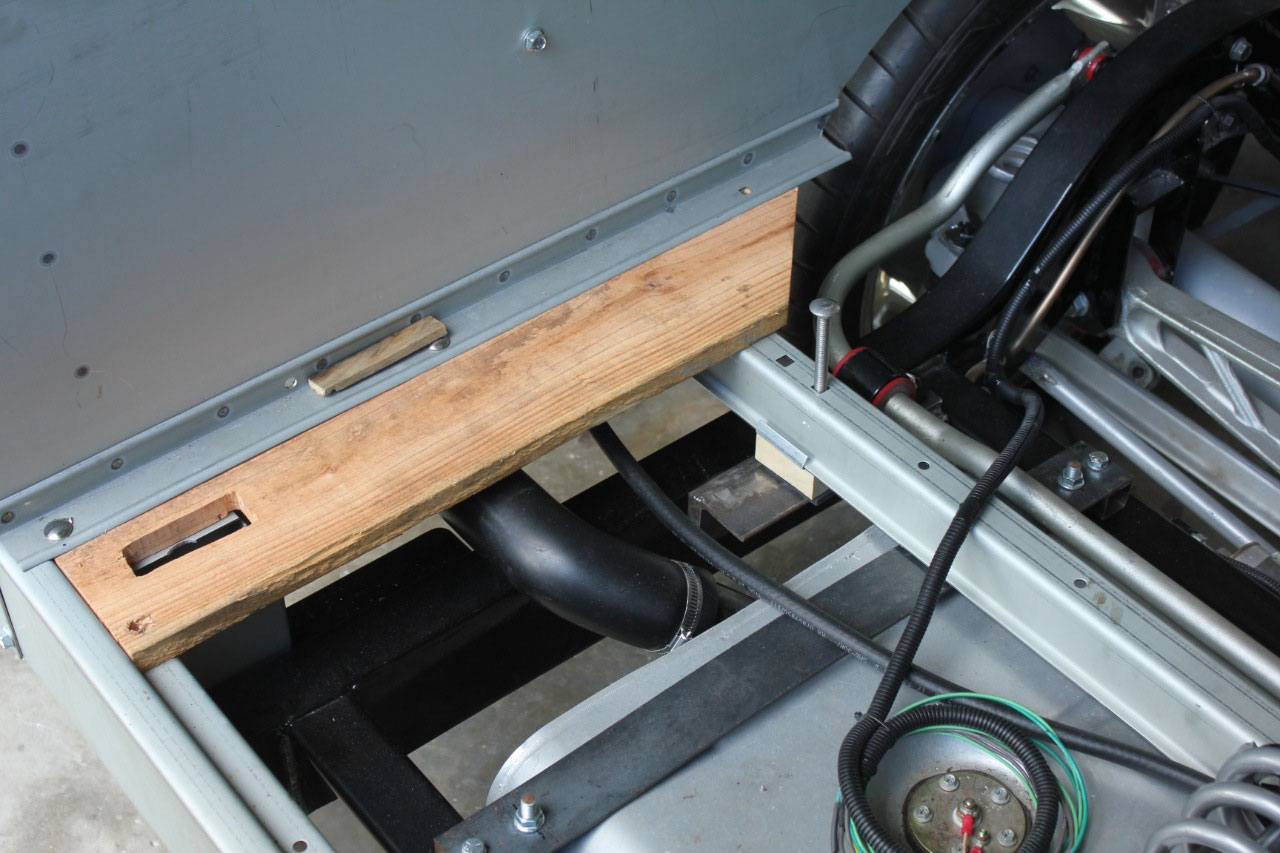
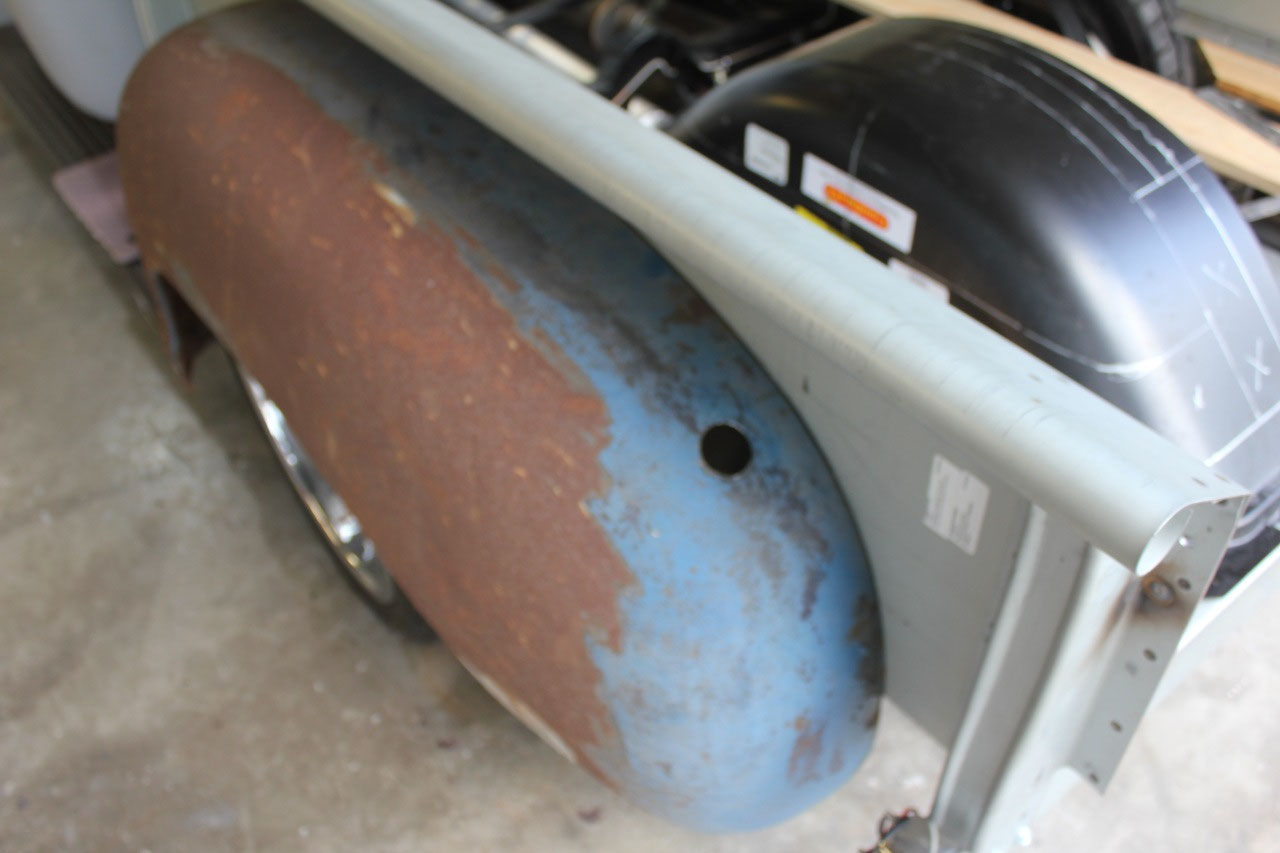
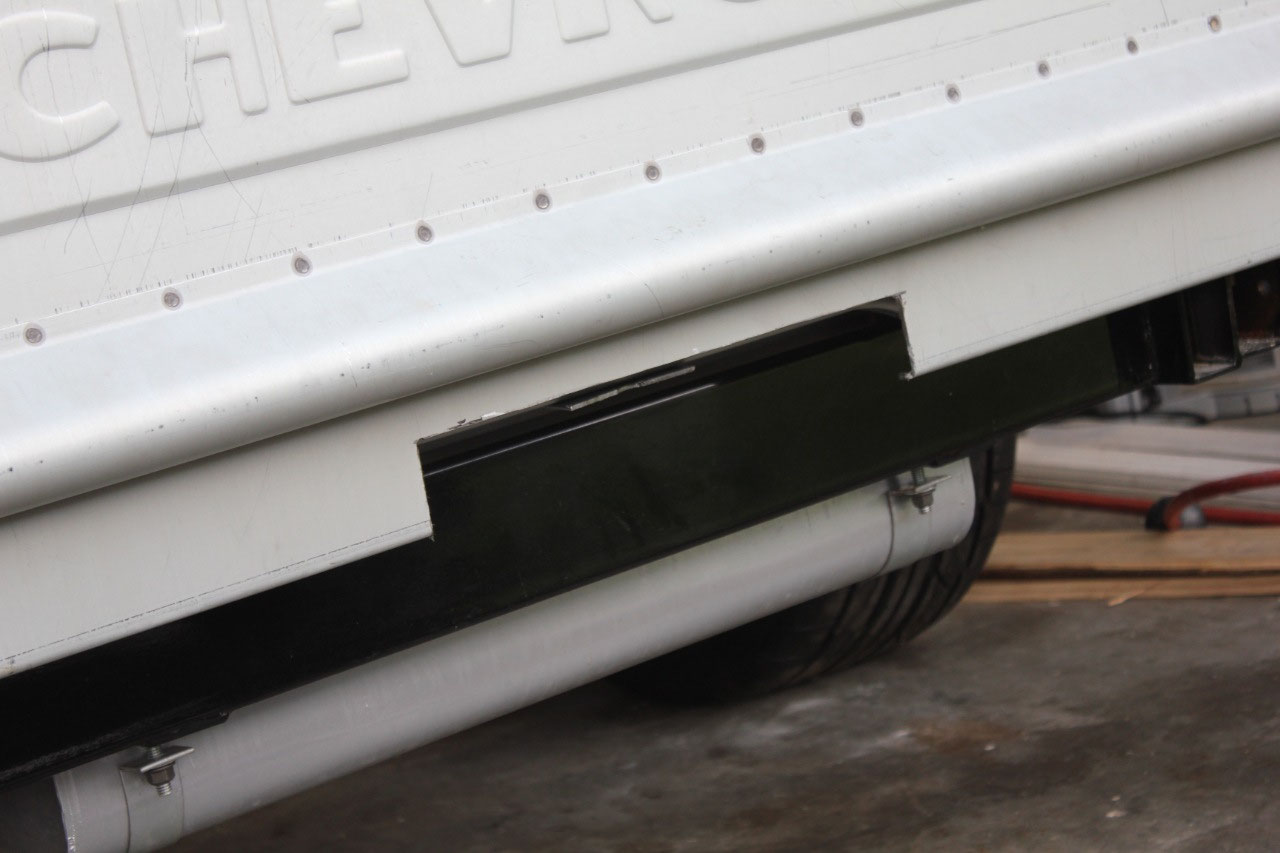
plenty of clearance, and installation should be easy. The rear center support is another
story. The gas tank is just a little too
high for the fuel lines to pass between the tank and the center cross
brace. The tank just needs to be lower.
While this is not a difficult task, it does impact several
already completed areas. The first step
is to figure out how low I can go. I
don’t want the tank to hang too low and be too visible below the rear roll
pan. Also any lower will require a
re-thinking of the fuel filler inlet angle as it currently is a straight shot
above the frame, and now it will be below the frame. This will also require me to redo the fuel
lines from the tank to the fuel filter, and ultimately, the location of the
rear sway bar and rear cross sill.
None
of these are difficult, just time consuming.
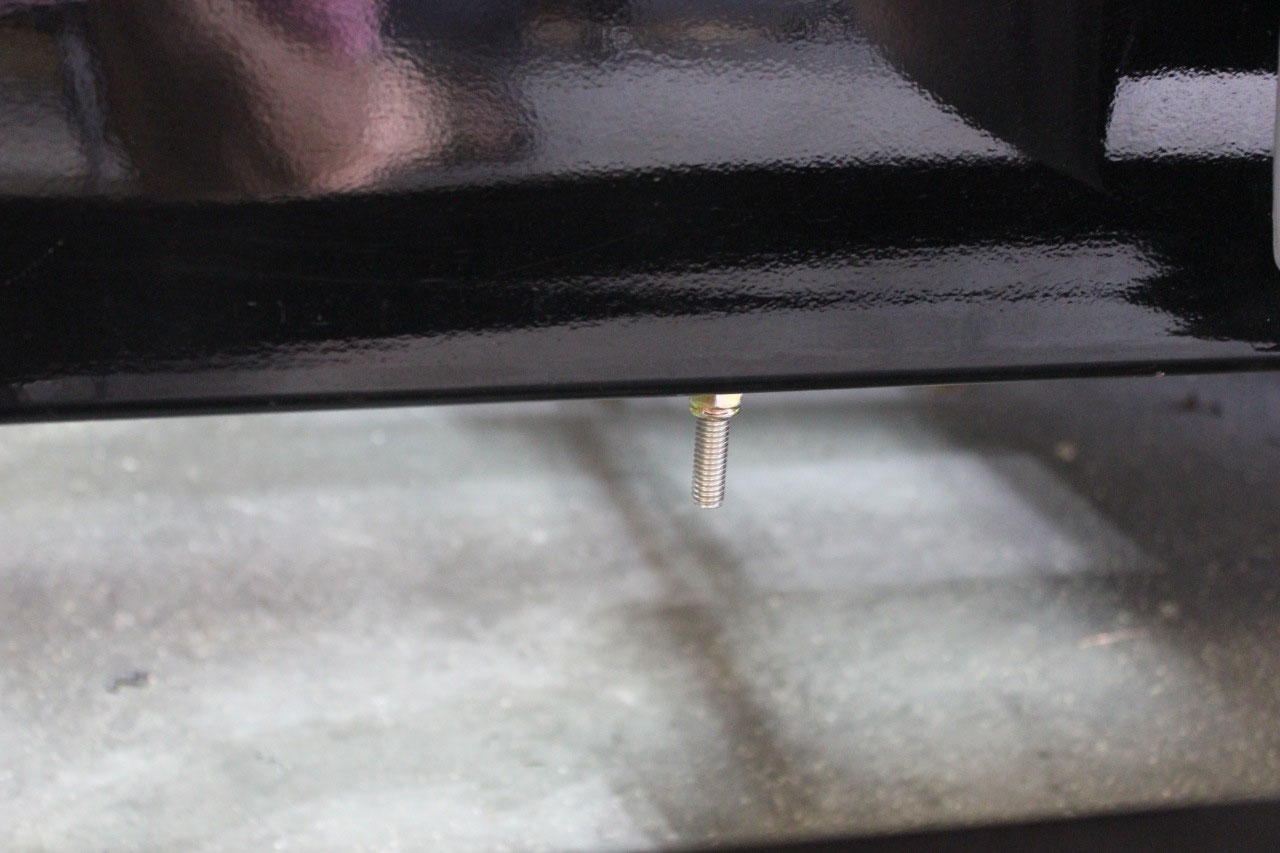
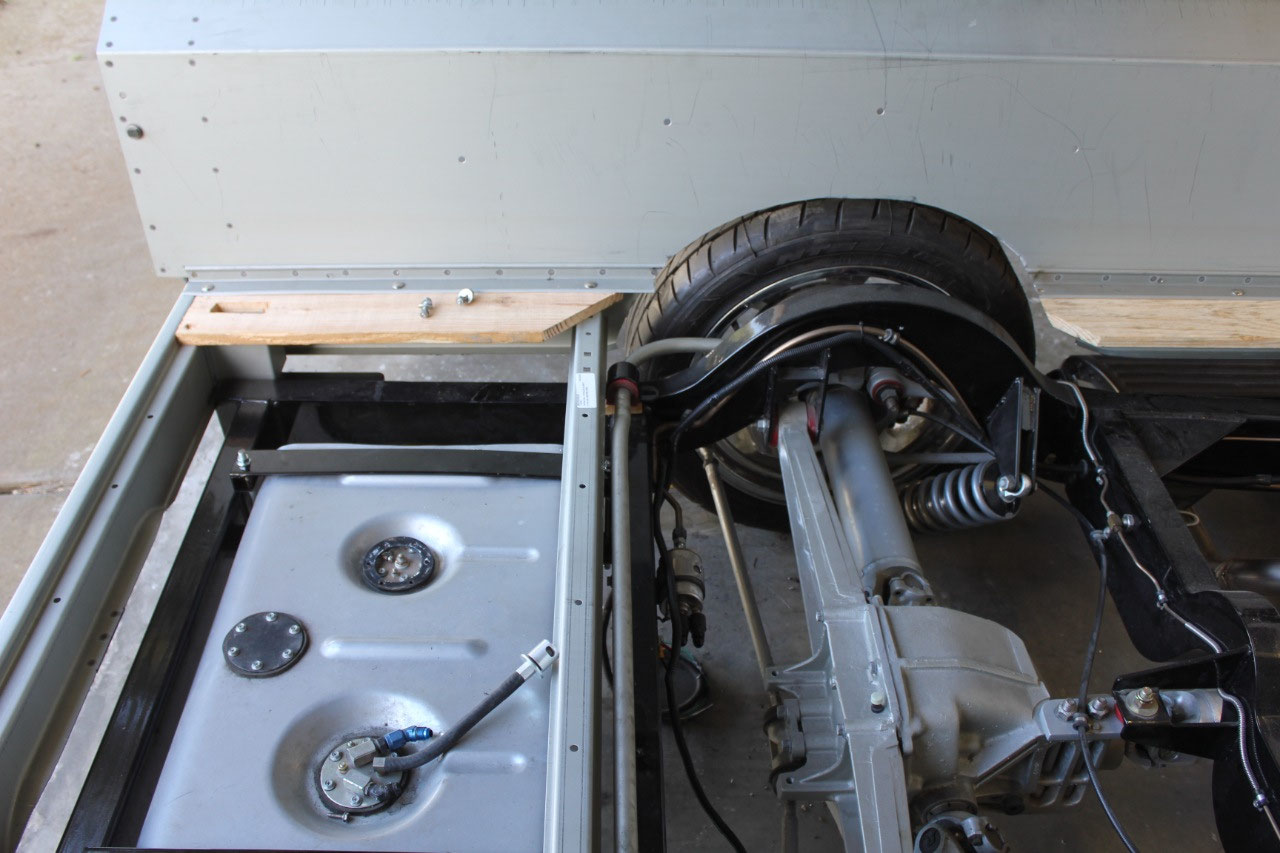
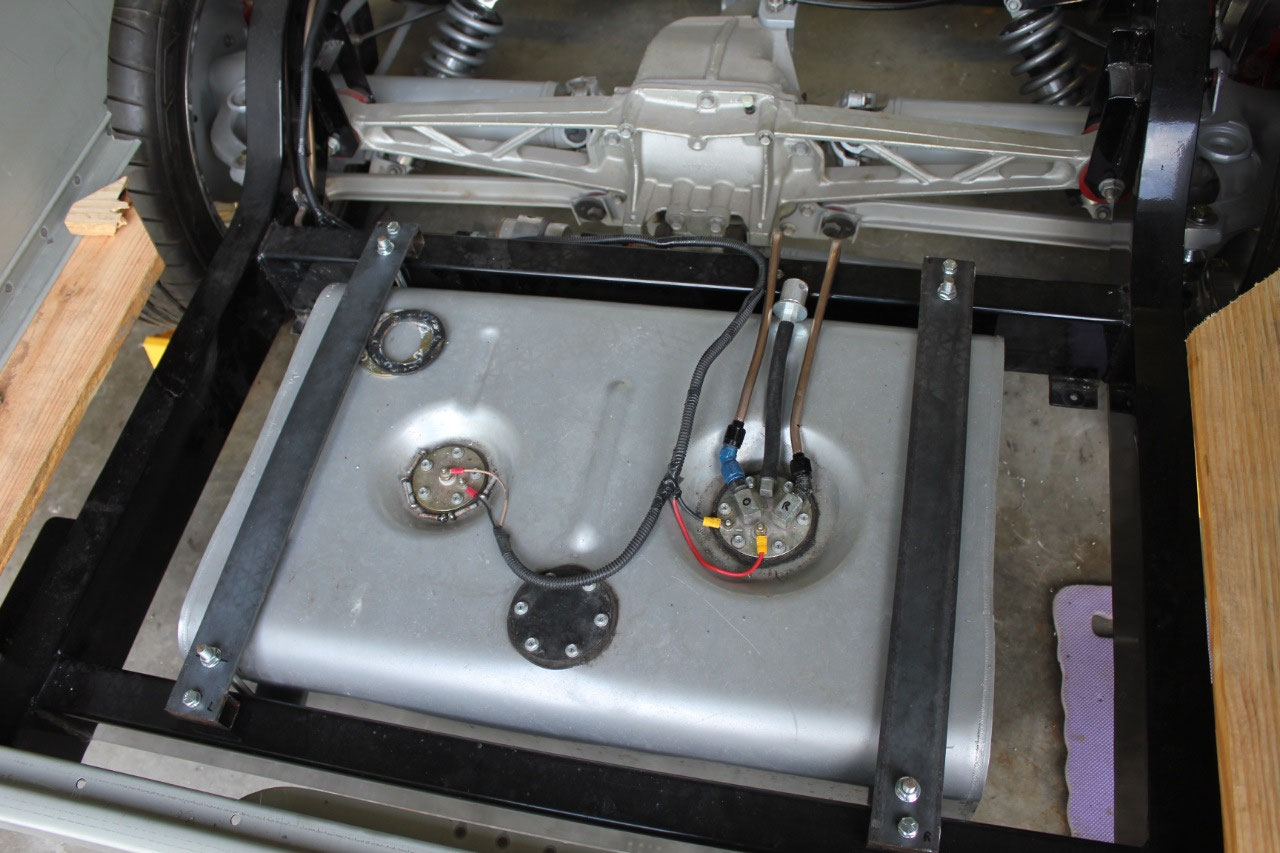
So, I flipped over the gas tank straps, made some new flat
bar straps for the top and some new spacers and set the tank in about 1-1/2”
lower. I had to change the 20 degree
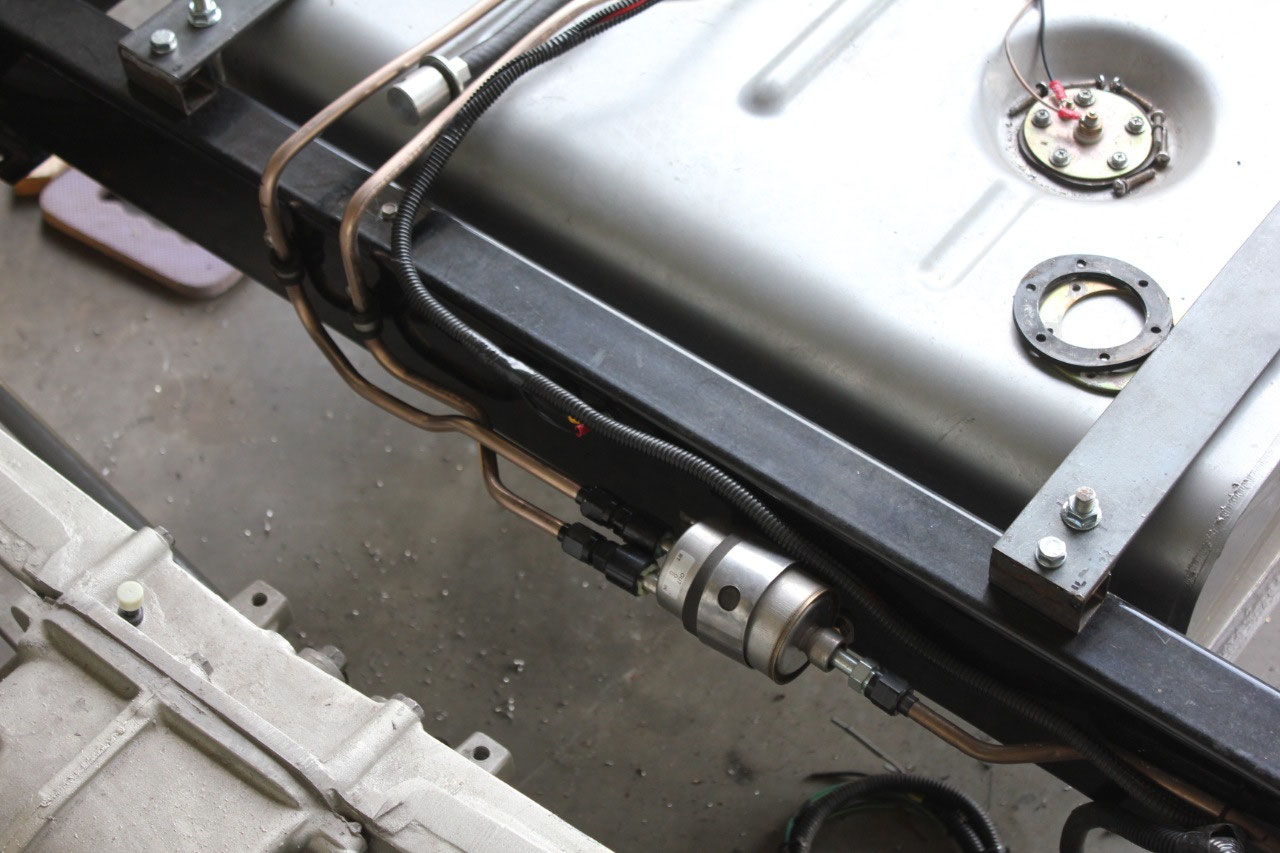
fuel filler to a 70 degree and reroute the 2” fuel filler line. Finally, I was able to bend up some new 3/8”
fuel output and return lines. Now
everything was back where it was, except in the new location.
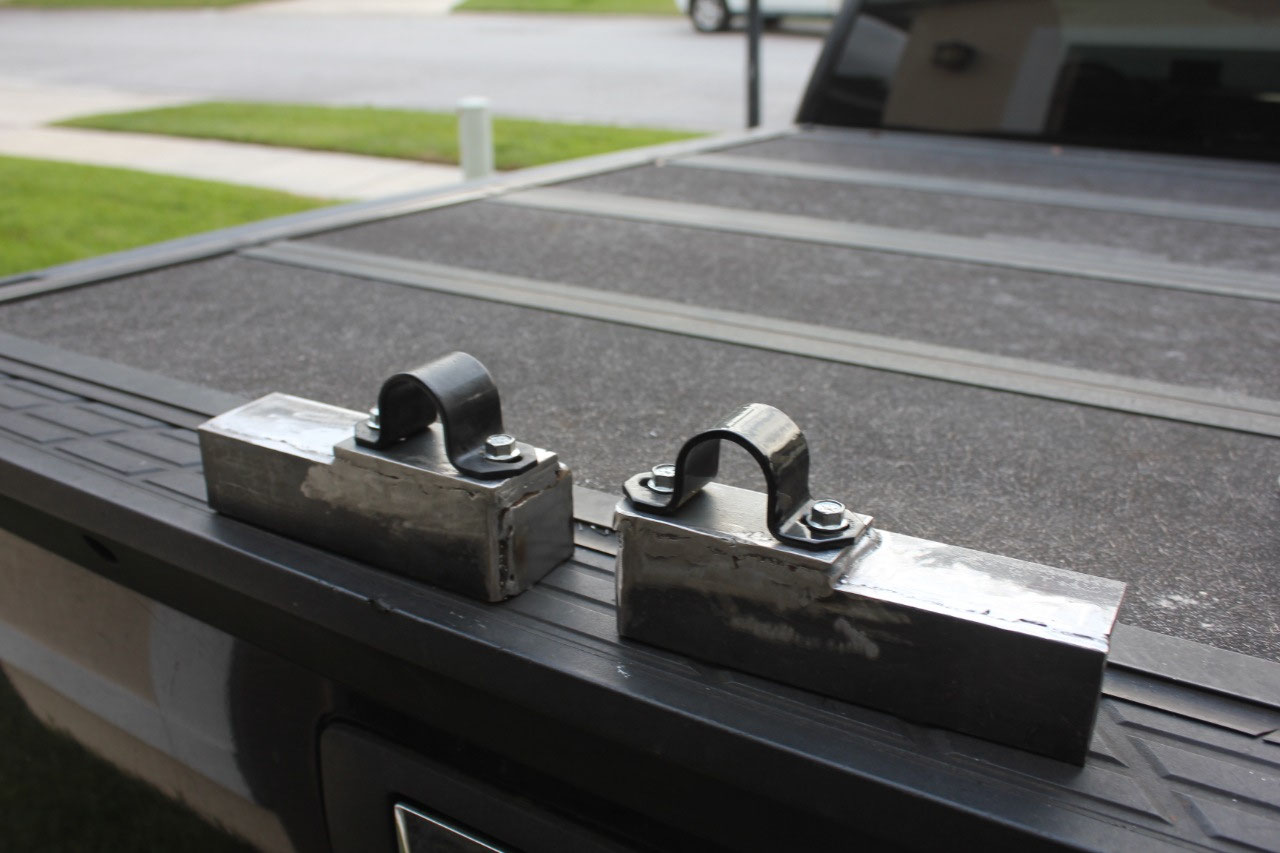
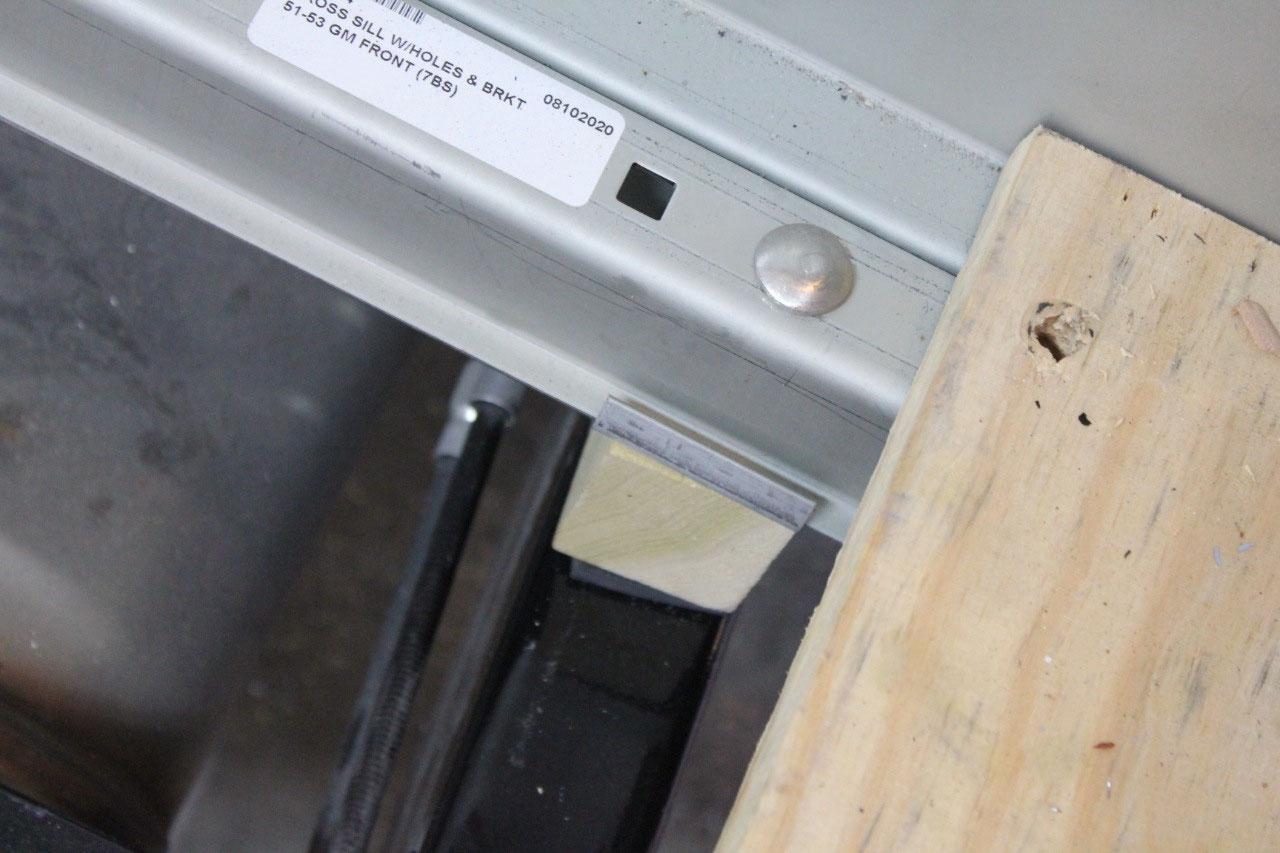
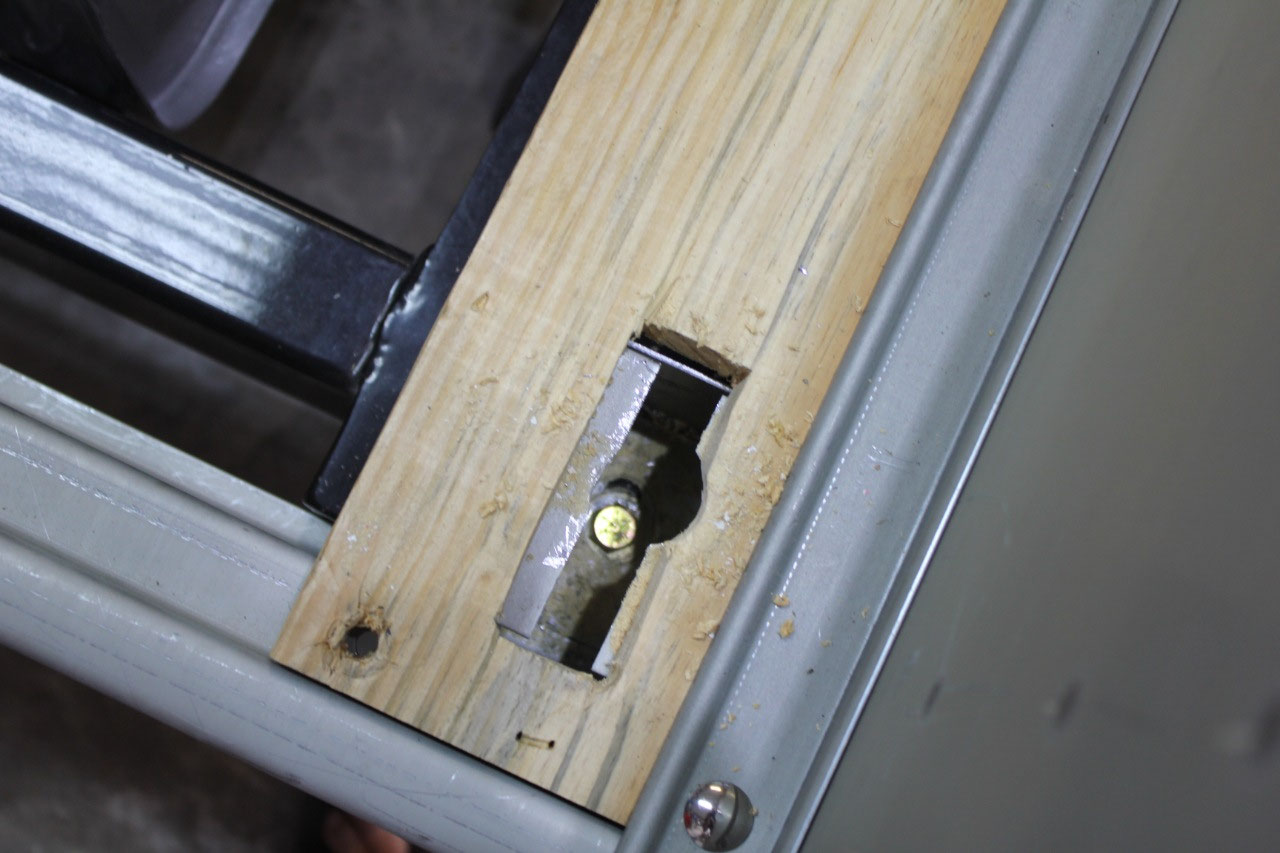
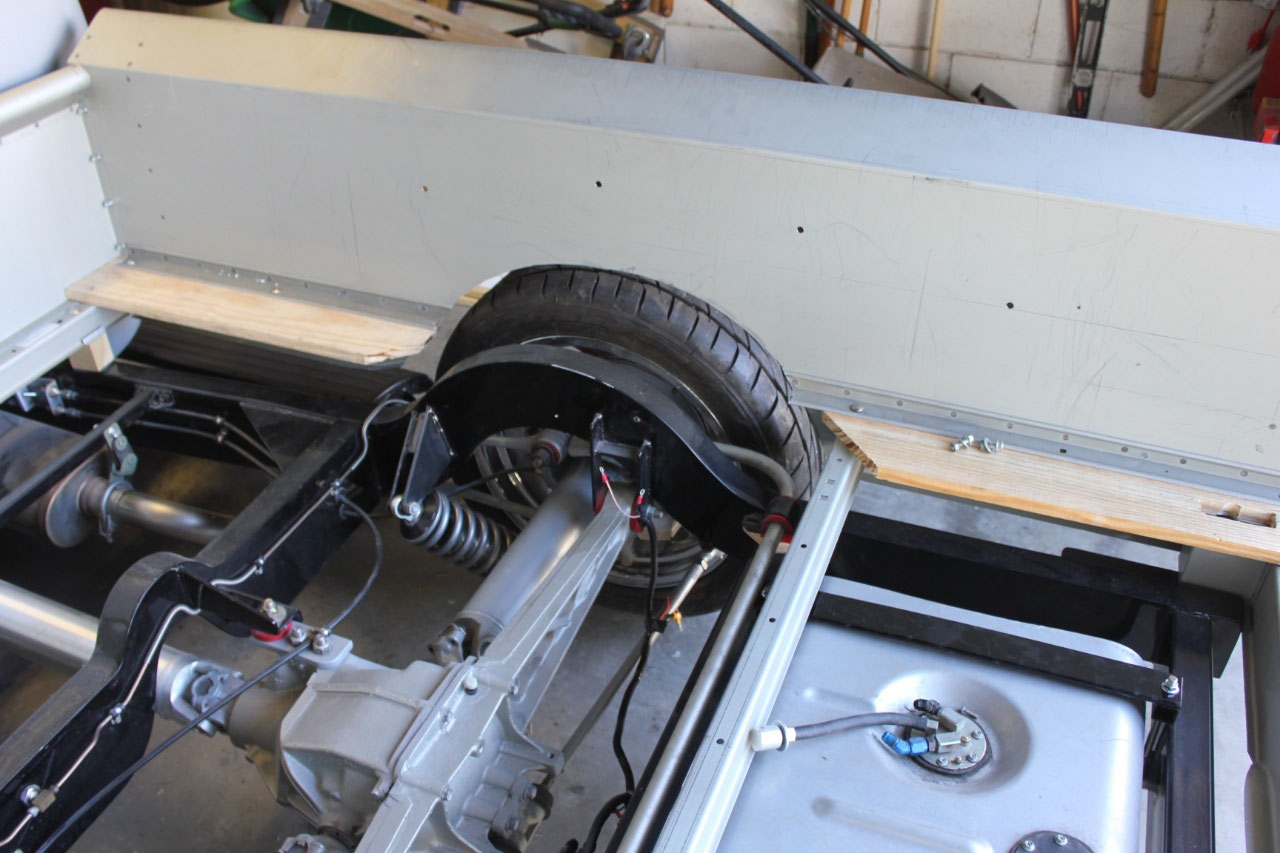
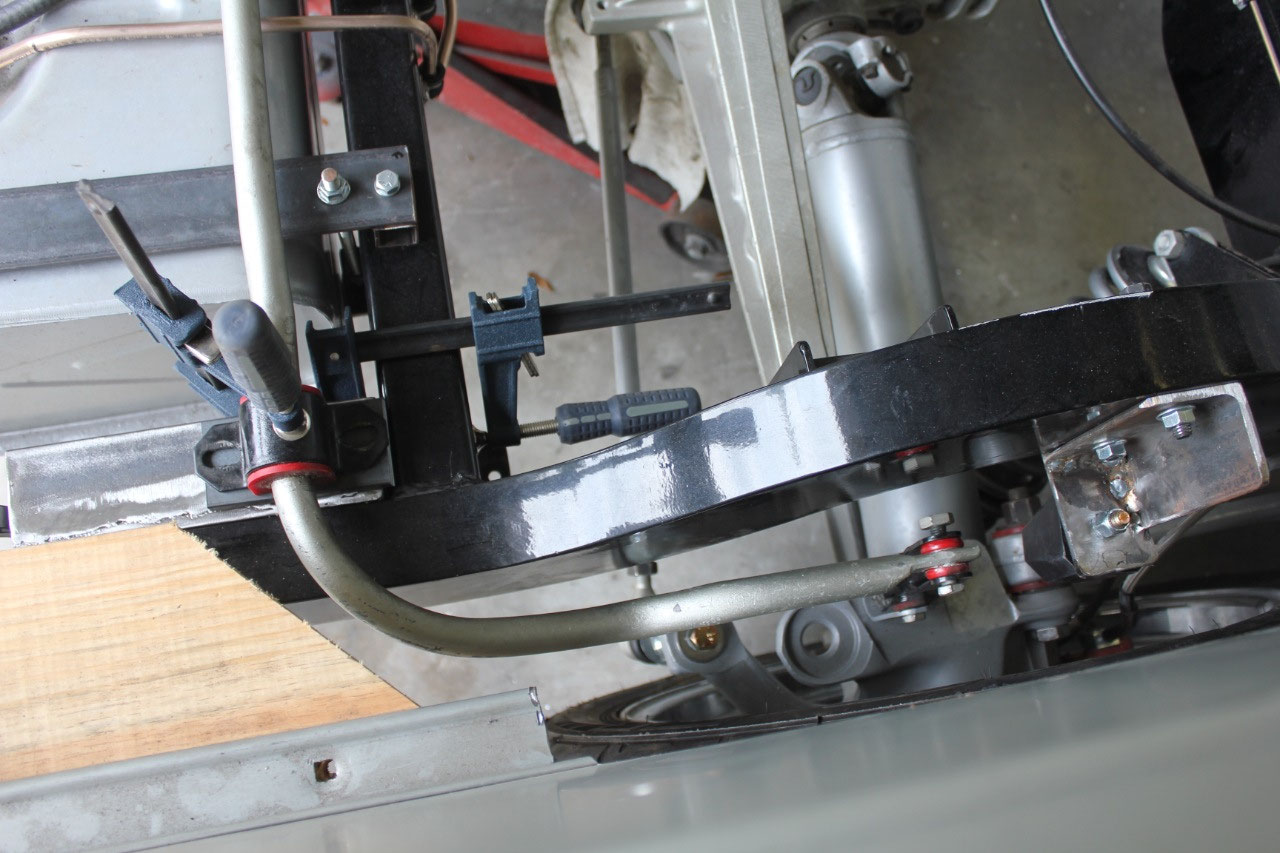
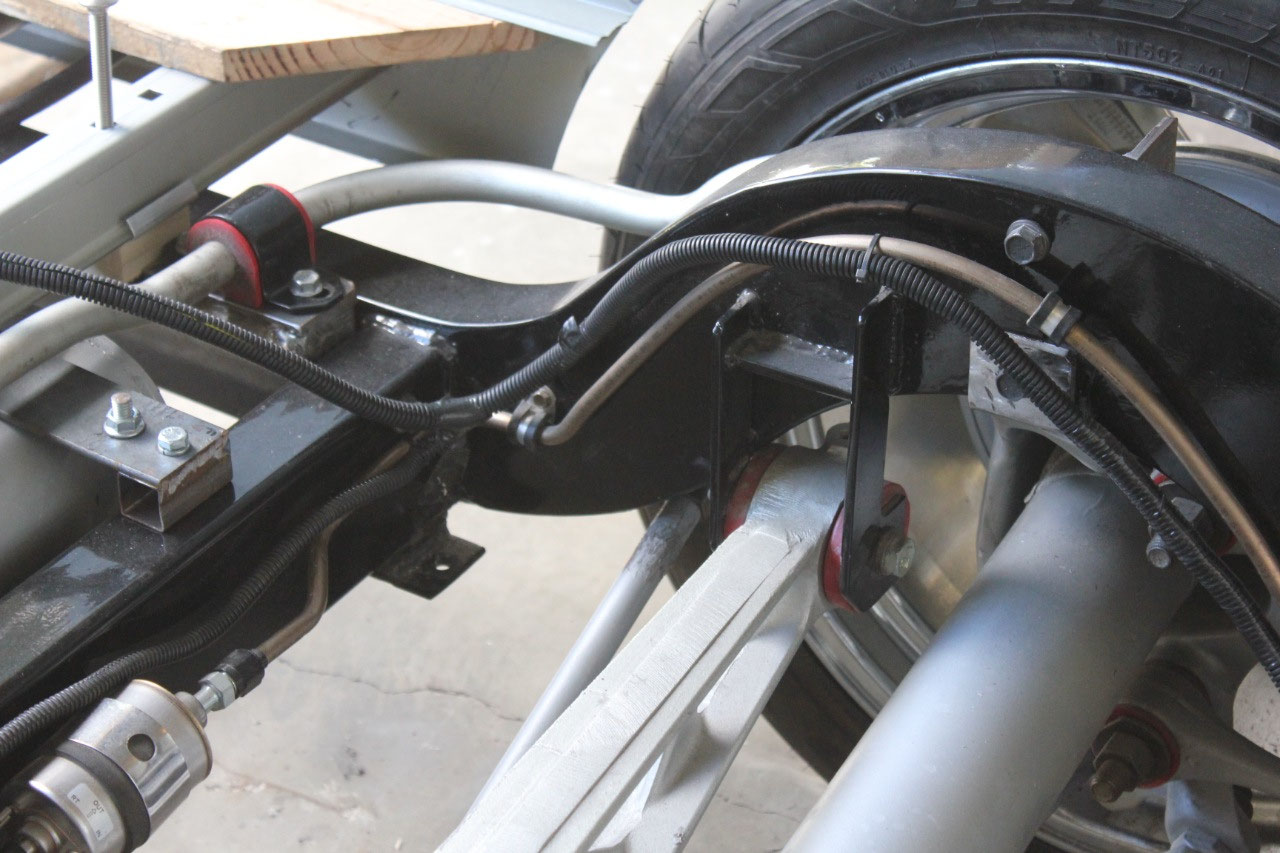
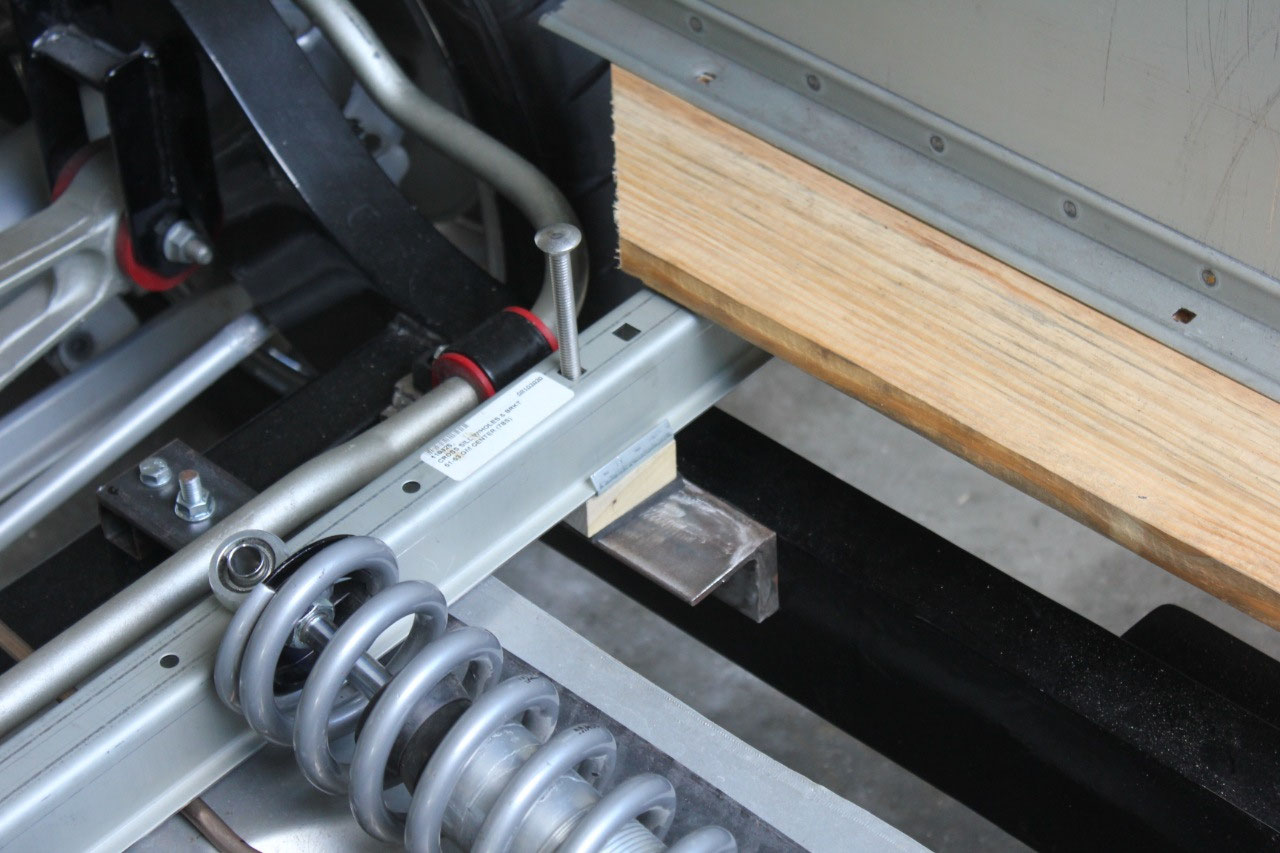
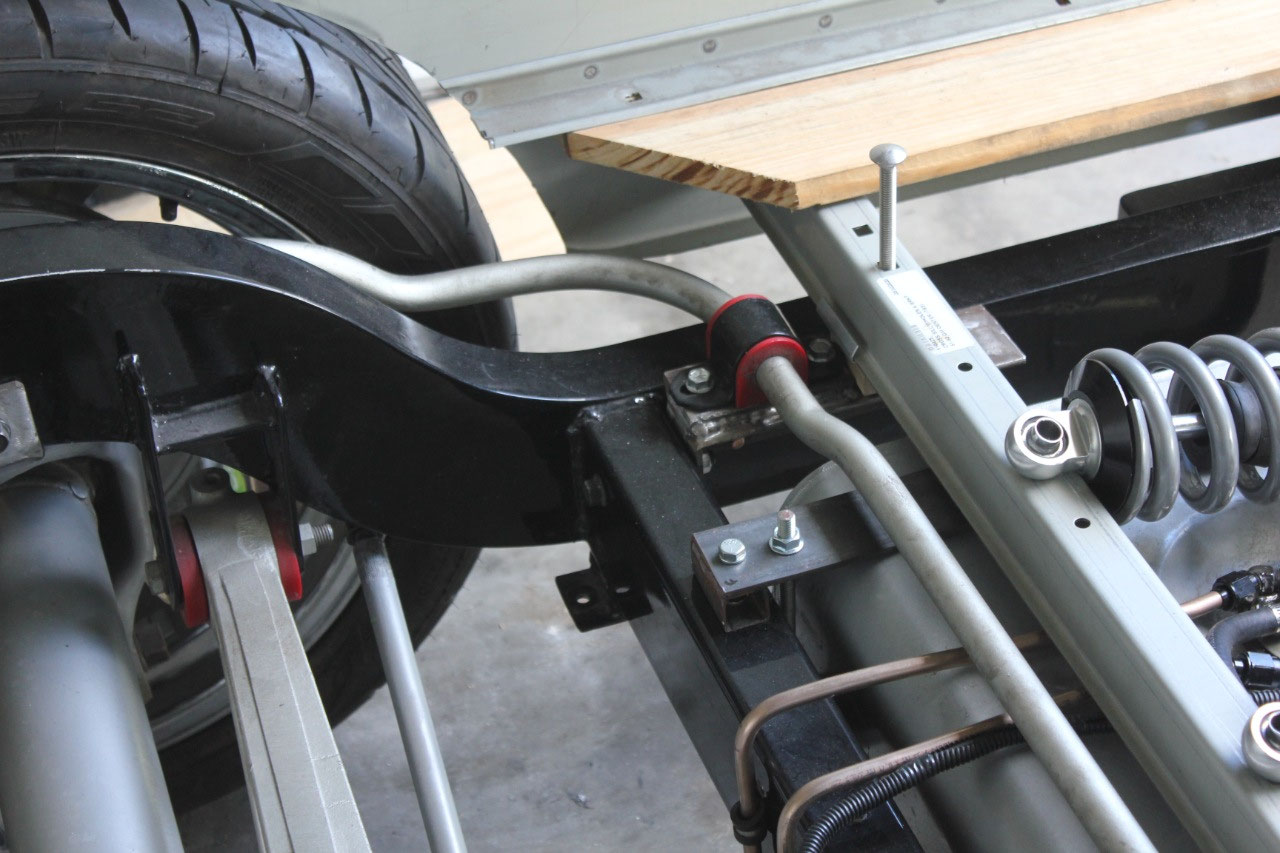
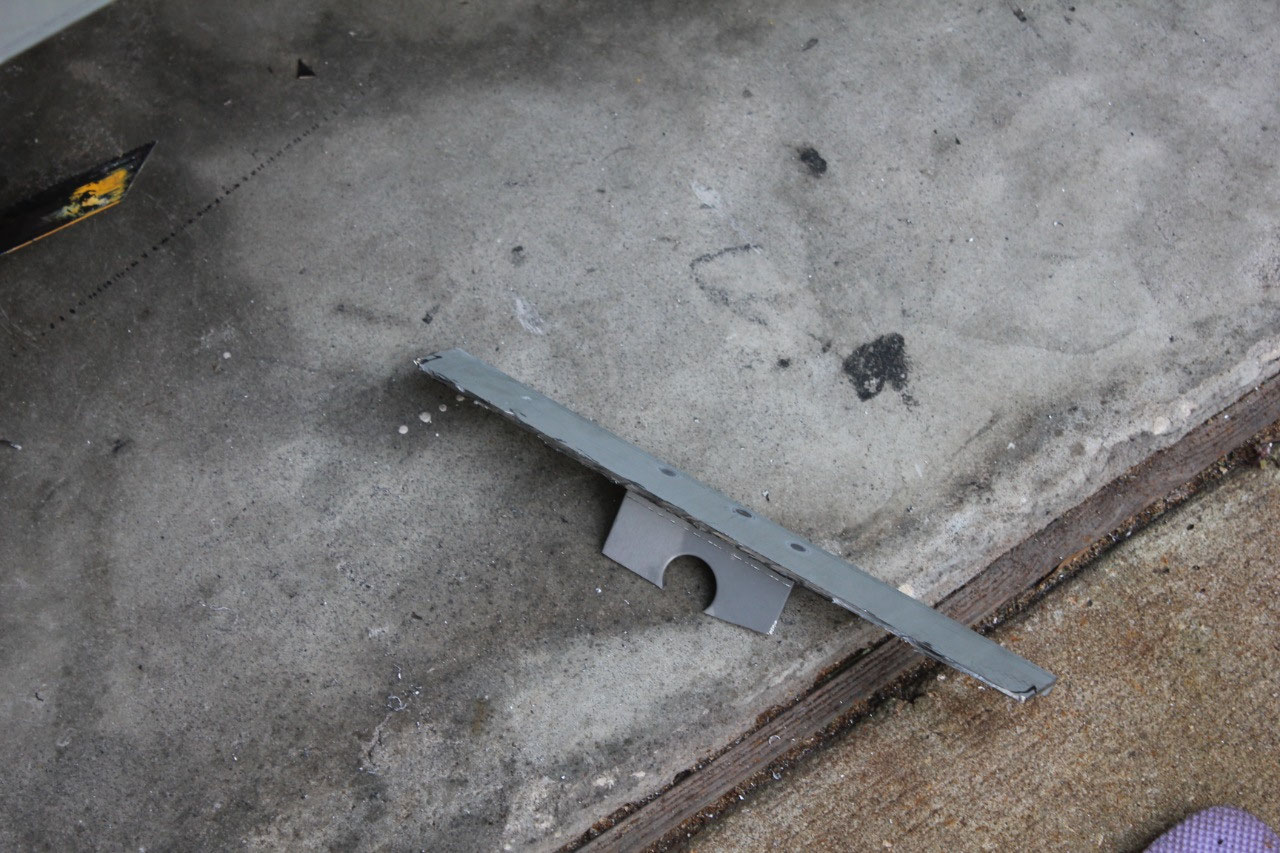
With the tank in its new location, it was time to figure out
the final location of the rear sway bar and the rear cross sill. I never liked the original rear sway bar
mount below the frame, and found that it actually fit much better above the
frame, between the frame and the bed floor.
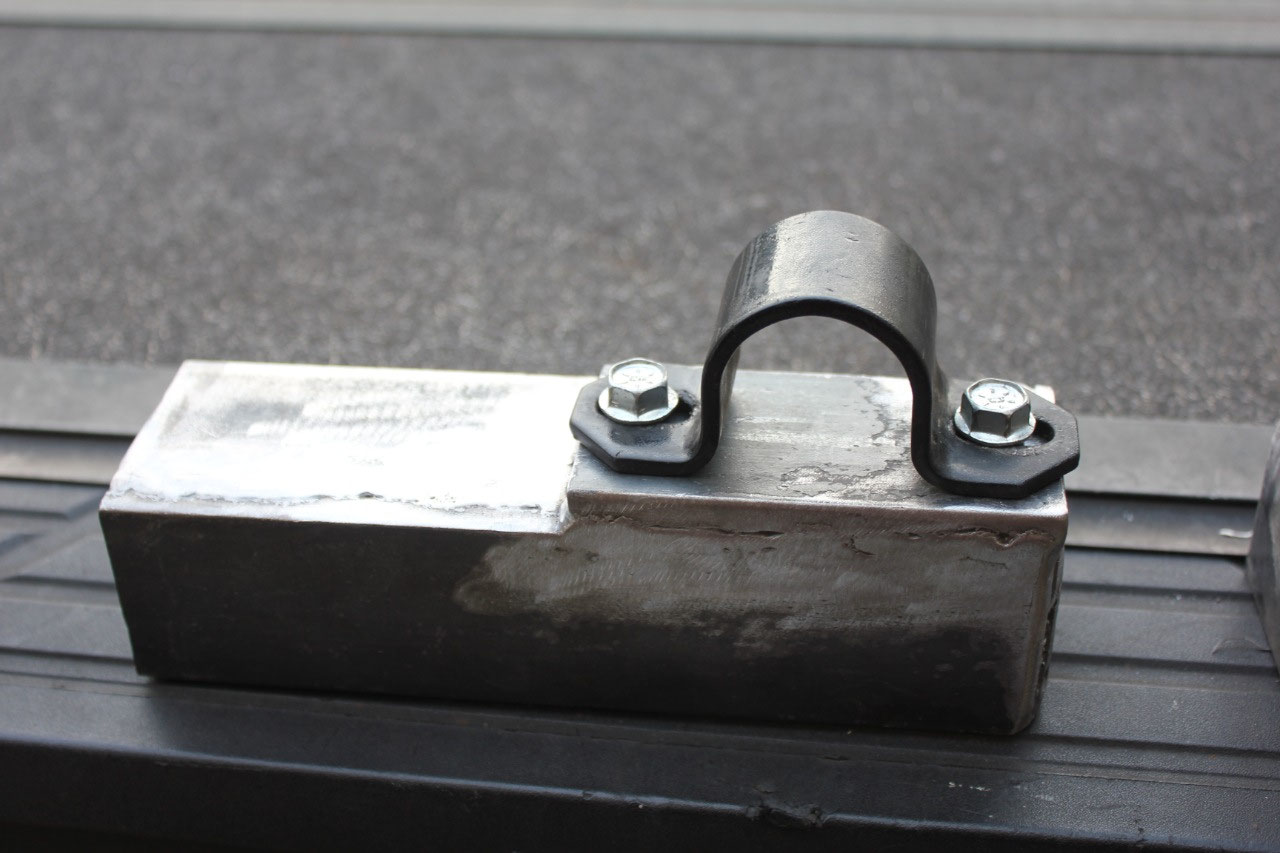
It wasn’t too difficult to fabricate a steel mount from 2” angle iron
that I could attach to the frame and use as both the sway bar mount and a rear
cross sill mount, positioning the rear cross sill just behind the rear sway
bar. Everything fit great, and I trimmed
the height of the cross sill wood mounting block to fit.
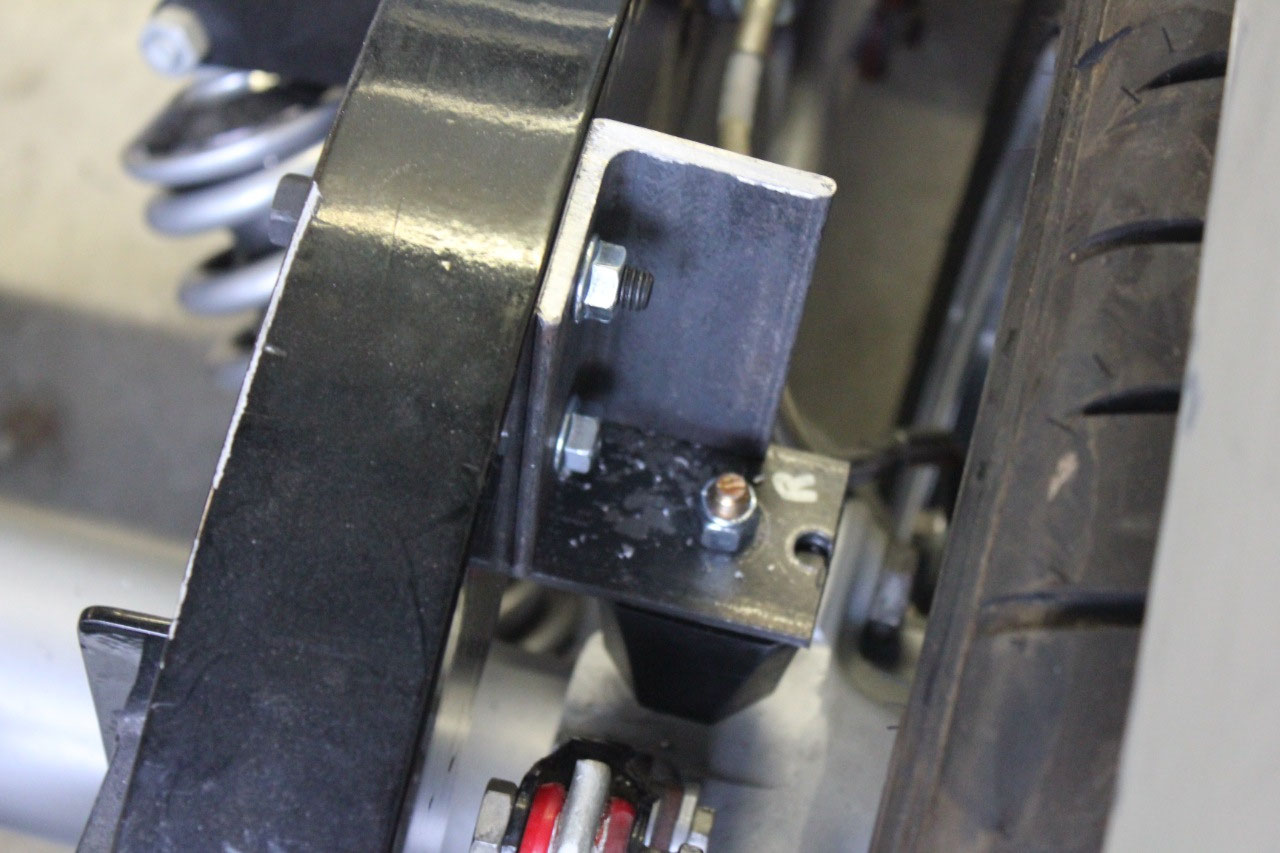
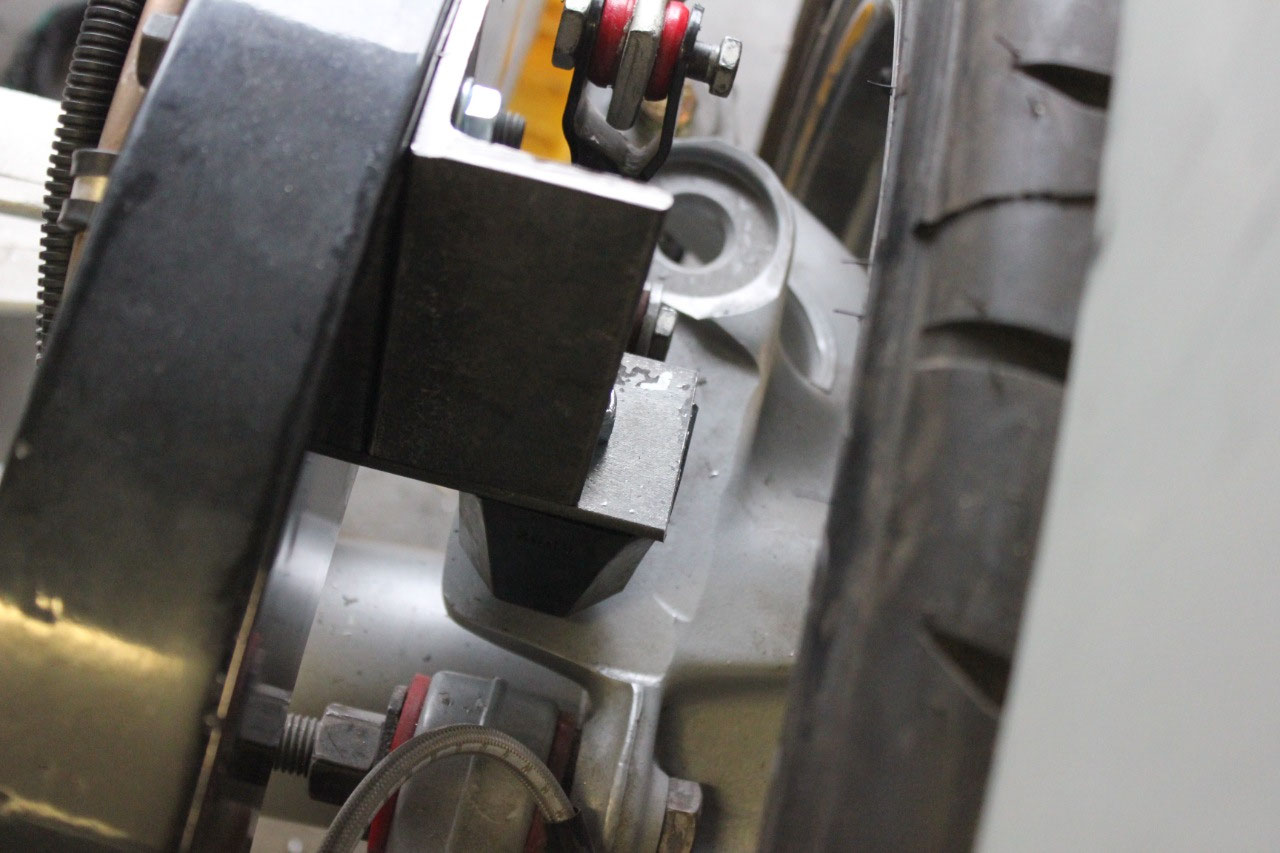
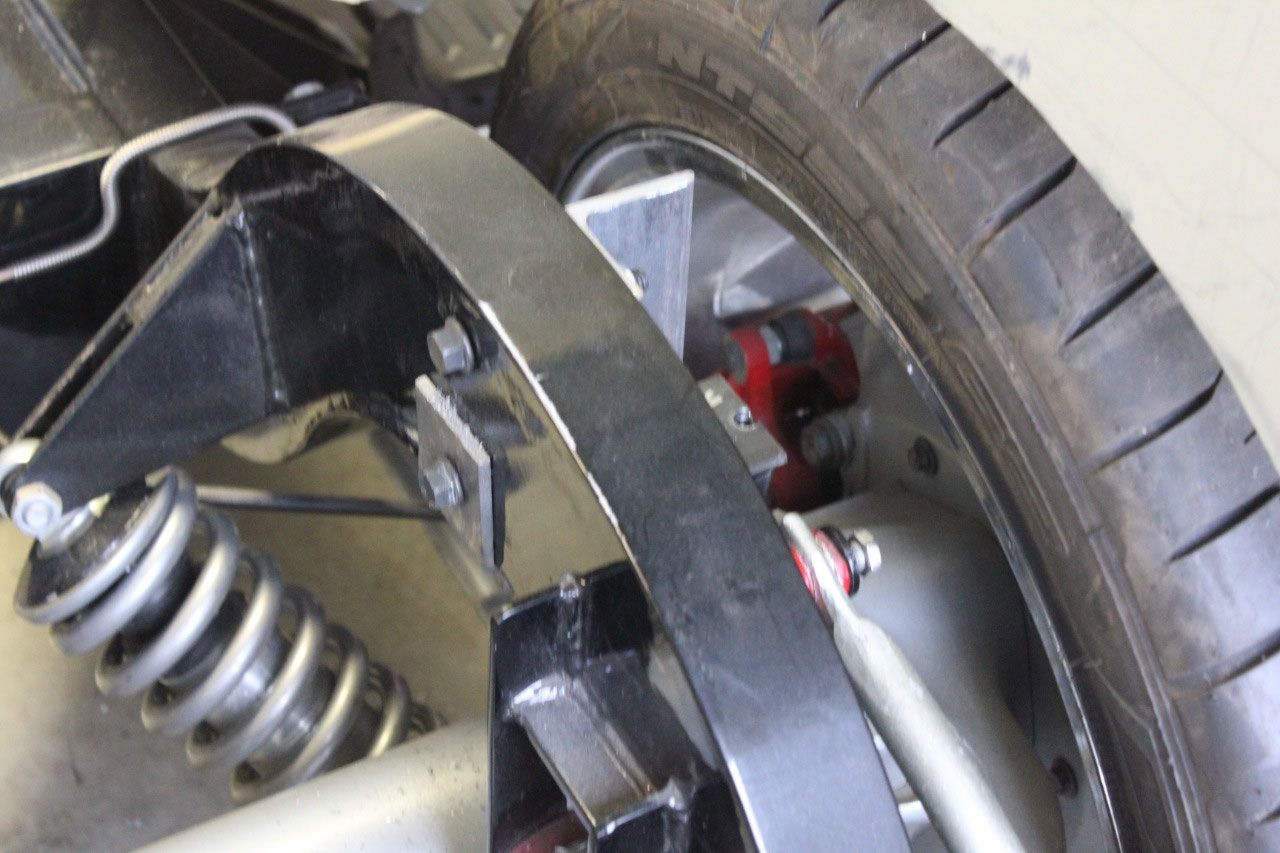
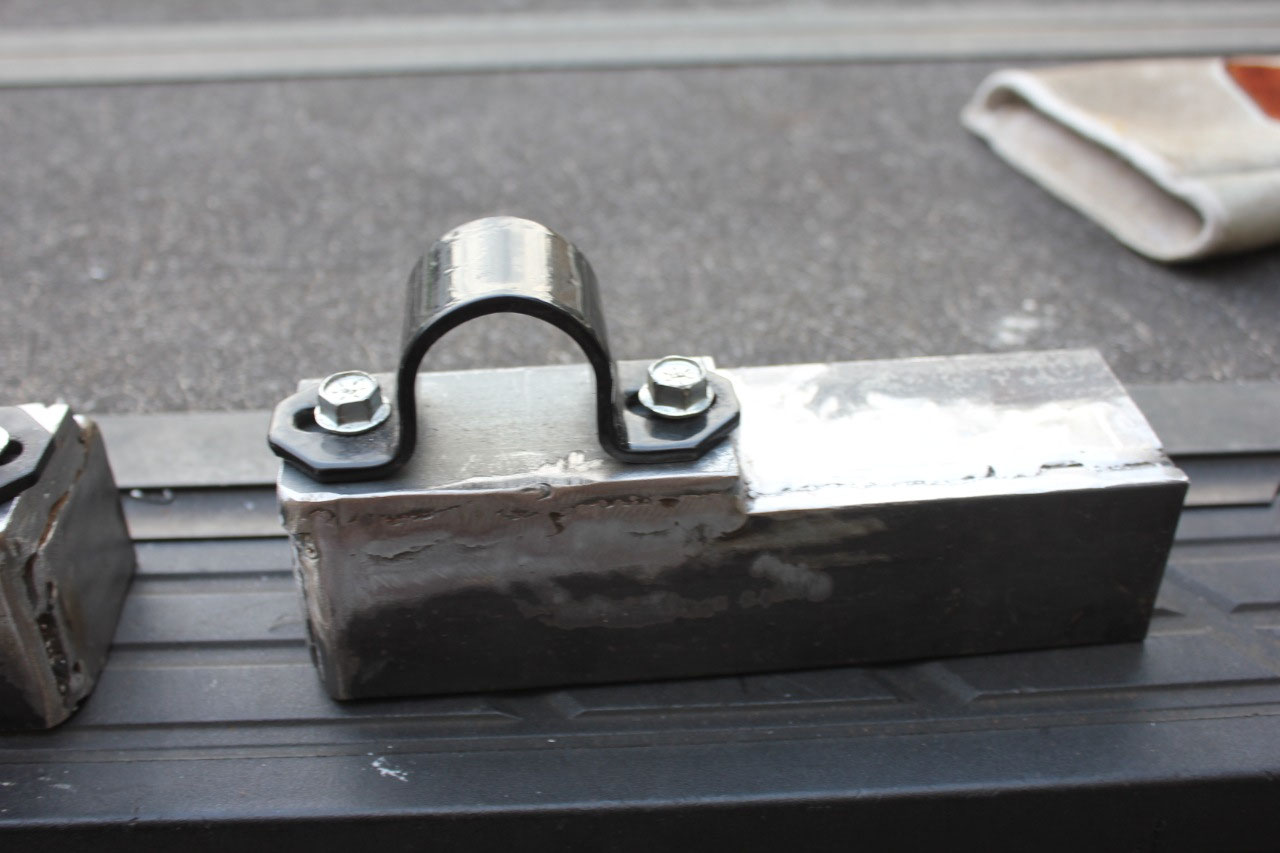
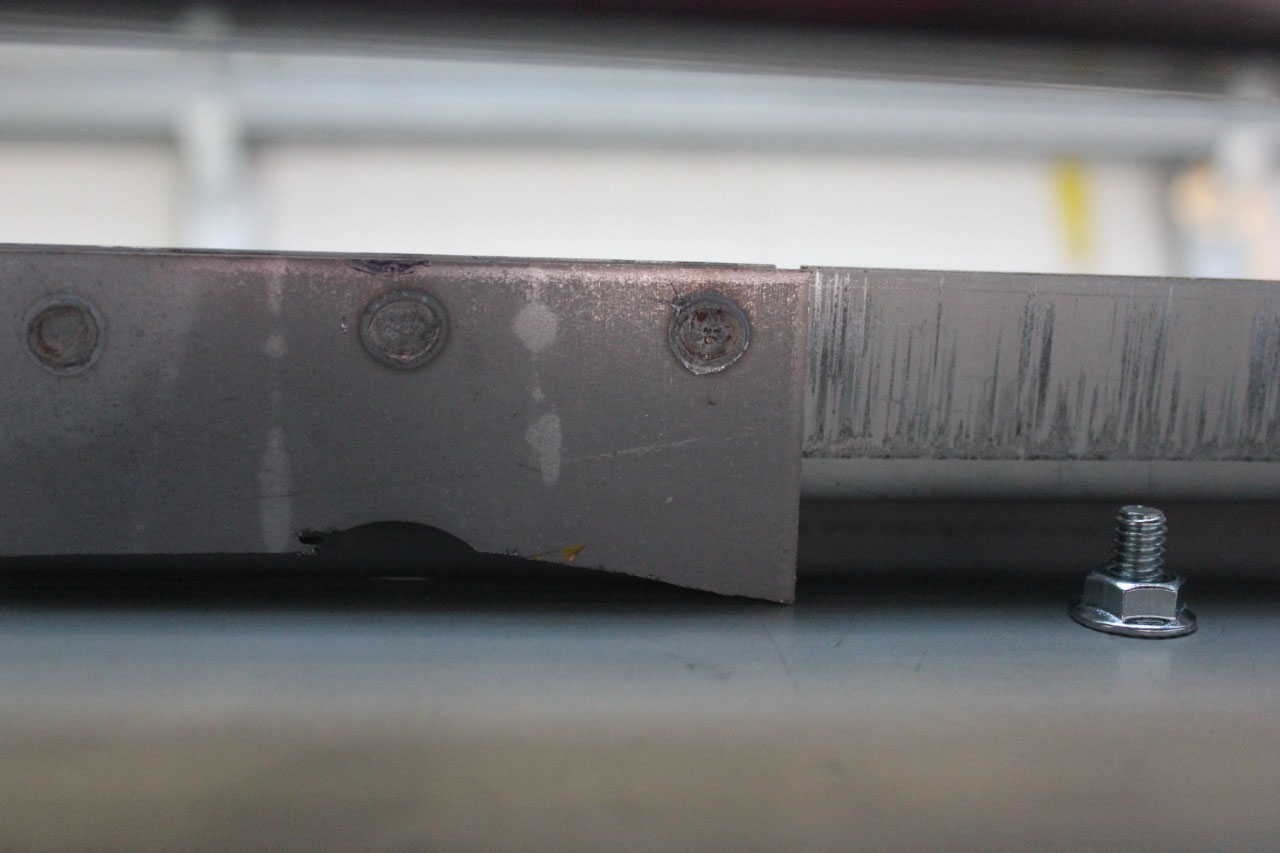
Now it was time to address one of the nagging problems of
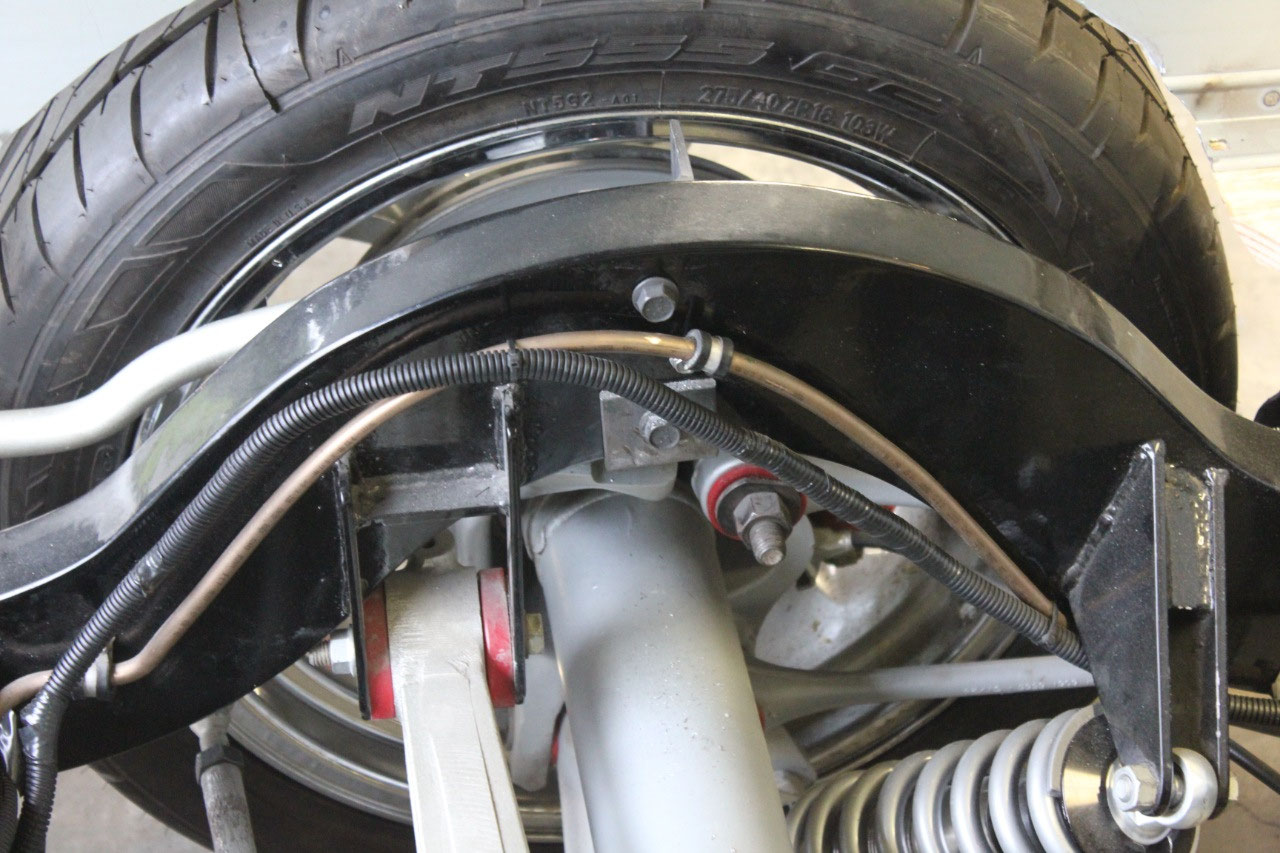
this build, rear springs and bump stops.
From what I can tell, the original design of the rear suspension has the
coilover shocks mounted at way too steep of an angle. They are tilted 45 degrees both inward and
front to back. This tilt loses half of
the spring rate and puts double the stress at the coil-over mounting
points. While the coilovers have a
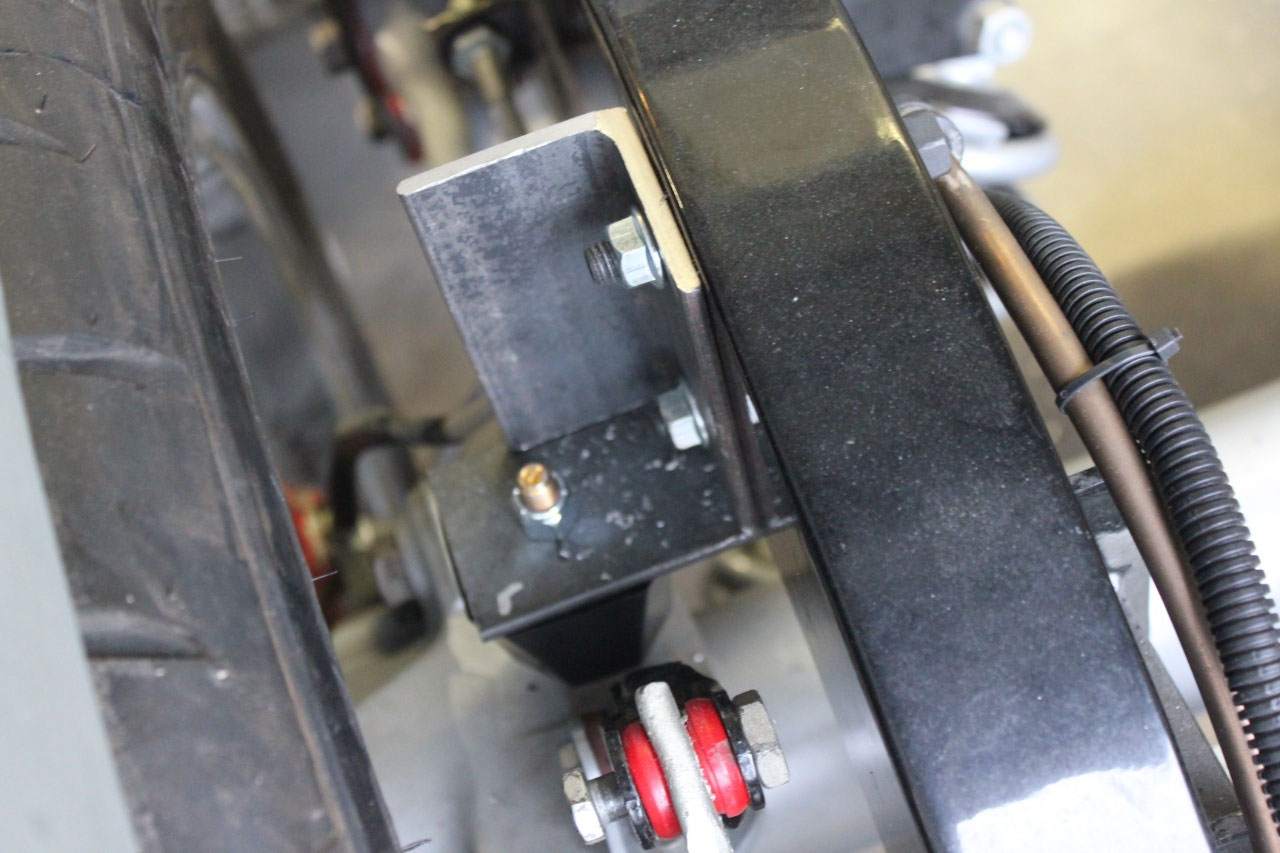
built-in bump stop, it is too low for this application, and with the cutout in
the bed sides for the tires, I want to make sure I have a positive bump stop
before the tire touches the bed side. I
decided to fabricate some bump stops from 2” angle iron, and bolt them to the
frame with a poly bumper striking the rear suspension in the stock Corvette
location.
This also turned out to be a relatively easy fabrication
with my recently improved fabrication and welding skills. I removed the coilovers completely so I could
easily lower the suspension to the bump stops and be certain that there were no
possible clearance issues.
Everything looks
great with plenty of clearance all around.
Final step was to reinstall the coilovers with the largest springs
available at 850 lb/in, while I try to come up with a better solution.
At this point, I set the ride height to level at both front
and rear, and leveled everything out side to side as well. The ride height looks good, but the rear is
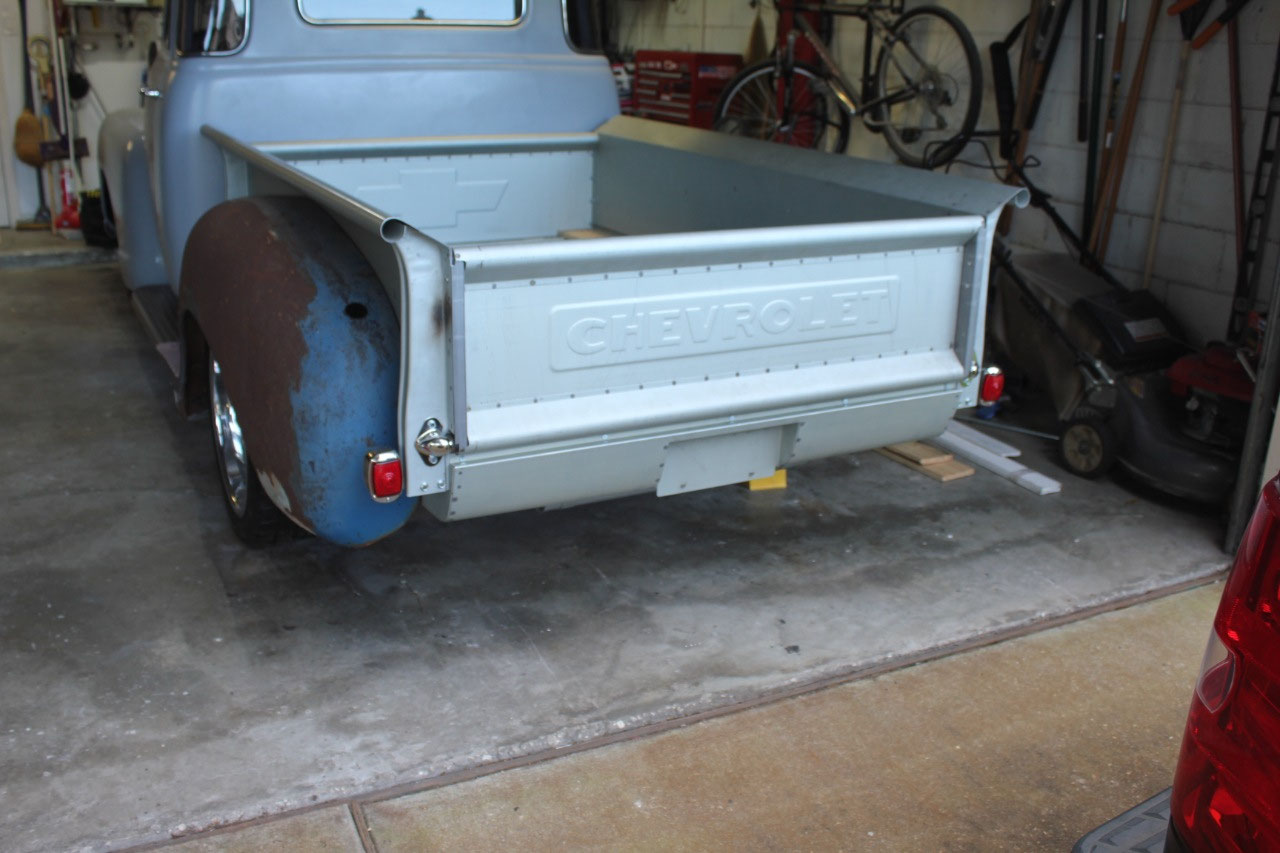
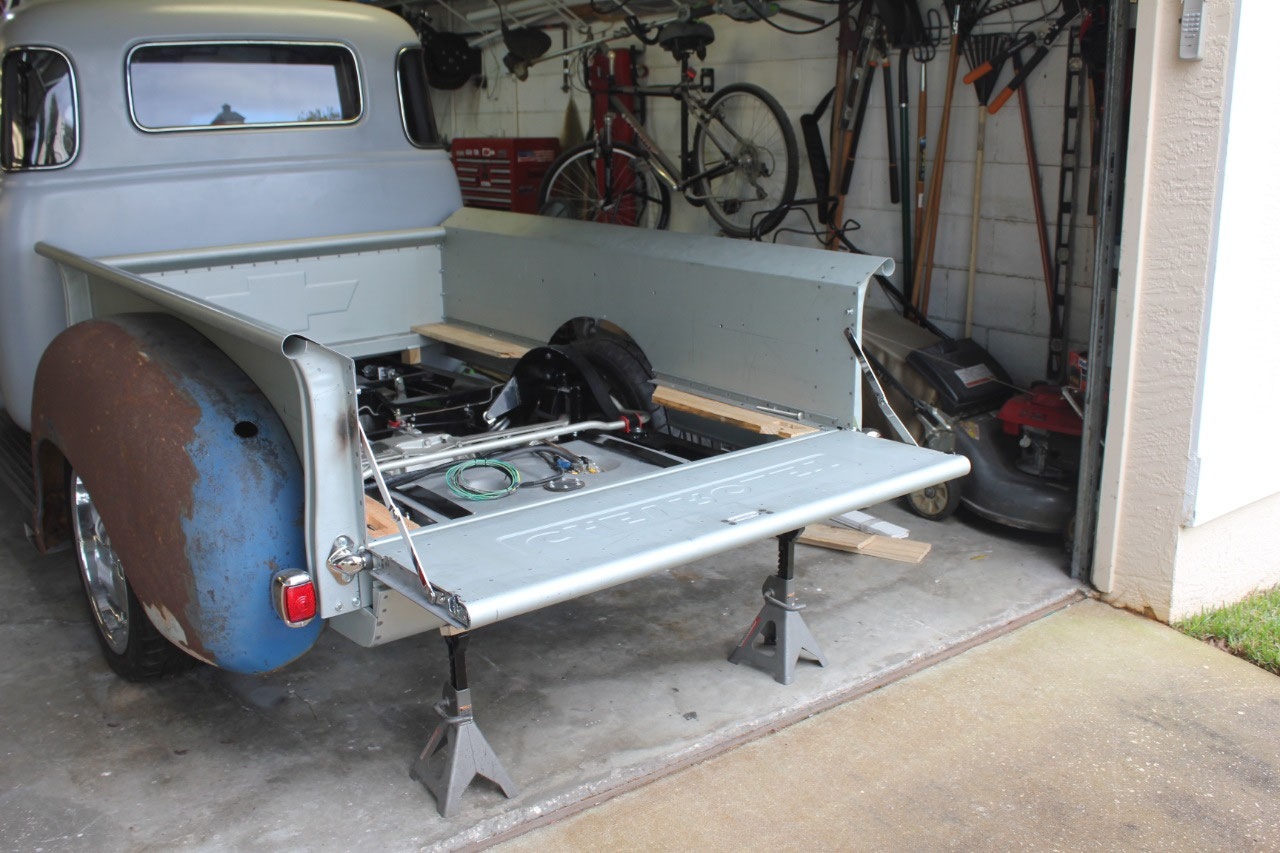
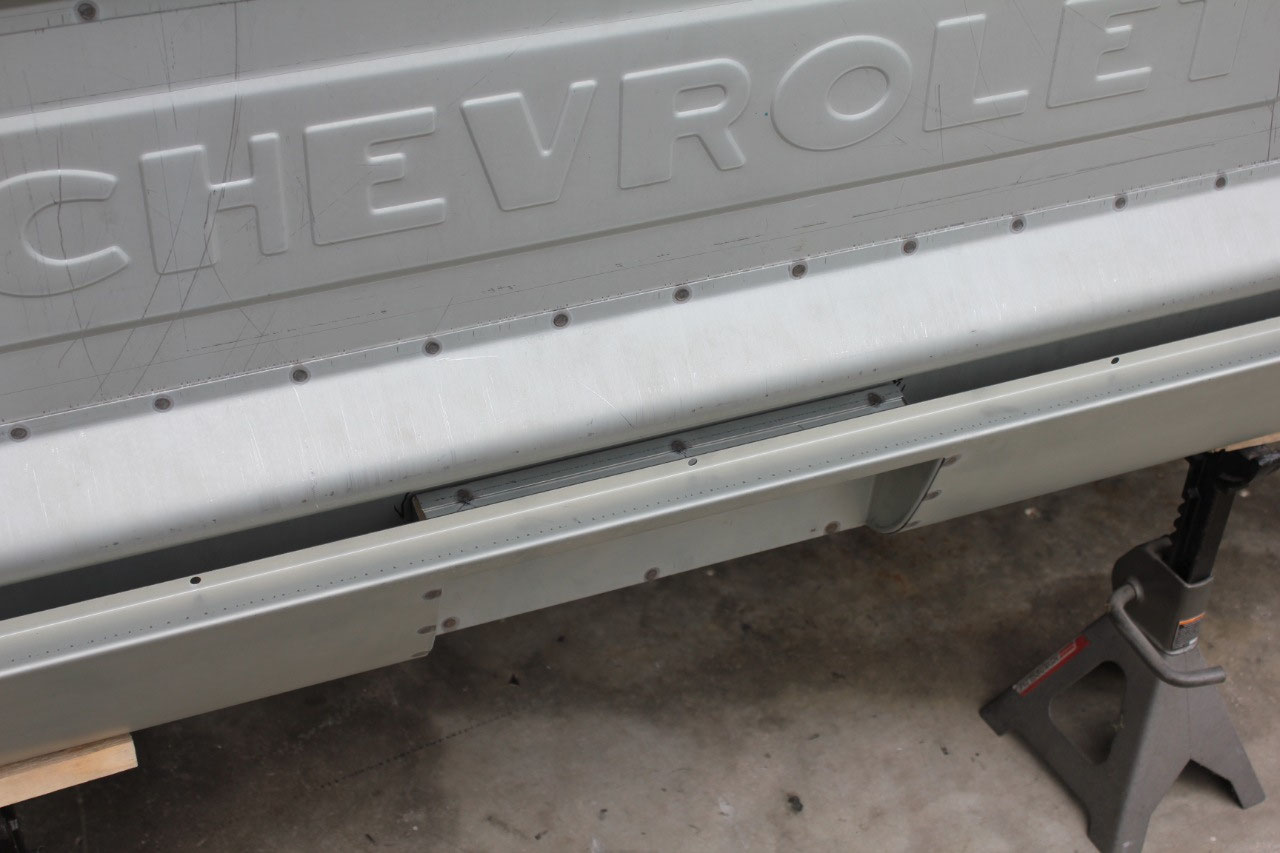
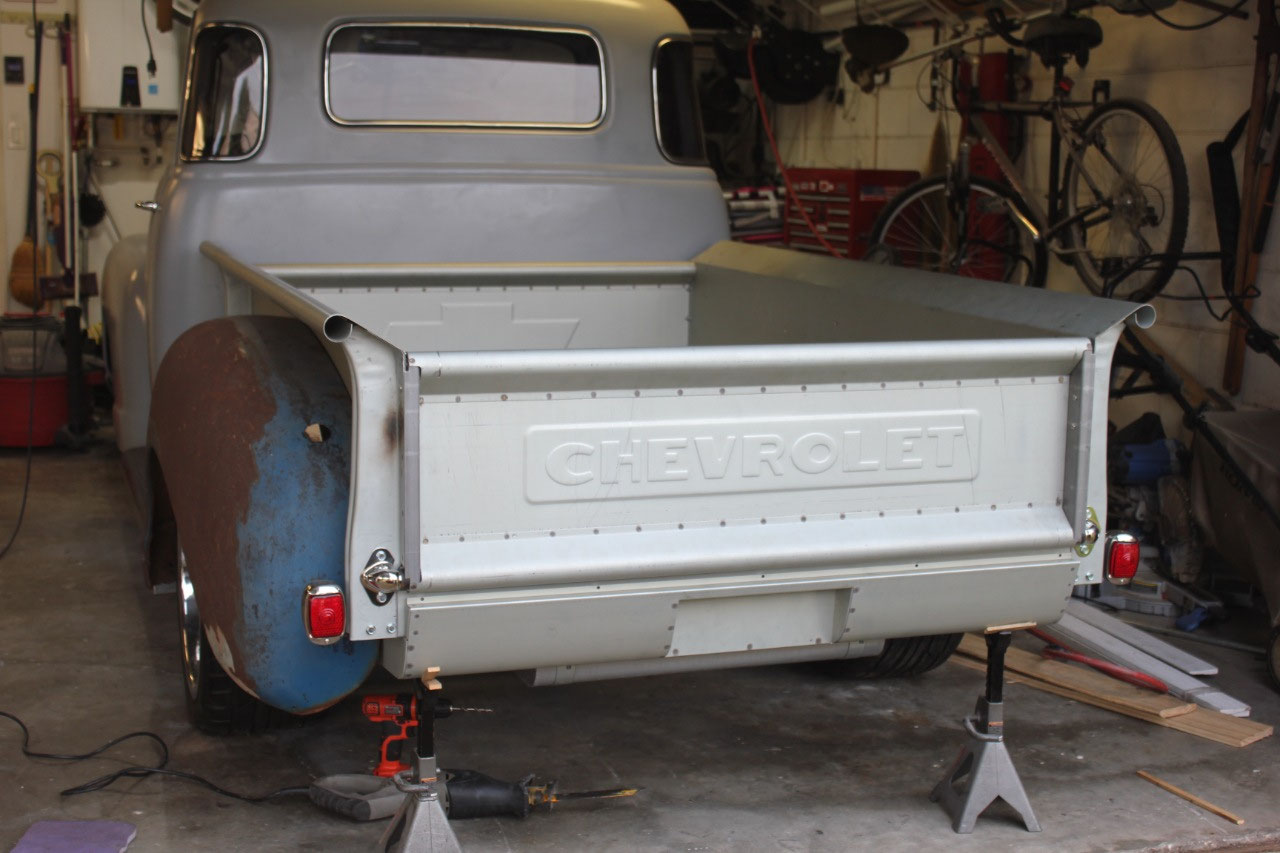
still just a little low and not as resilient as I would like. Next, the tailgate bolted up, and I was
really impressed with the Mar-K quality of the latches. The original design uses chains which rattle
and chip the paint. The Mar-K design
uses a latch system similar to the Altman latches on the doors with a single
pushbutton in the center of the tailgate.
The folding extension straps are stainless, and the entire tailgate
looks and works great!
The final sheet metal piece of the bed to install is the
rear roll pan. There are several ways to
finish off the rear of this truck, but I always preferred the look of a roll
pan with an embedded license plate over a stock bumper or the stock plate
location under the taillight.
The Mar-K
roll pan is one of the better designed units.
It mounts to the rear cross sill, and requires a cutout in the sill for
the license plate, and zI also had some small interference with the frame at
the bottom which needed a little relief also.
Drilled a few mounting holes, and it bolts right up and looks and fits
great!
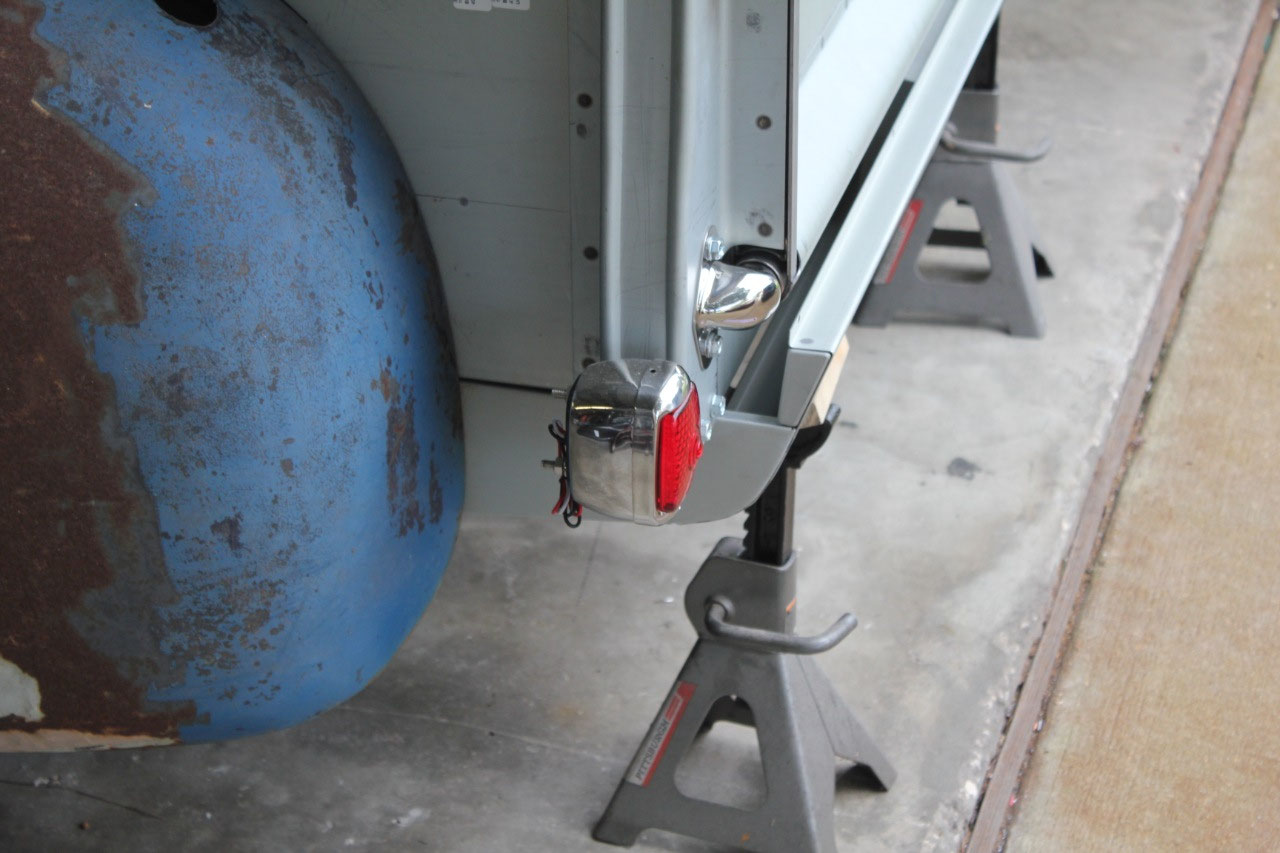
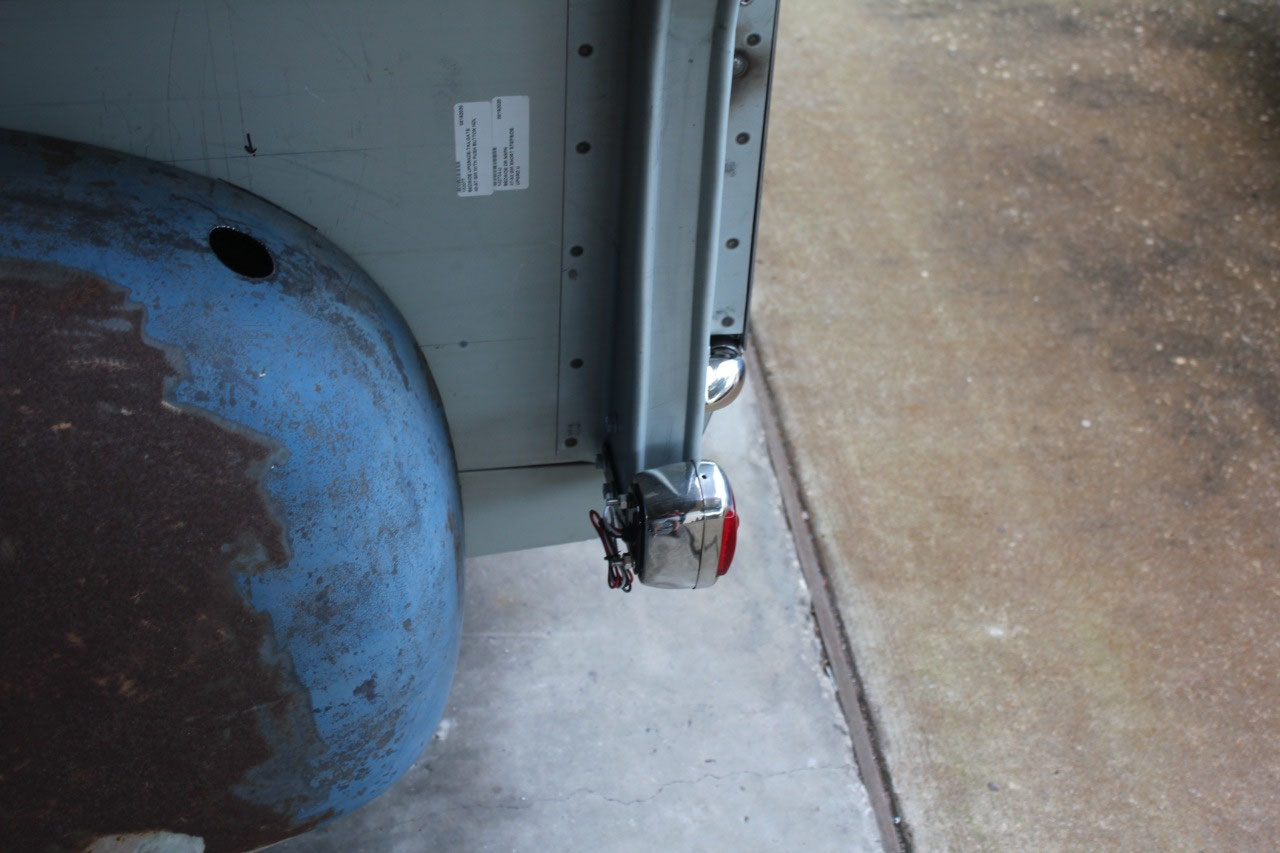
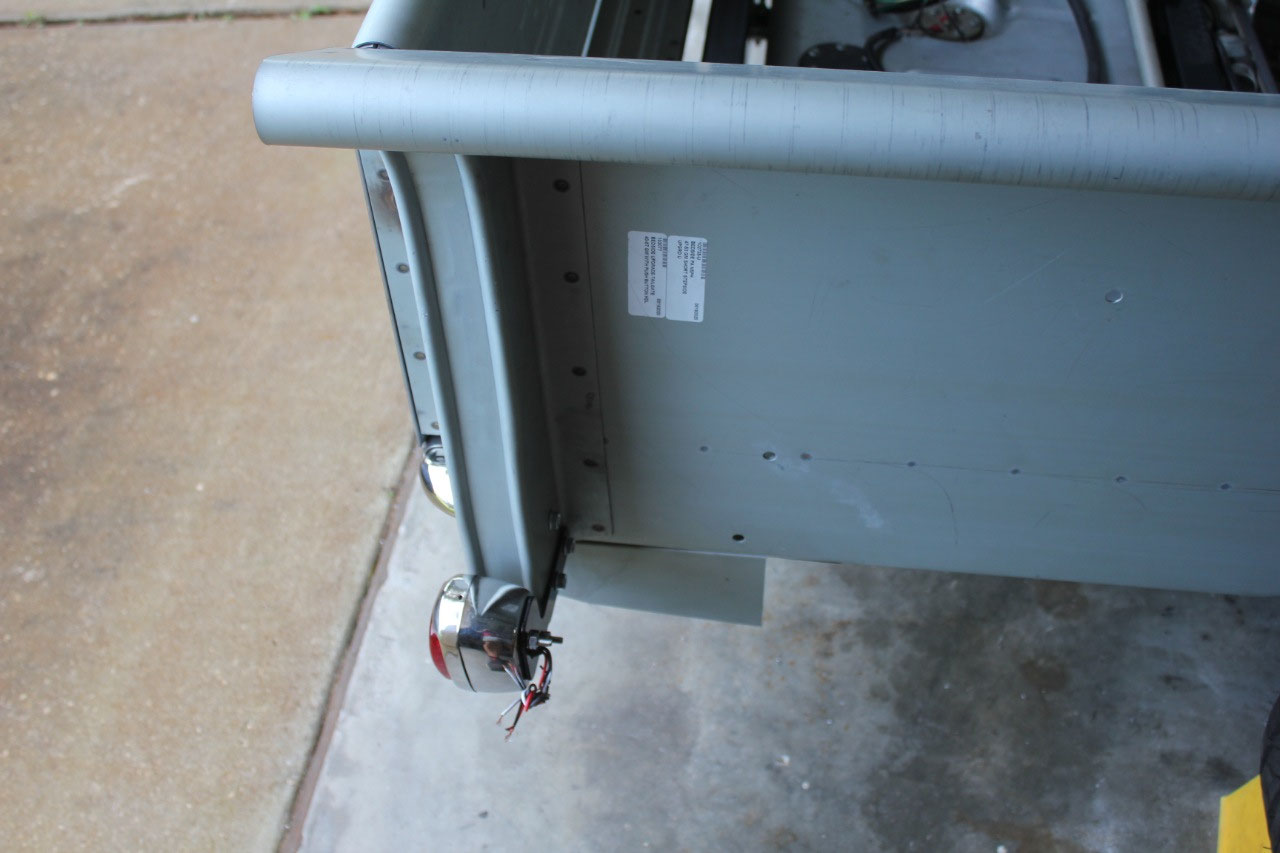
For taillights, I decided to stick with stock rather than
some custom ones mounted into the roll pan, but the stock taillight mounting
brackets are ugly. They mount on the 2
bolts below the tailgate hinge and stick out too far. I found some custom mounts on eBay that would
mount the stock taillights to the front of the stake support and tuck them in
close to the body. This looks much
better!
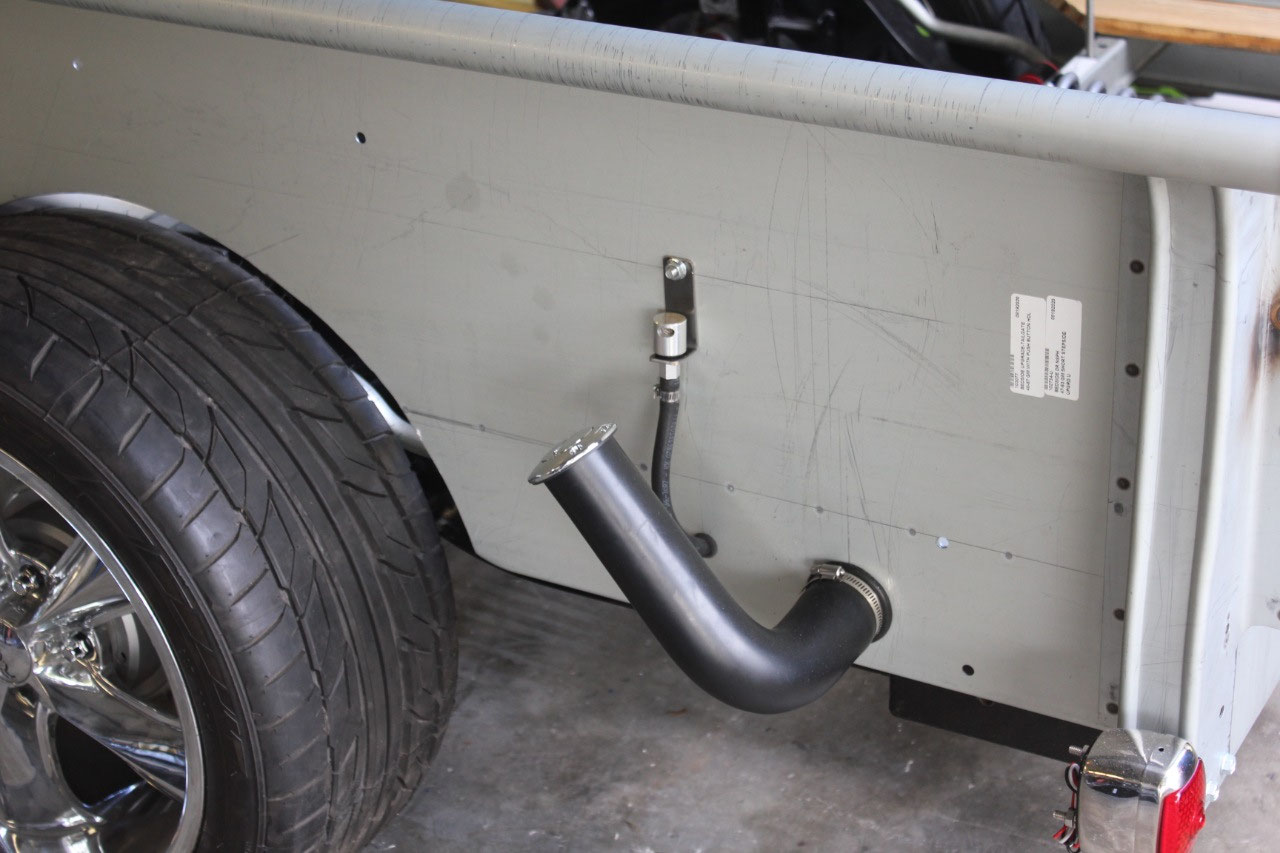
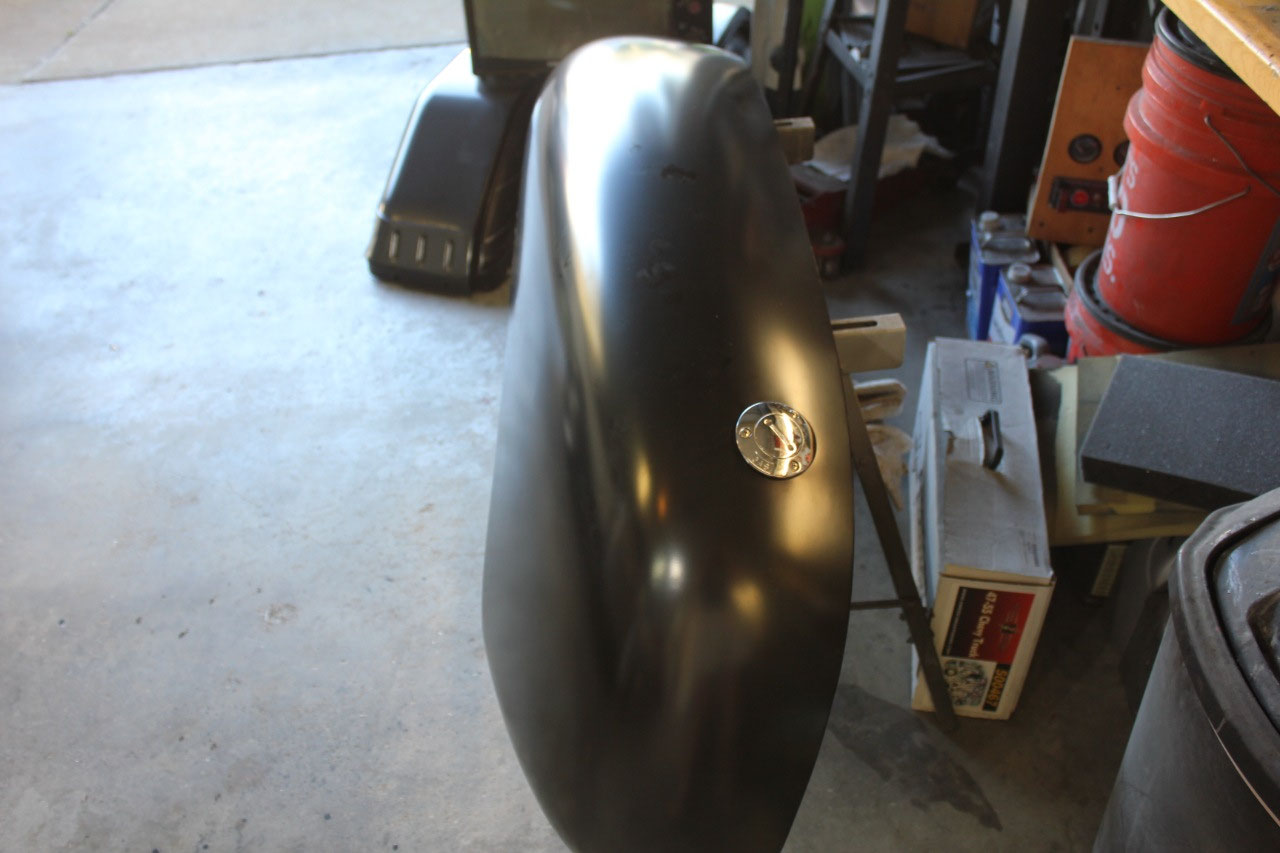
After toying with several ideas for a fuel filler cap and
location, I finally decided on a simple marine flush mount, screw-on cap. It took several tries with 2” rubber fuel
filler angles to come up with the correct bends. I also tried mounting the fuel cap on one of
the original fenders so I could confirm the location before cutting into the
new replacement fenders. Luckily,
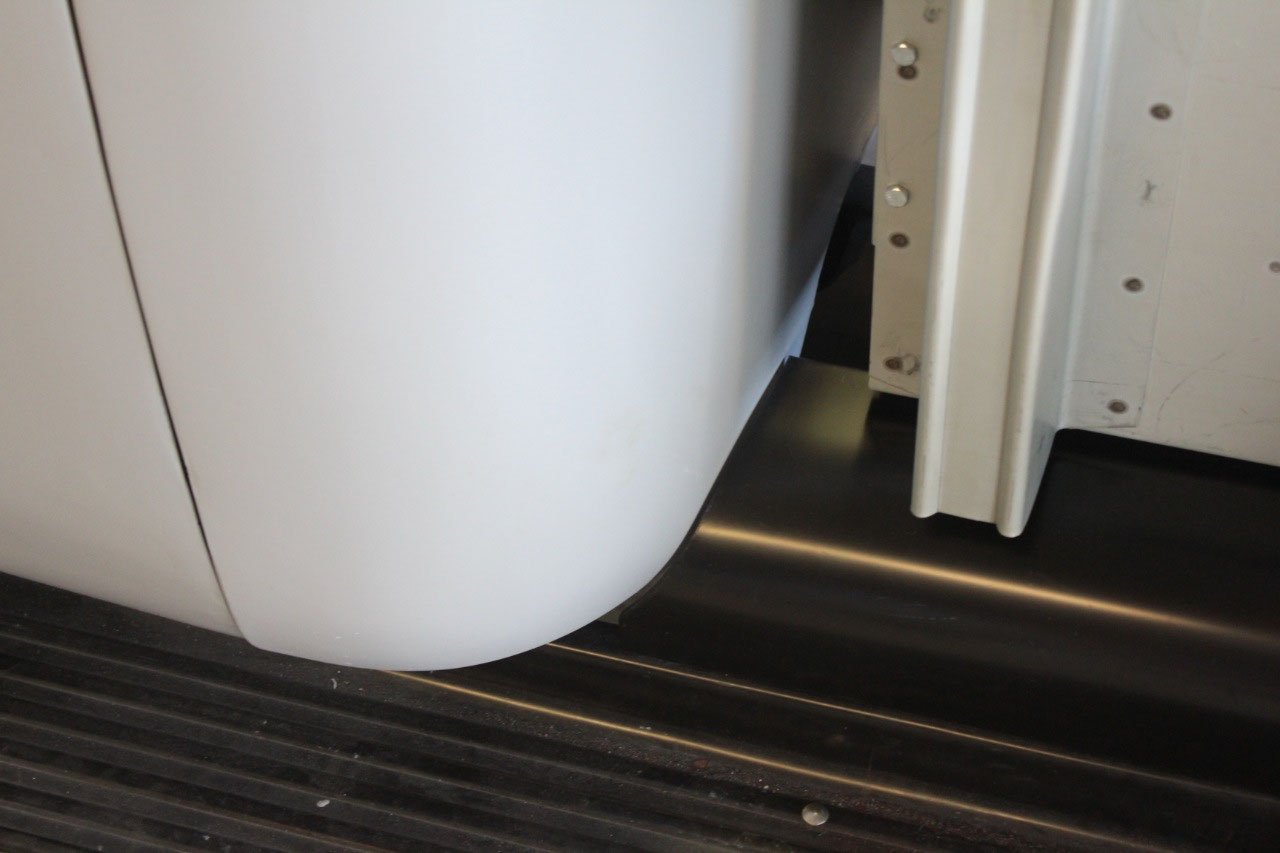
everything fit great, and it looks very professional and clean. The last outer body panel to install were the
splash covers between the bed and the running boards. These new panels fit reasonably well, but
there is not much clearance between the splash cover and the cab. I need to shim the cab height off the frame
to factory specs, and if this doesn’t improve the clearance, I may need to do
some trimming.


2025-05-22