 Orlando, Florida, United States
The holidays are over, and it’s now time to begin the
dreaded bodywork and paint. It’s been
almost 50 years since I’ve done any bodywork (on a 1963 VW bus), and I’ve never
picked up an auto spray gun in my life.
How hard can it be? Yeah,
right! When the cab was originally media
blasted, it was primed with epoxy primer from Southern Polyurethane. I didn’t really want to mix paint brands, and
since I don’t know which brand I will be using for final paint, it made sense
to me to just stick with Southern Polyurethane.
So I ordered a fresh gallon of epoxy gray primer and activator, a gallon
of regular 2K primer and activator, and a gallon of single stage gloss black
and activator.

Southern Polyurethane recommends using filler on top of
their epoxy primer, and the fillers recommend using filler on bare metal. No controversy there! For filler, I decided to go with Evercoat
Rage. It’s a little more expensive, but
it supposed to go on smoother and be easier to sand. I also bought a small can of Evercoat Fiberglass
stranded filler as it is stronger and waterproof.
I plan to use the Evercoat Fiberglass around
the windshield and cowl vent where I don’t want any water leaks. The Evercoat Rage will just be used as a skim
coat where I have either butt welded patch panels, or there is some significant
scaling from the remnants of rust after media blast. All rust through spots or panel thinness have
either had the panel replaced or the pinholes have been welded shut. There are no pinholes to be filled with filler!
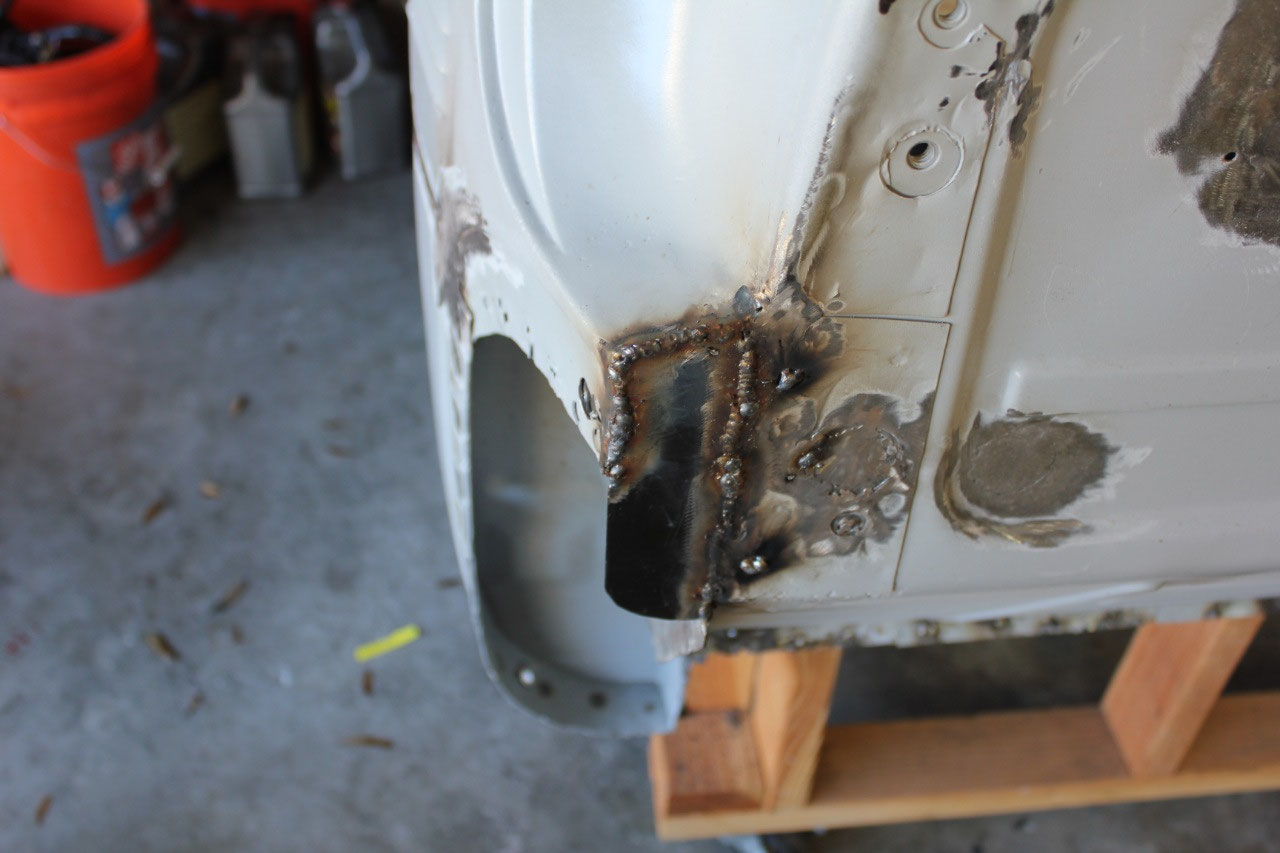
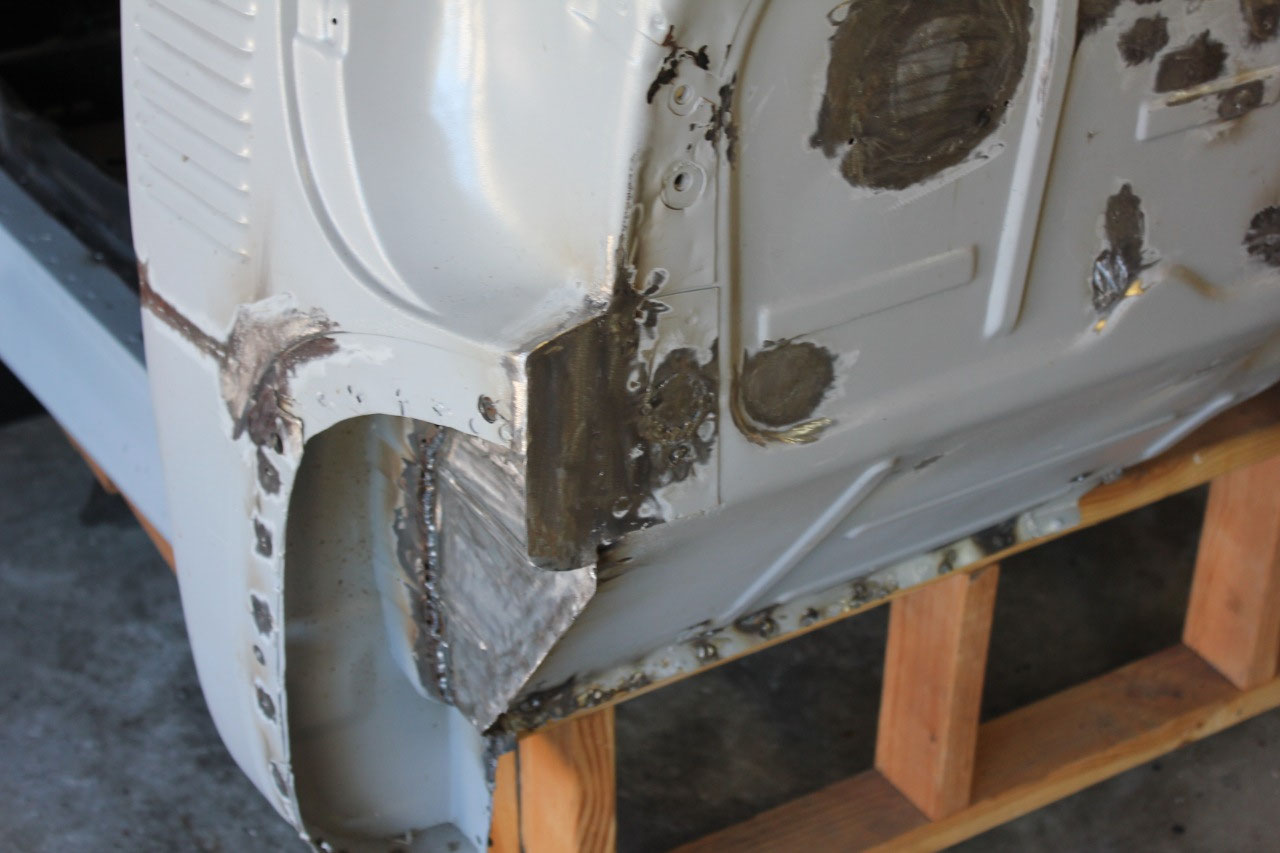
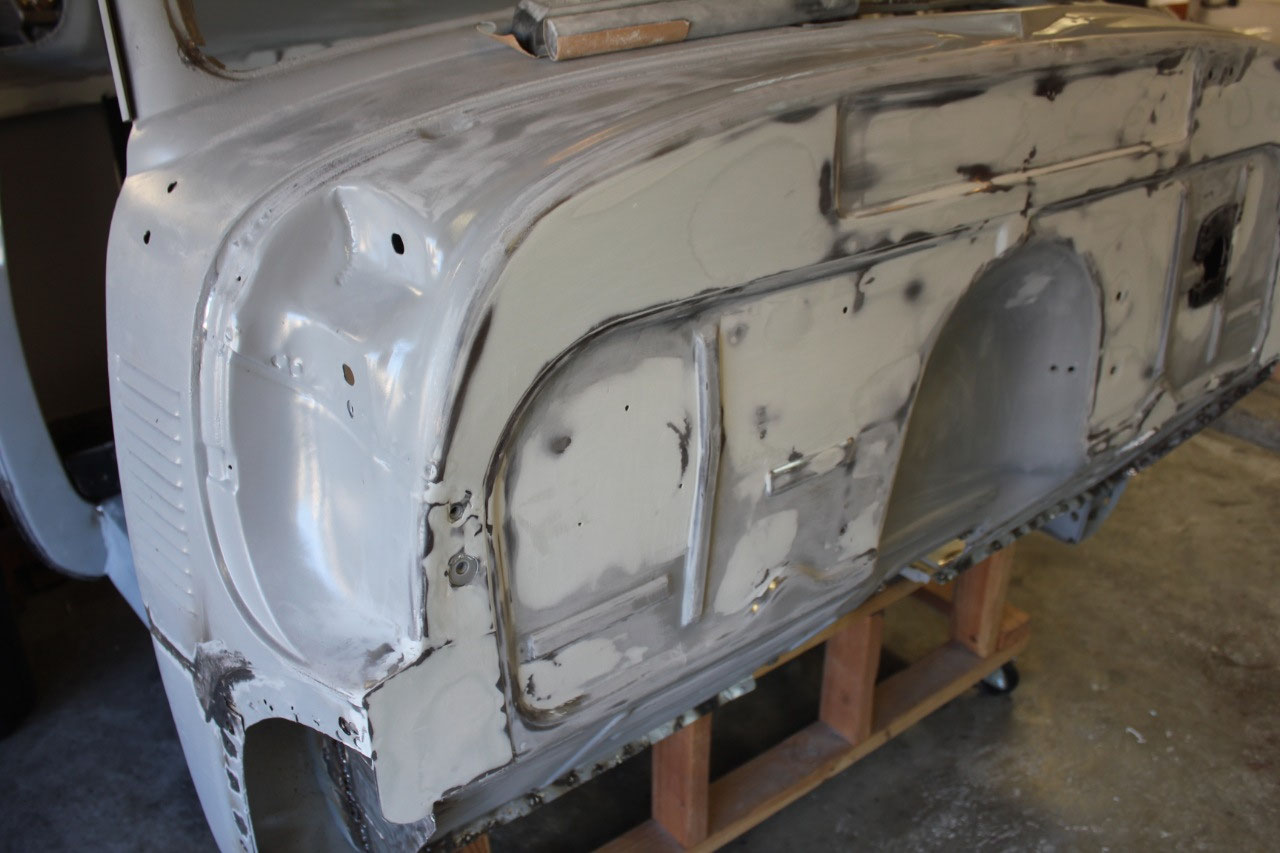
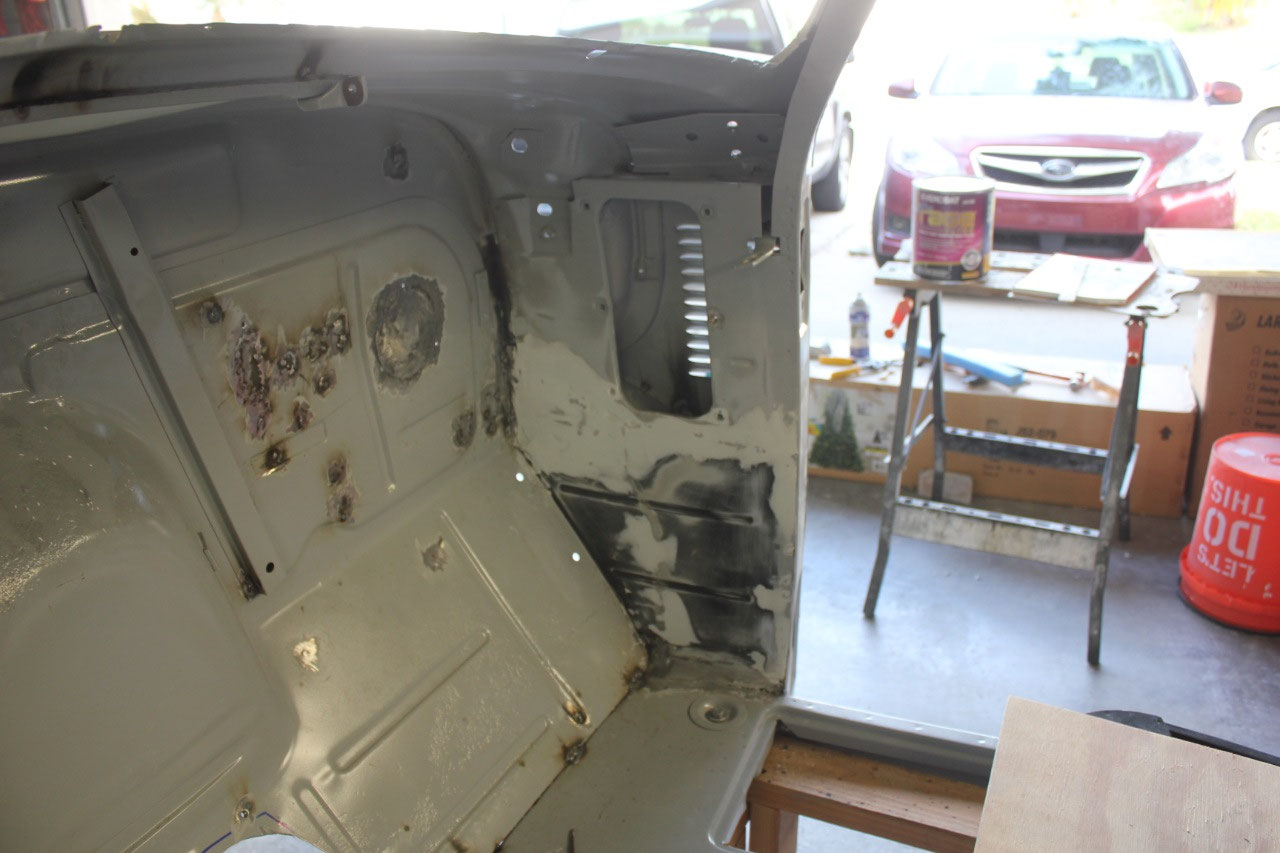
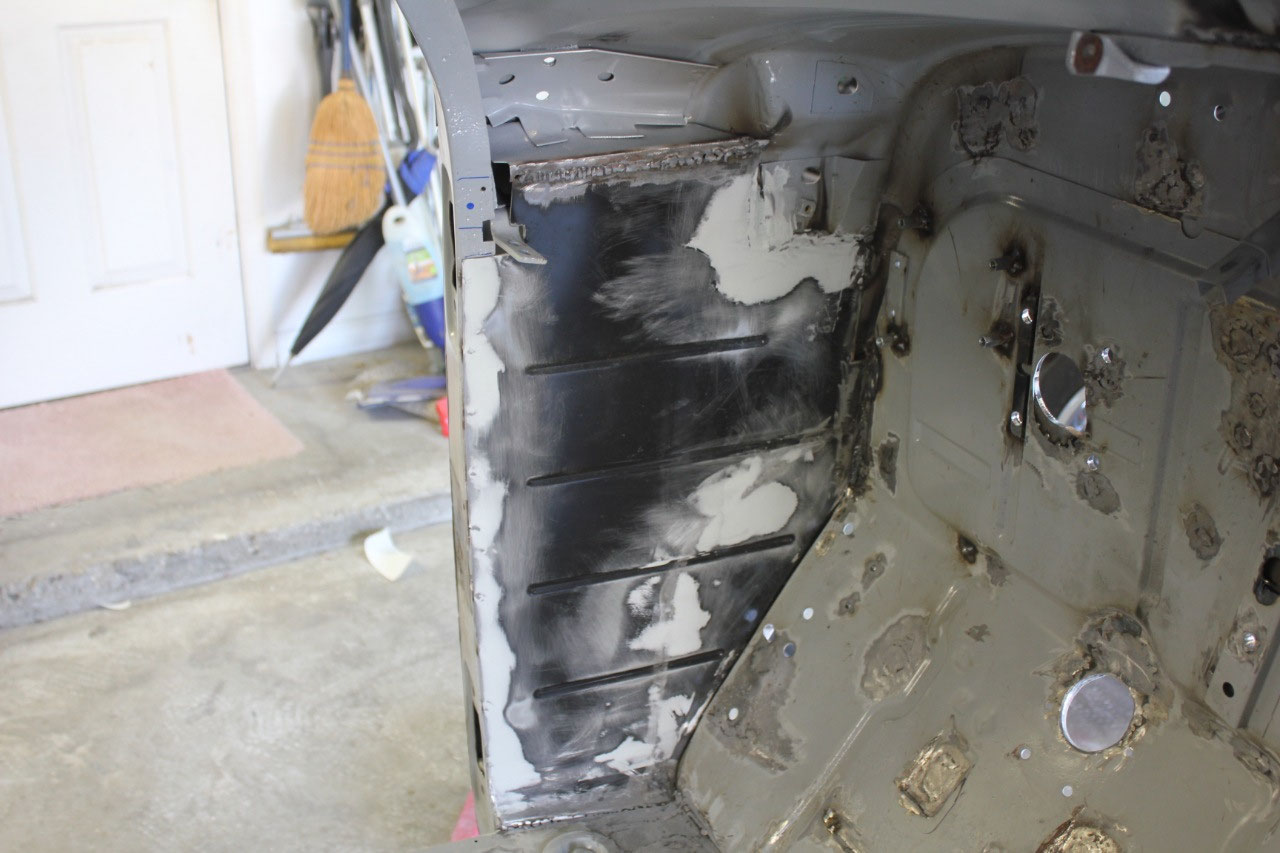
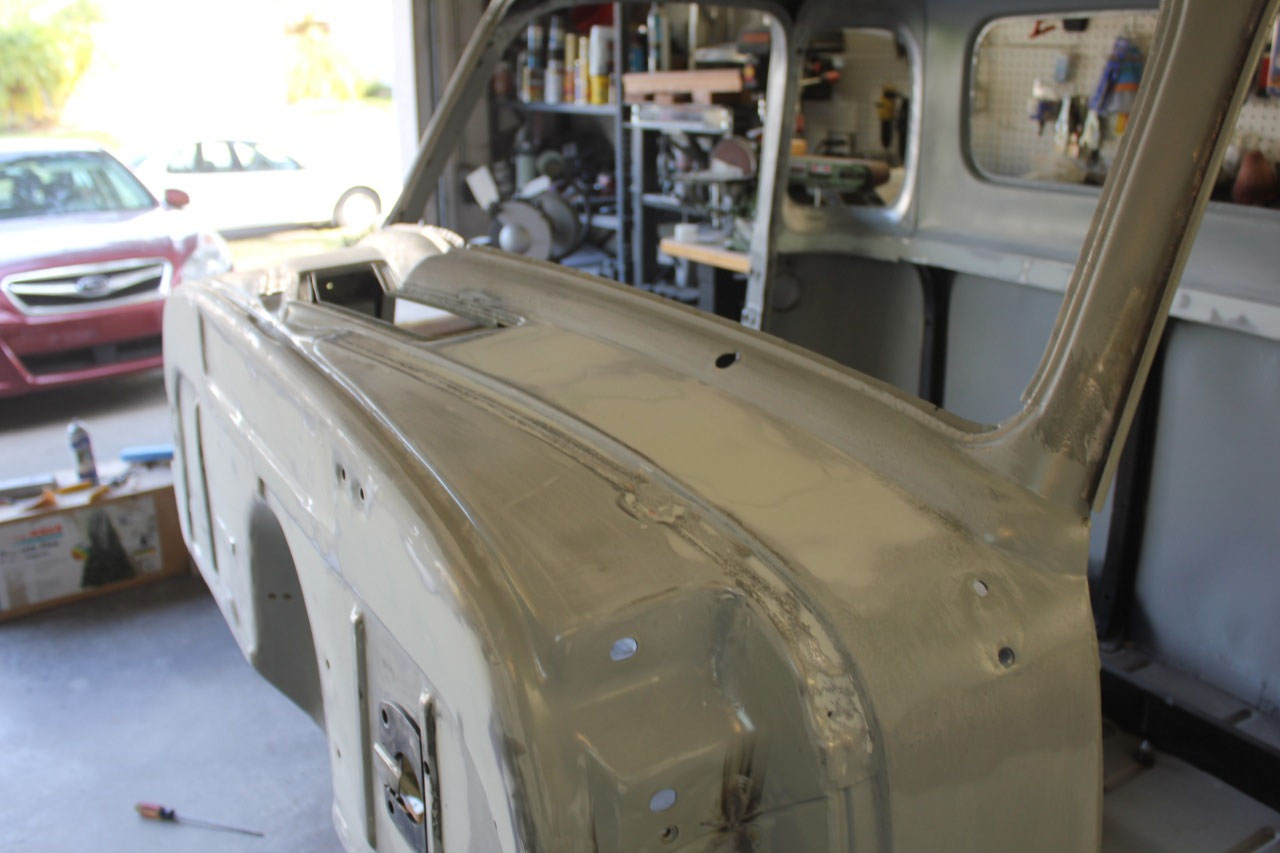
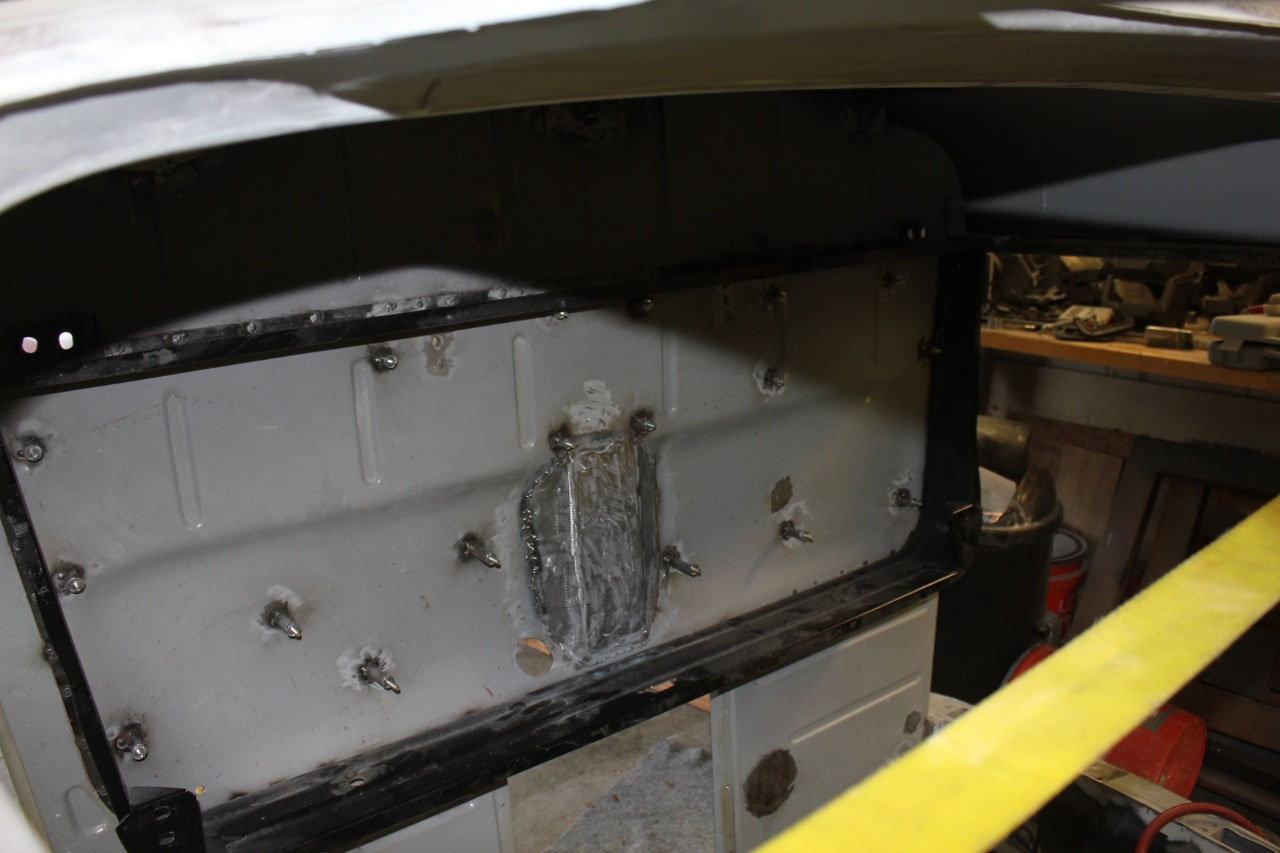
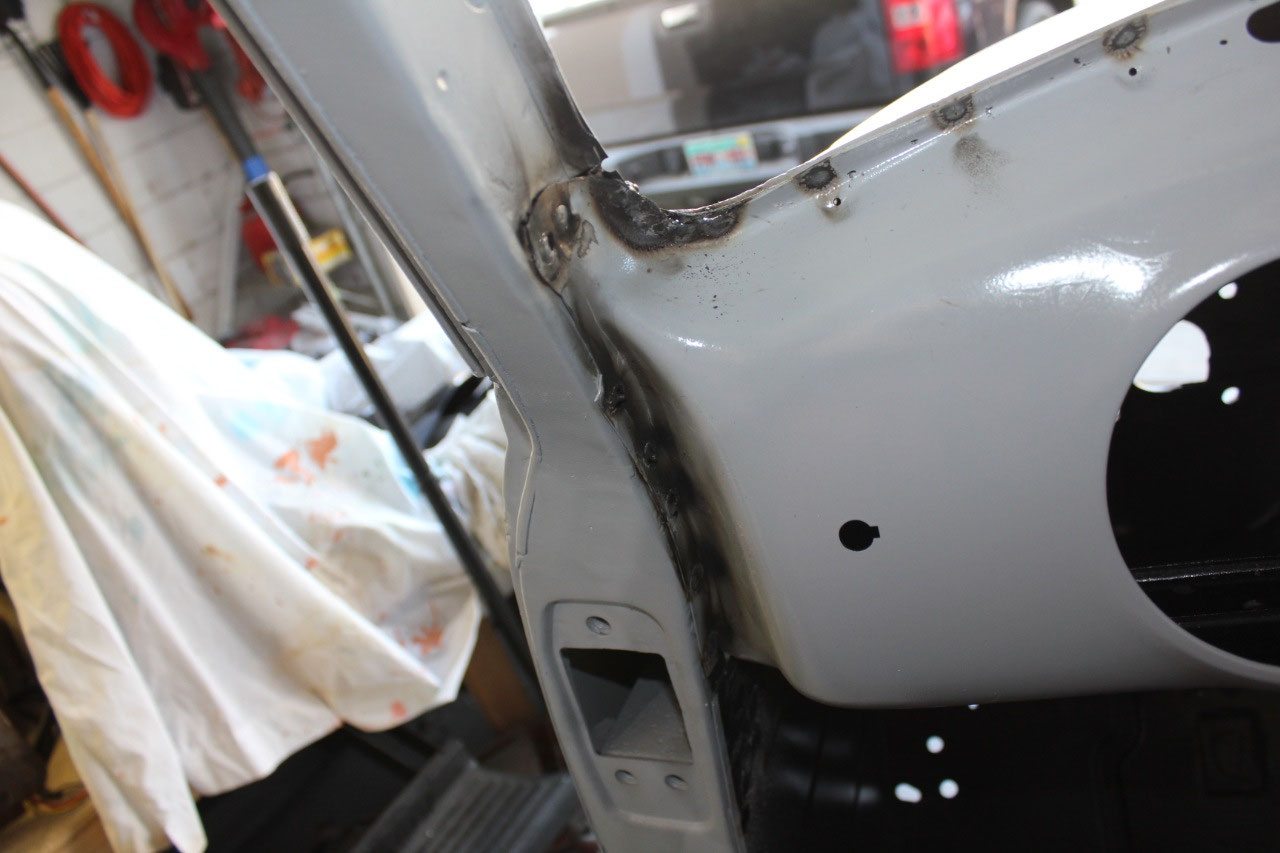
Before starting the filler, there is area of metalwork that
I decided to fix. At the lower corners
of the firewall where it meets the inner fender, there are a couple of panels
that are attached with sheet metal screws.
It looks like an afterthought, so I decided to make my own in the same
shape, but to weld them in place. They
came out pretty good, and I can always shape the edge if I need a better fit.
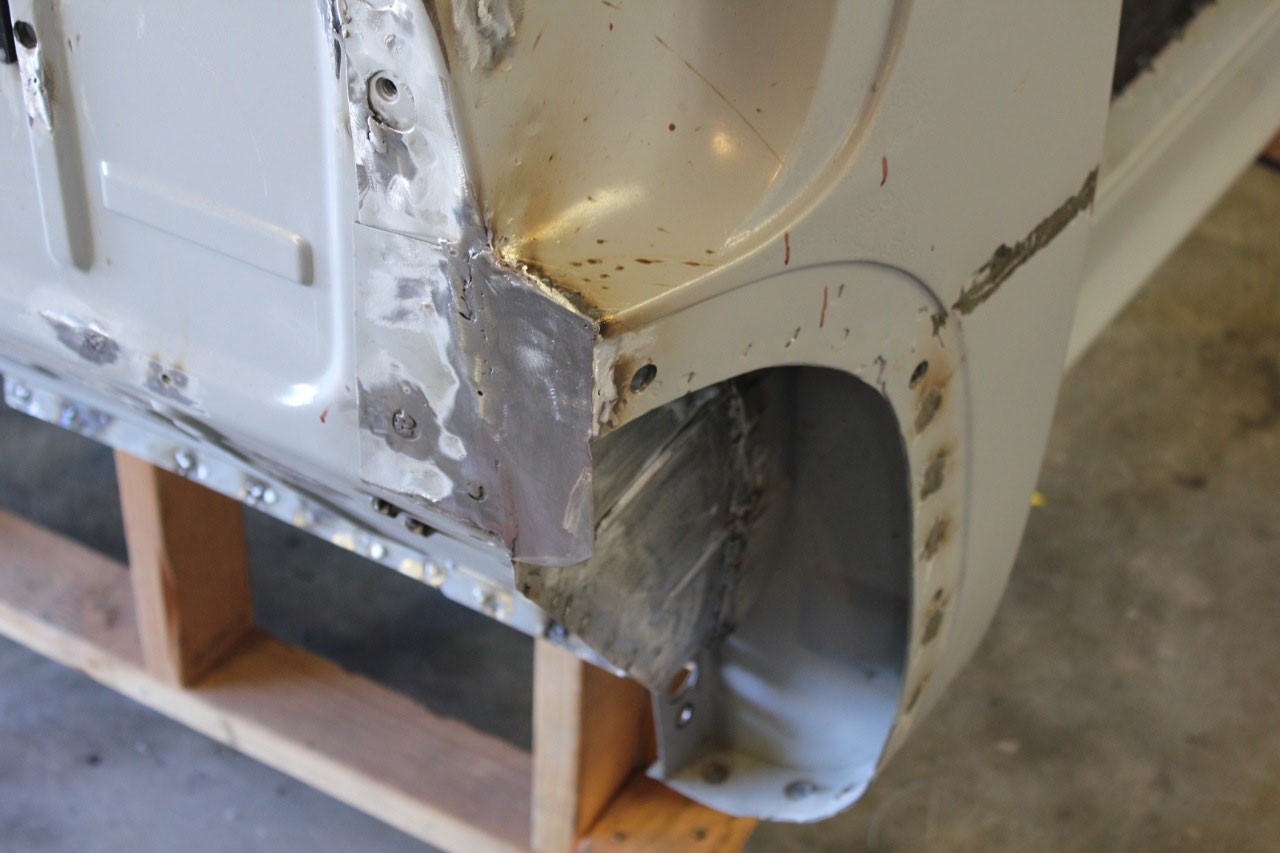
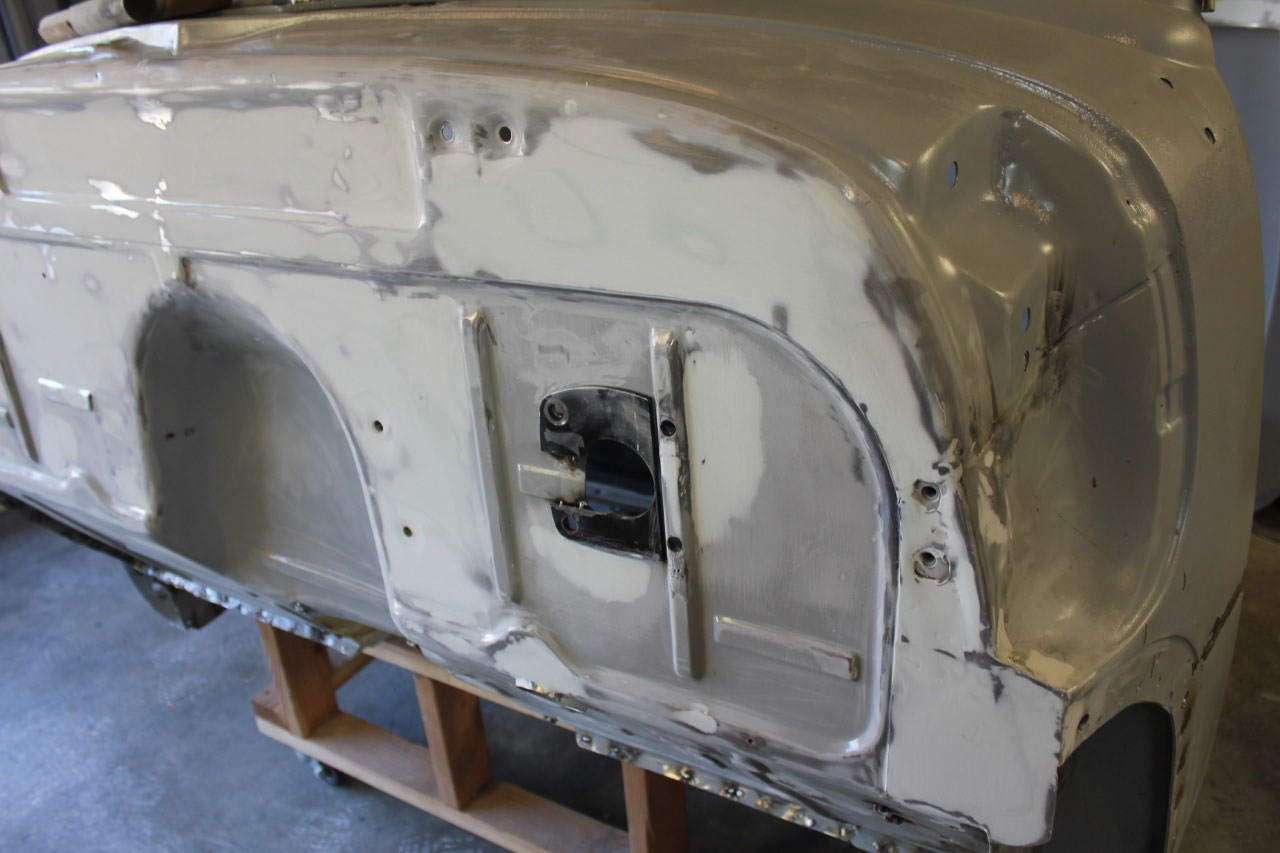
So I began the filler at the firewall. Using various sanding blocks and 80 grit
sandpaper, I was able to smooth over the areas where I had welded over a series
of holes.
There was also a small dent
where evidently the engine had come in contact with the firewall during
disassembly, which I managed to pound out as best as I could and fill the
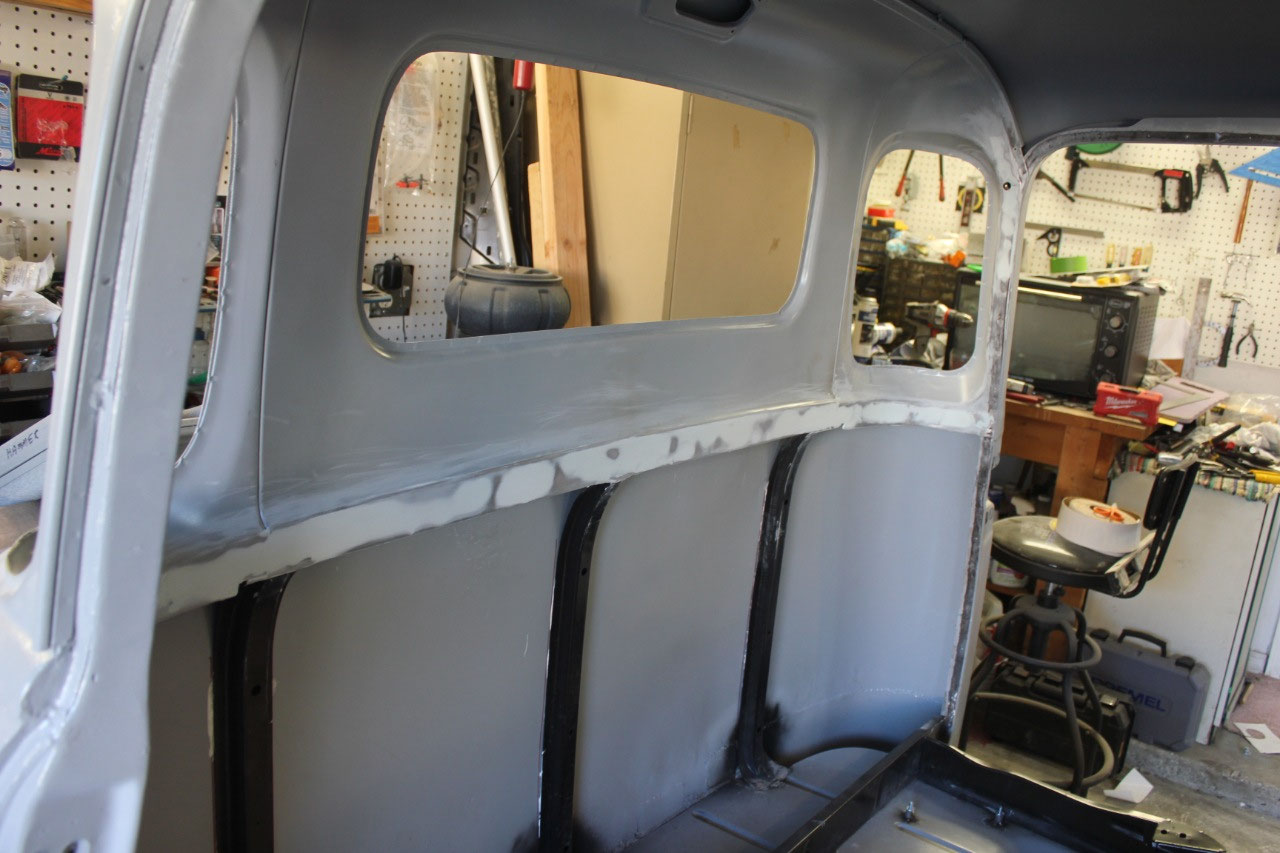
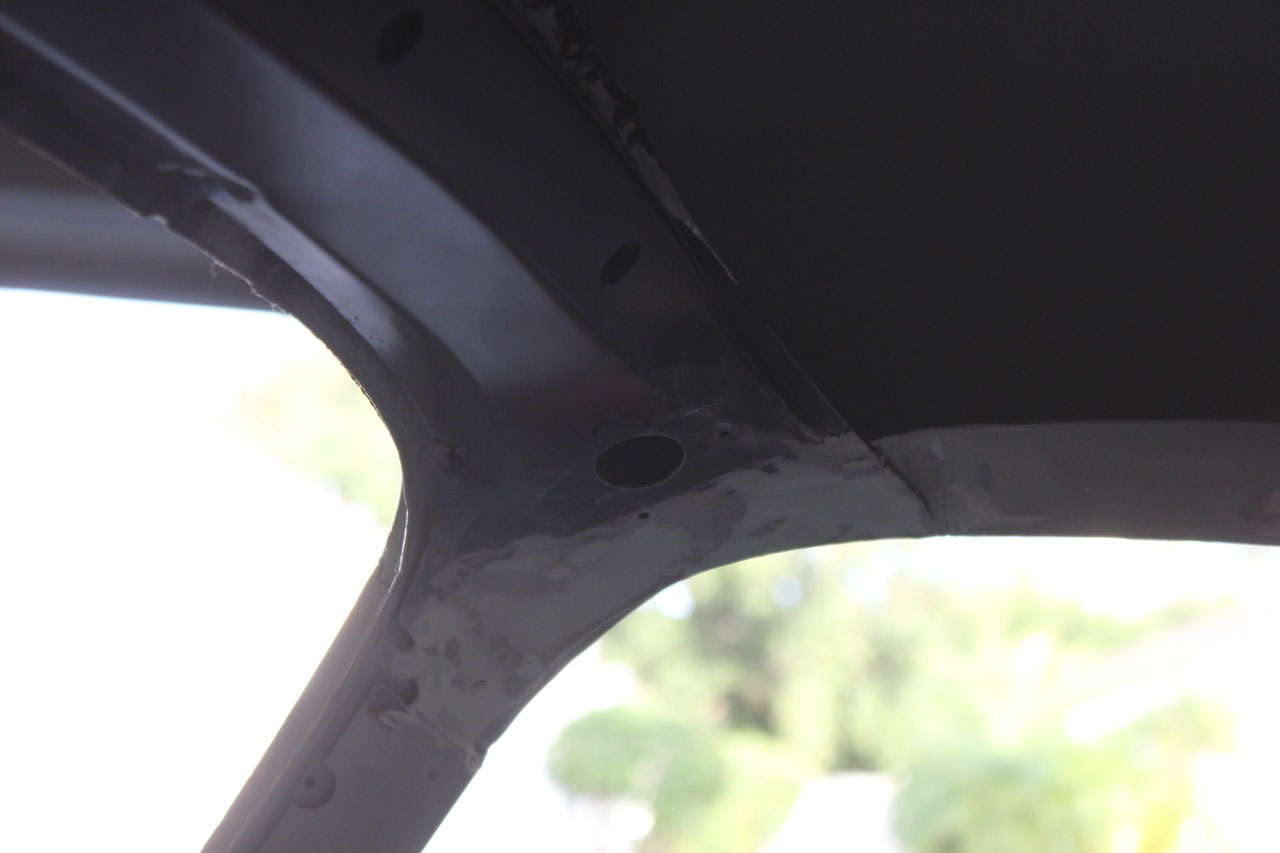
imperfections. Next I moved to the
interior, mostly around the rear cab braces where I had plug welded in new
ones, and around the new upper windshield brace. These don’t need to be perfect, as they will
be mostly covered by trim, but I wanted to get rid of most of the glaring
defects. Same for the kick panels, they
are already mostly straight, but needed a little cleanup where they had been
welded in place.
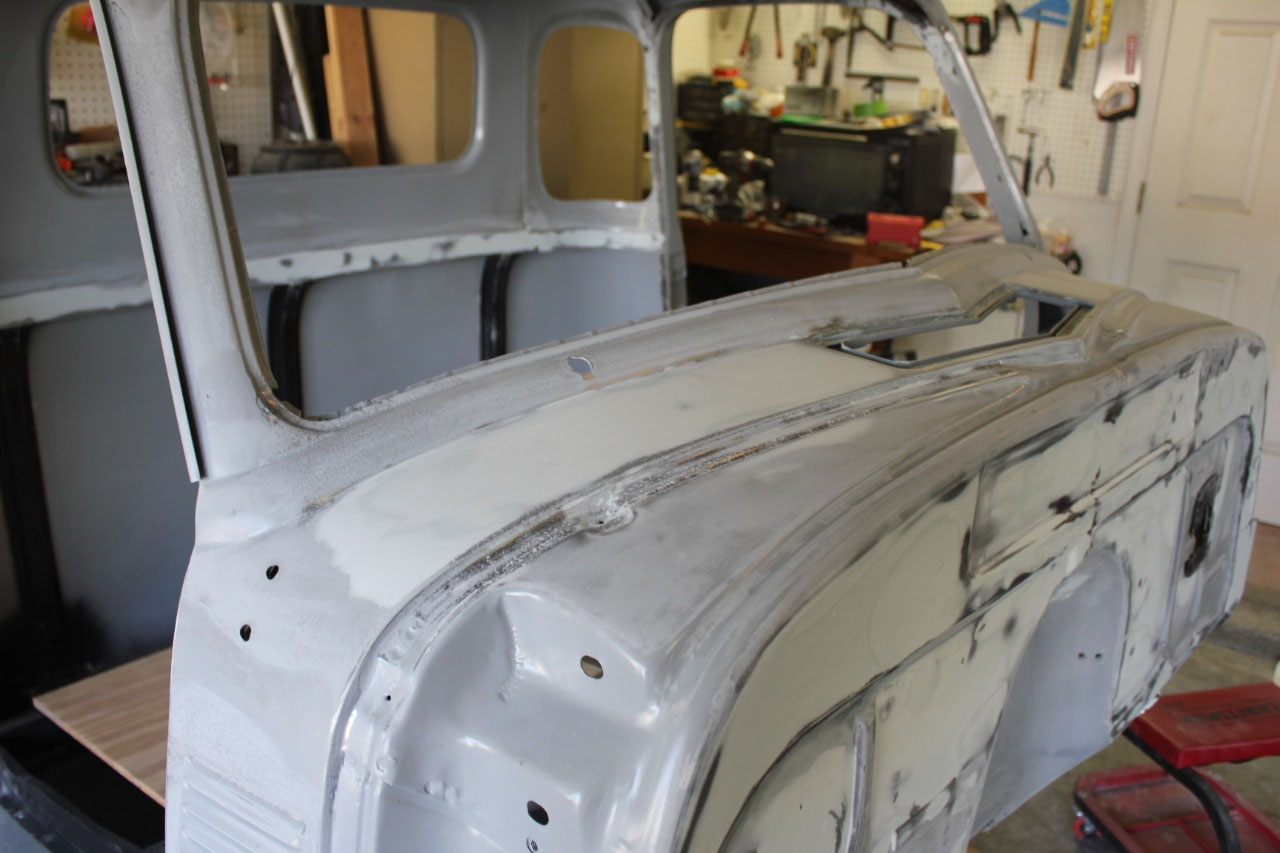
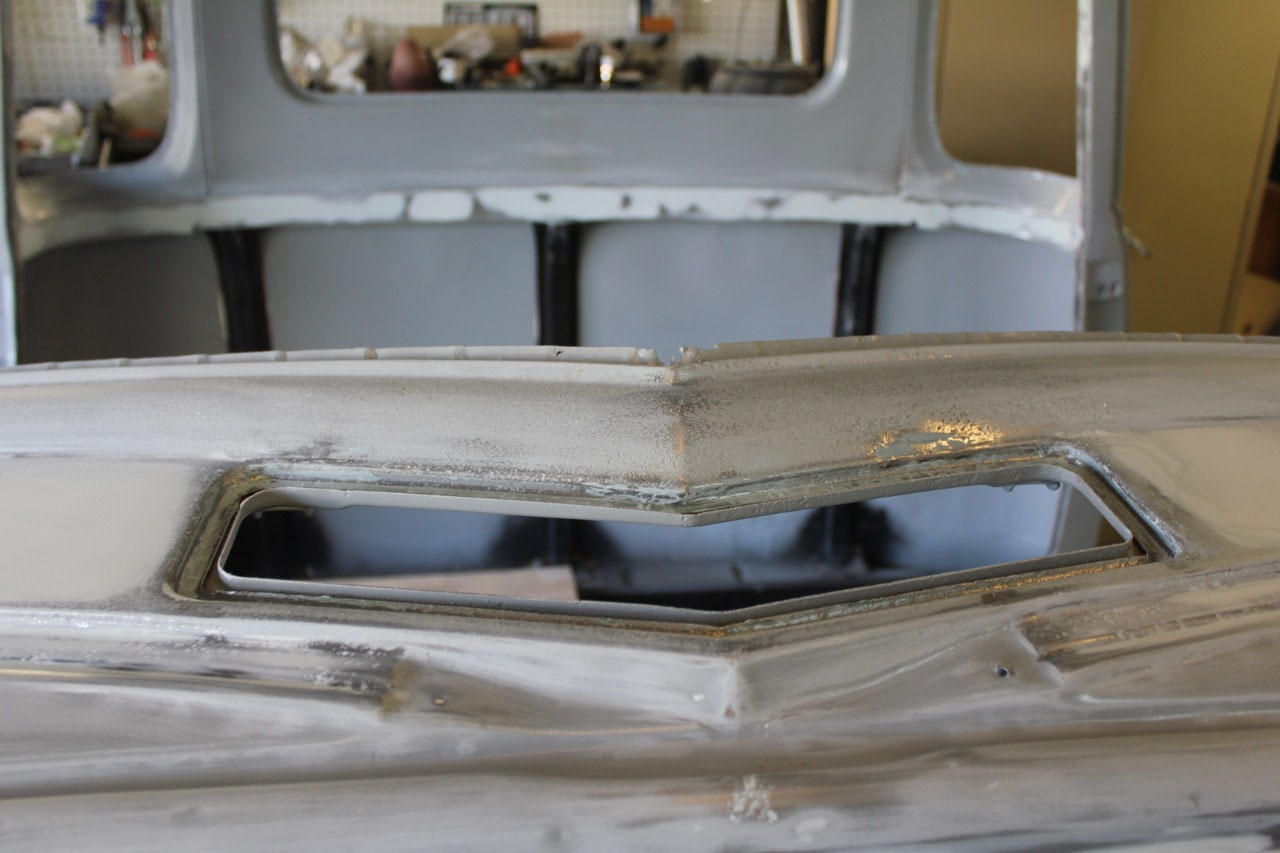
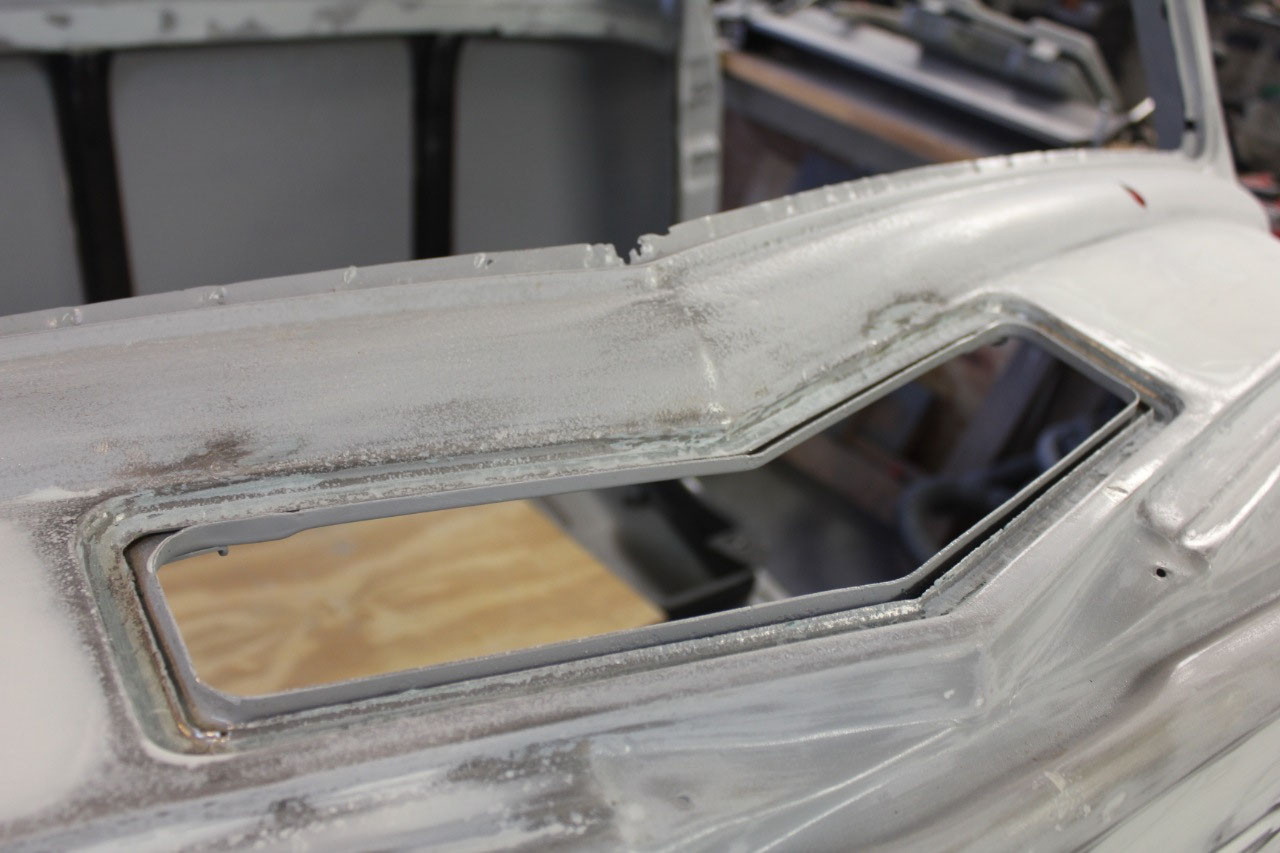
Next I moved to the cowl vent area. There were originally a few pinholes, but the
metal was still pretty thick. All the
pinholes had been welded shut and the metal ground smooth. I used the Evercoat Fiberglass for the final
smoothing, especially around the rubber gasket surface to try and minimize
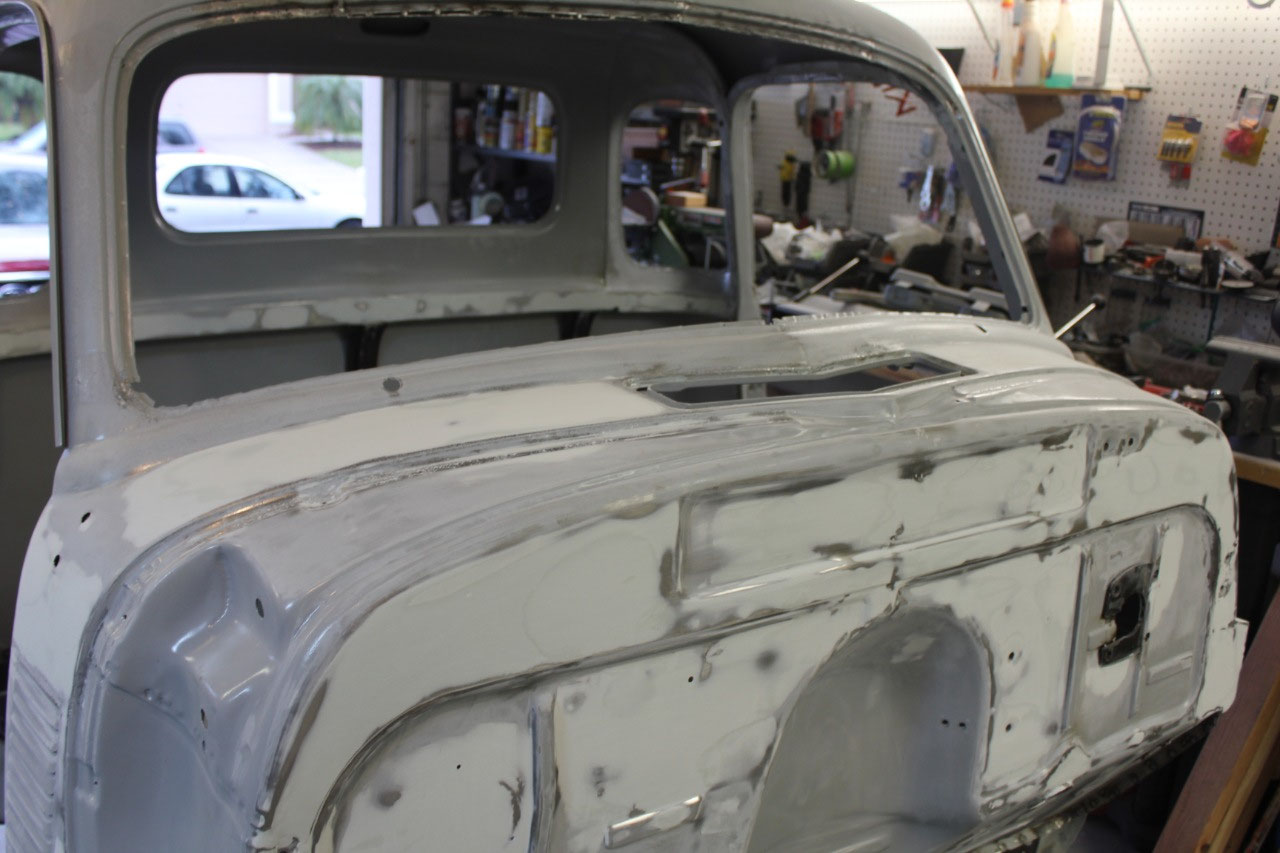
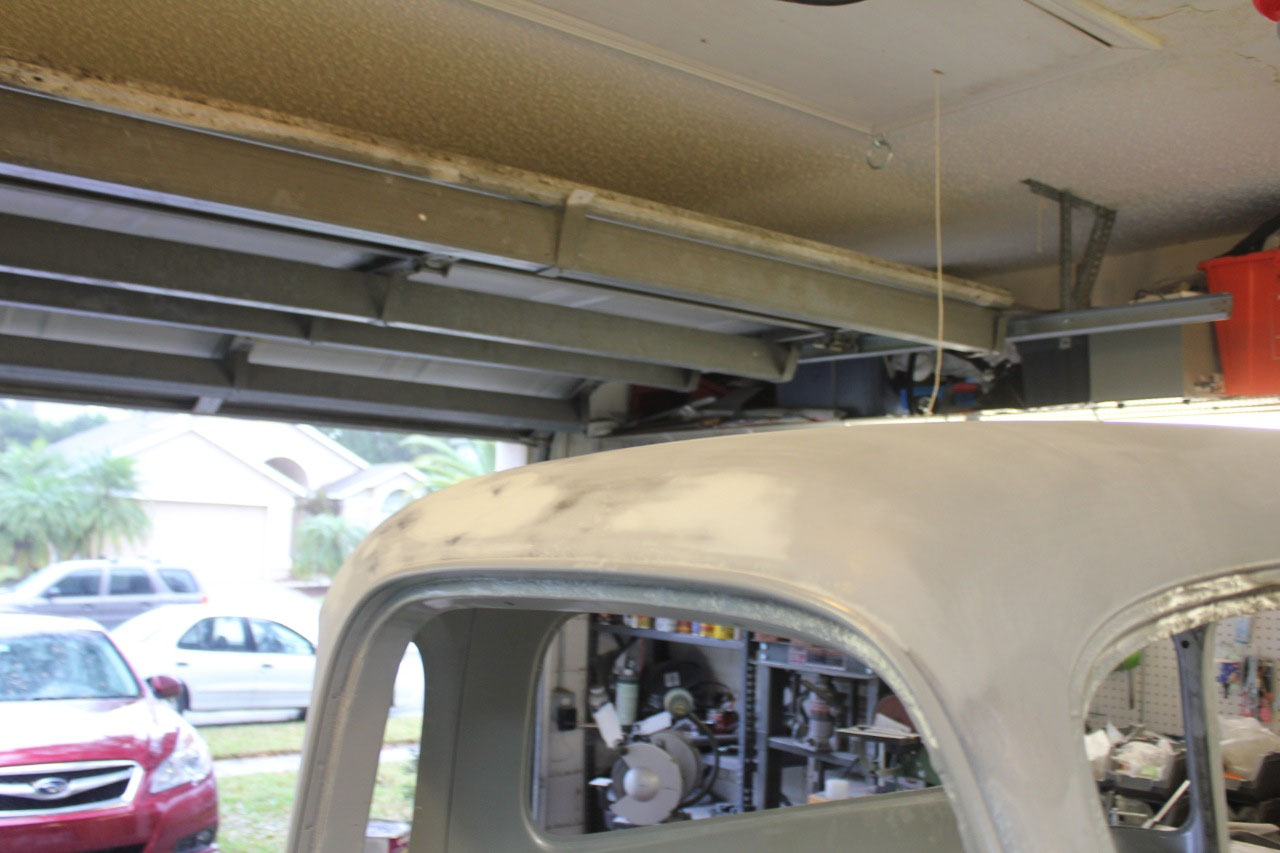
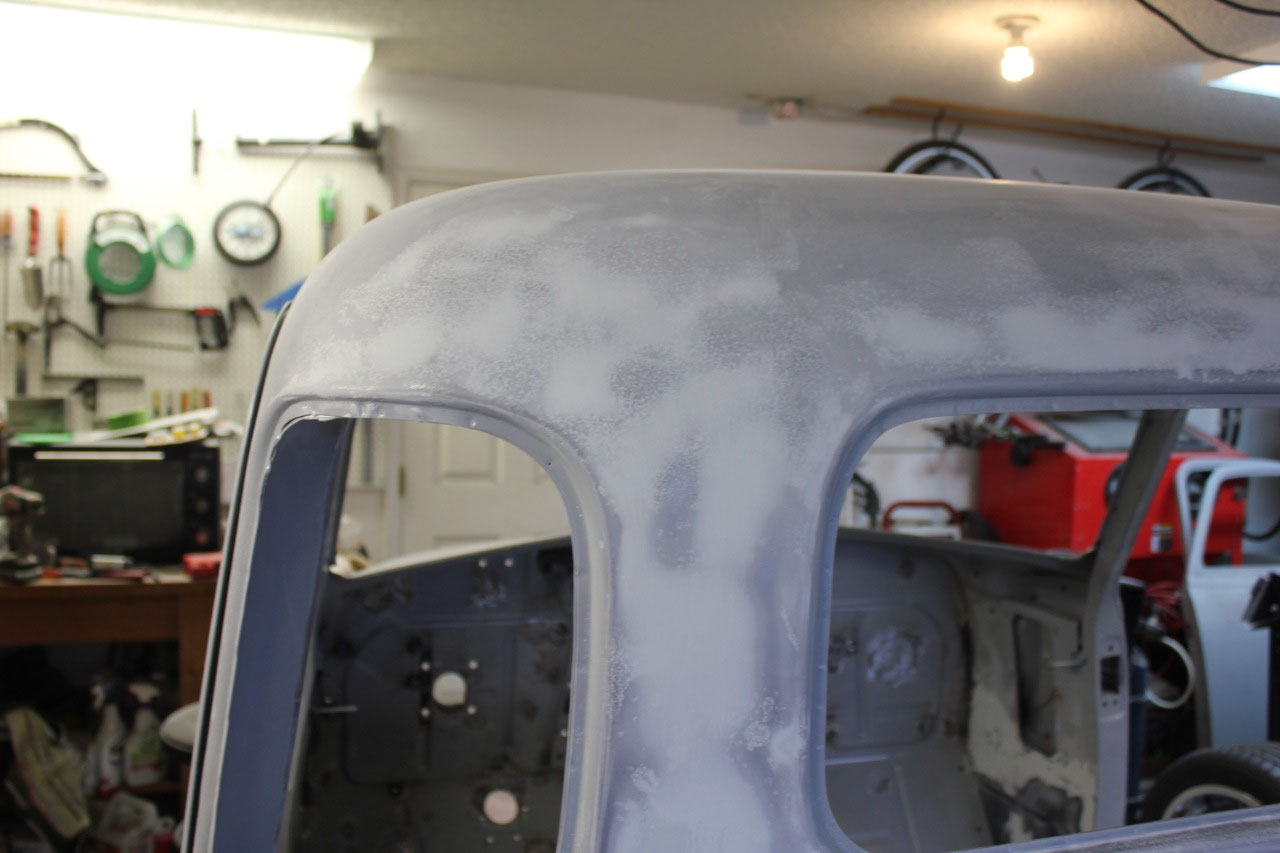
water leaks. Next I moved on to the roof
and cab corners. These were already
pretty straight, so it was mostly just skim coat and block sanding for final
smoothness.
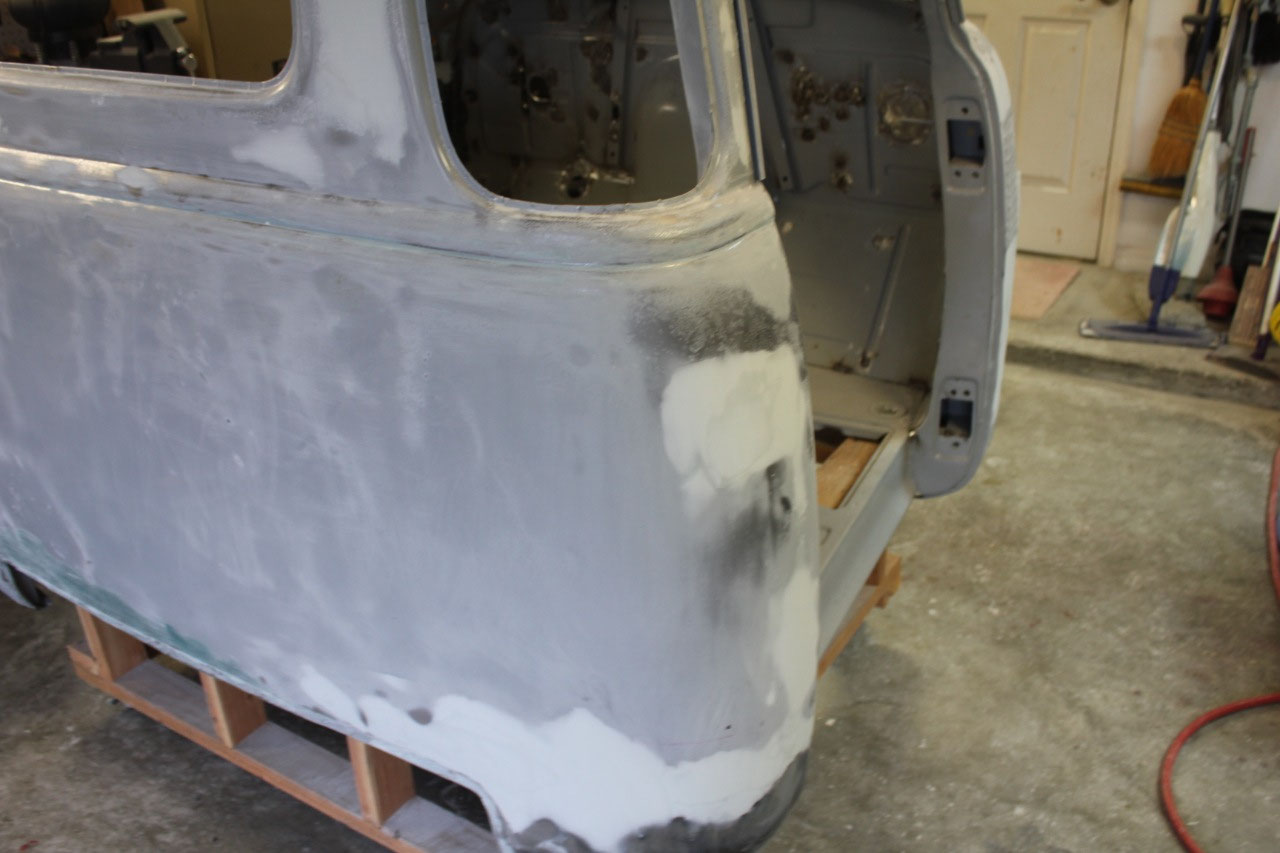
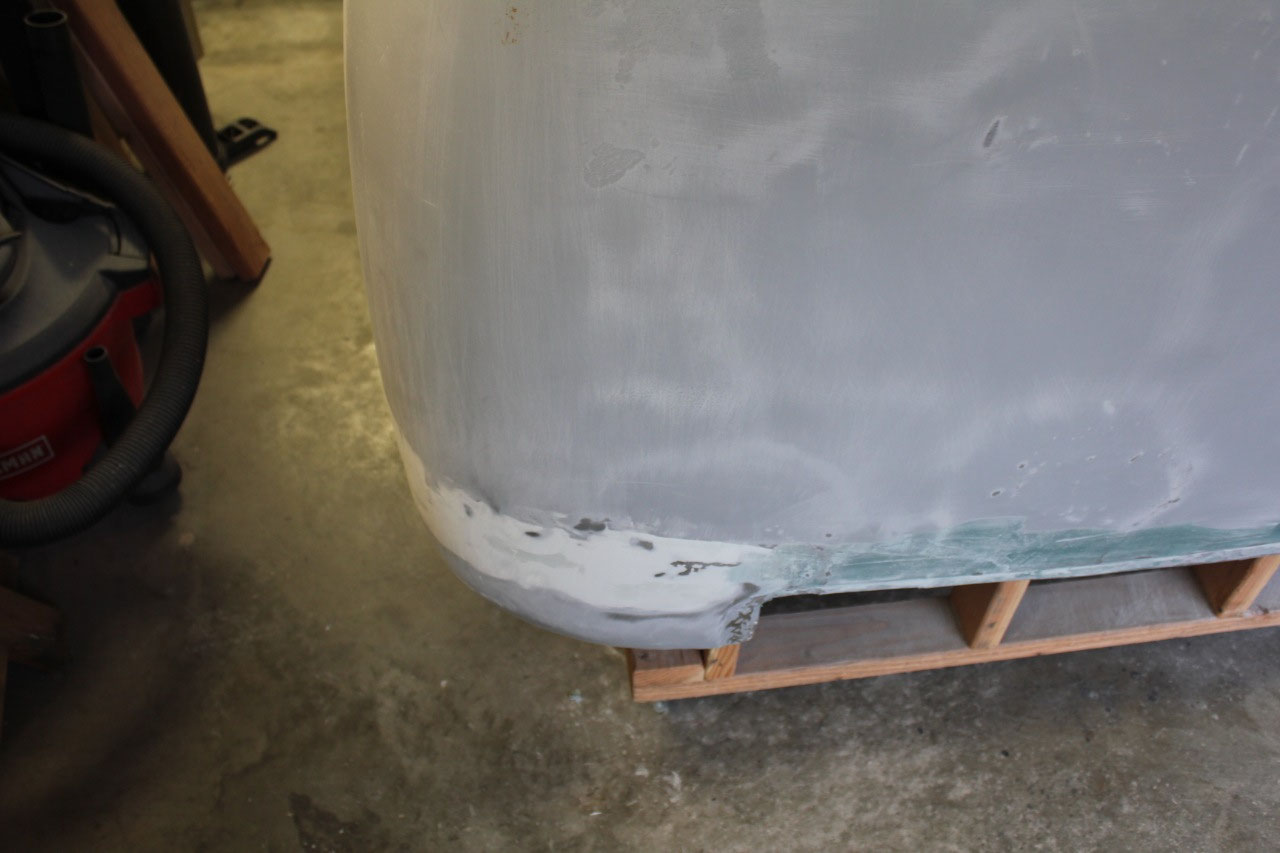
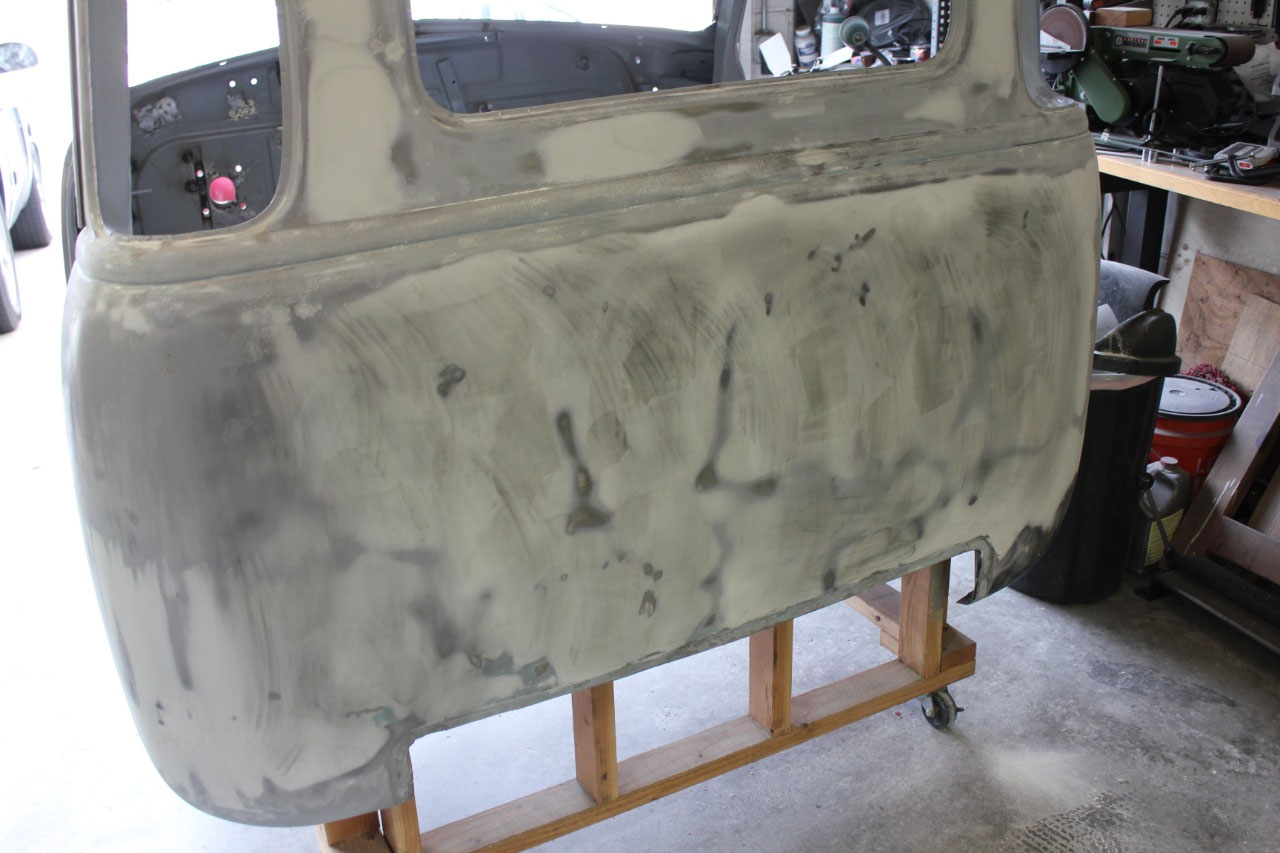
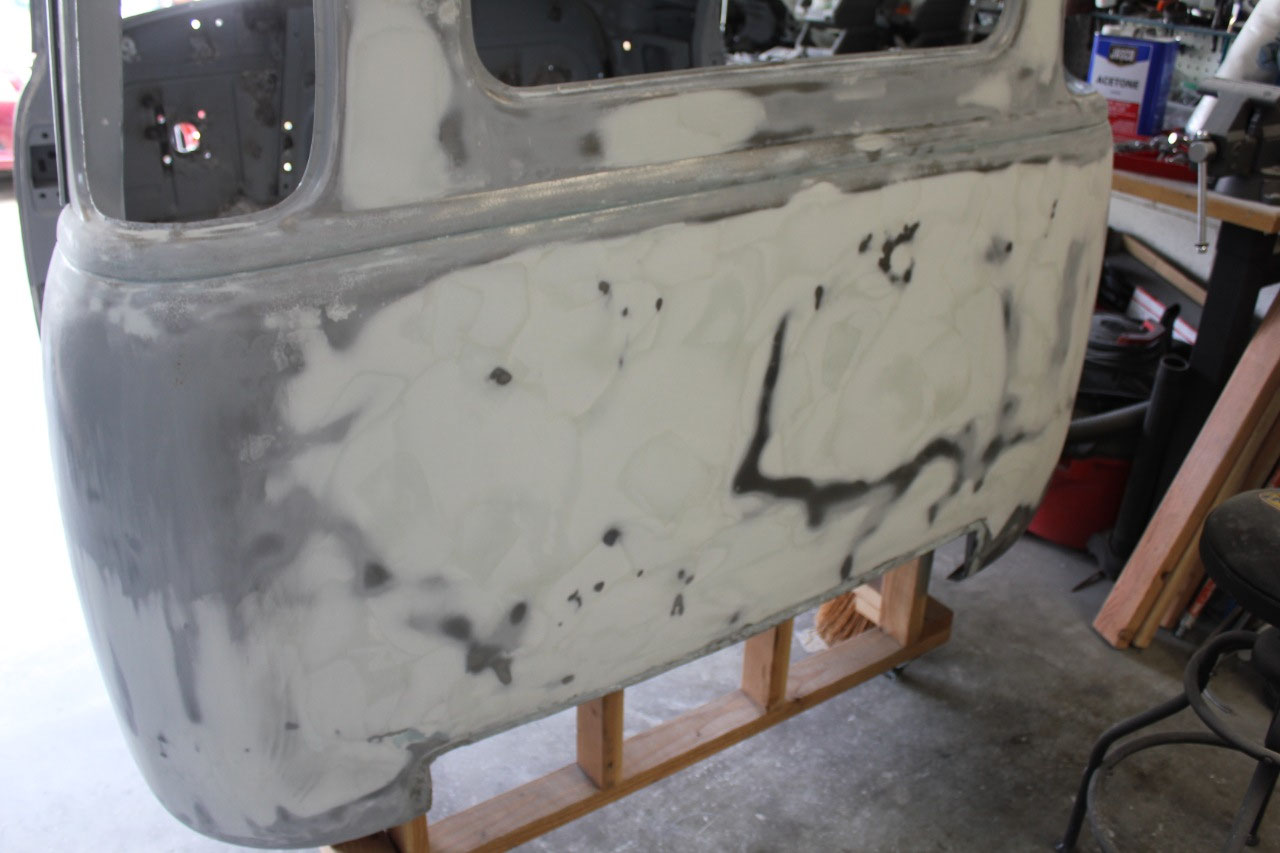
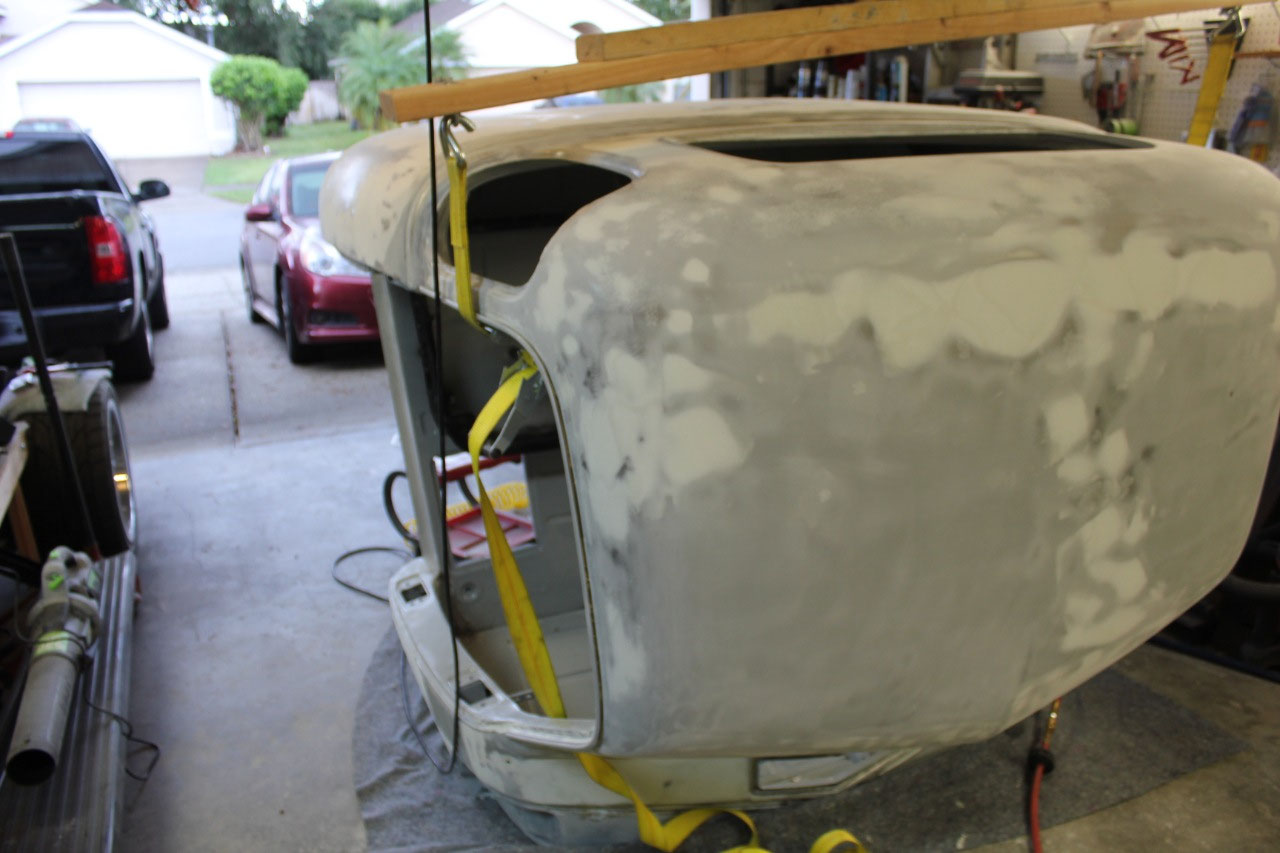
The last major area to attack was the rear of the cab. Most of the cab rear will be covered by the
bed when it is installed, but there was significant damage to the rear of the
cab from stuff bouncing around the bed over the years. I did the best I could with a hammer and
dolly to straighten most of the ripples.
The inside is behind the seat and will not be visible. I took my time and also made sure there was
no “oil canning” of the sheet metal where a dent could pop in and out. My 12” sanding block just wasn’t long enough
so I bought a 28” flexible sanding block that worked great! I took my time, and it came out pretty
straight, and I don’t think there is any filler over 1/8” thick, mostly much
thinner.
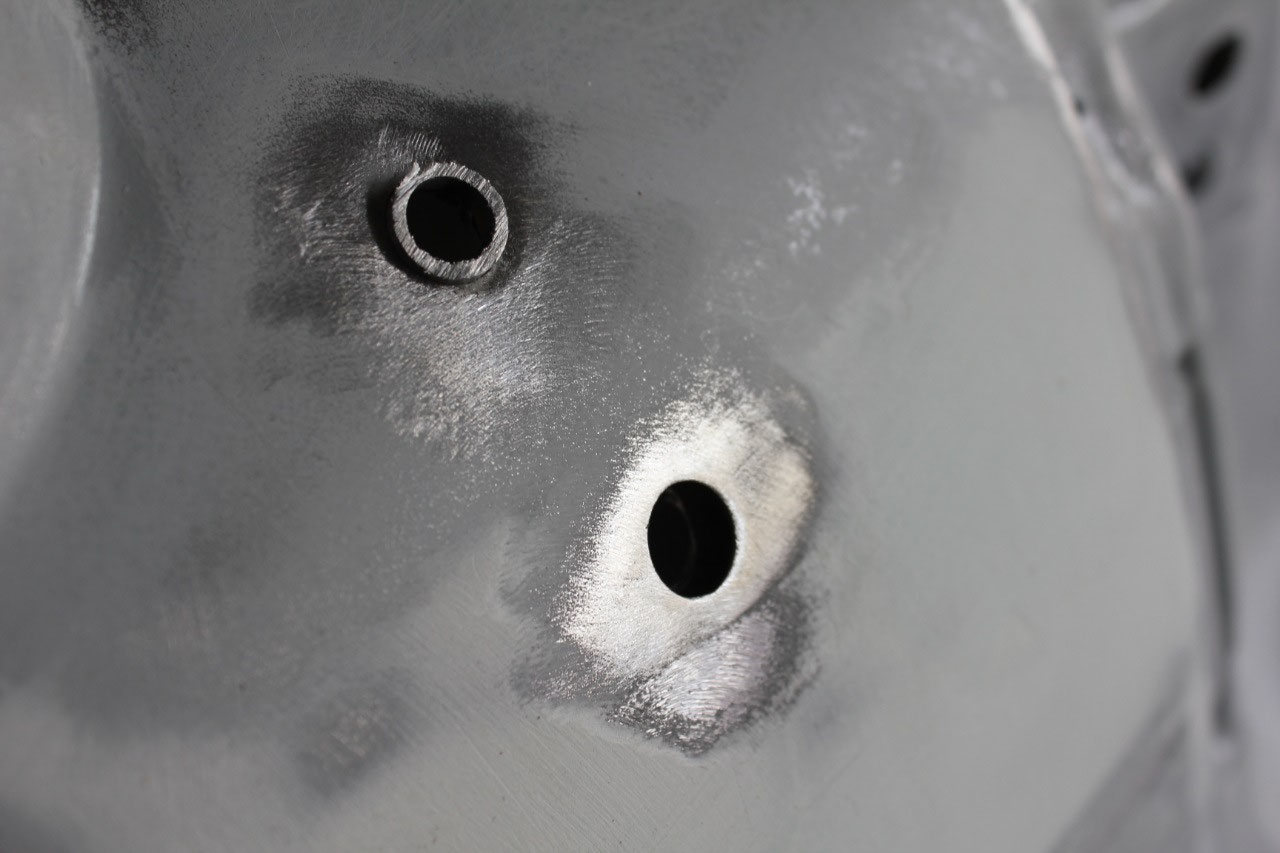
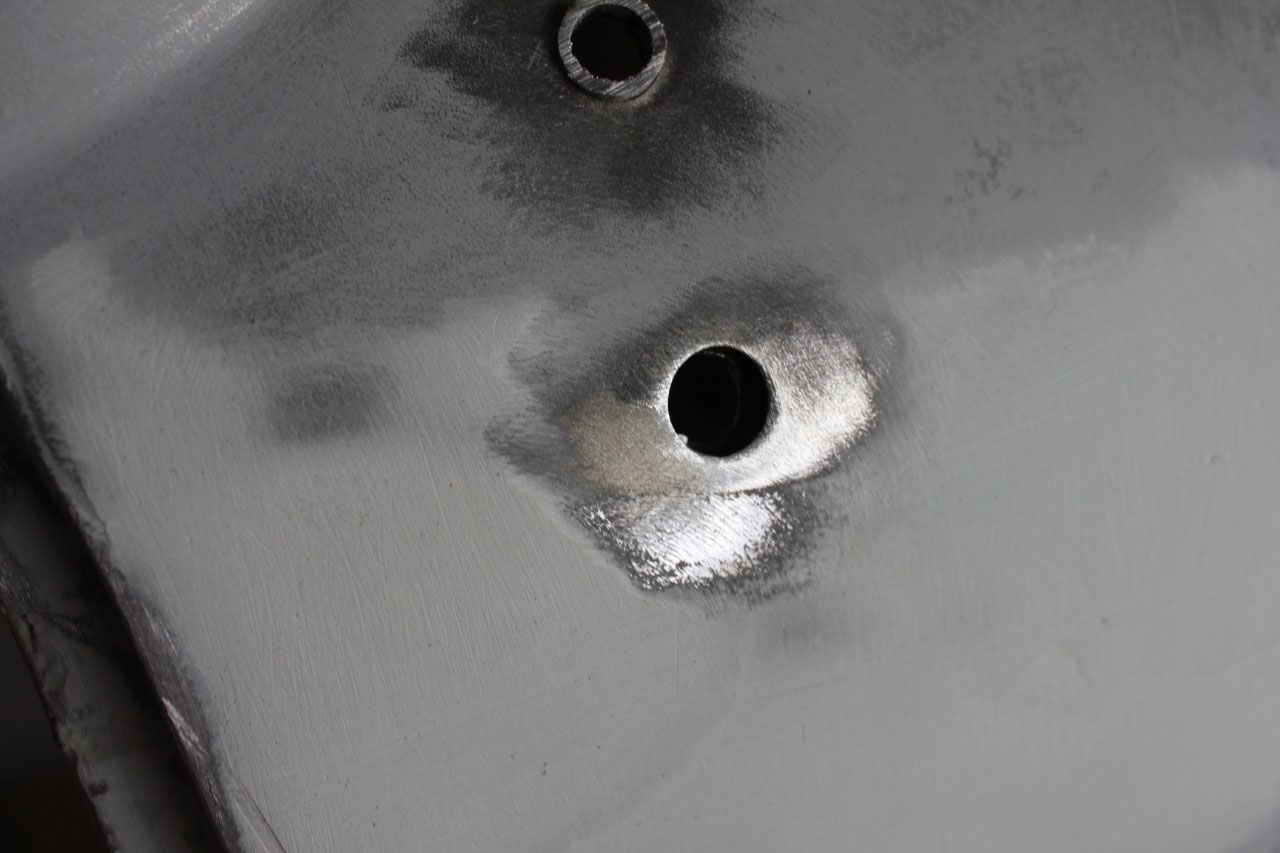
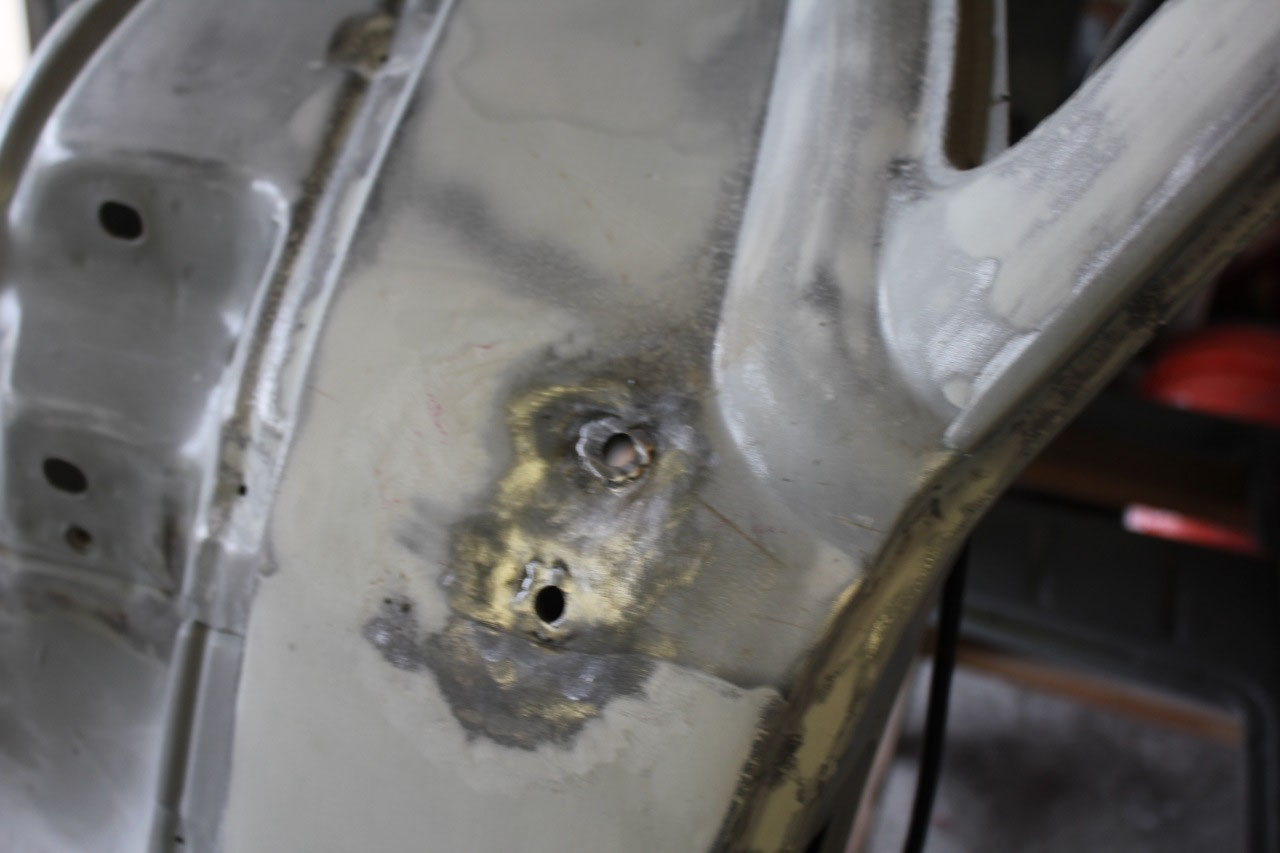
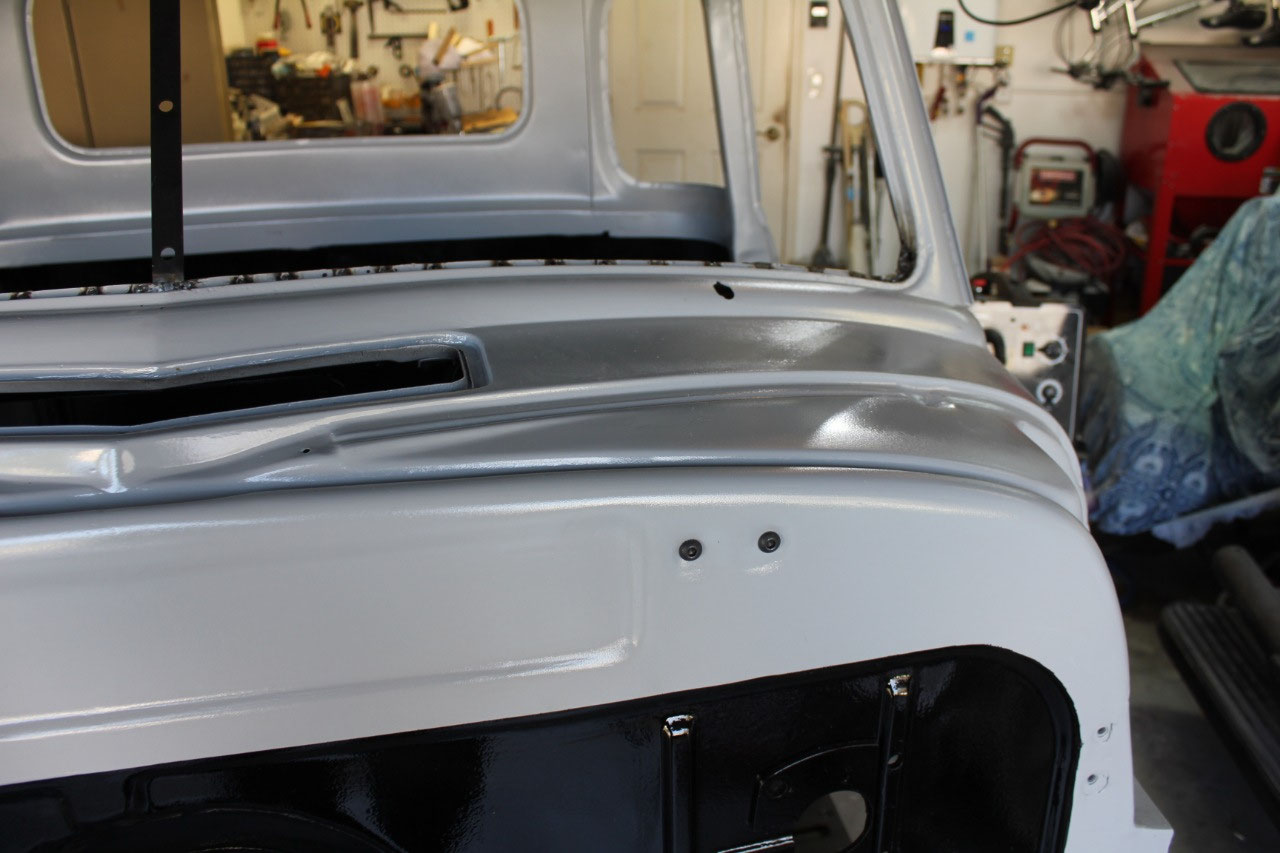
After filling around the cowl near the outside mirror
locations, I noticed there was filler around the mirror attachment bolts, and
that there was a gap between the body and the inner brace where the mirror
attached. I had a concern that when I
tightened the mirrors, it might crack the filler near the bolt holes, so I
opened up the holes, welded in a spacer on both sides, and ground everything
smooth.
Now when the mirrors are
tightened, everything will tighten against metal.
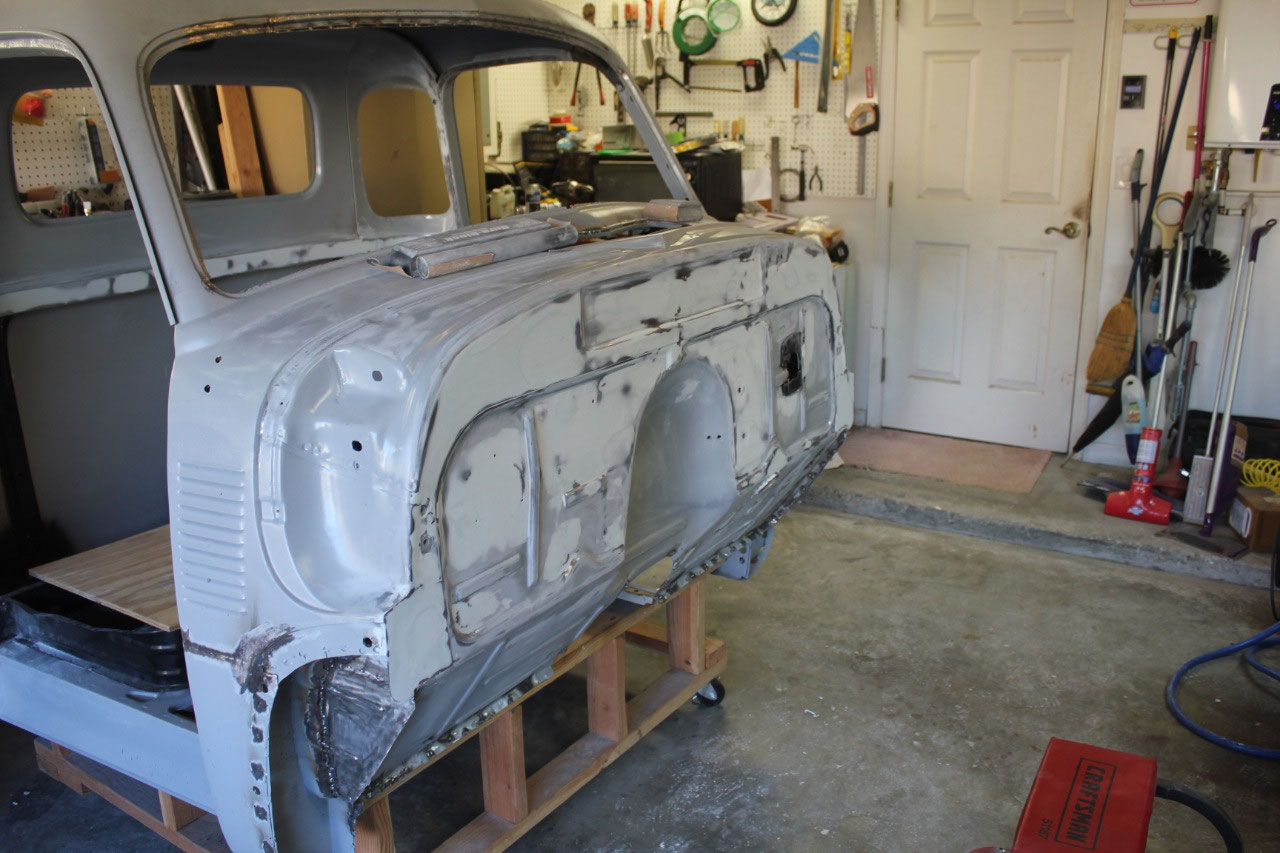
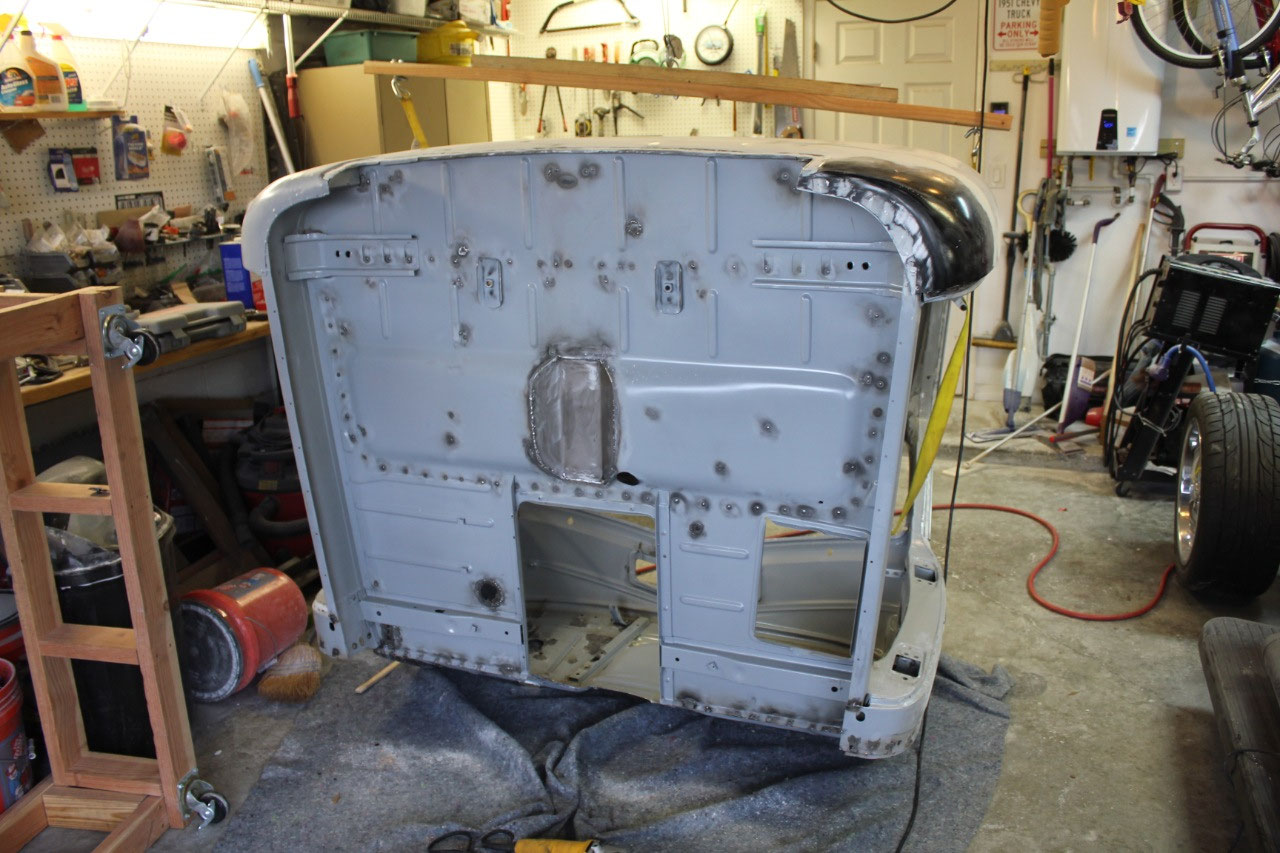
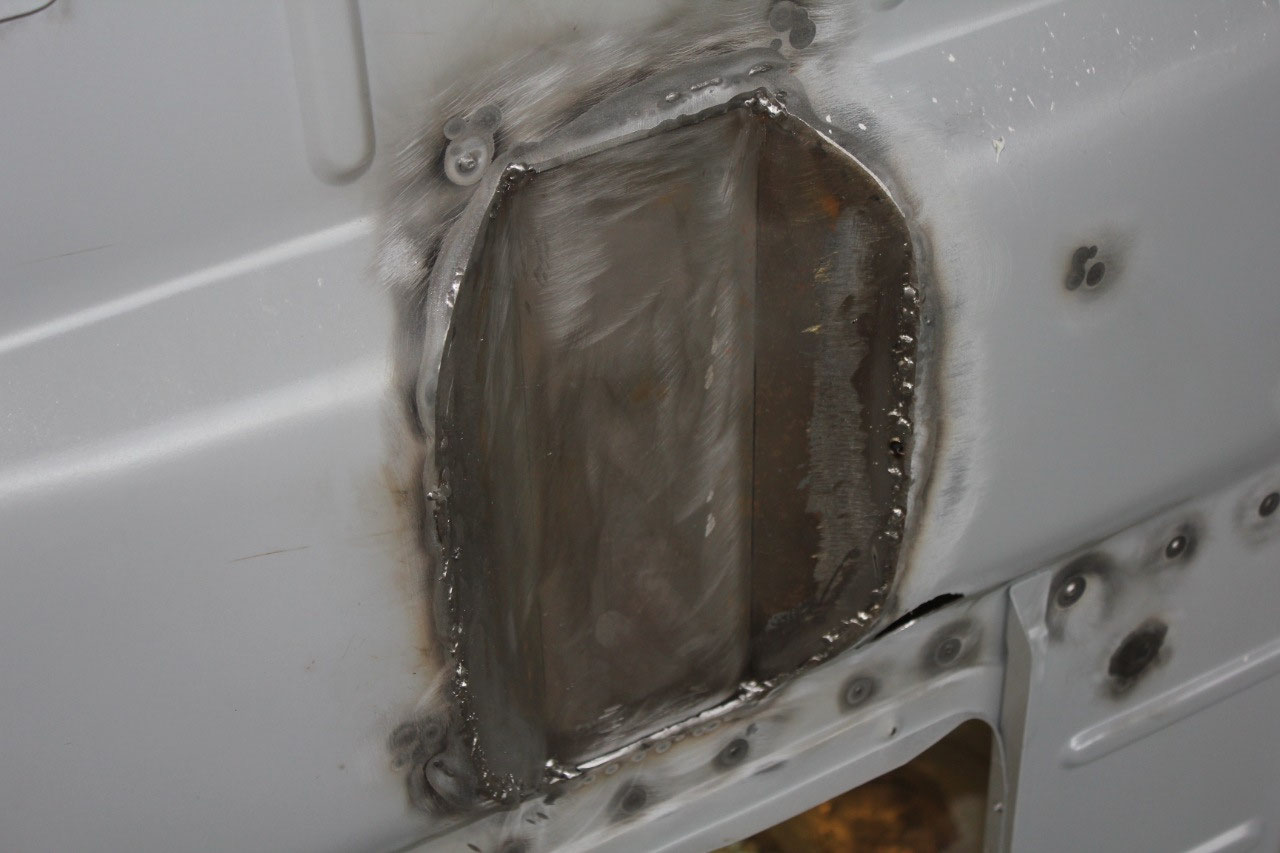
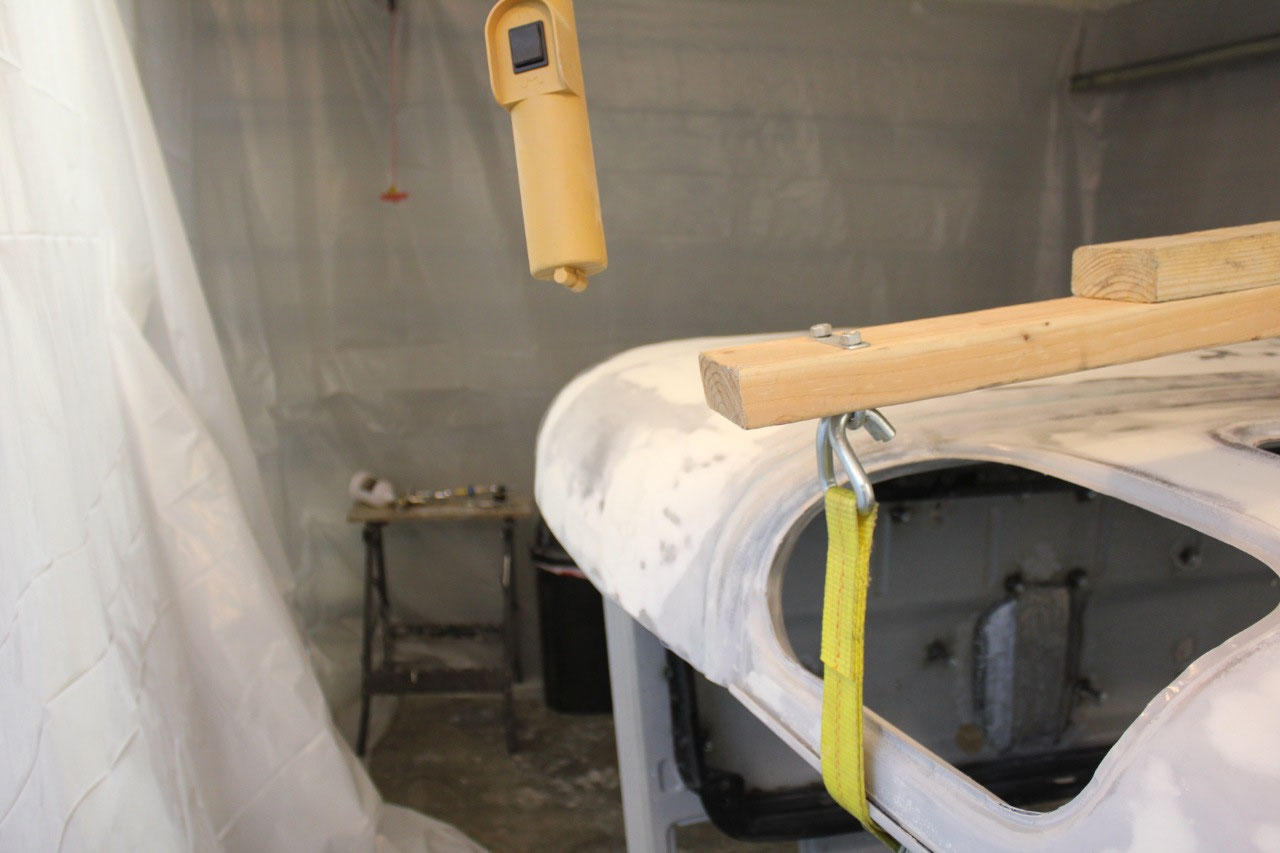
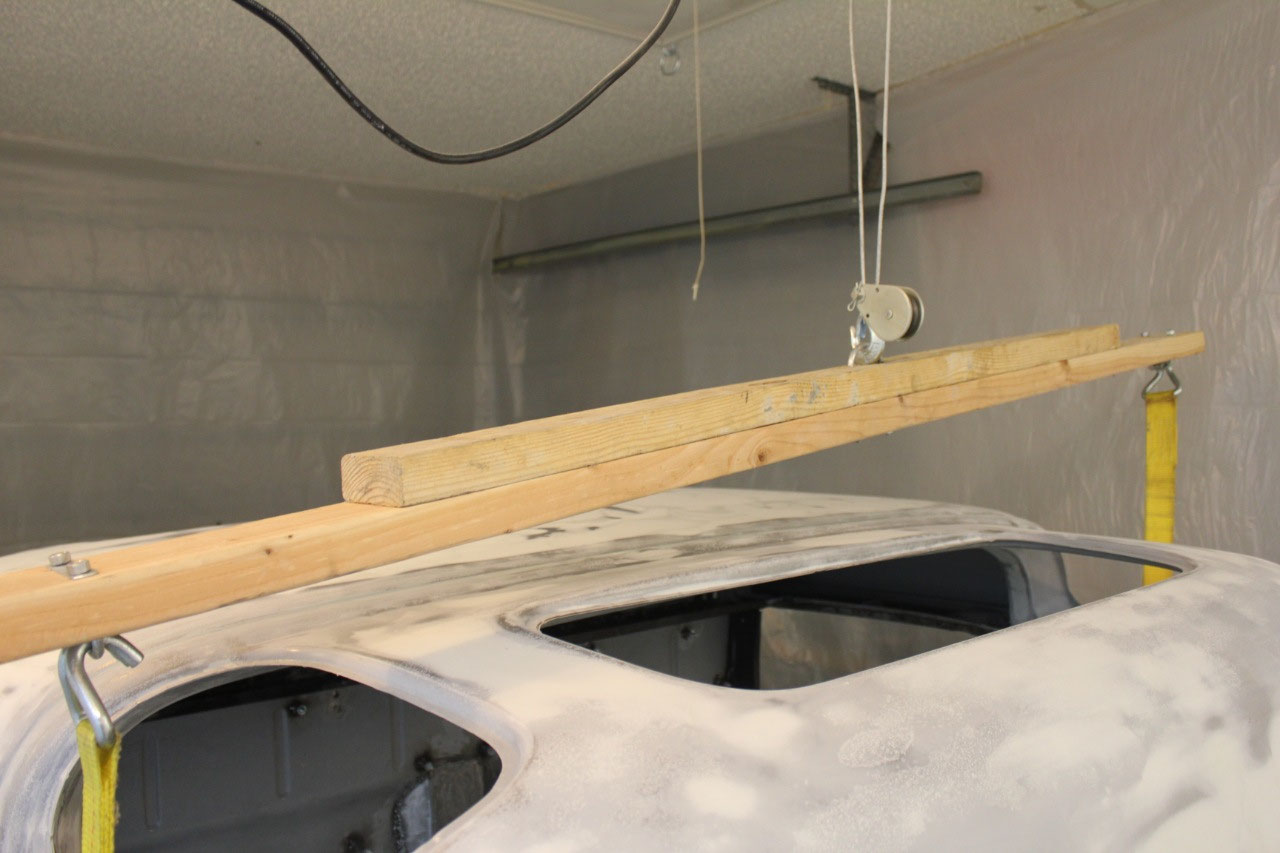
Now that the bodywork on the cab was about done, it was time
to flip the cab onto the firewall, and take a look at the underside. There were a few pinholes around the
driveshaft relief I had welded in place which I closed up with some additional
weld, and a little grinding and finishing on welds that I had done from
above. While the cab was sitting on the
firewall, I was able to finish the block sanding on the roof.
Now that the bodywork is done on the cab, it was time to verify
the paint strategy. In a perfect world,
I would build this truck like they do on the TV shows, and I would complete all
the bodywork and paint on the cab, trial fit everything, disassemble, and do
the final paint. It looks so easy on
television! But this is how it’s going
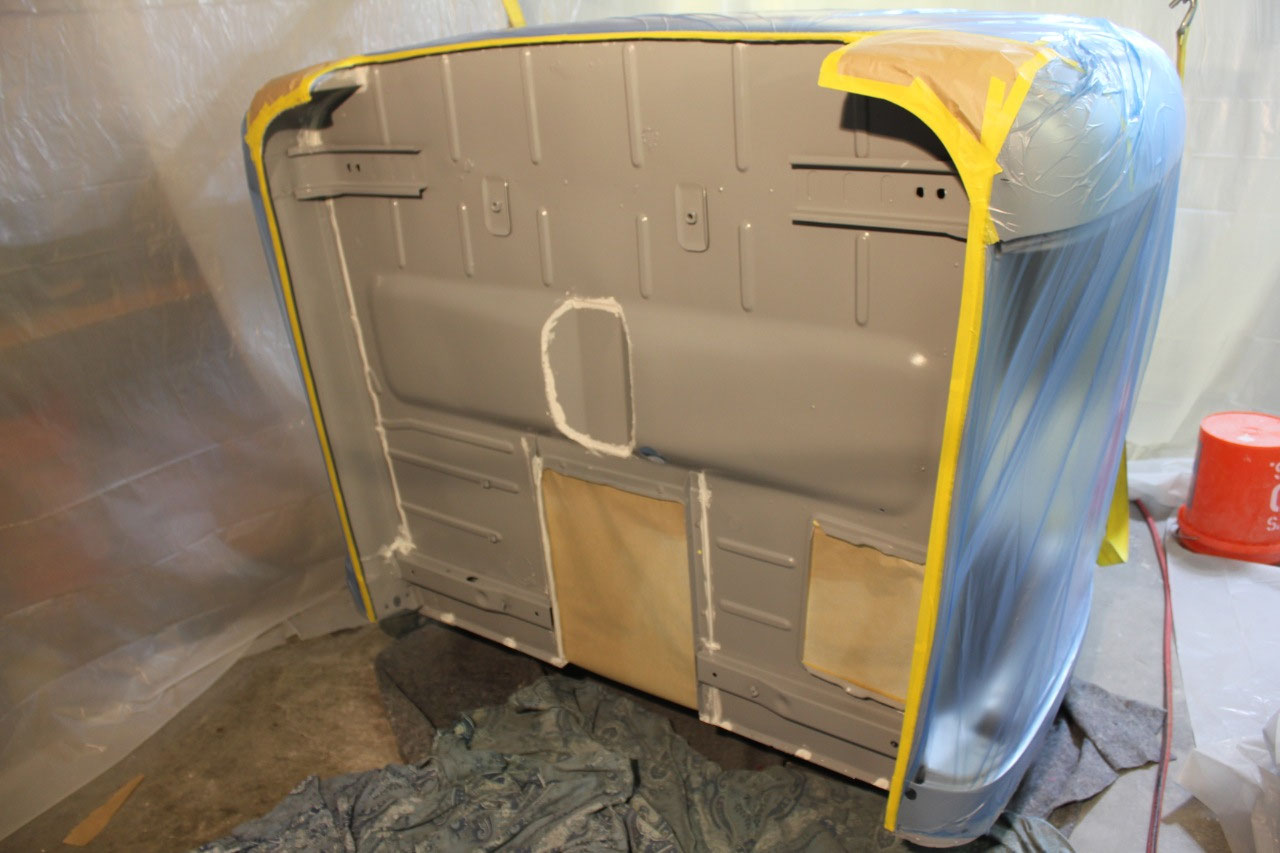
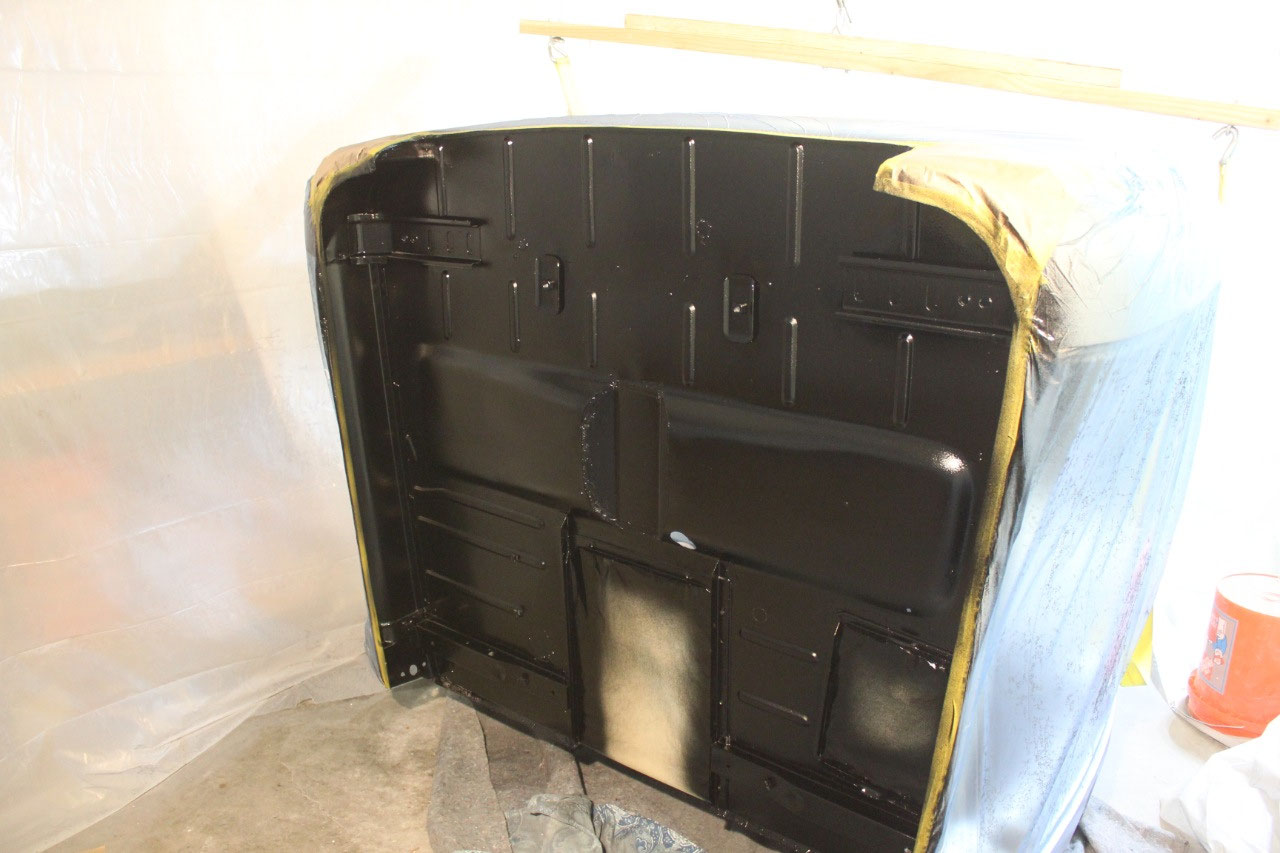
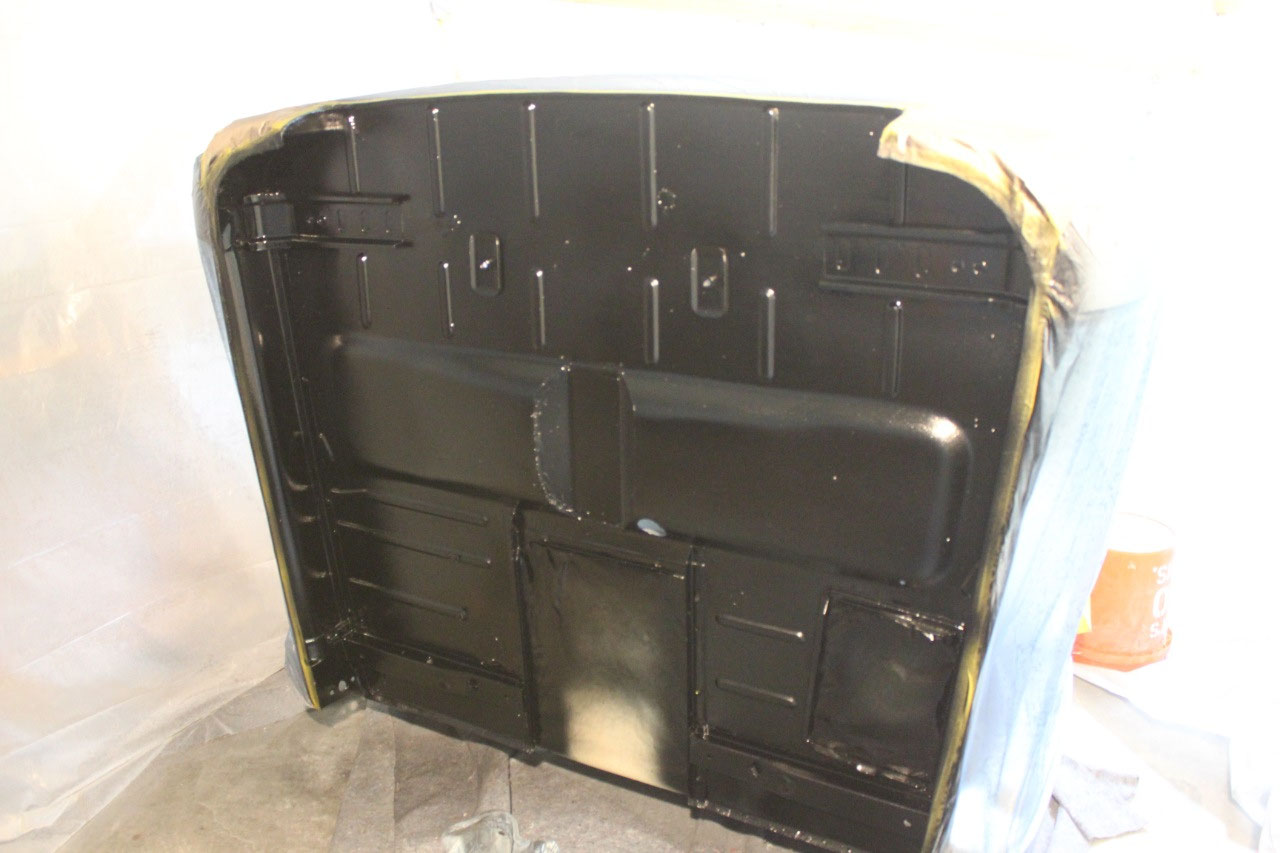
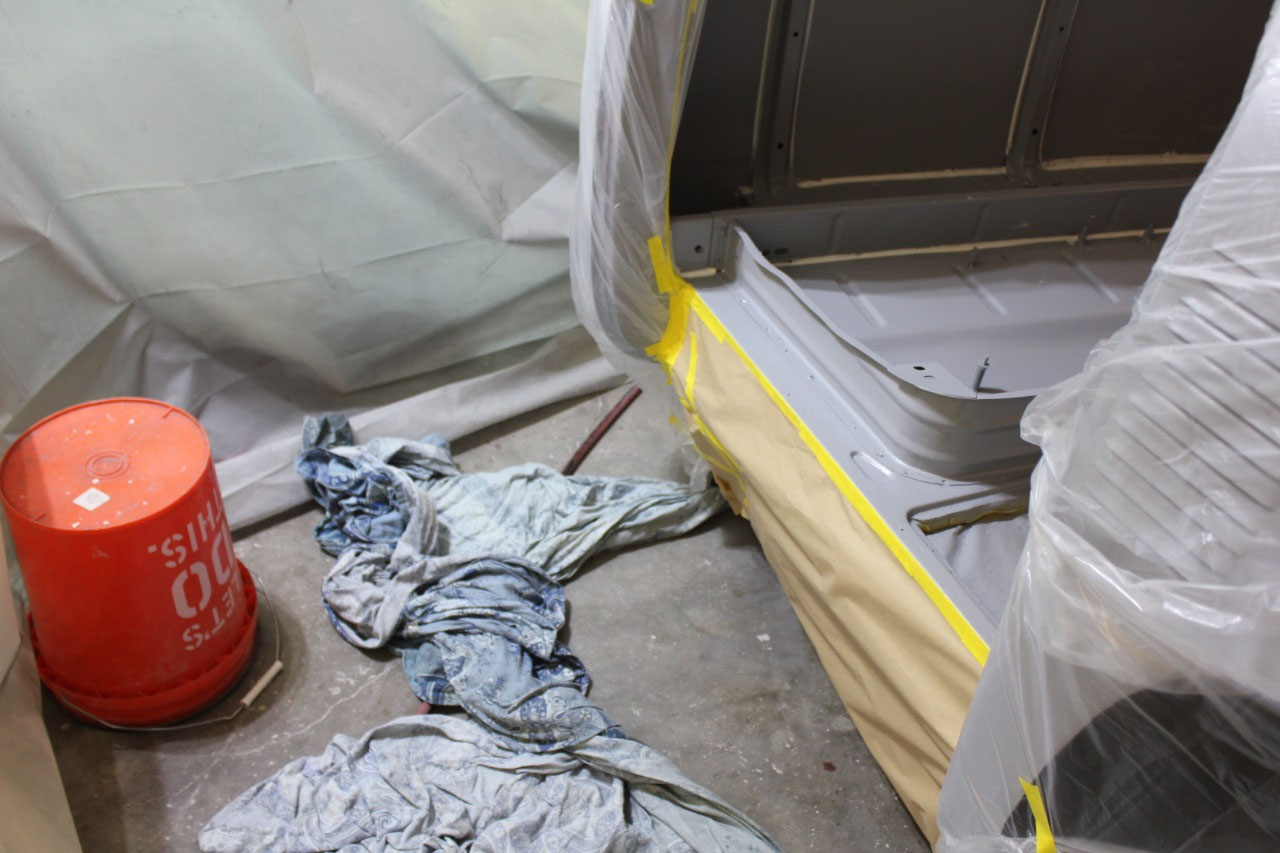
to go. I’m going to prime the underside
of the cab, the shoot a couple of coats of gloss black. Then spray the flat surfaces of the underside
with paintable rubberized undercoat, and a final coat of gloss black.
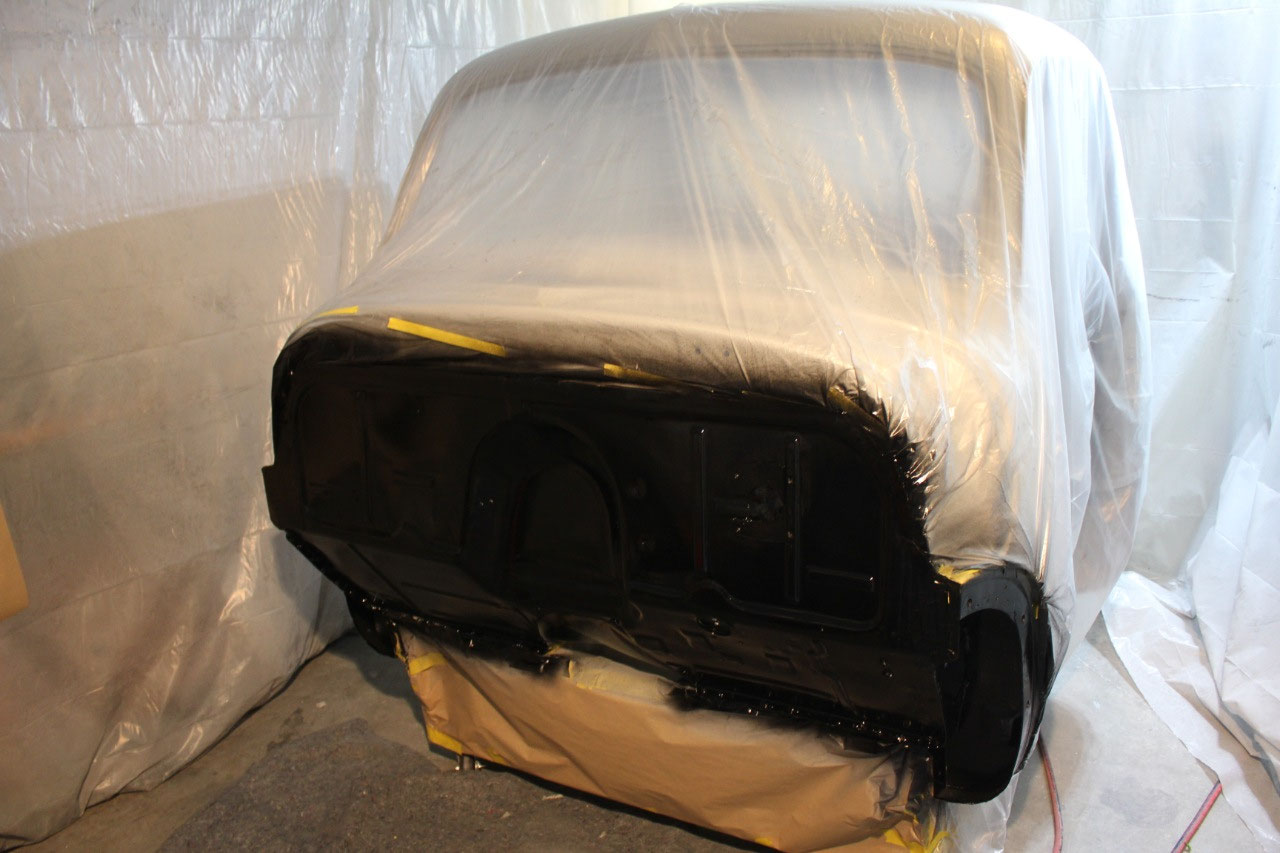
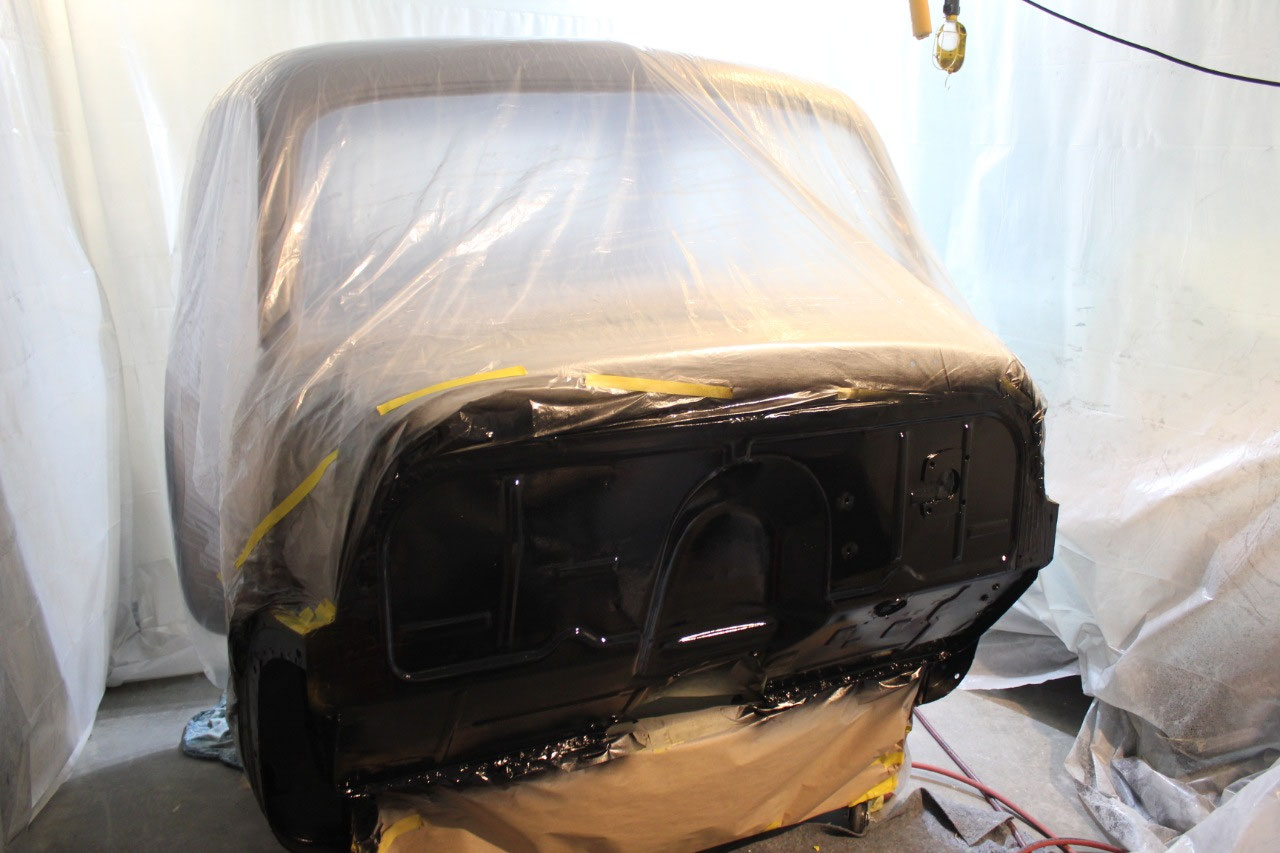
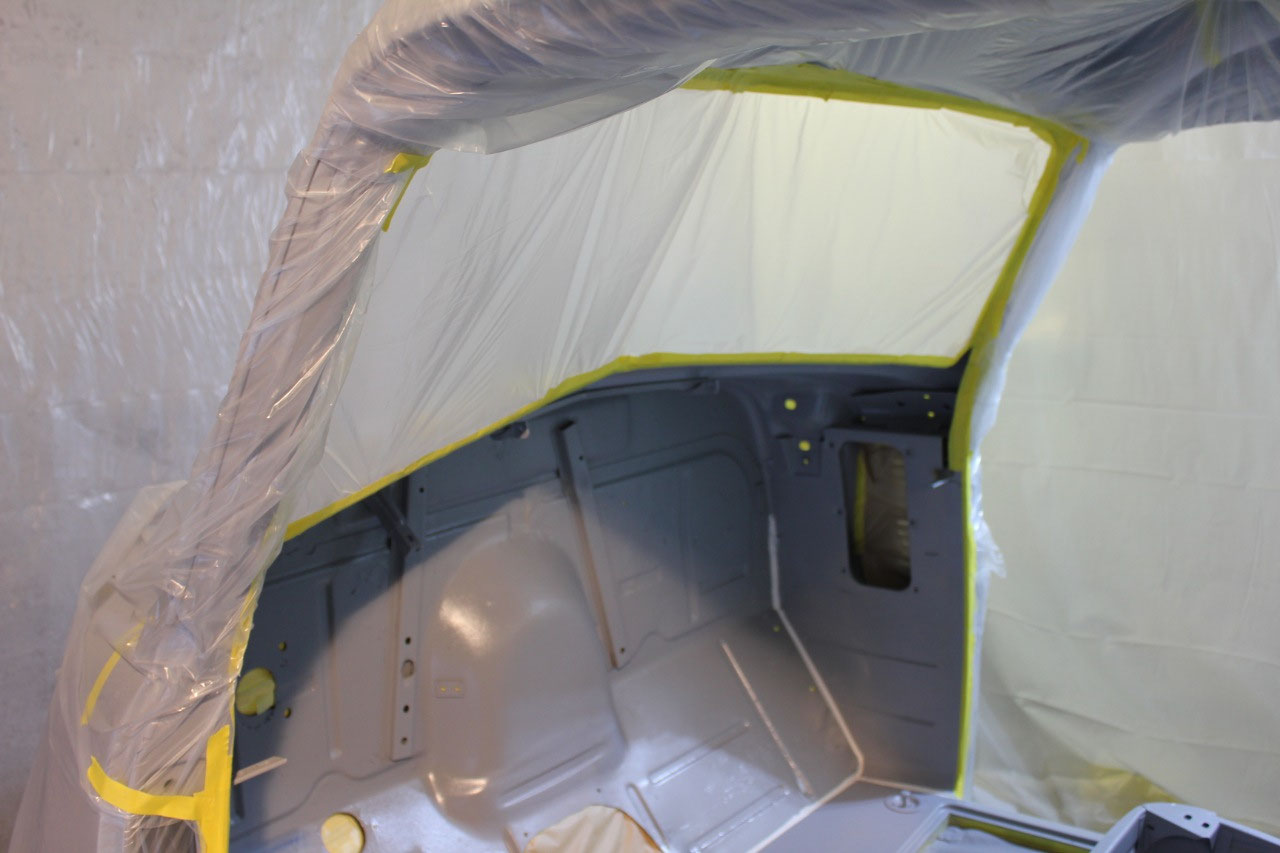
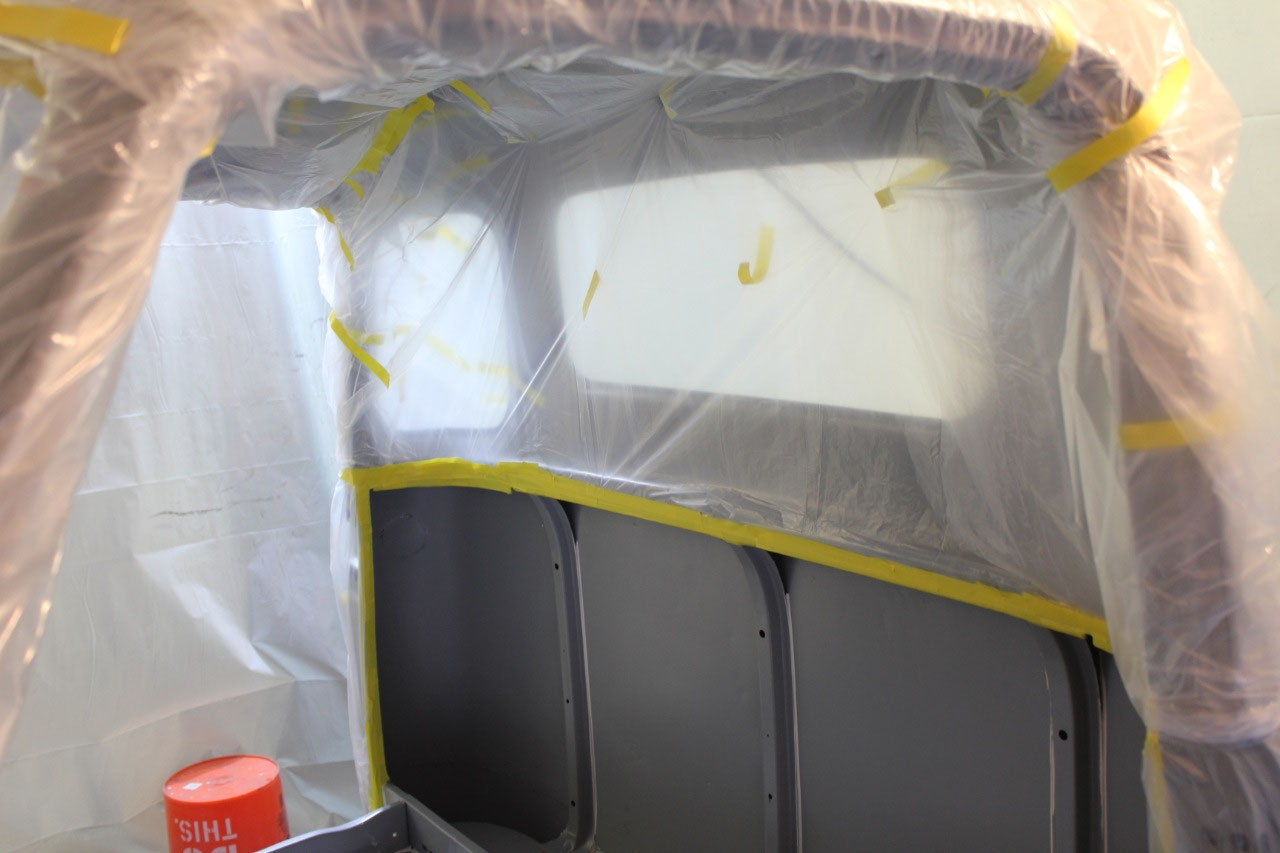
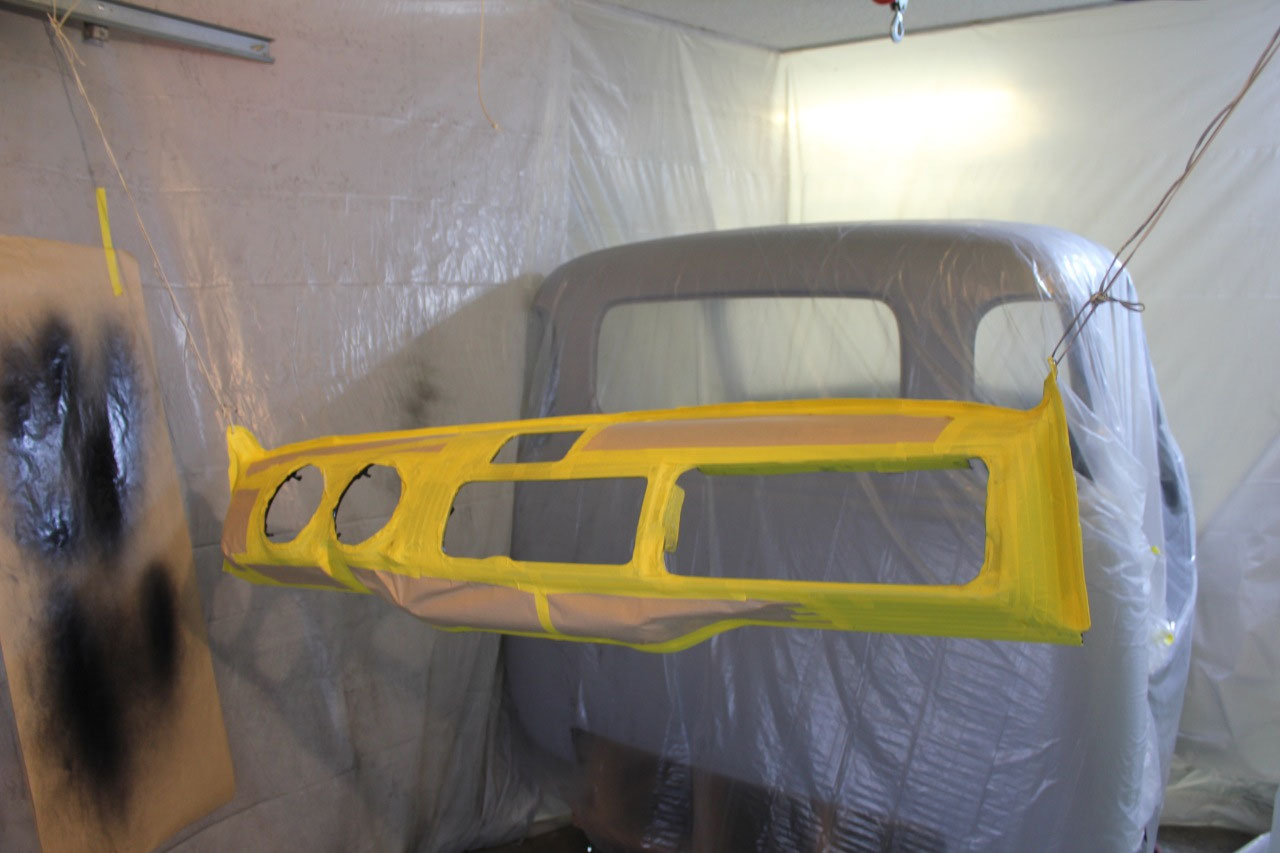
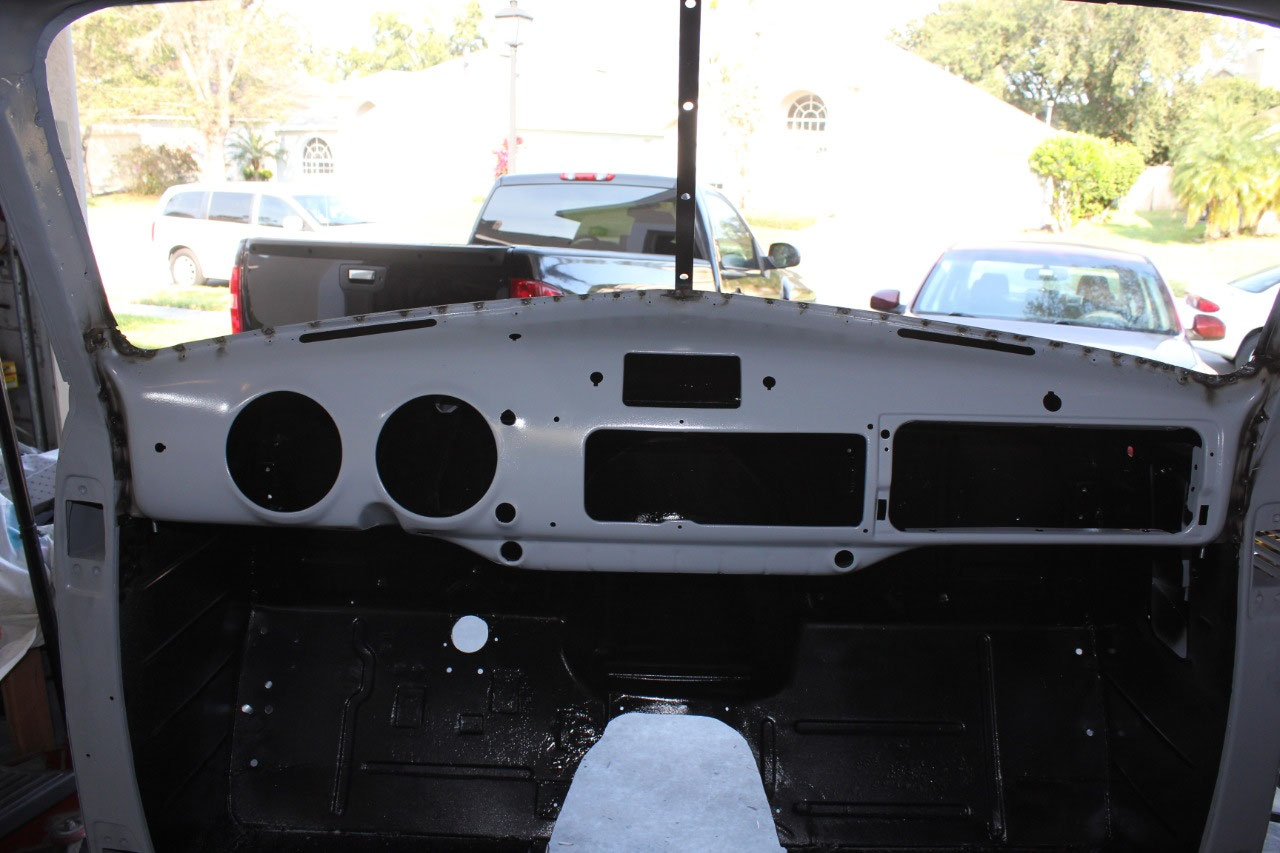
The underside is now done. Then I will flip the cab back upright, mask
off the underside, and finish the priming on the interior and top side of the
cab. Then I will mask off and paint the
firewall and the interior floor, behind the seat, the kickplates and behind the
dash with gloss black. At this point, I
have still not welded the dash in place.
This is because I wanted everything behind the dash epoxy primed and
painted to prevent rust. Once the cab is
fully primed and painted behind the dash, I will prime the dash, prime and
paint the backside of the dash, and weld it in place. Then I will finish the metalwork around the
windshield, touch up the primer around the windshield, and be ready to final
attach the cab to the frame. Since the
underside, firewall and interior floor and behind the dash are painted black, I
will be able to install the wiring harness, all the electronics, and the
heater-A/C and get everything drivable in primer. I may even install the glass without sealant
to make sure it all fits and still be easy enough to remove for paint.
Once it is drivable in primer and mostly
complete, then I can take it somewhere for paint, and either they or I can do
whatever disassembly is necessary for paint.
It may not be a perfect plan, but that’s what I’m thinking.
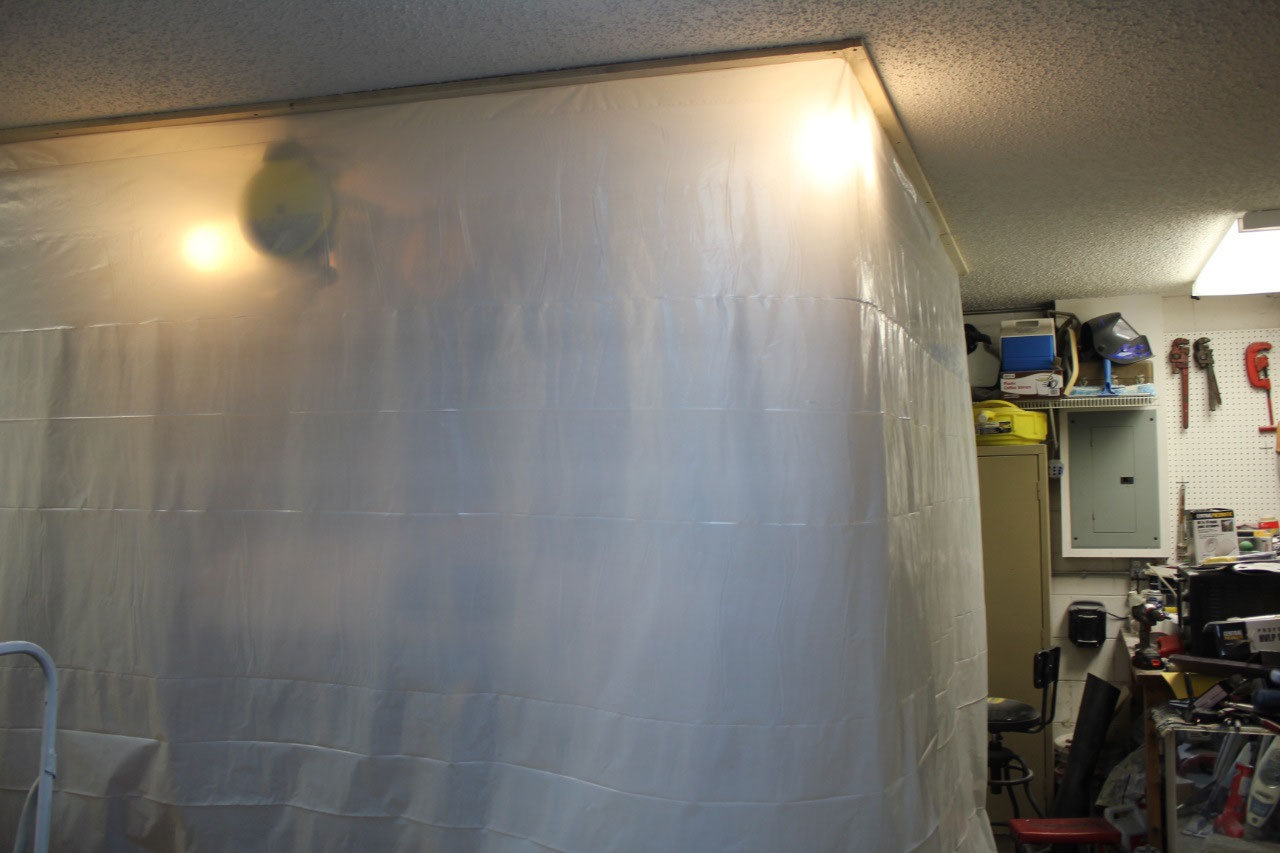
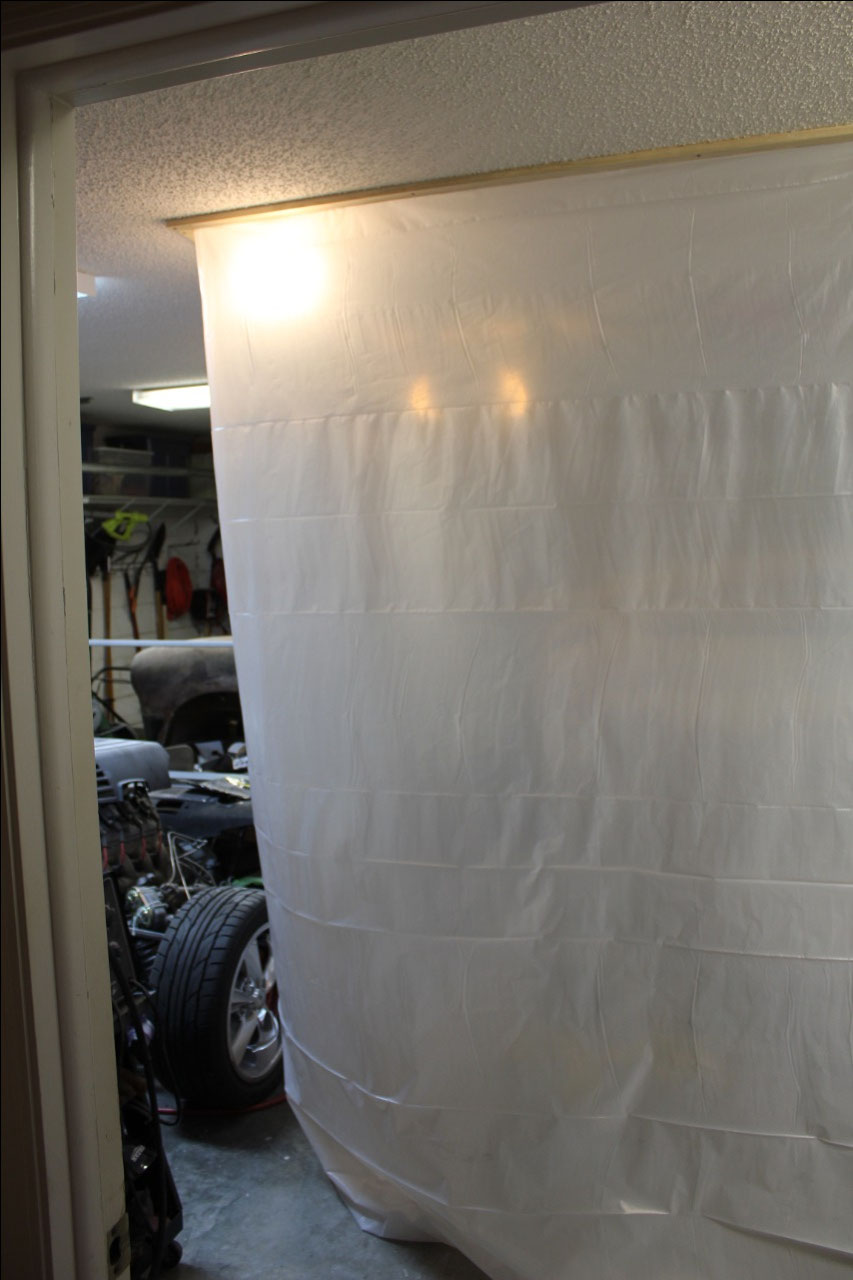
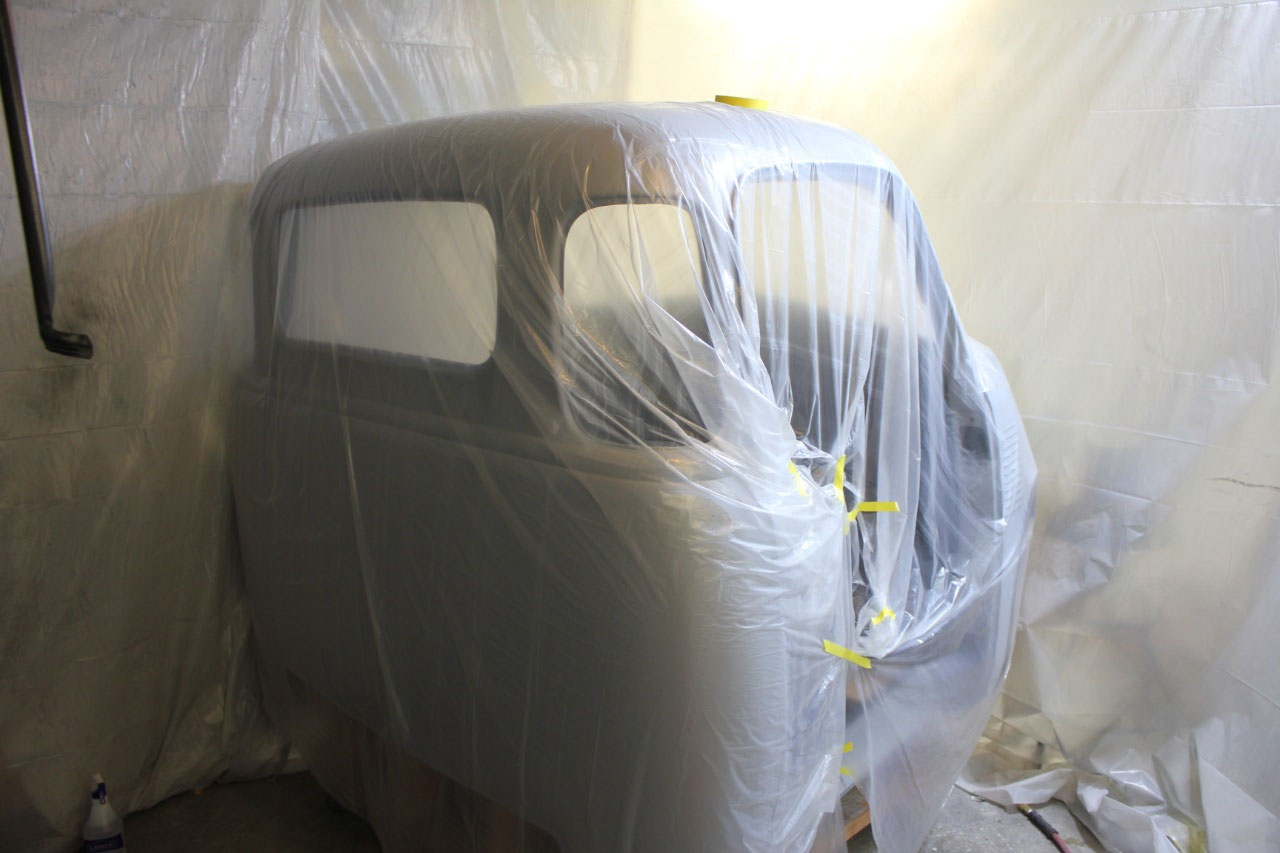
The first step for painting is to build a paint booth. As an engineer, I, of course, tried to
overthink it. In the end, I just screwed
some 1x2 strapping into the ceiling and stapled plastic sheeting to the
strapping giving me a apace about half the size of the garage covered on four
sides with plastic. Then I would prop
open the garage door by a couple of feet and run a room fan blowing air out of
the space. Not great, but good enough
for primer. Southern Polyurethane has
some pretty good instructions for preparation and paint that came in a booklet
with the paint when it was delivered. I
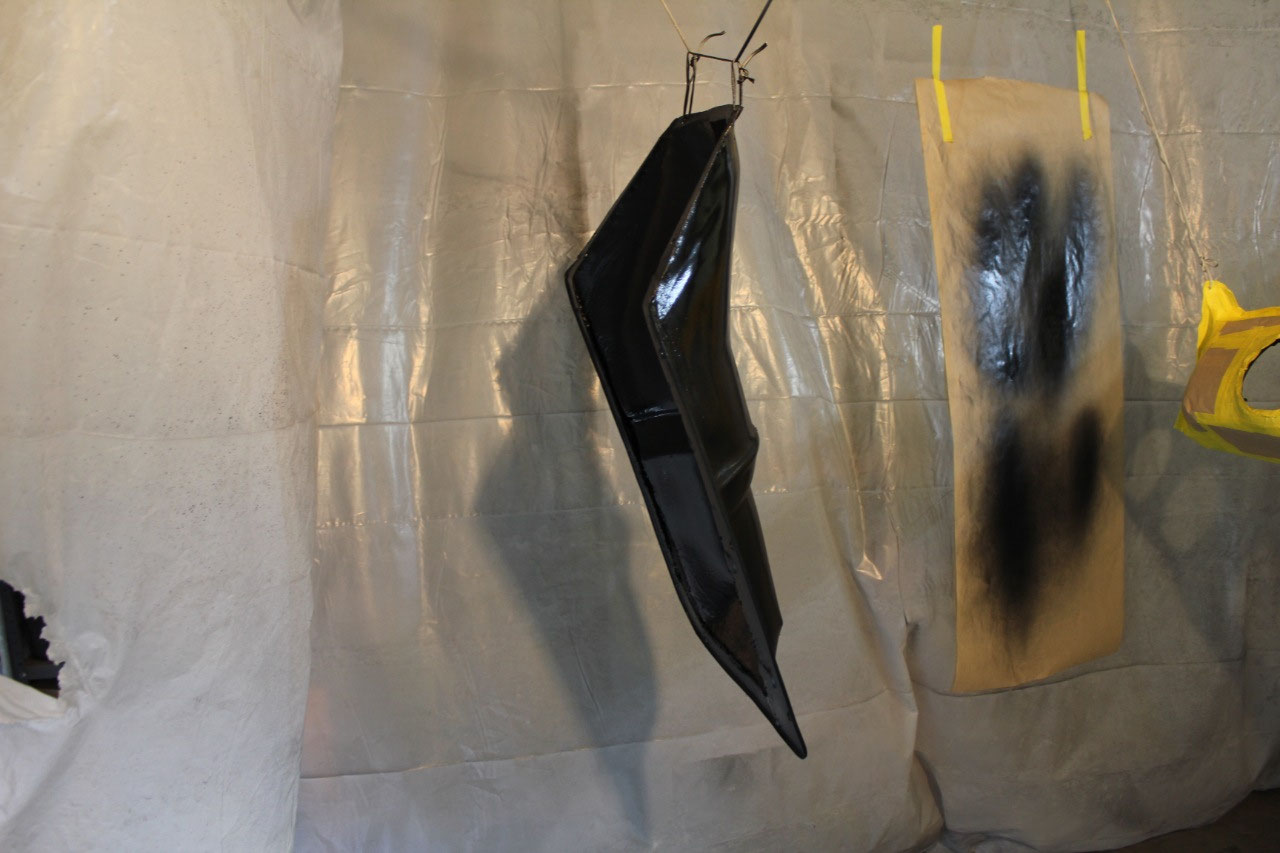
used a Harbor Freight HVLP gun, and gave it a shot. Painting is HARD! But it is fun! Priming on the underside came out pretty good
on the first try, but the gloss black was a lot tougher.
I was getting some orange peel, and thought I
had read that the problem was either pressure too high or not enough paint
flow. So I reduced the pressure and
increased the flow and it just made it much worse! I went back to the instructions and read a
little closer, and realized that I had done exactly the wrong thing! So I increased the gun pressure and returned
the flow to normal and it came out much better.
Between the priming and the gloss black, I also had to go
over every seam with seam sealer. For
the intearior and underside, I just used the AC-Delco single part seam sealer
in a caulk gun tube. I did use painters
tape to mask off a straight line on either side of the seam, and removed the
tape while the seam sealer was still wet.
It all came out great! The rest
of the cab priming and painting was without incident, and I was getting a
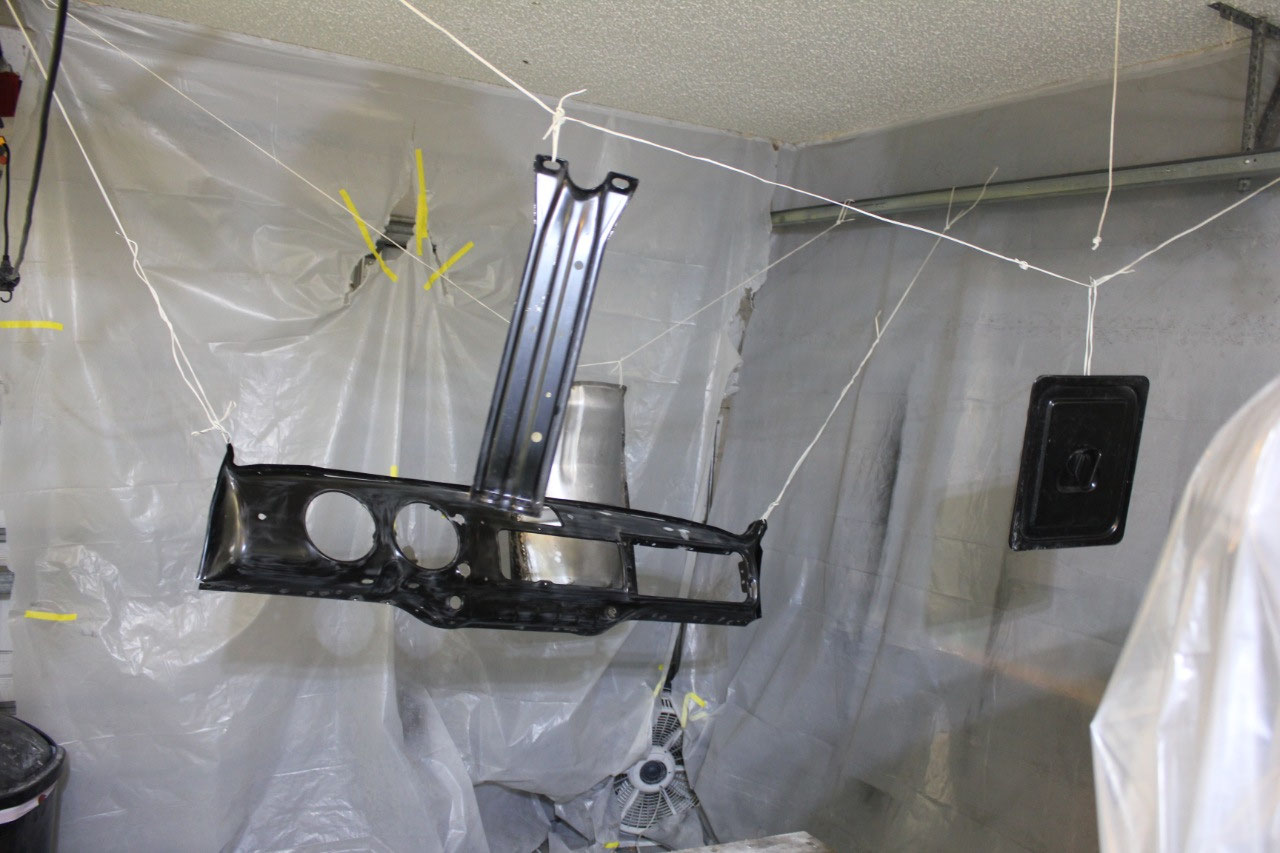
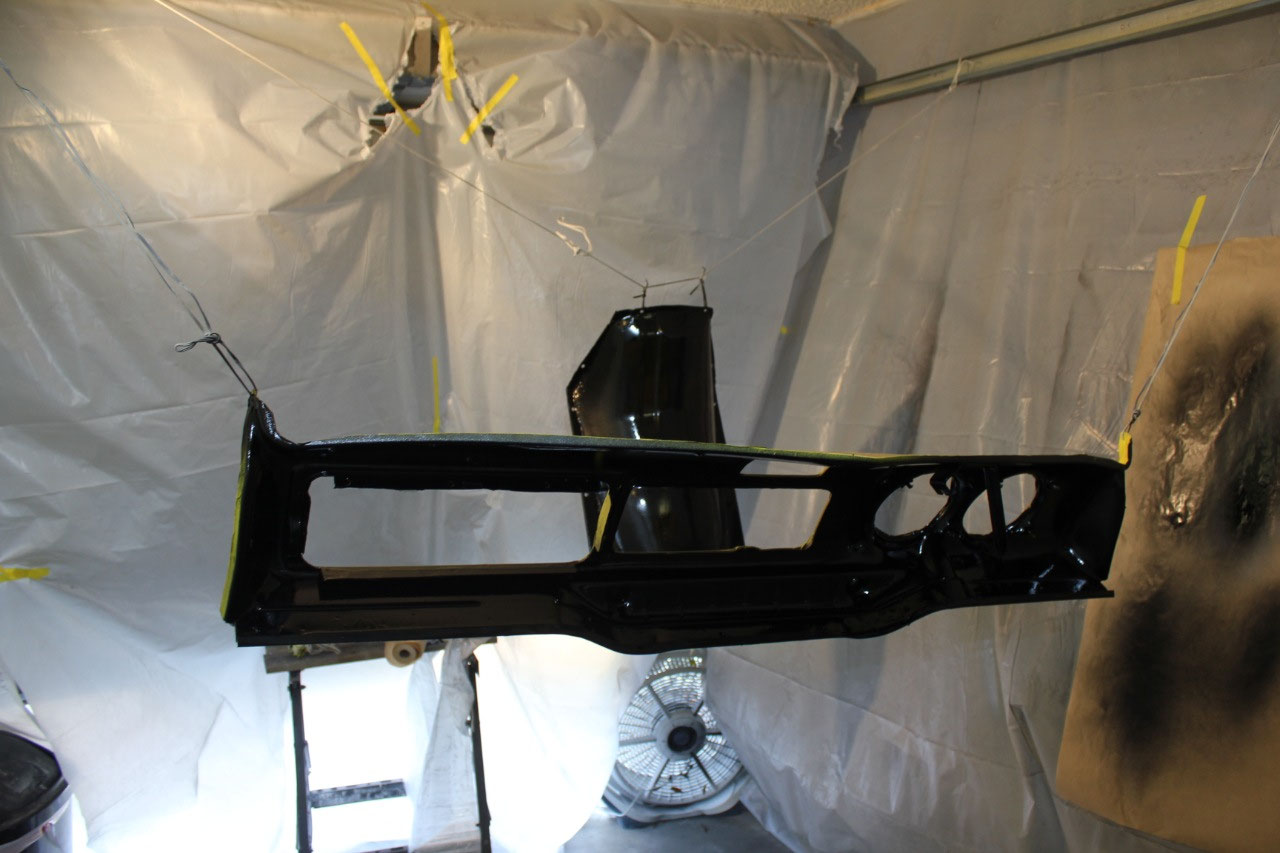
little better with each try. Once the
cab was done, I primed and painted the dash, dash brace, tunnel, and battery
box cover which came out great. Welding
the dash in place was fairly easy, except that once I had it all welded in
place and was admiring my work, I looked up and realized that I had not
installed the dash brace in place before welding.
In the
past, I had always installed the brace before setting the dash in place, and I
wasn’t sure it would fit with the dash already installed. It took me a while, and a little panic, when
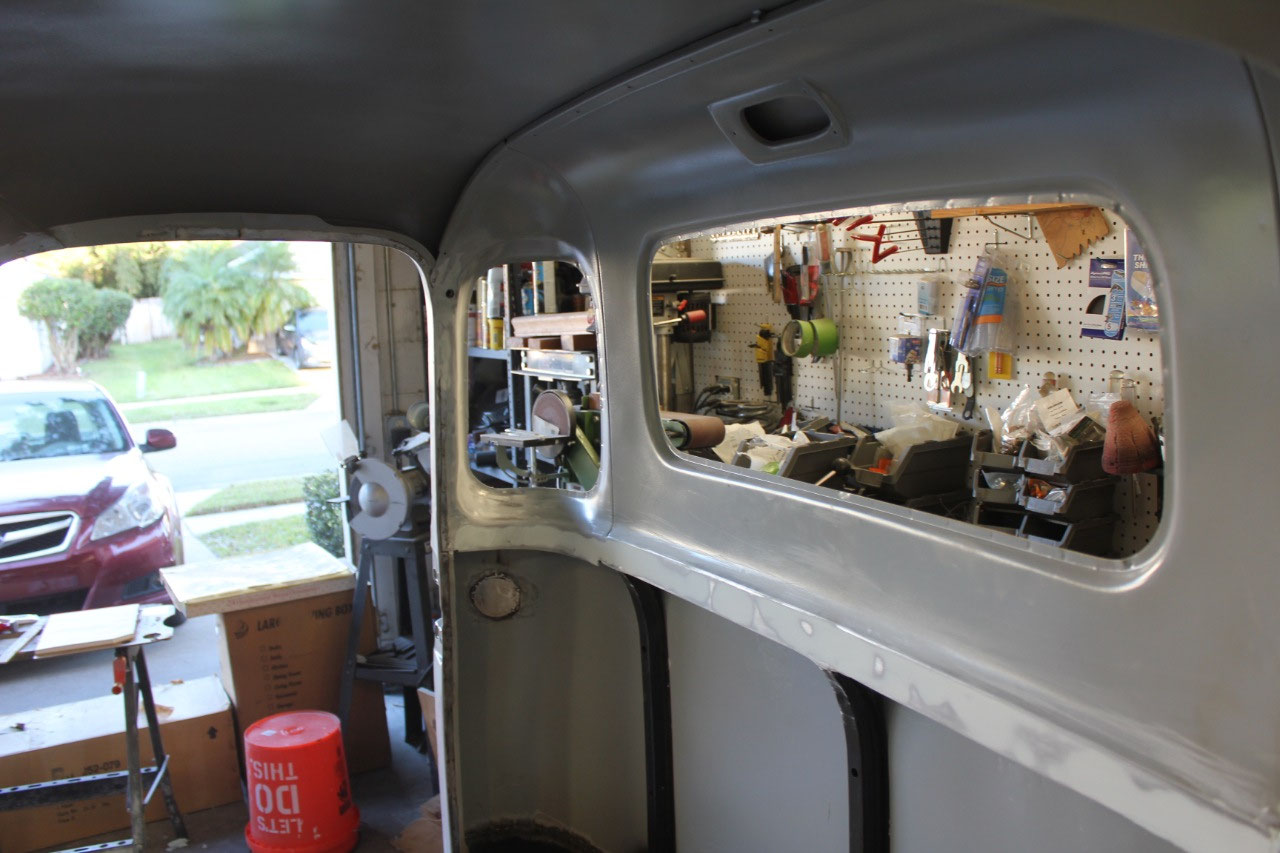
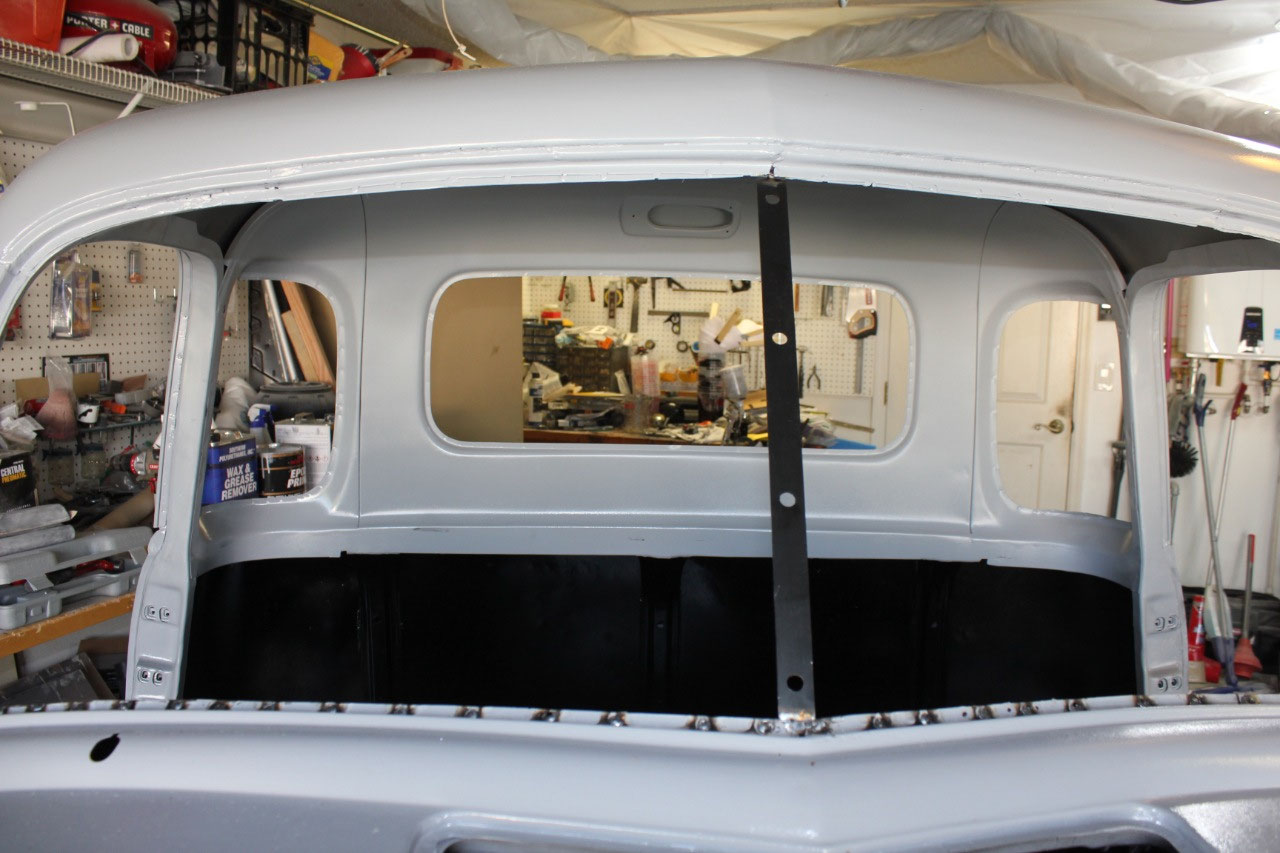
I finally found the spot where the brace would drop into place. Whew! Dodged a bullet there! After the dash, I welded up all around the
windshield, and made sure that it was all metal without holes all around the
opening. At this point I was finally
able to install the split windshield brace that I had been waiting so long to
install. Then I ground everything smooth
as I could and filled the imperfections with the waterproof Evercoat Fiberglass
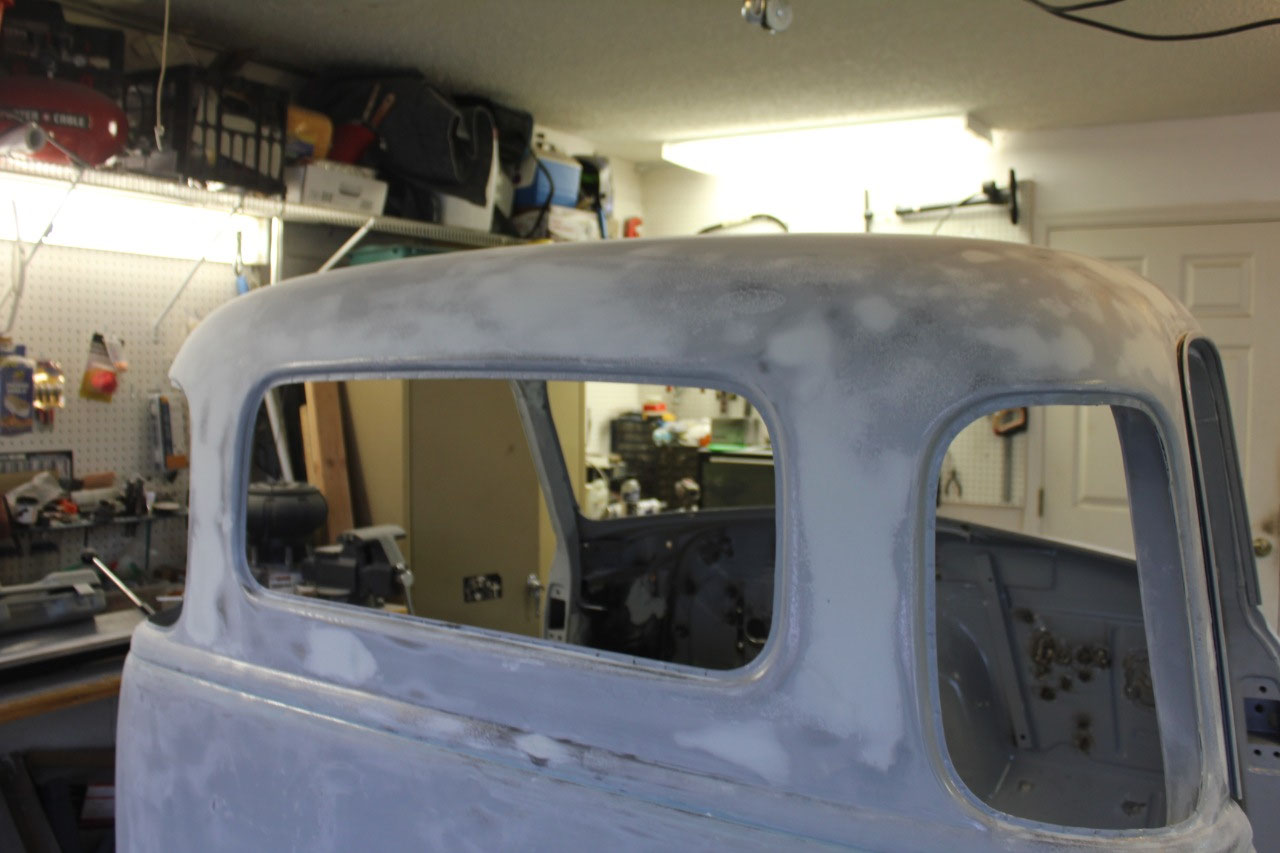
filler. There was also a spot above the
passenger’s windshield where the previous owner had replaced the metal and the
bend wasn’t exactly right. I was able to
make up the imperfection with the Evercoat Fiberglass so that now the entire
windshield opening looks great.
The other thing I noticed was a gap between the rain gutters
and the body. I was originally just
going to use the same seam sealer as I used everywhere else on the rain
gutters, but decided it would probably be better to use the 2-part epoxy seam
sealer in this location.
I also had to
replace my caulking gun with a much stronger one, and I had read warnings that
it would be too difficult to press the trigger on a standard caulk gun since
this tube had both epoxy parts in the same tube and it mixed along the way as
it came out. Luckily I found a 26x gun
on Amazon.
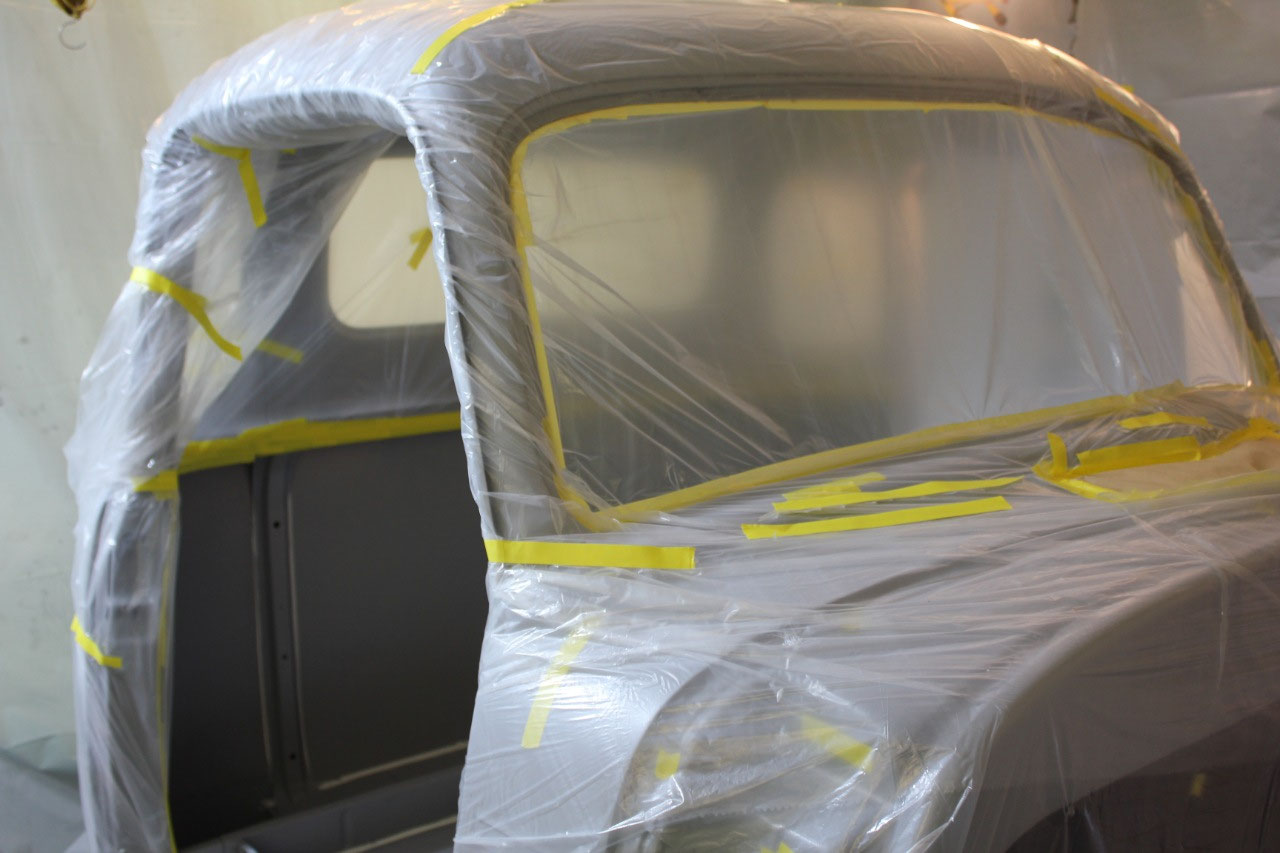
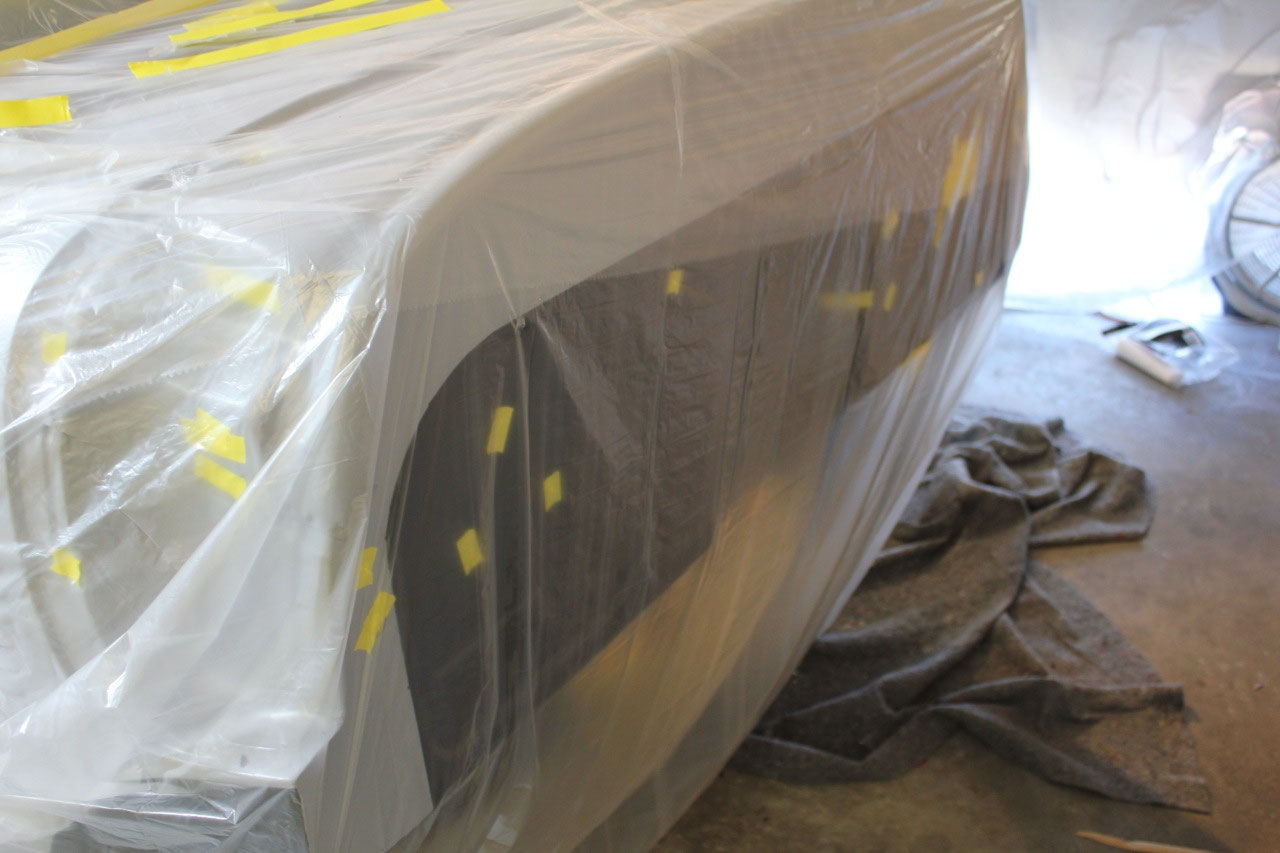
It was a little tricky
to mask everything off to only expose the inside and outside of the windshield
opening and the dash attachment points, but once masked, it was easy enough to
do the final primer touchup. At this
point, painting is done for a while, and I was able to roll up the plastic
sheeting while still stapled to the ceiling and tie strap it up and out of the
way. When I next need to paint, I should
be able to quickly roll down the plastic sheeting and recreate my spray
booth.
One thing that became apparent during this priming and
painting exercise is that there is just no way would I be successful at doing
final paint in the garage. It is just
too difficult, and there are too many variables to have it come out well. It takes talent, practice and equipment and a
much better facility than I have. So for
now, I will limit myself to priming, and painting brackets, inner fenders, and
the like, and when I am ready for final paint, I will leave it to the
professionals.


2025-05-22