 Orlando, Florida, United States
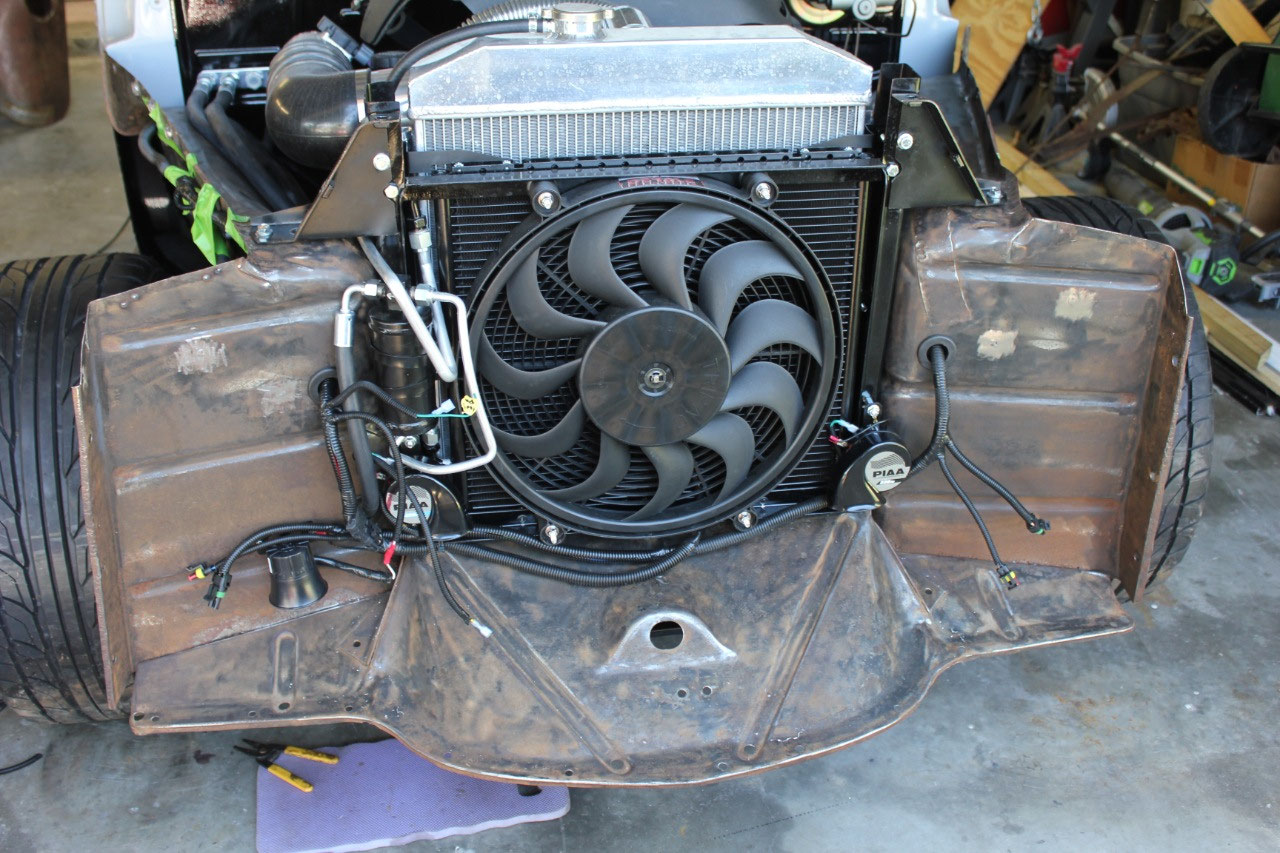
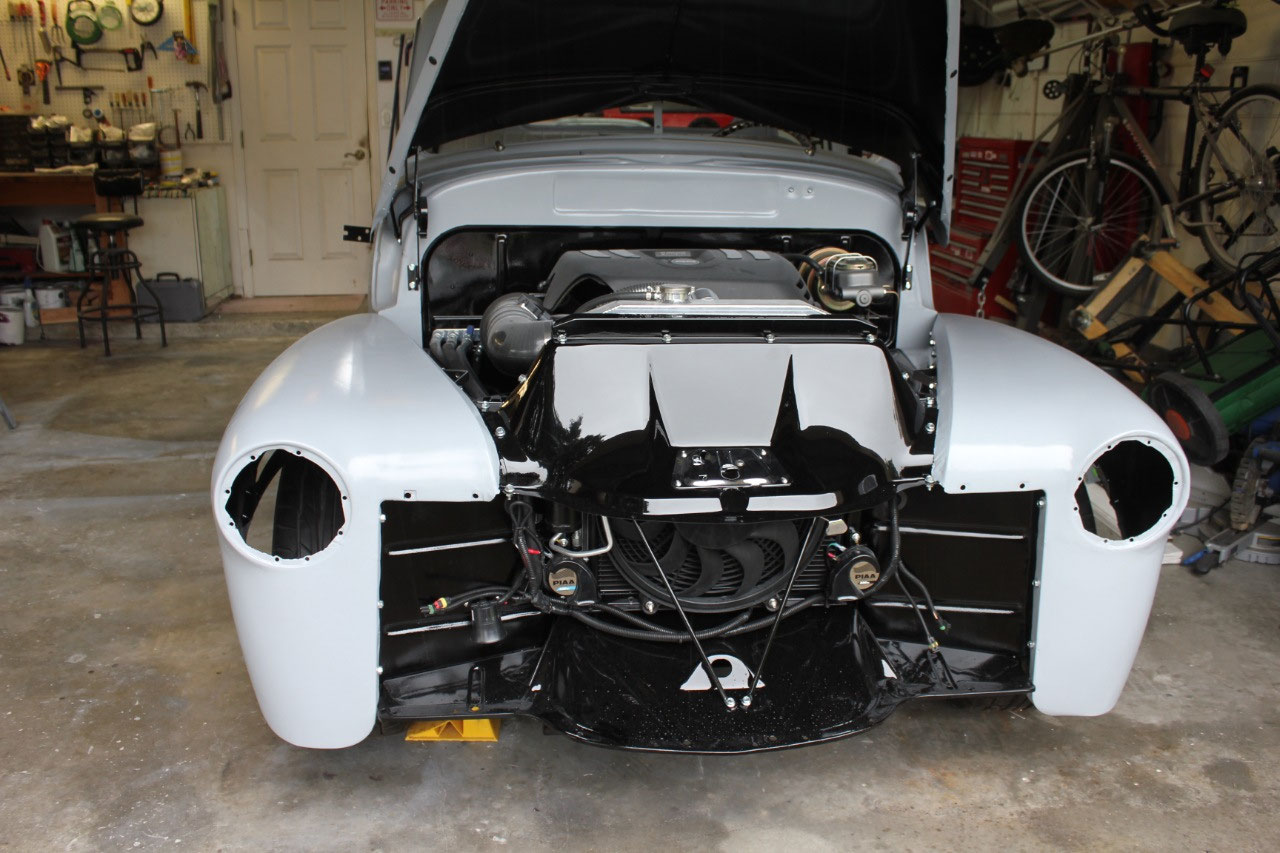
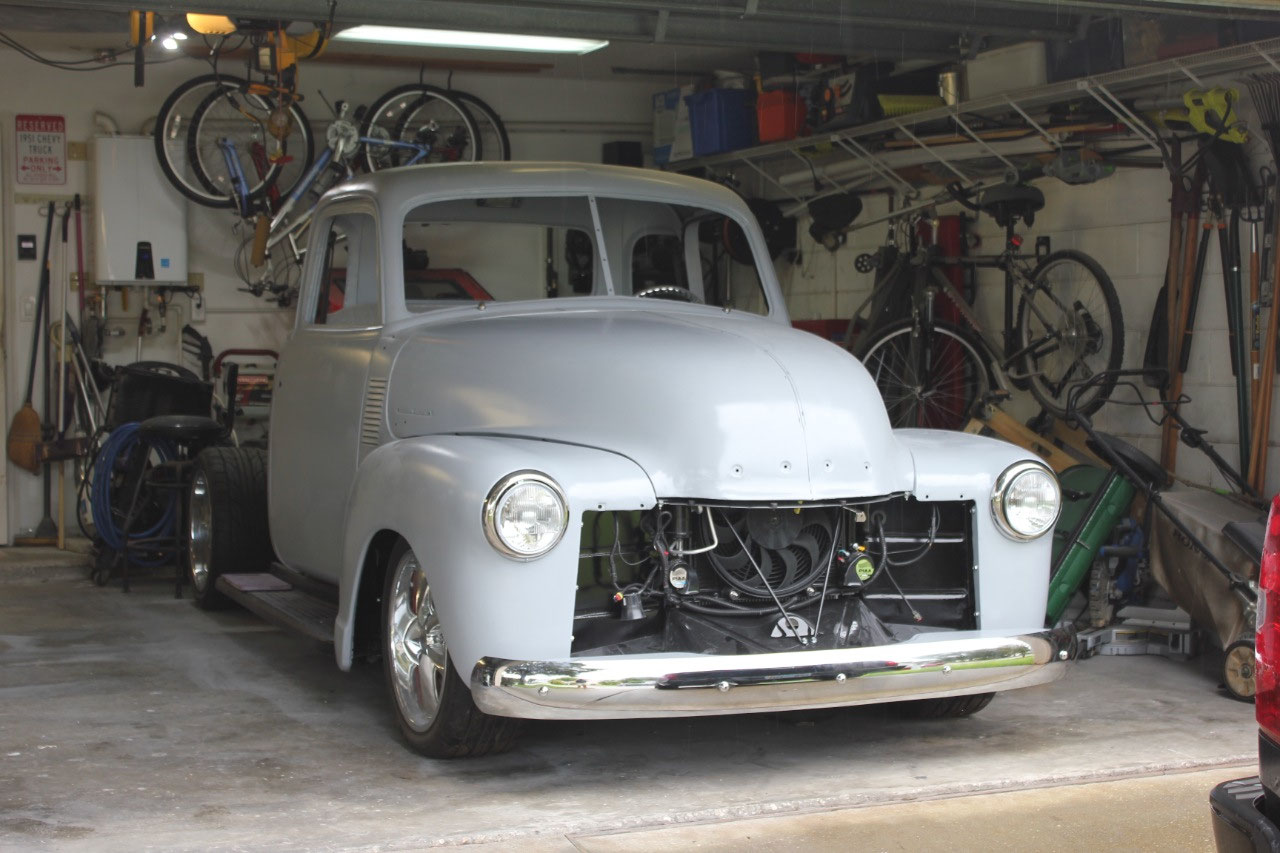
As part of finishing up with the inner front fenders it was
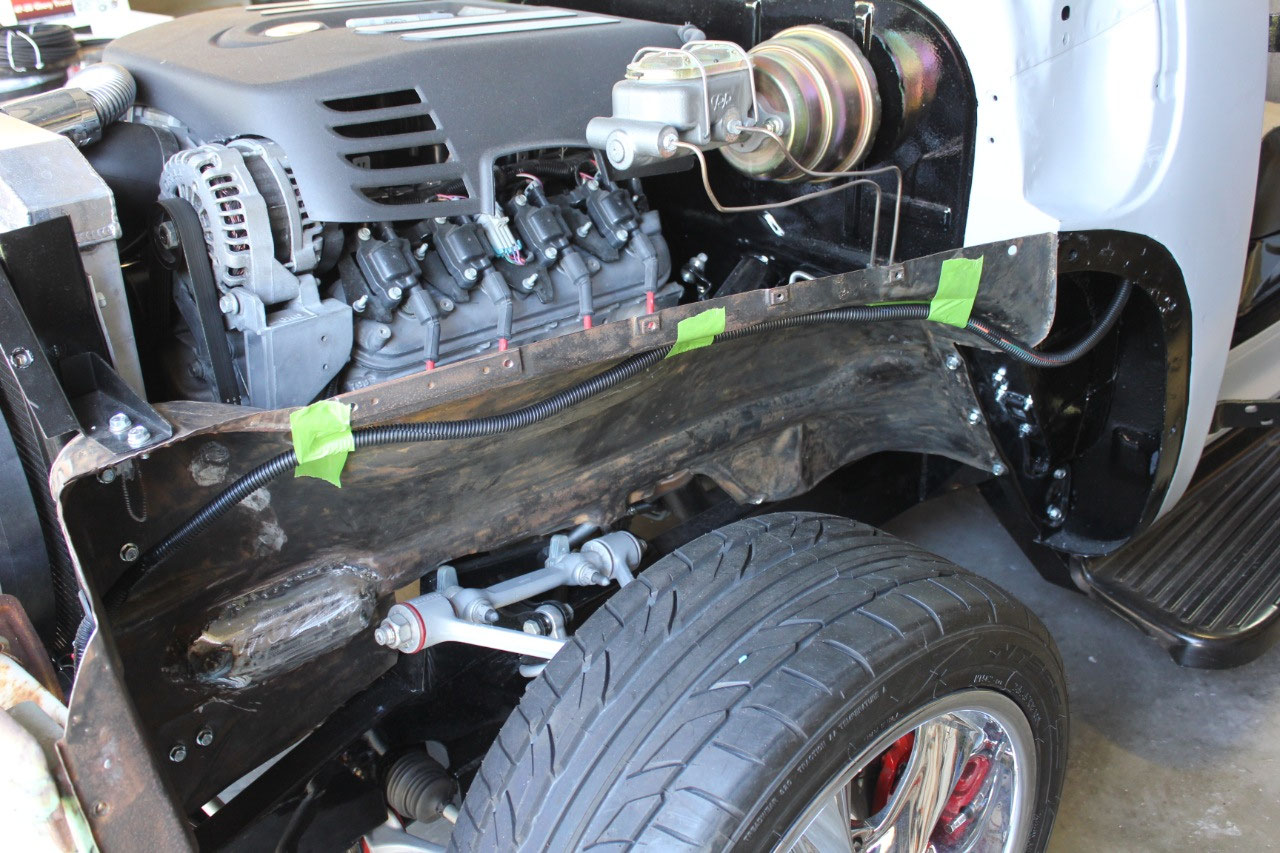
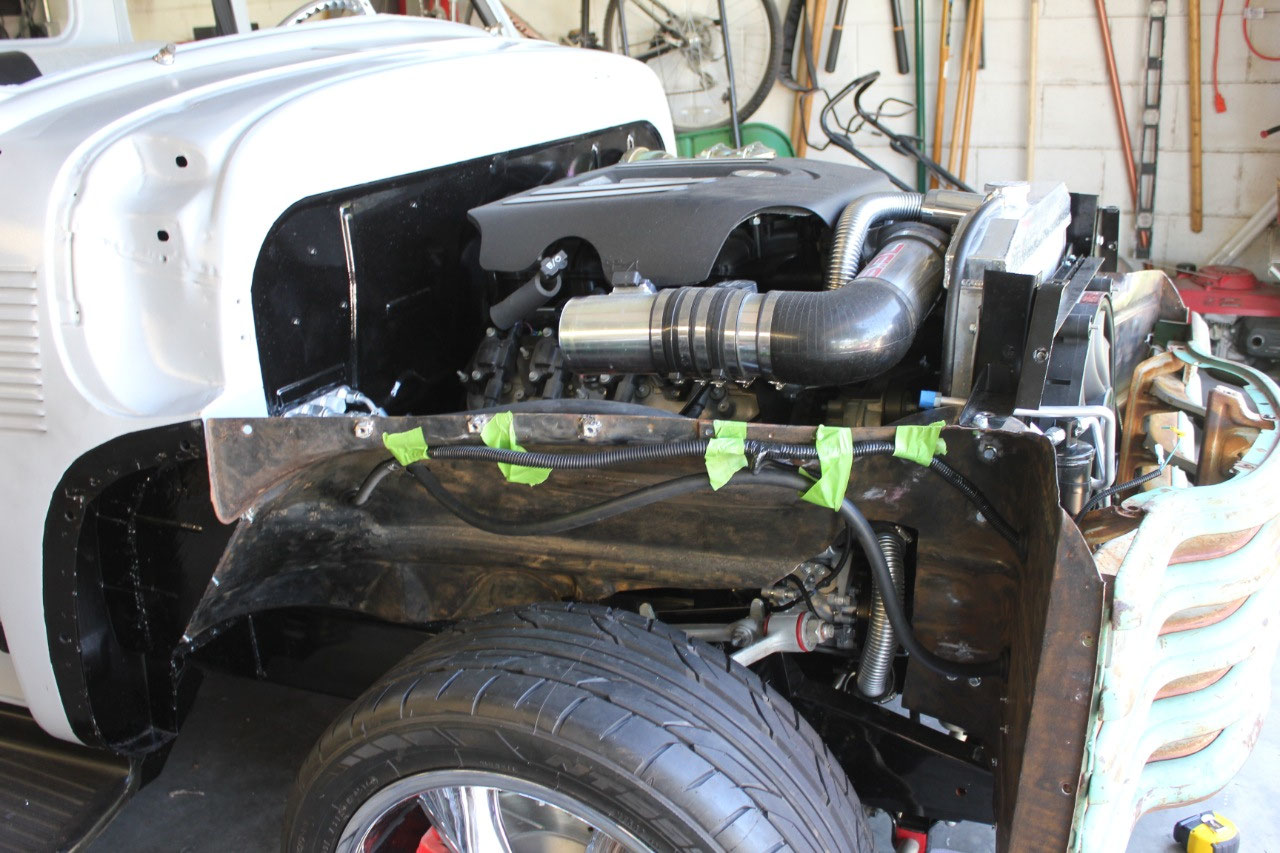
time to tackle the front wiring and A/C hose routing. I didn’t want to see the wiring harness under
the hood so I decided to run the harnesses inside the wheel well at the top of
the inner fender. There is one harness
on each side with the passenger’s side containing the electric fan and A/C
wires and the driver’s side containing the Autowire front harness headlights,
parking lights, and horn. The passenger
harness comes from under the seat, and the driver’s side comes from under the
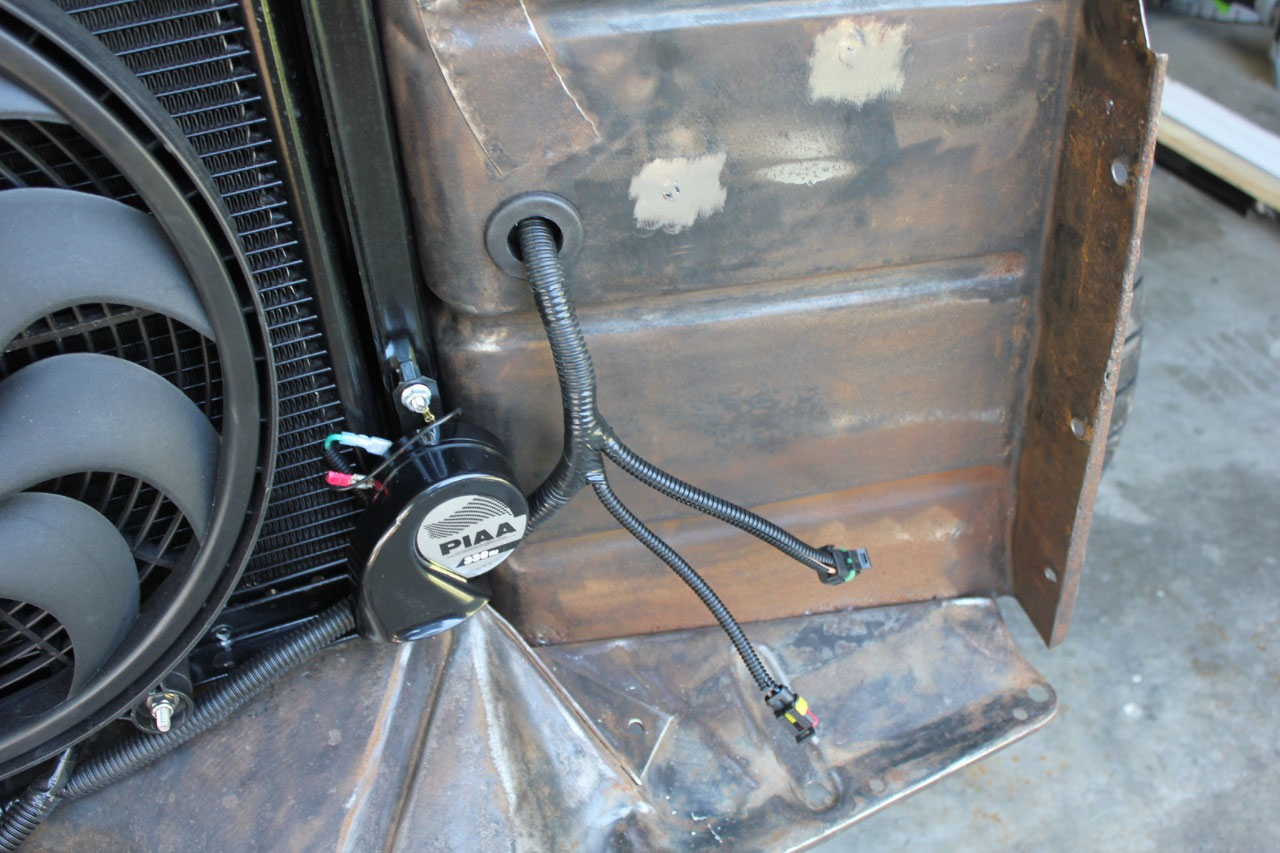
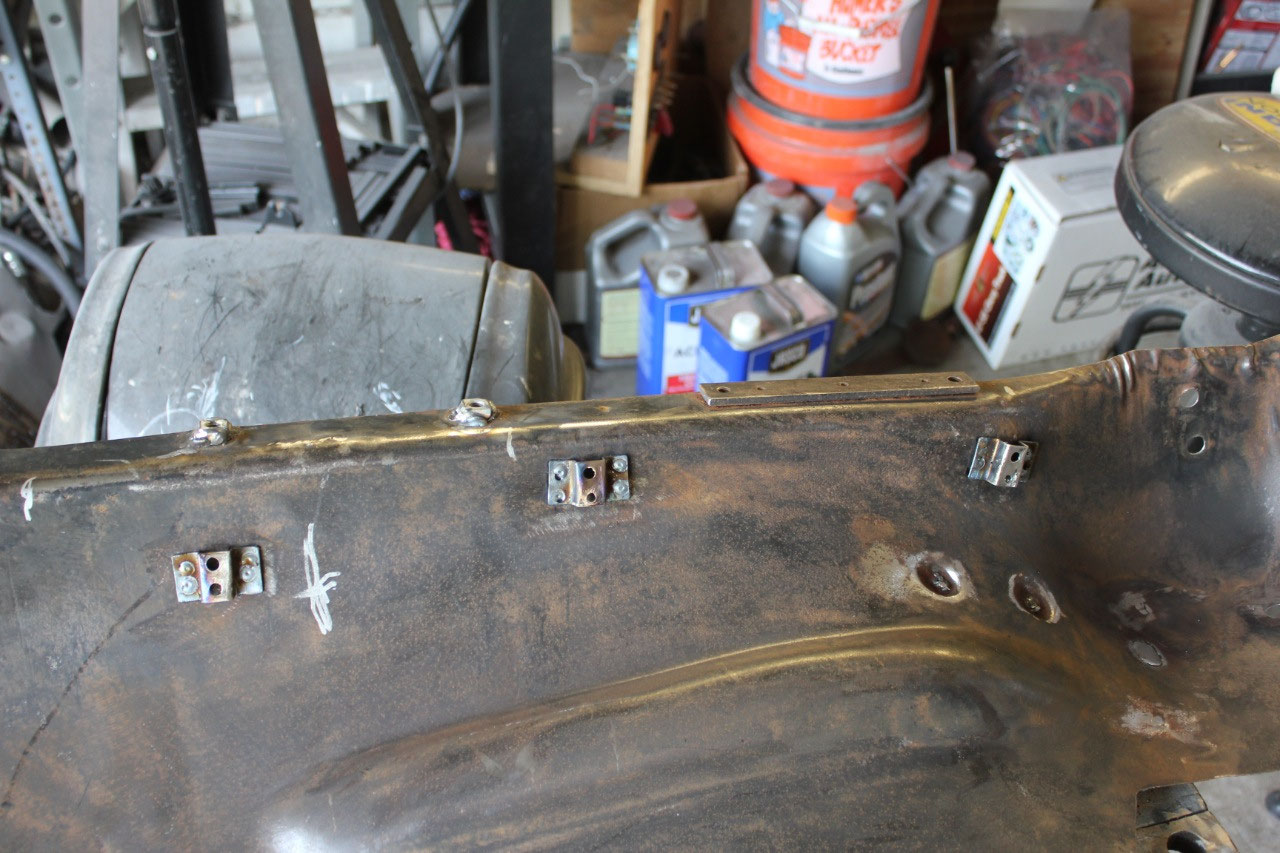
dash and through the kickplate. I wanted
a way to attach them to the inner fender that was rugged but still looked
professional. In the end, I found some
good plastic press in harness clips on Amazon in assorted sizes like used on
modern cars. I just needed to fabricate
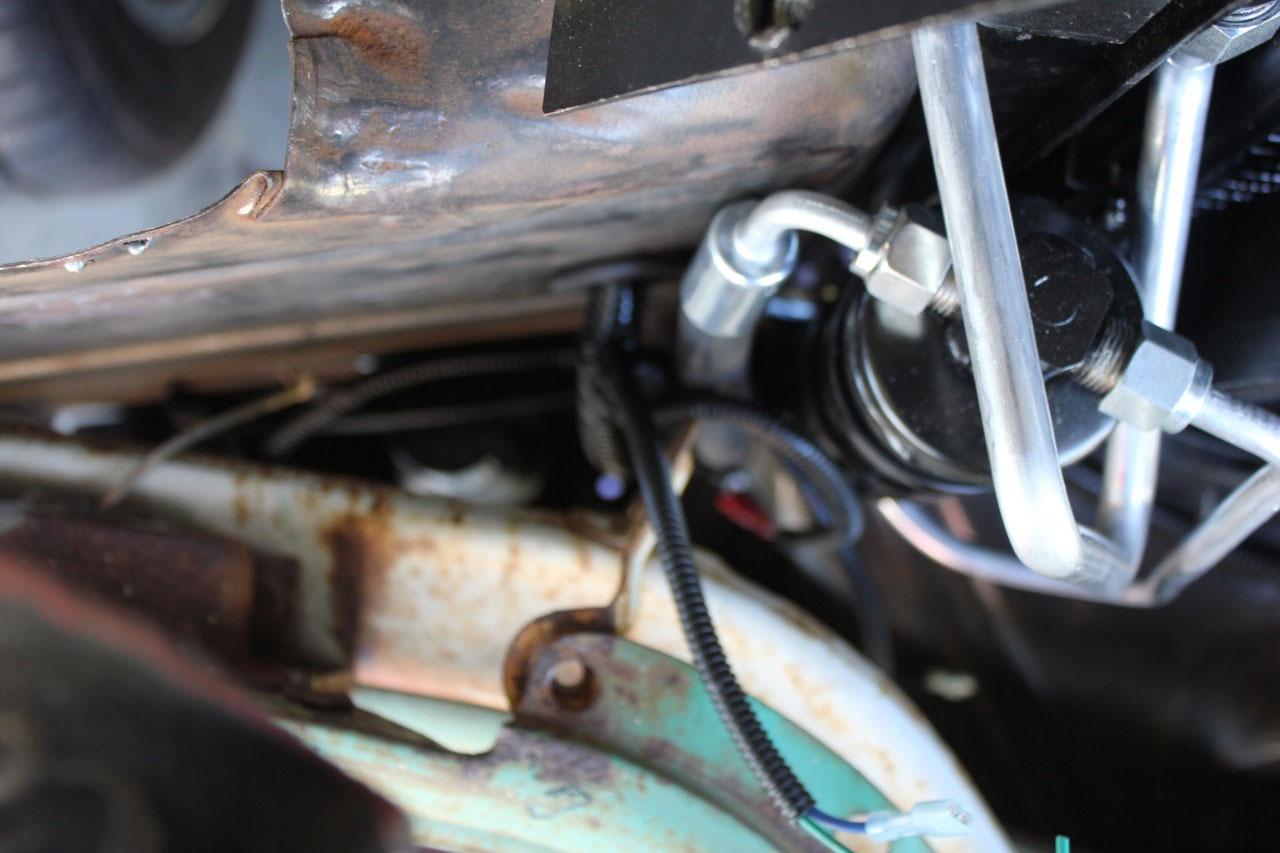
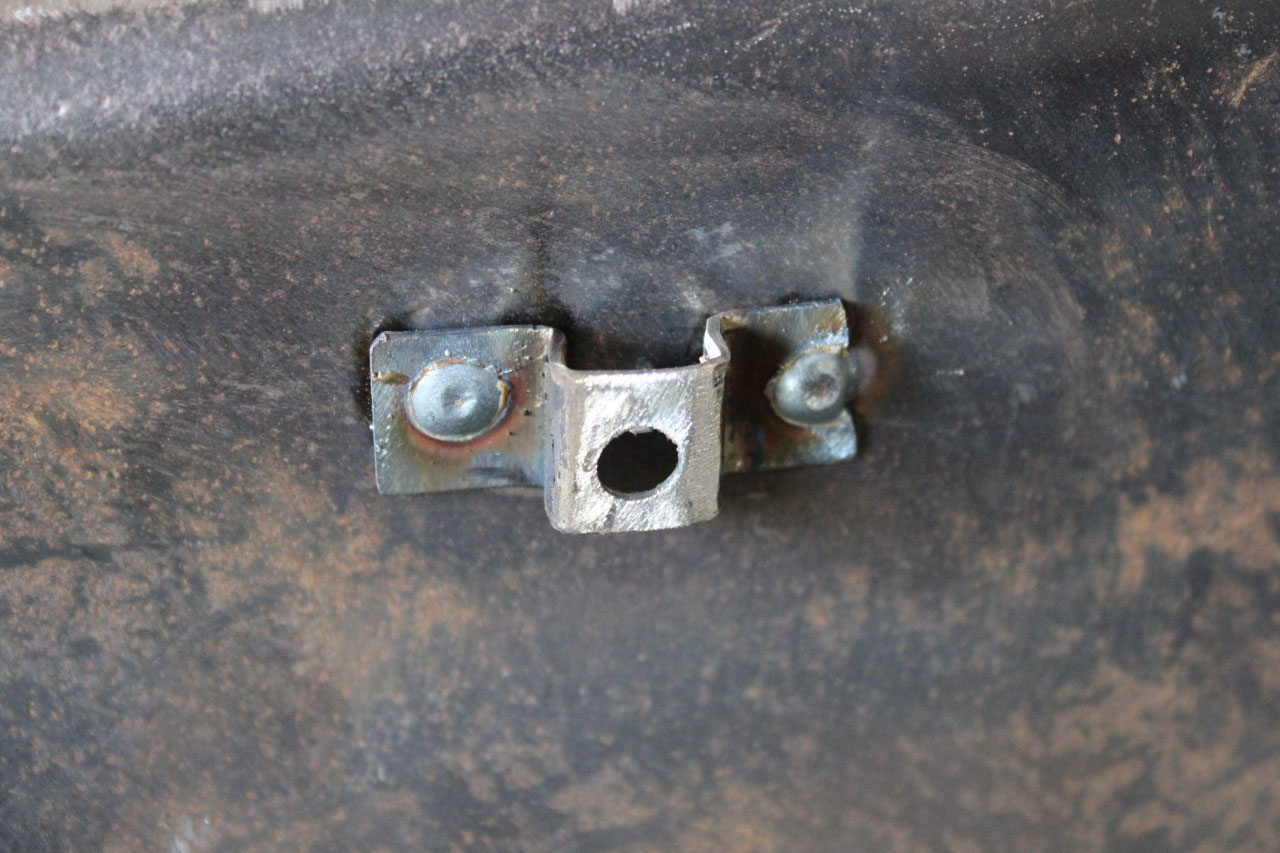
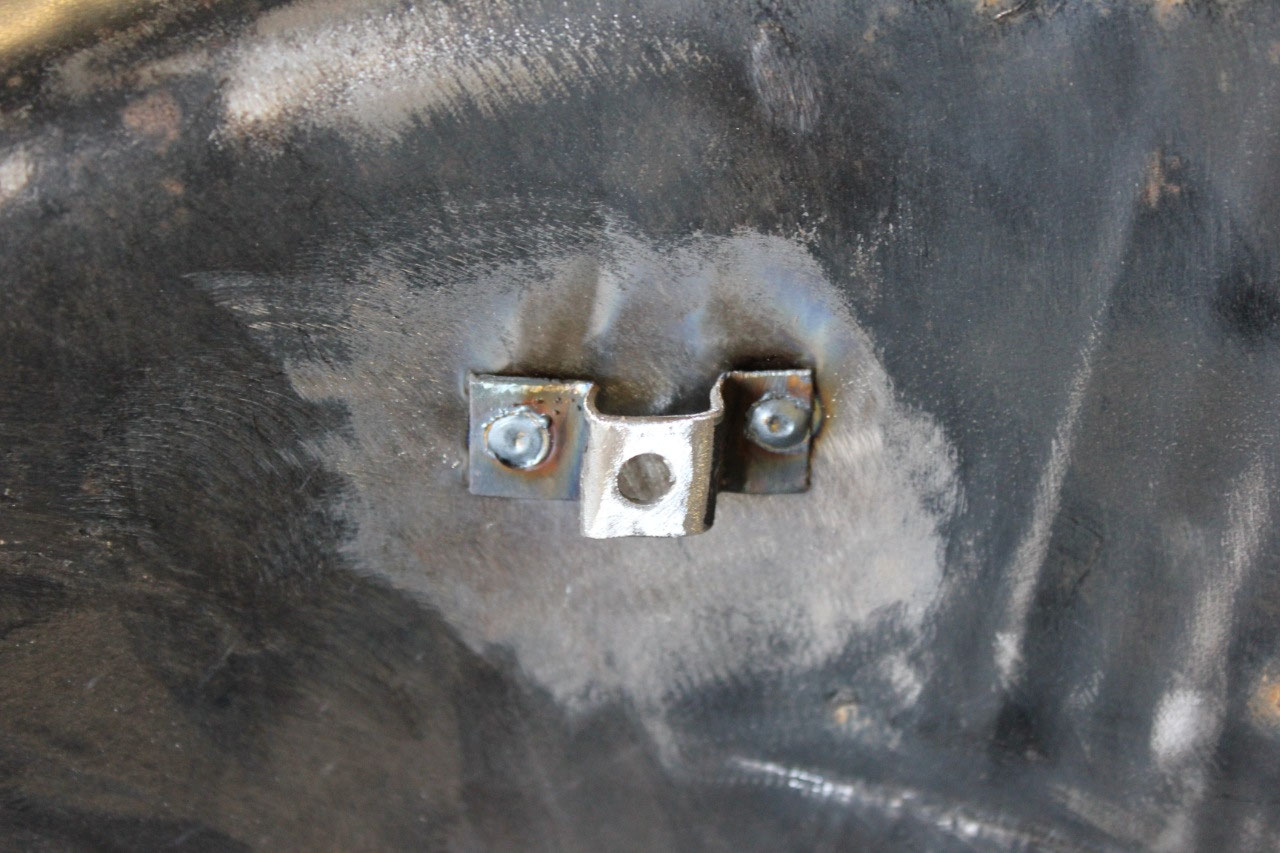
some angle brackets and plug weld them to the inner fender. On the driver’s side there is a singlehole
for the clip, and on the passenger’s side there are 2 holes, one for the clip
and one for the A/C hose.
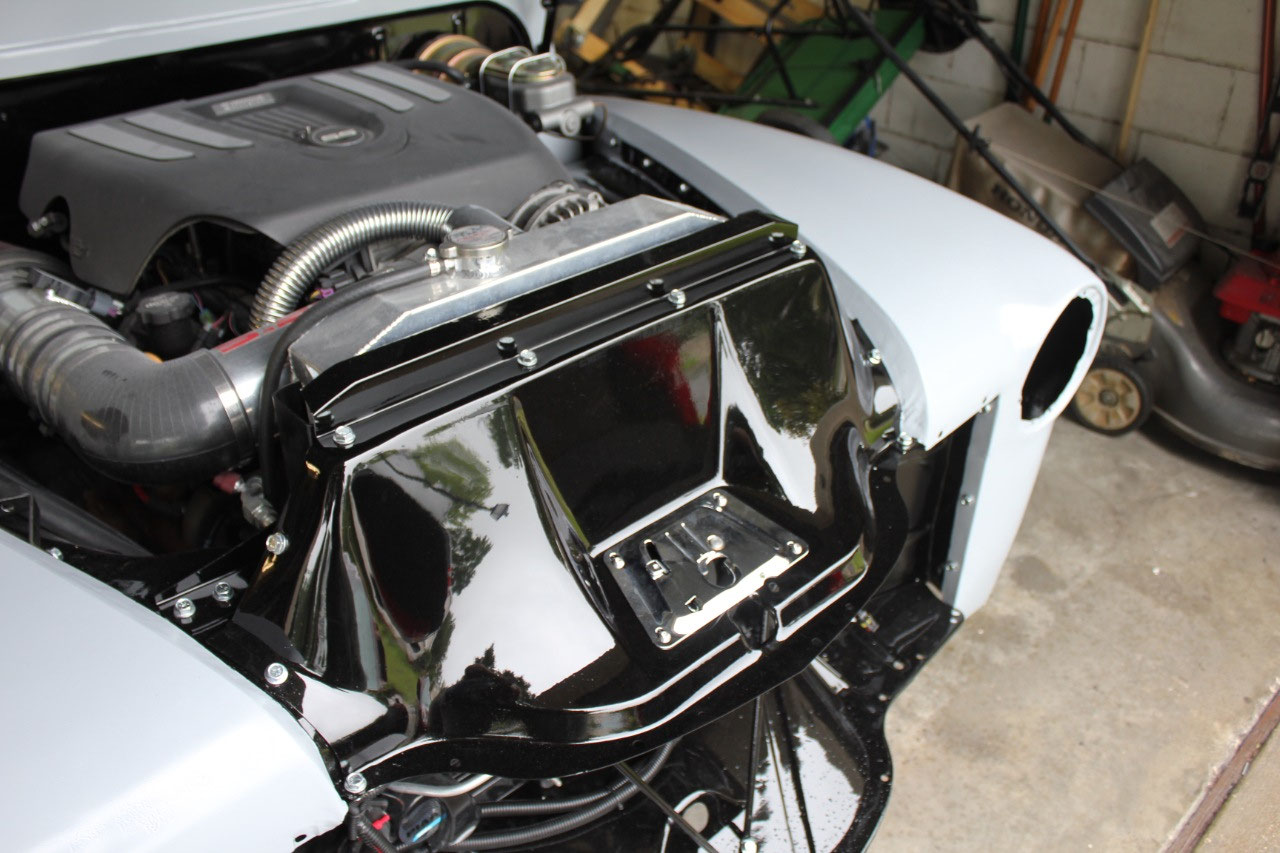
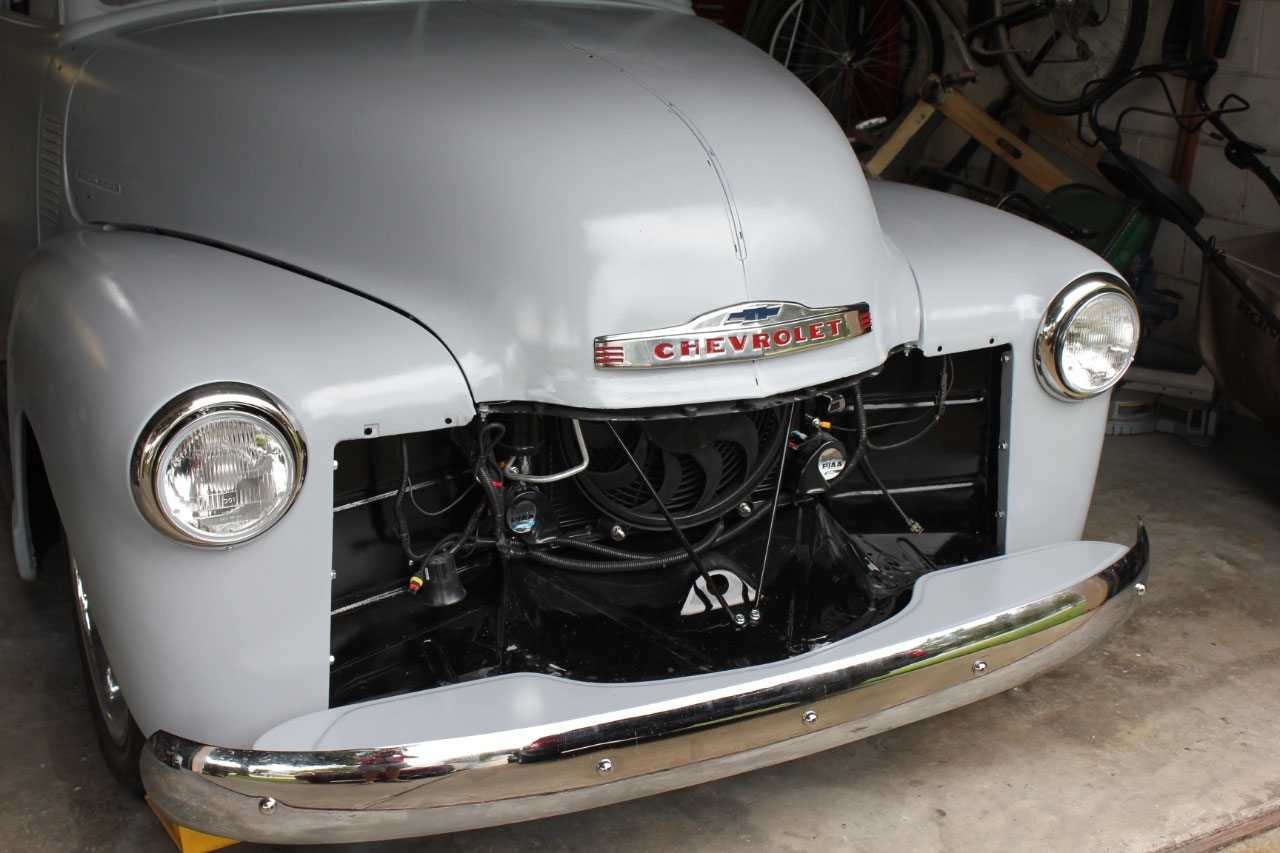
Since the A/C
hose uses the typical aluminum strap clamp, I welded a nut inside the
fabricated angle bracket to make installation easier.
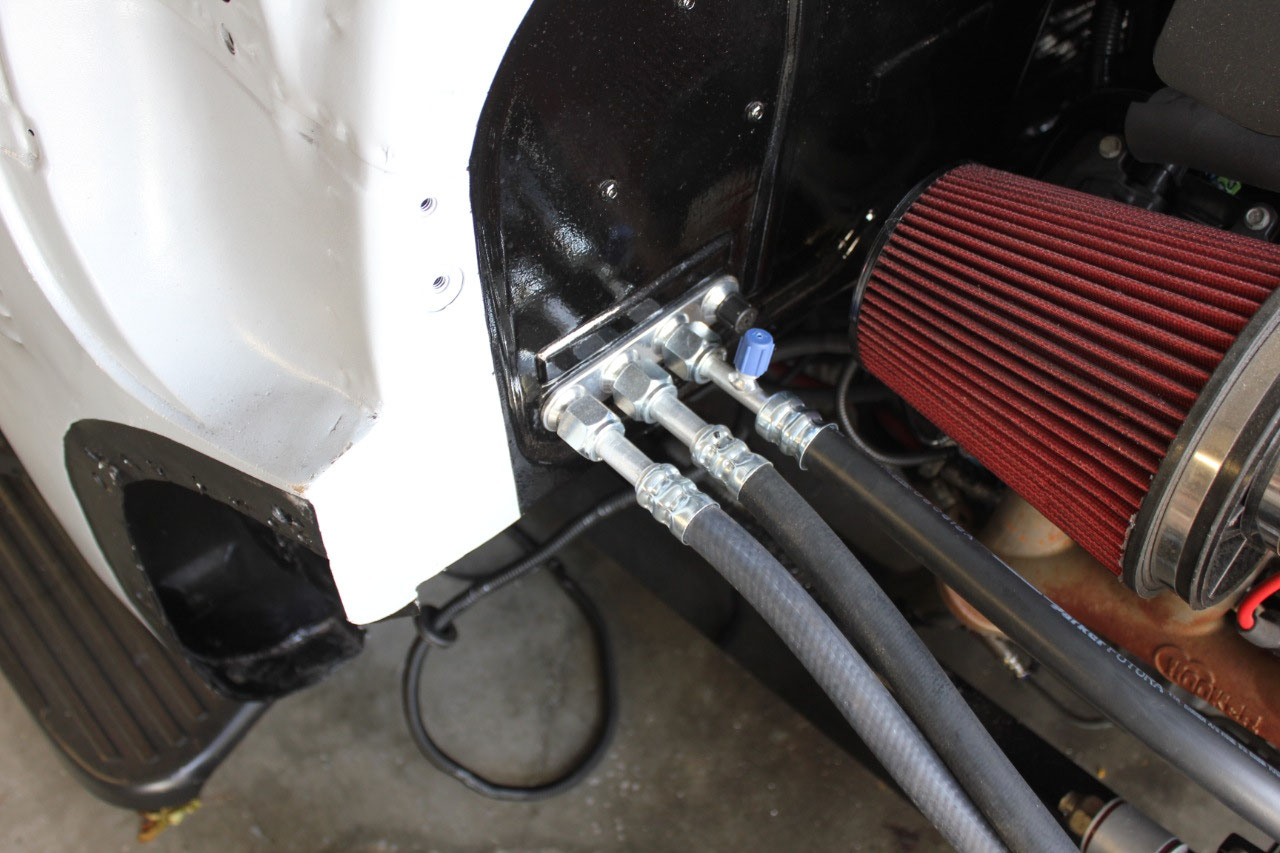
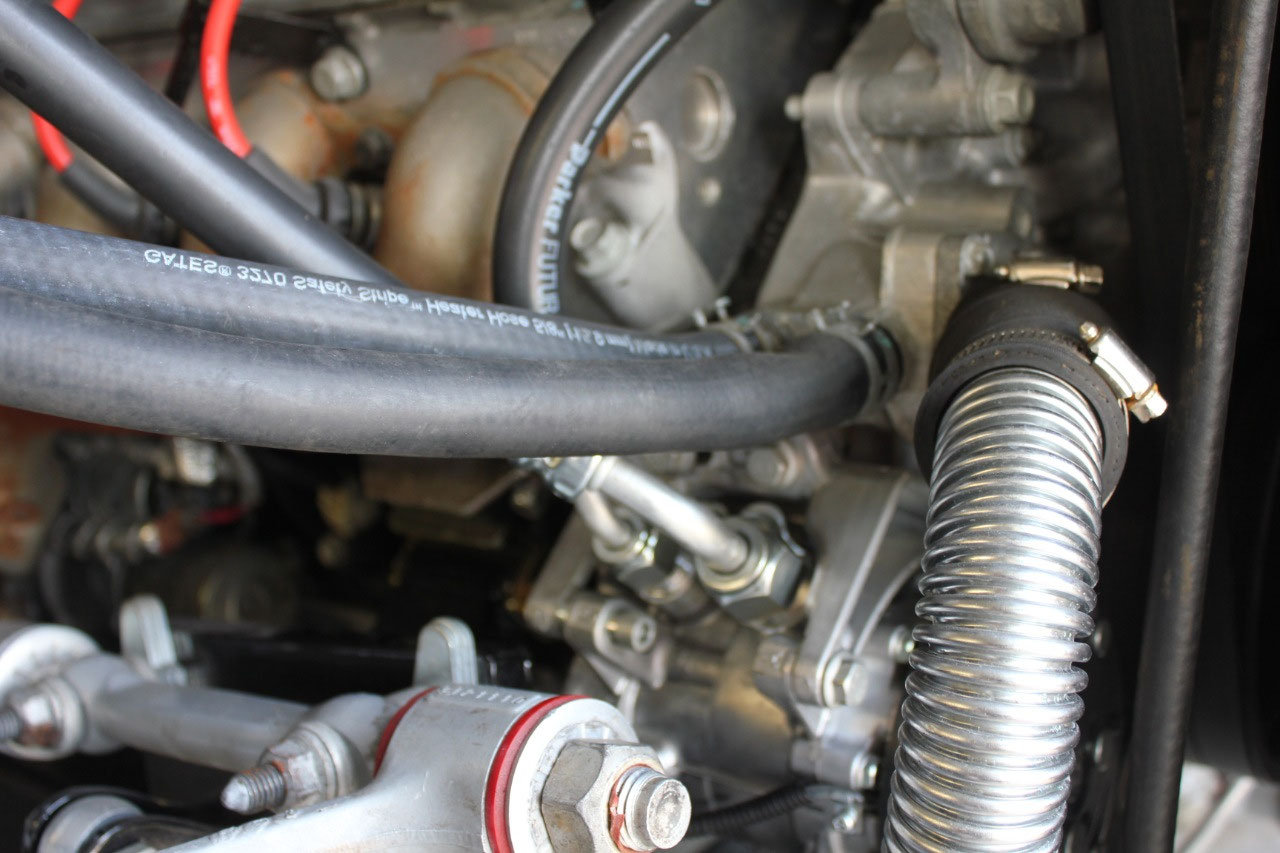
Now it was time to figure out the remaining A/C hoses. Since I reused the Vintage Air hard lines
where I could, there are 3 hoses left to design. One low pressure line from the firewall to
the compressor, one high pressure line from compressor to the dryer, and one
high pressure line from the dryer back to the firewall. I wasn’t sure what fittings to use, and
ordered a couple of extra types from Summit.
All parts were Vintage Air. The
hose is also Vintage Air. I also had to
make accommodations for a high pressure and low pressure test port.
In the end, I used 45 degree fittings at the compressor, a
45 degree high pressure test port at the dryer, a straight low pressure test
port at the firewall, a 45 degree high pressure fitting at the firewall and a
90 degree high pressure fitting at the dryer.
In retrospect, I probably should have put the high pressure test port at
the firewall also, but it will be fine where it is at the dryer coupling.
Now that I have cut all the hoses to the length I needed,
and figured out and marked all the orientations, I headed out to Amazon Hose,
nearby to see if they could do the crimping.
So I put on my Covid mask, and headed over. Their lobby was set up with chairs 6 ft.
apart, and I took my place in line. Some
guy from the shop floor came over and asked what I needed, took my hoses and
parts, and came back with everything crimped just as I needed – no charge! What a great company! I brought them home and they all test fit
perfect.
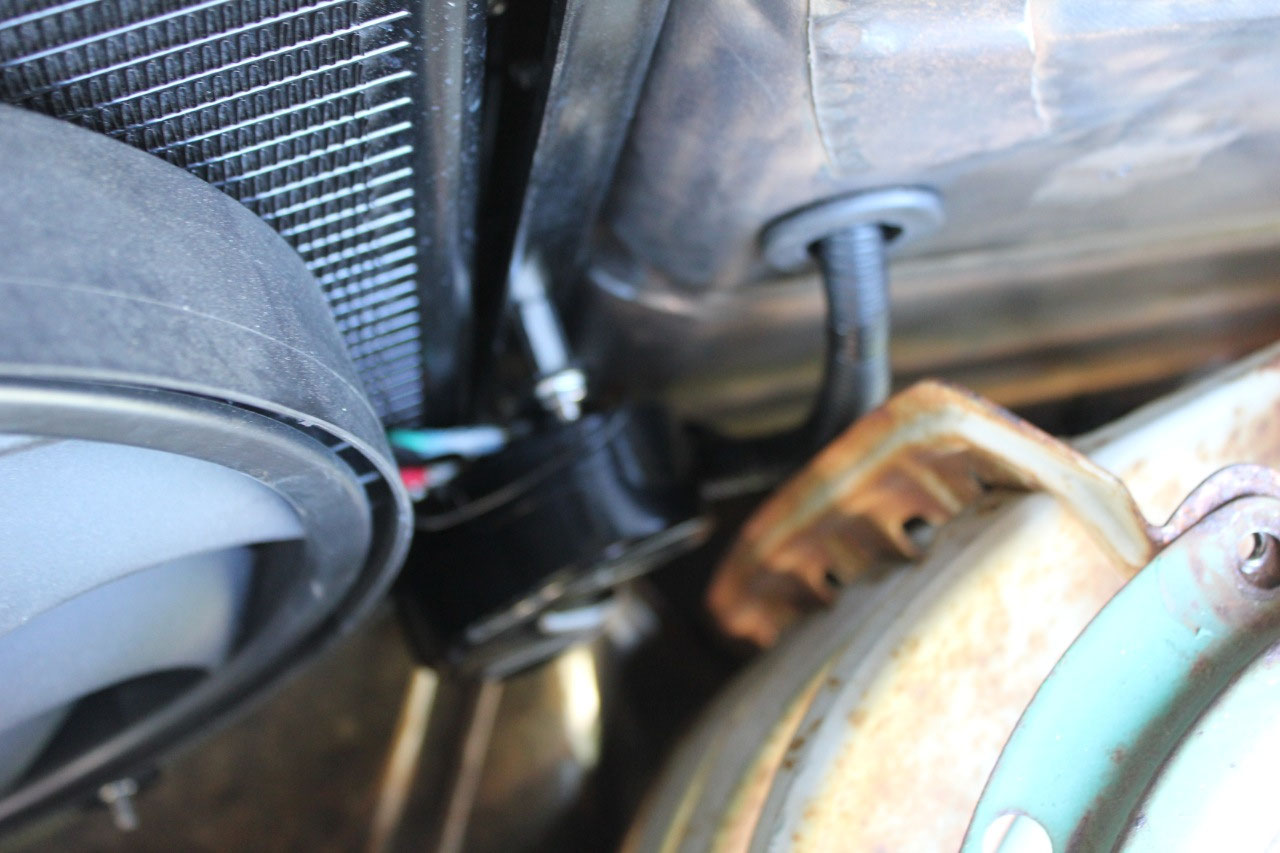
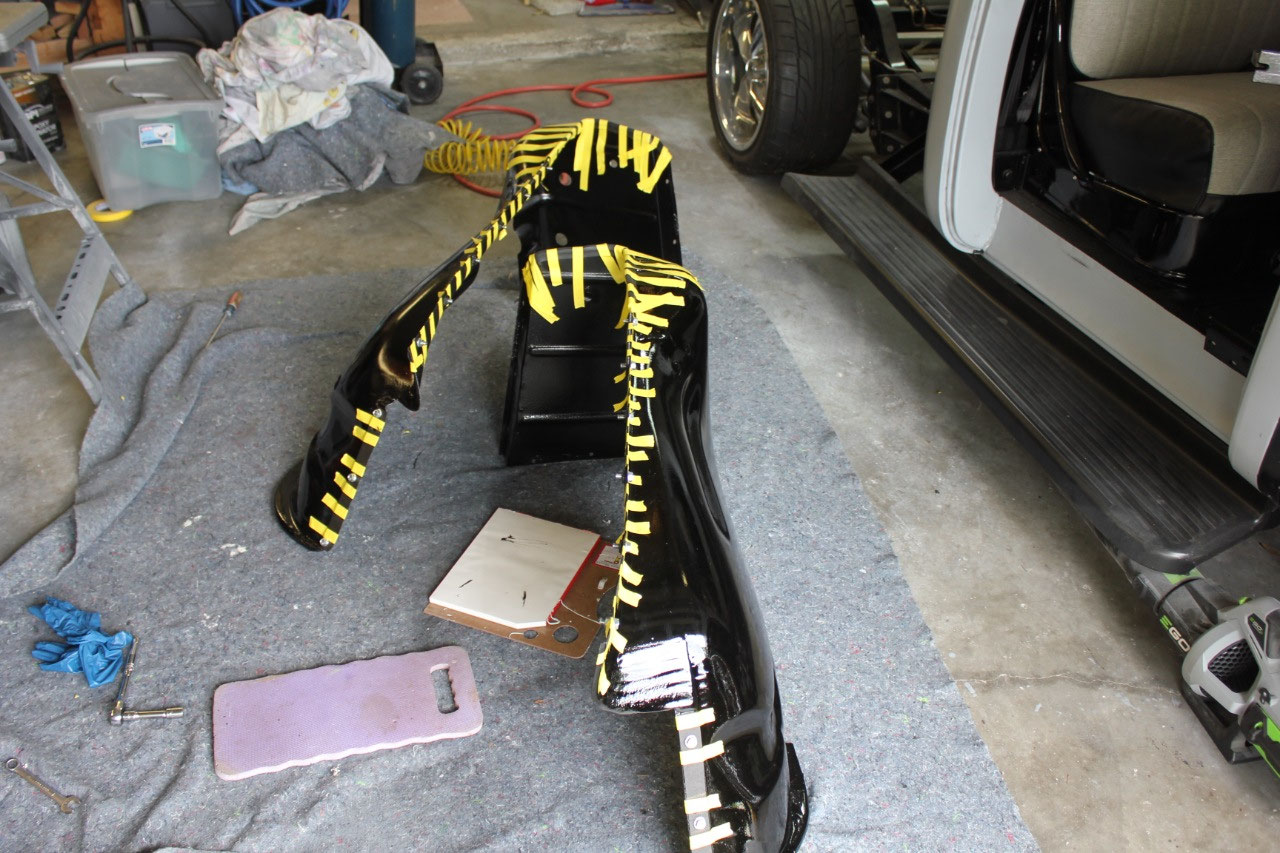
The next project was to finish up the front harness
routing. I needed to come up with some
disconnects for the headlights and parking lights that would allow for the
harness to be disconnected from the front sheet metal. I ended up using some leftover weatherpack
connectors that I had lying around and they worked out great. The Vintage Air kit also included some great
grommets for their hoses (P/N 33137-VUI).
These grommets have a drill size of 1-1/4 inch with a hole size of 5/8
inch, perfect for my harness feed-thru.
When I ordered my Vintage Air hose parts from Summit, I ordered a few
extra of these grommets. So I finished
up the harness, cleaned up my breakouts, and I am now ready for disassembly
again for sandblast and paint.
My original play was to go back to Blast-Off, the company
who had media blasted the cab and doors and have the front fenders, inner
fenders, and aprons blasted. Unfortunately,
they have since gone out of business, and I couldn’t find a local media blast
company. So I ended up at a local
dustless sandblasting company (with the clever name of Dustless Blasting of
Orlando located in Bithlo) and they actually did a great job! After looking closer at the upper radiator
apron after sandblasting, I just decided the rust was too bad to bother fixing,
and just ordered a new one. They are
available in either painted or chrome, but I decided the chrome was just too
much chrome and that painted black would look better.
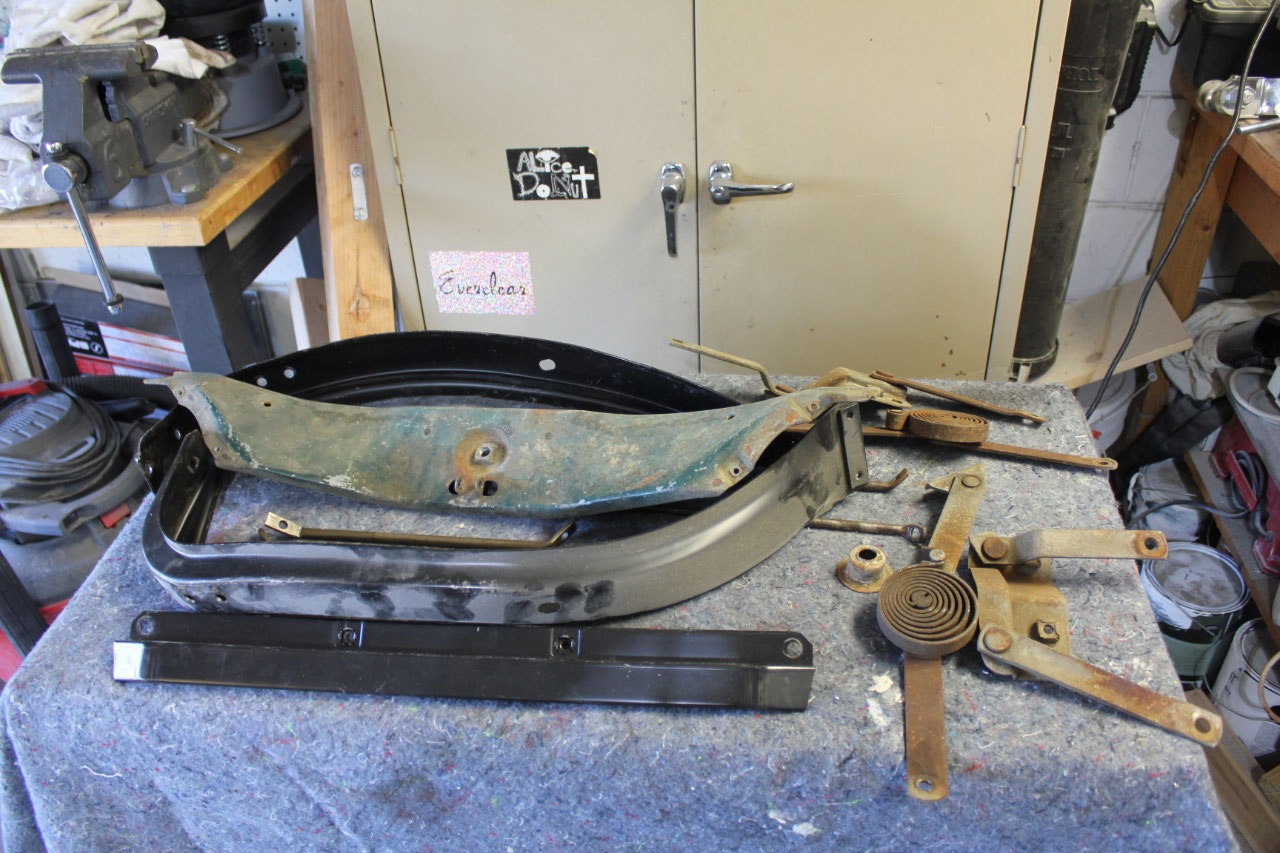
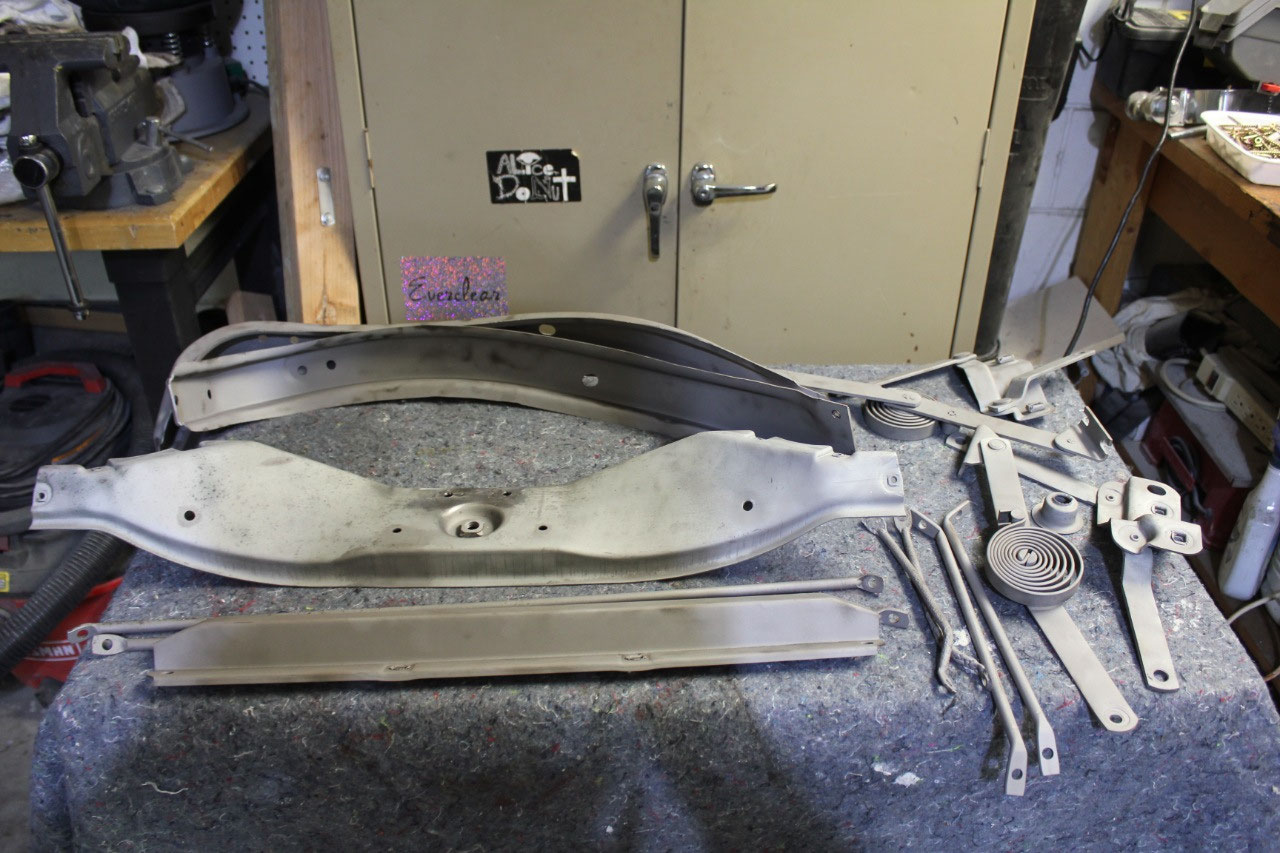
While the large parts were out being blasted, I went ahead
and blasted all the smaller parts in my own sandblast cabinet.
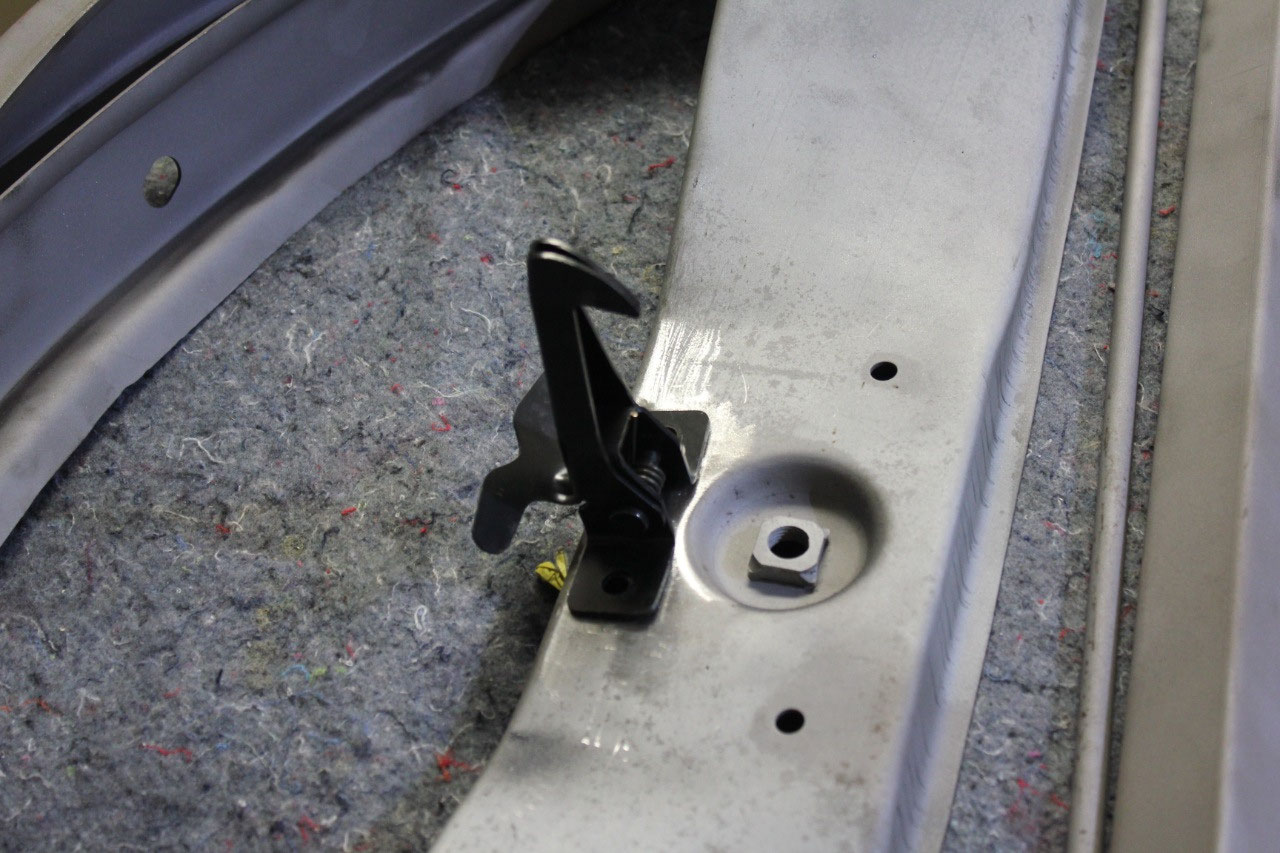
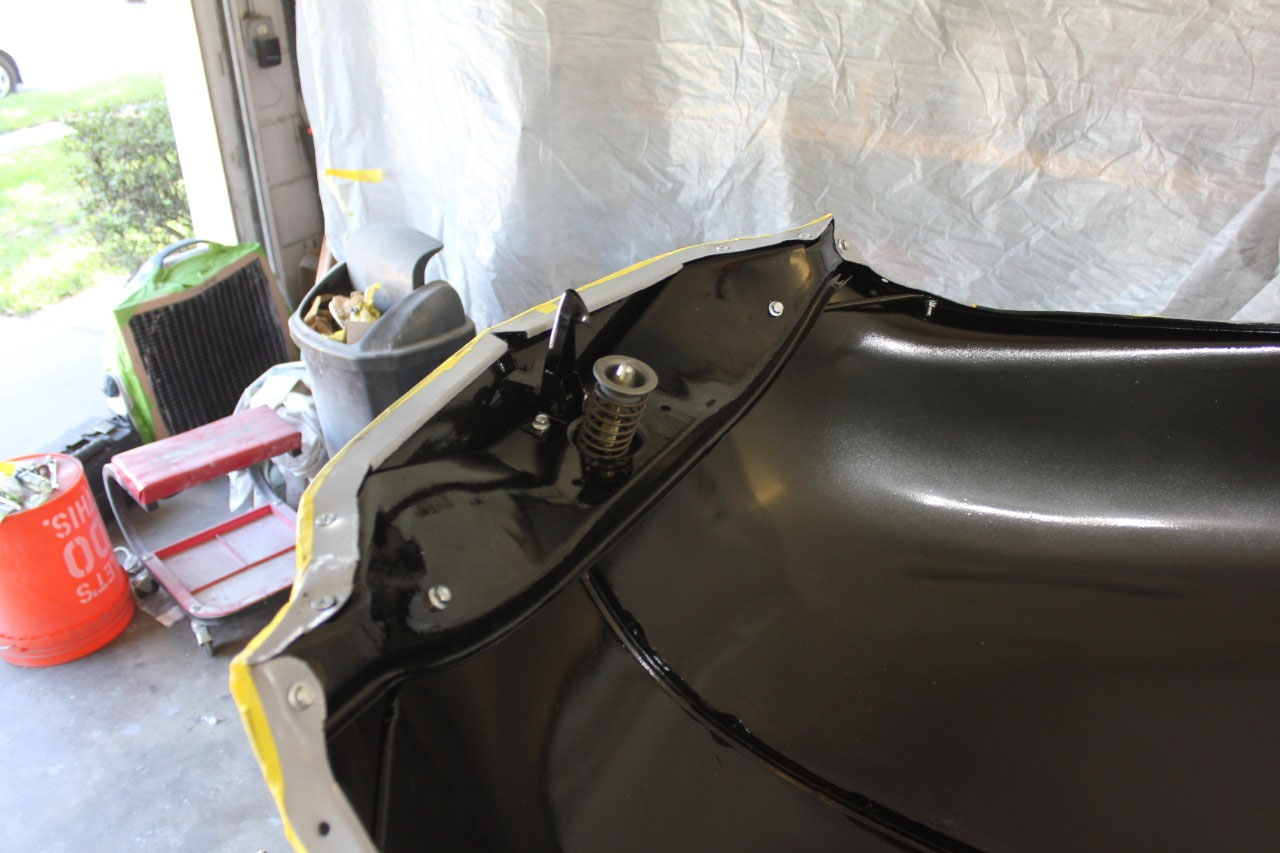
They all came out good. The only odd thing was the hood safety
latch. The original hood safety latch
was mostly rusted away, so I ordered a replacement. The replacement latch looks similar, but
mounts completely different than the original.
Where the original latch pivots on bent up tabs on the hood cross brace,
the replacement evidently comes from a later year truck and bolts on place with
2 bolts. So I folded over the tabs on
the hood cross brace, welded everything up.
Then I just drilled new mounting holes, I’m not sure why the actual part
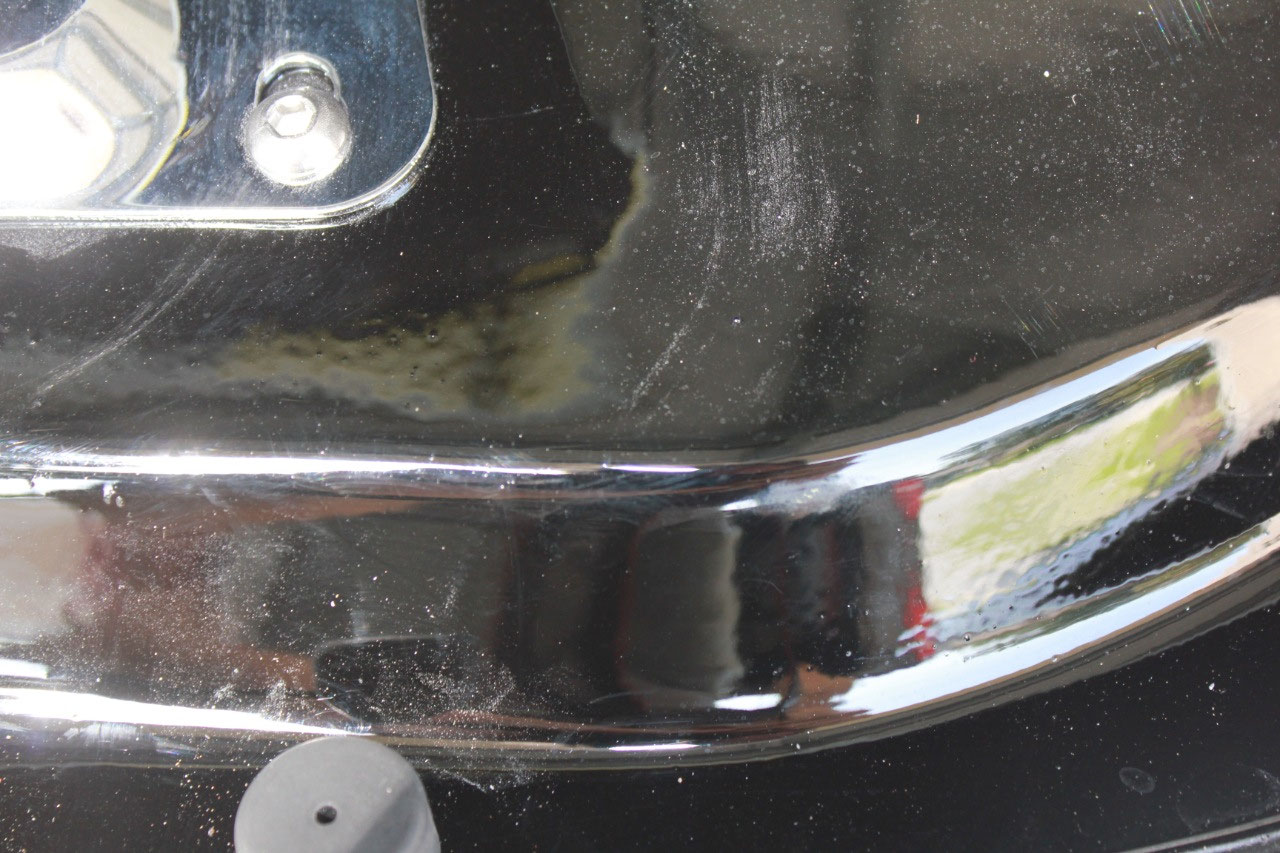
is not available but the replacement worked just fine. I also looked closer at my front bumper
brackets as I was getting ready to sandblast them and realized they were a
little bent (not surprising), so I ordered new bumper brackets and a new bumper
apron.
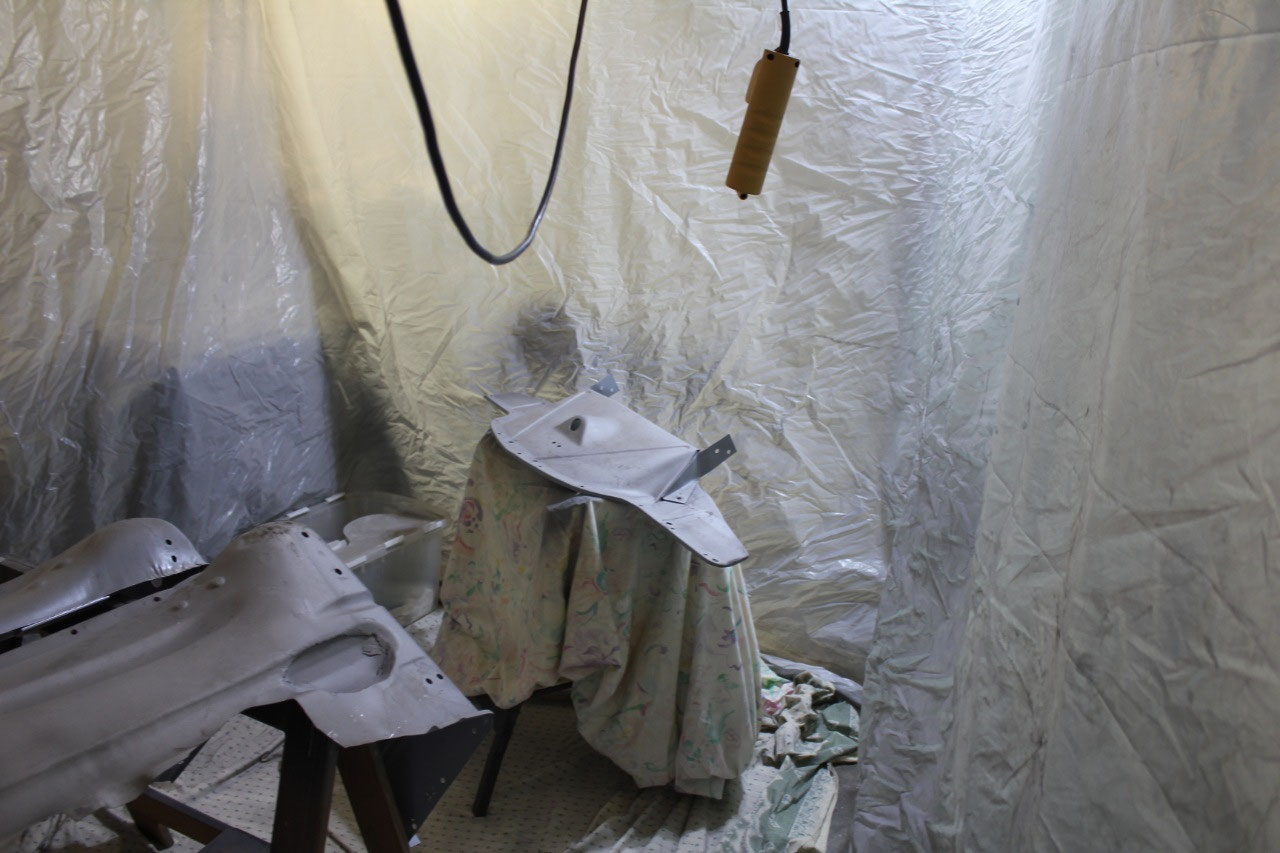
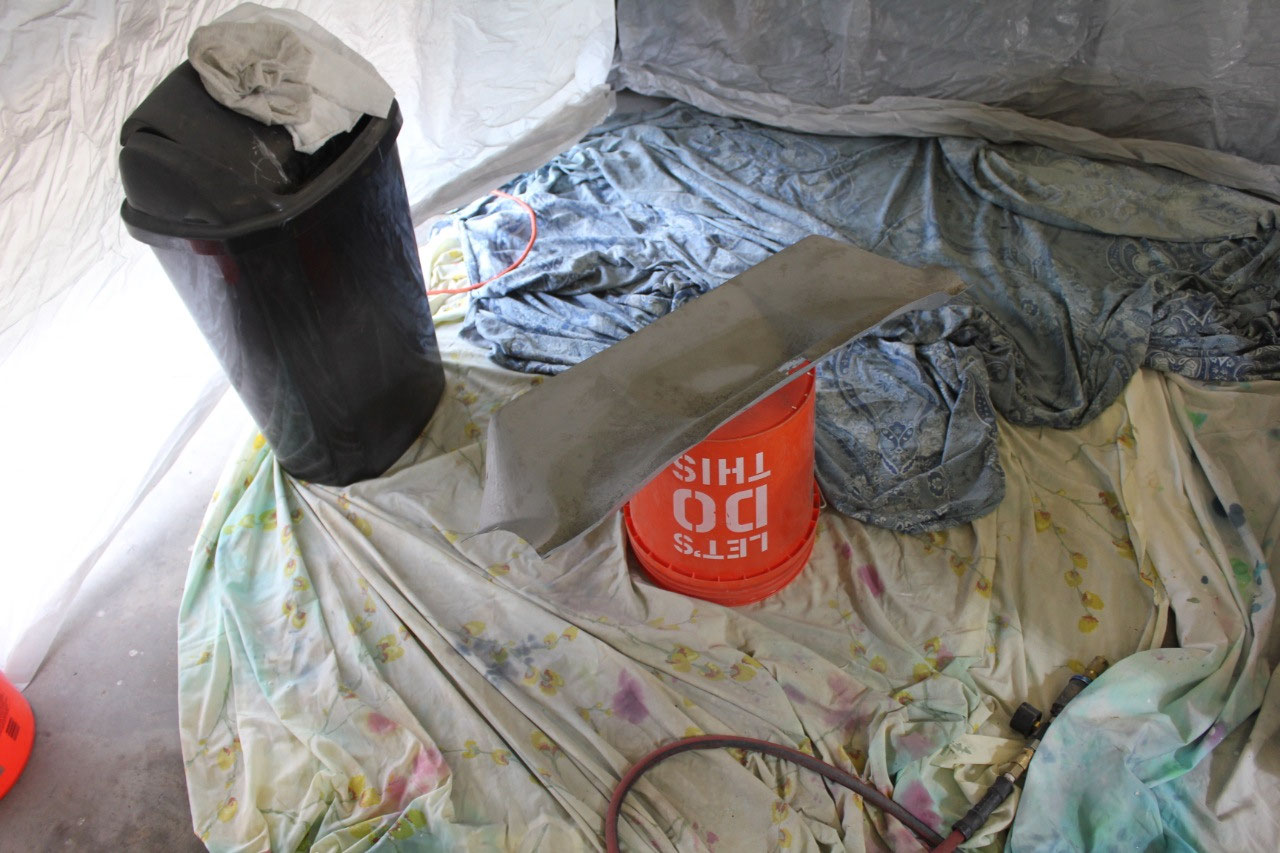
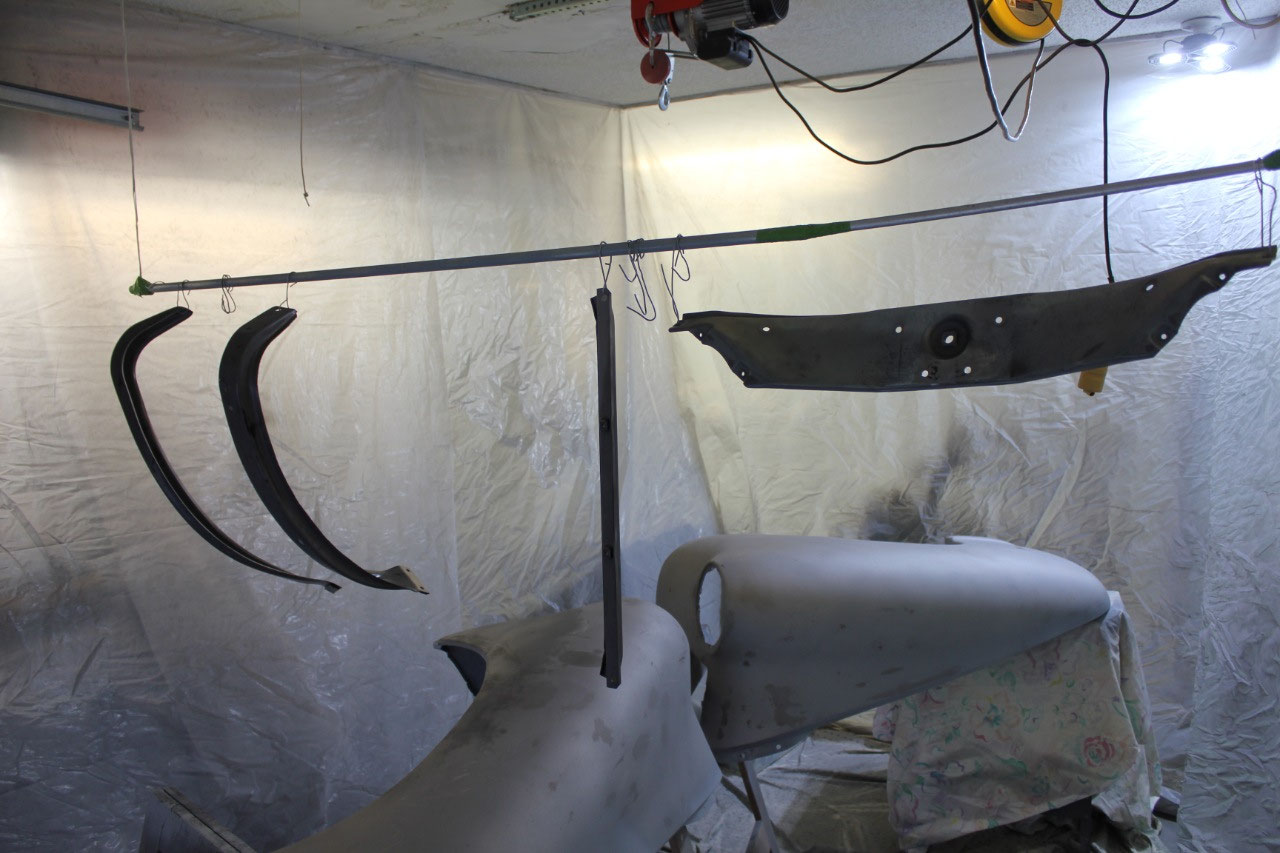
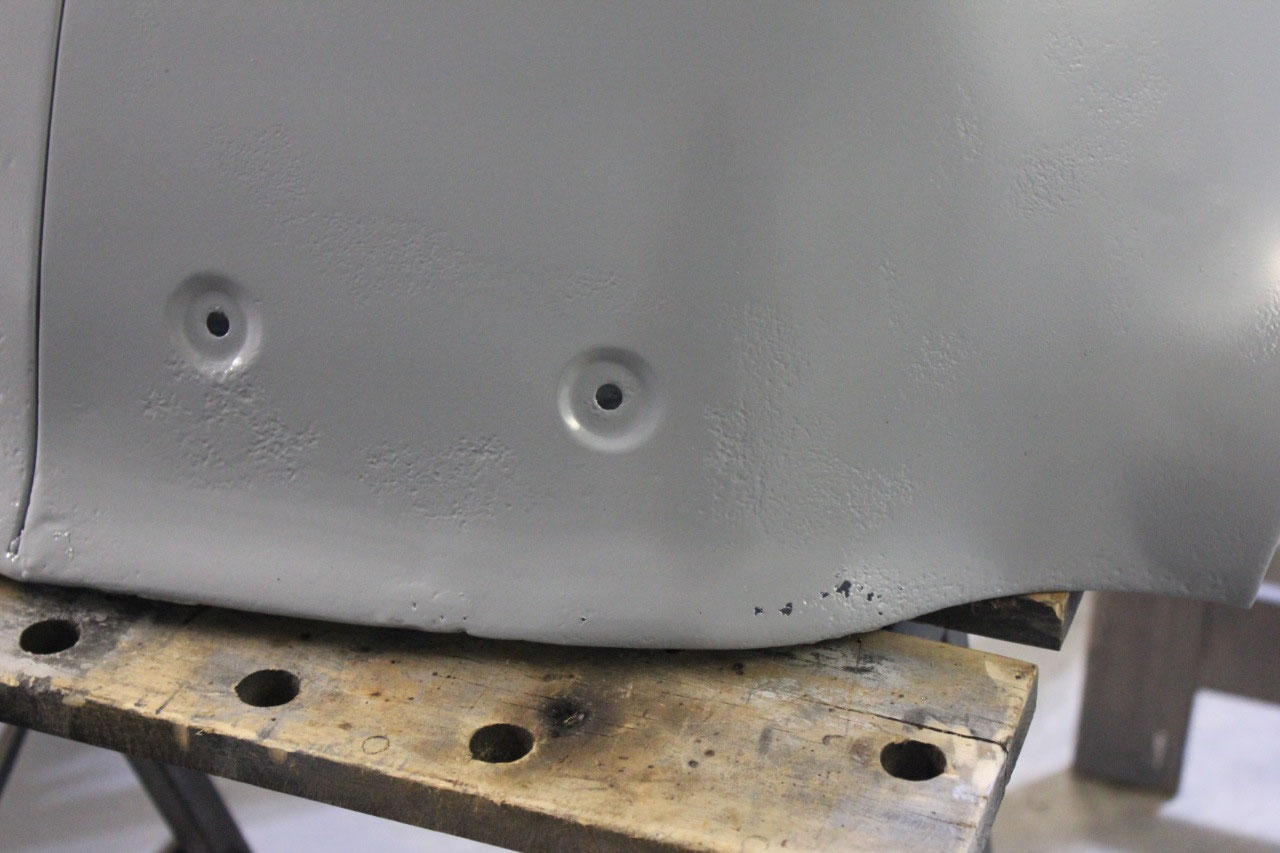
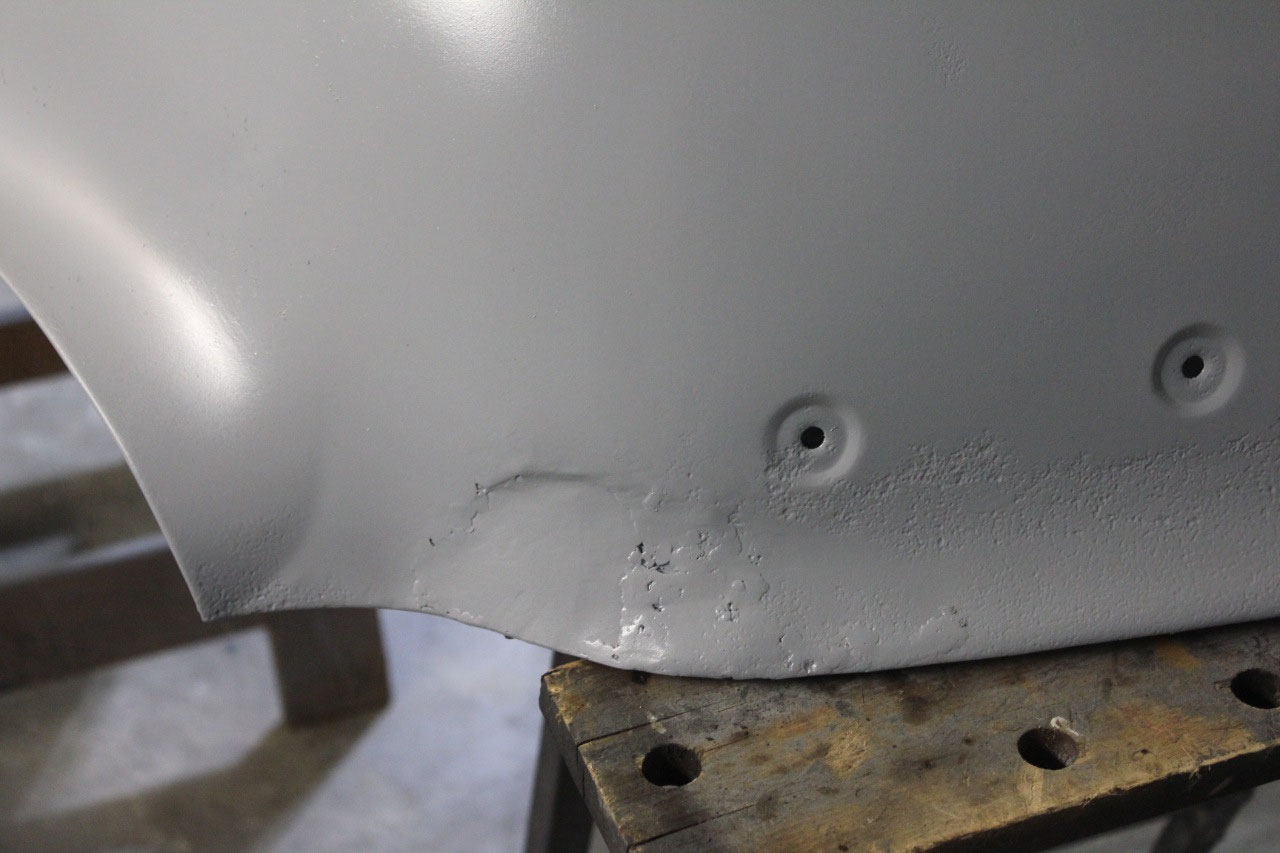
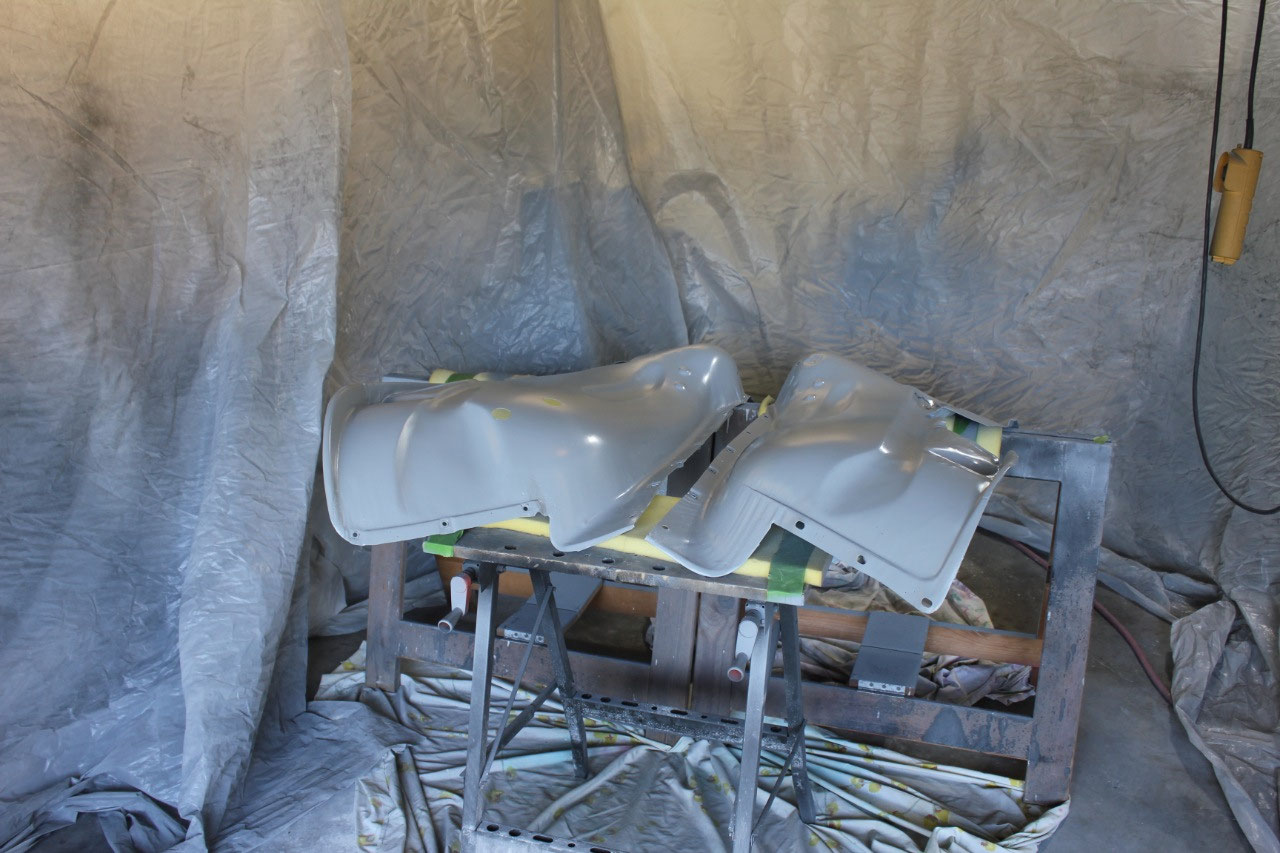
Next came the typical boring part of primer and paint, so
down came the visqueen, and I fired up the compressor. Everything was taken down to bare metal and
epoxy primered with Southern Polyurethane Epoxy-Gray Primer.
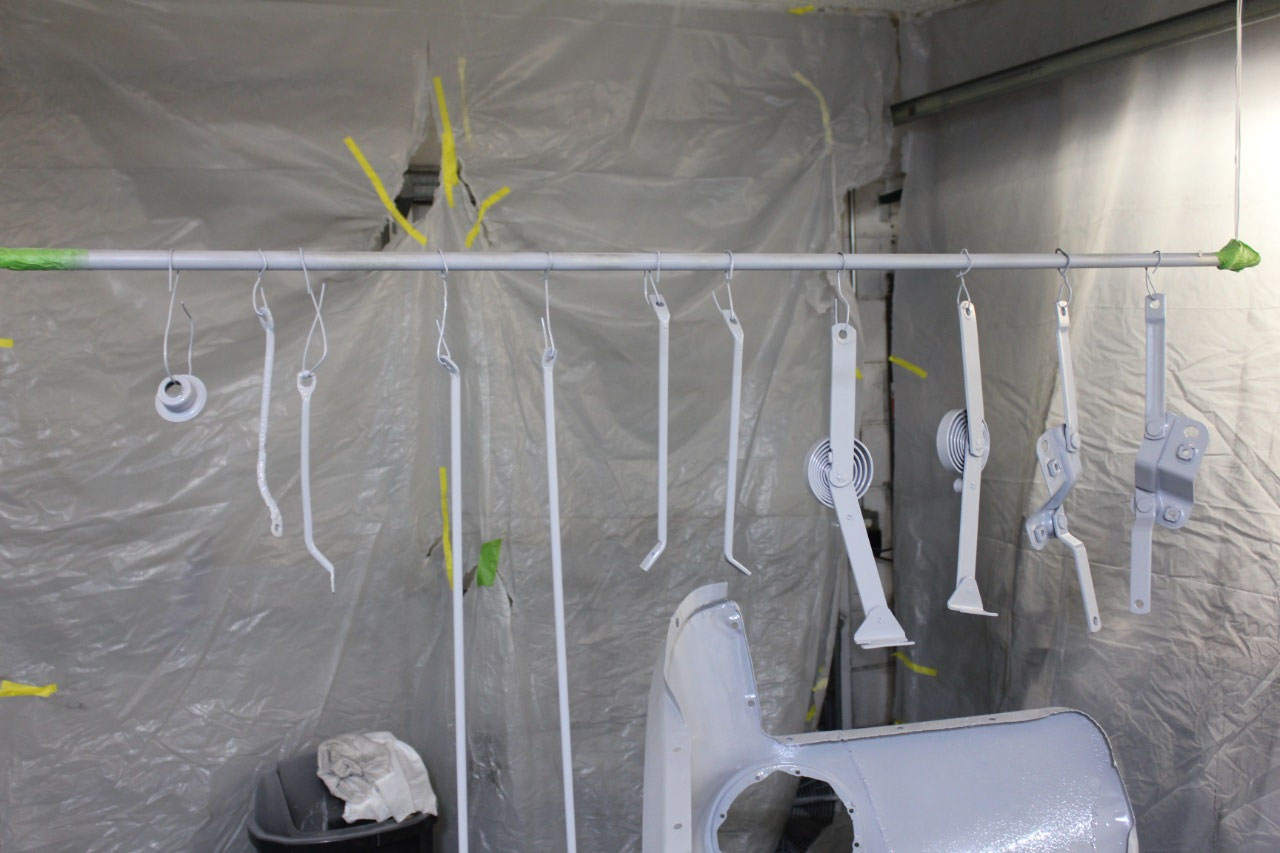
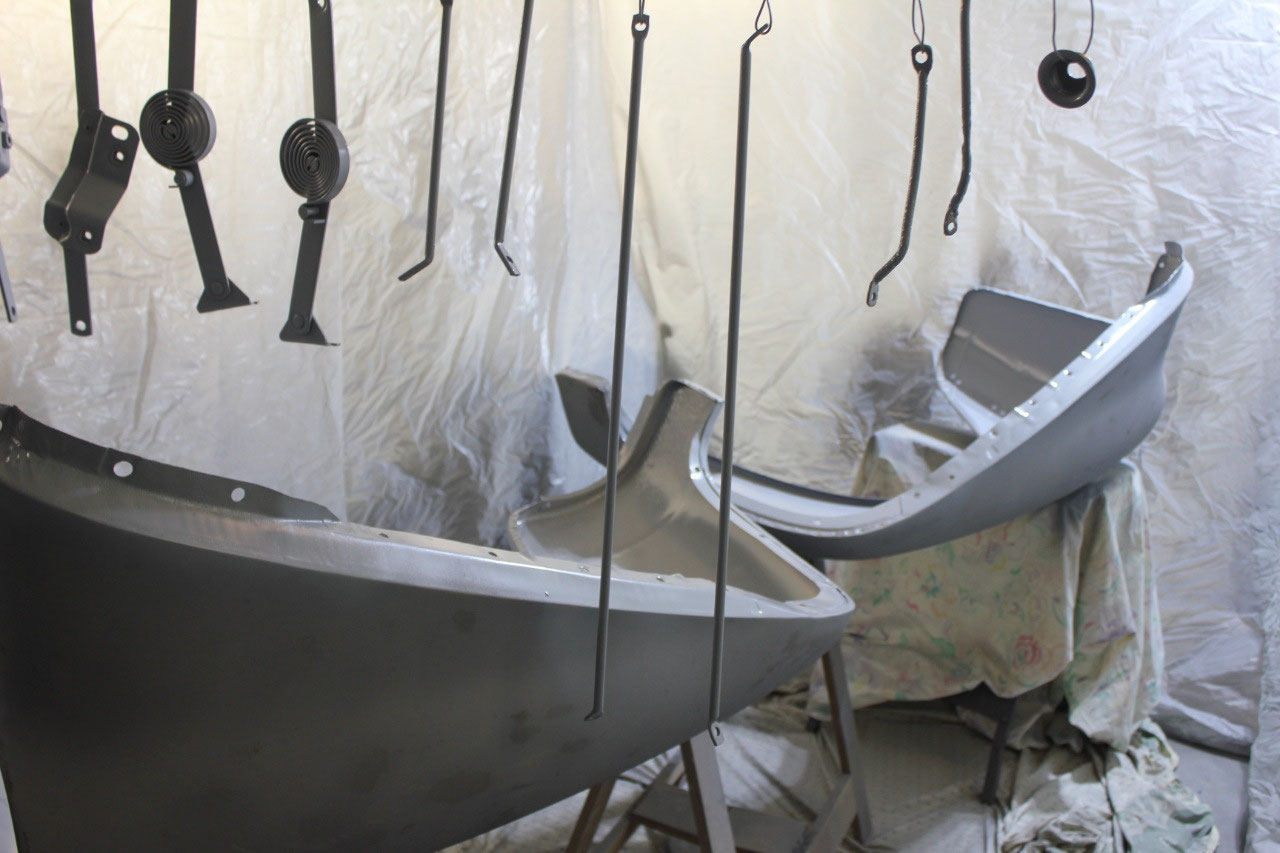
All of the small parts, the upper and lower
apron, inner fenders, and my new bumper brackets were painted black with
Southern Polyurethane Single Stage Black.
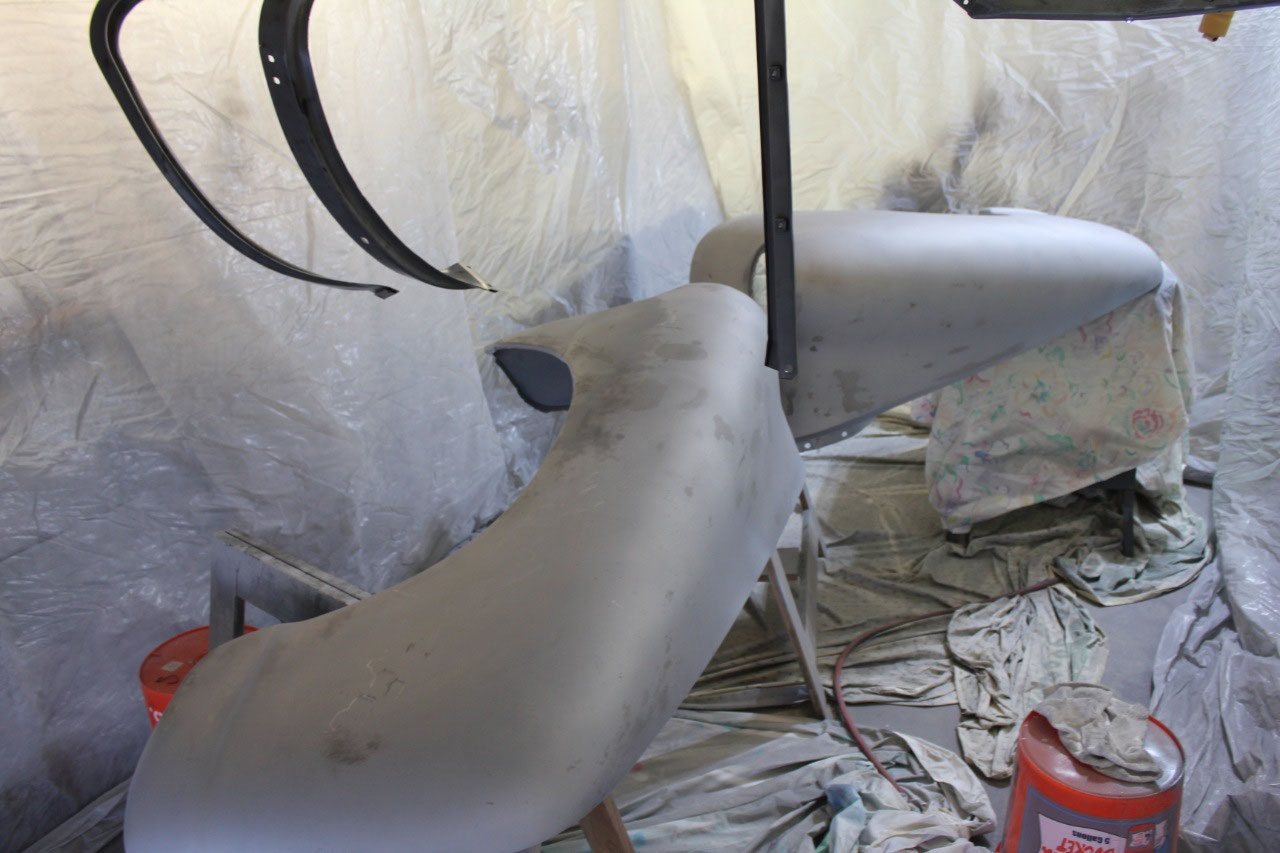
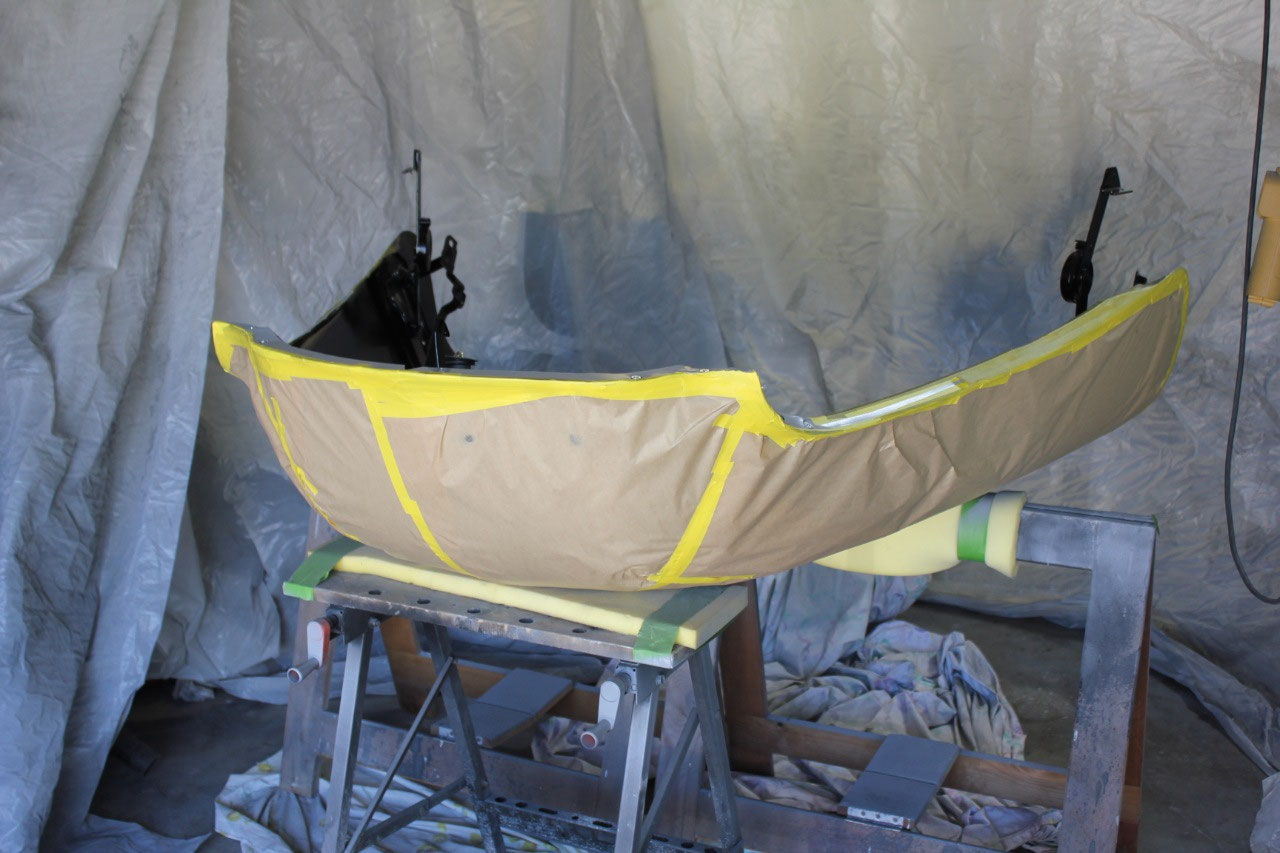
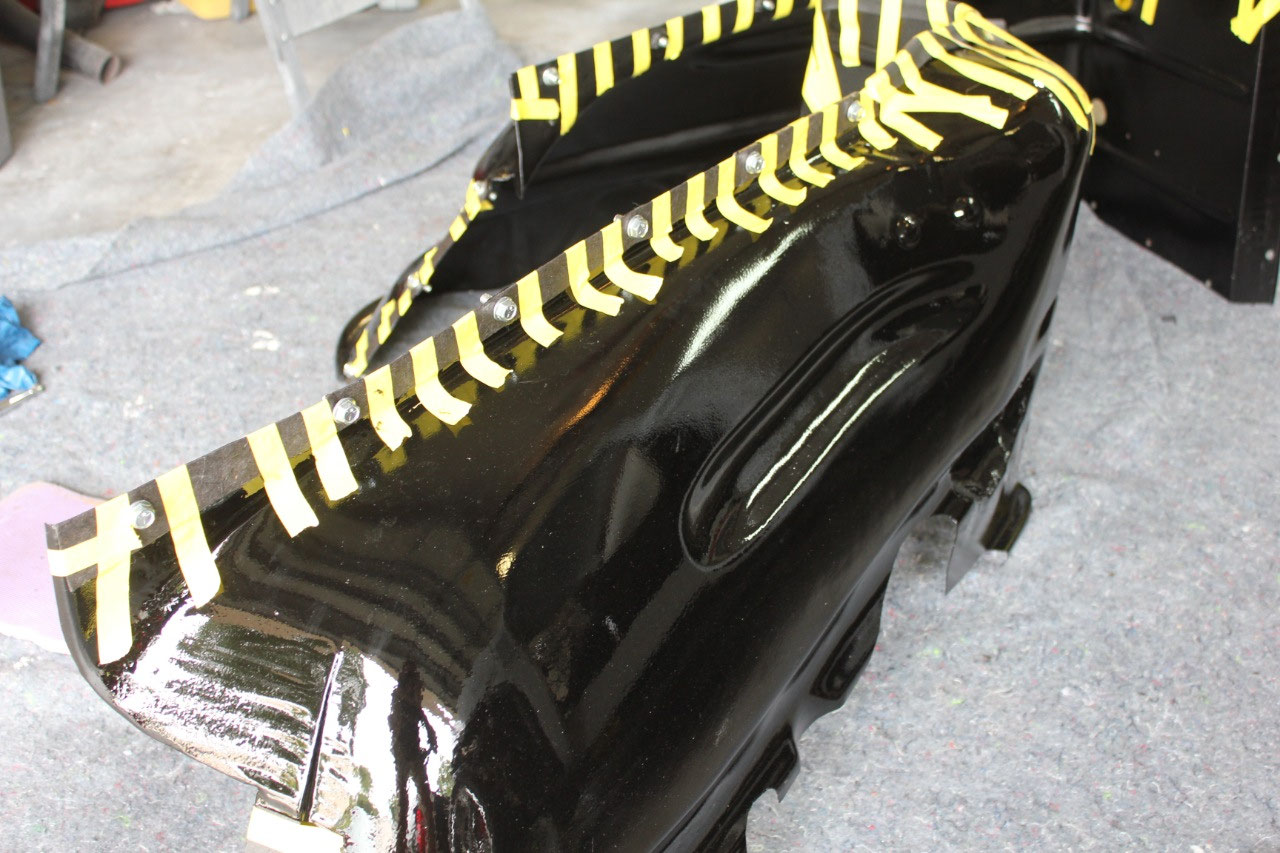
The underside of the front fenders, and the wheel side of the inner
fenders were painted black, sprayed with paintable undercoat, and painted black
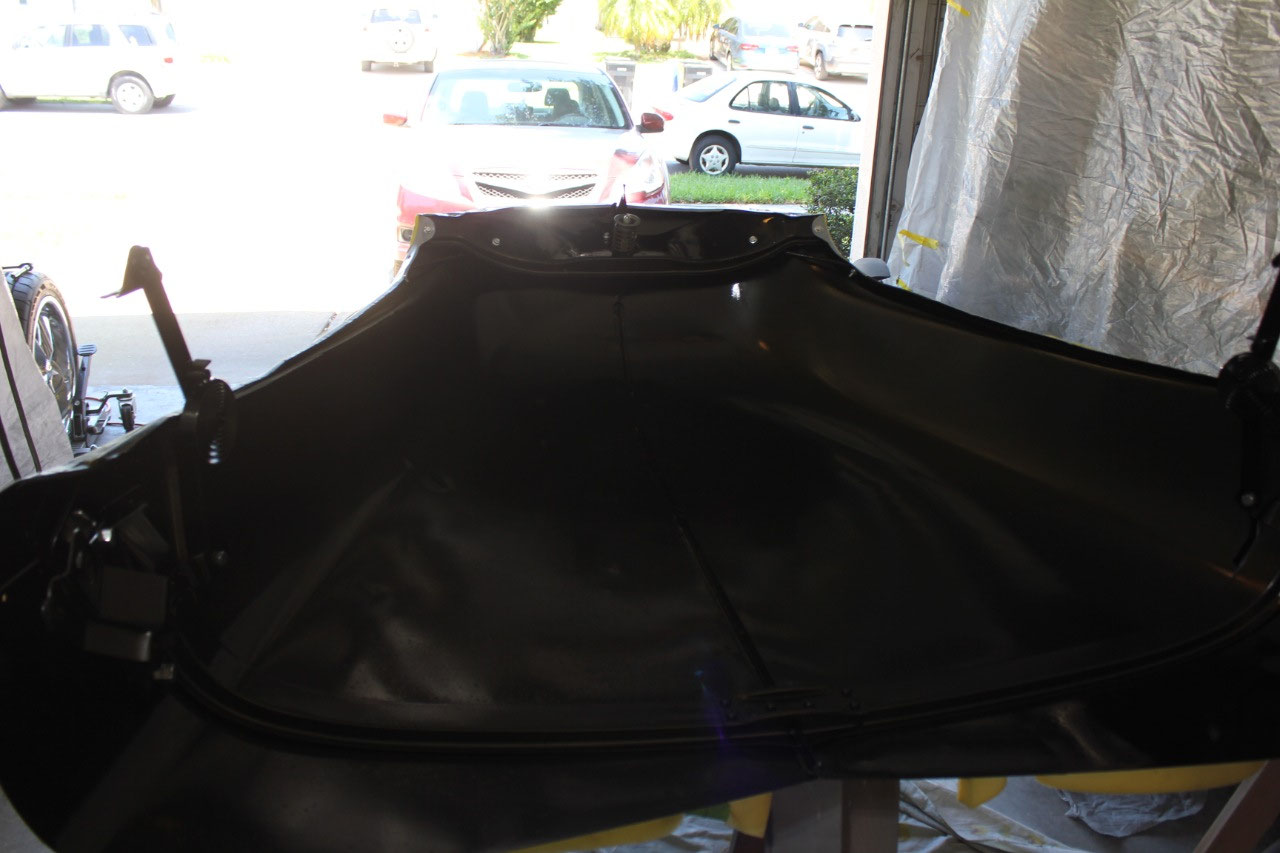
again. The underside of the hood and the
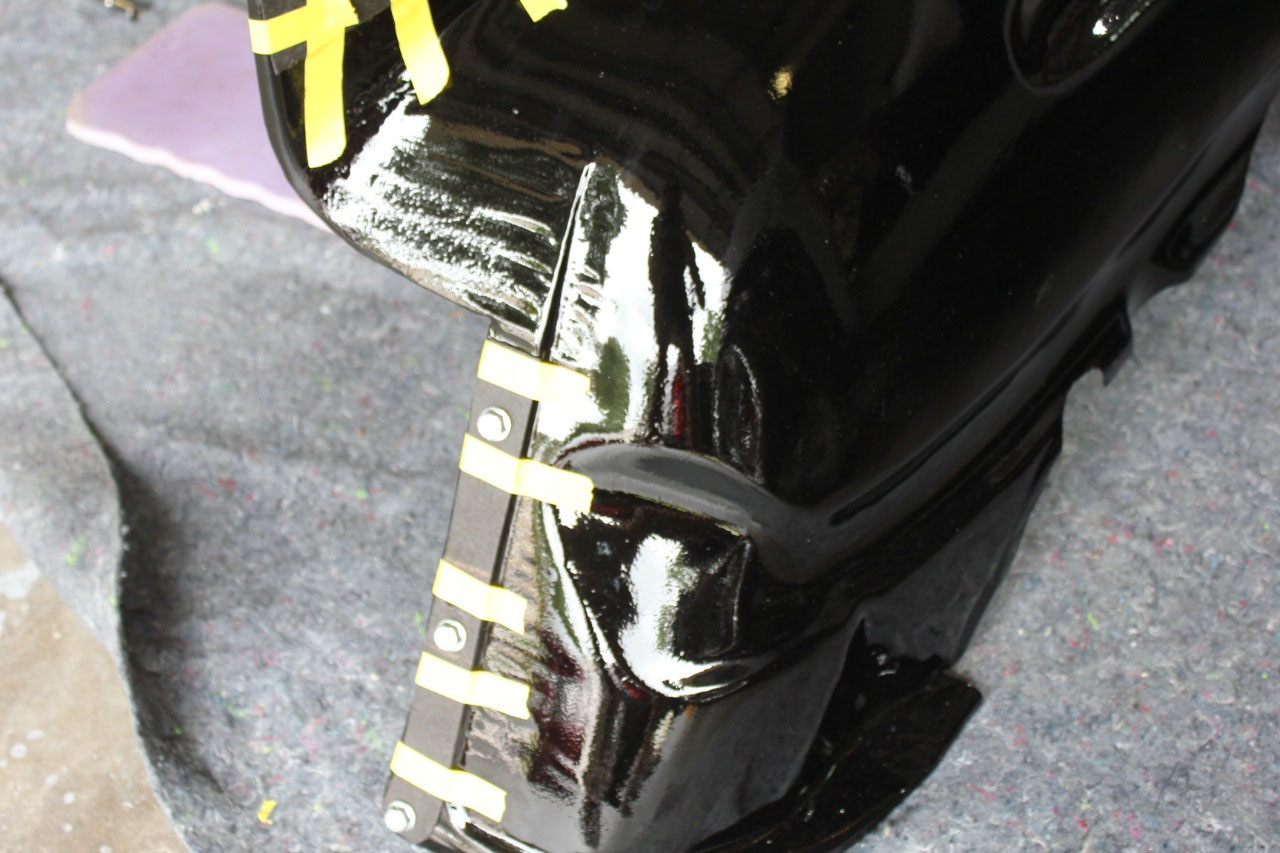
underside of the bumper splash pan were also painted black. I also taped off and painted the under hood
edge of the front fenders where they are bolted to the inner fenders. I’m trying to keep everything in the engine
compartment black, both because I like the look, and to make it easier to paint
the truck without as much disassembly at a later time.
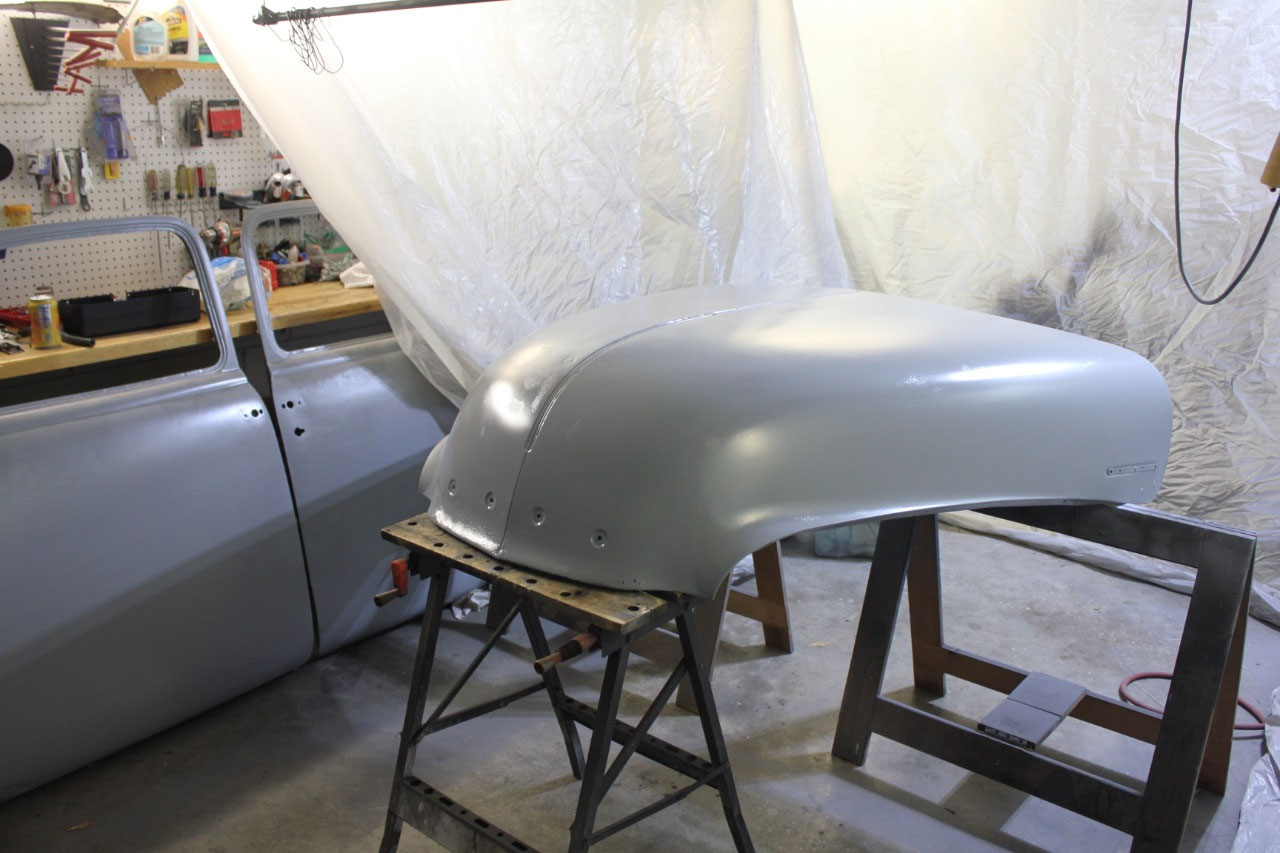
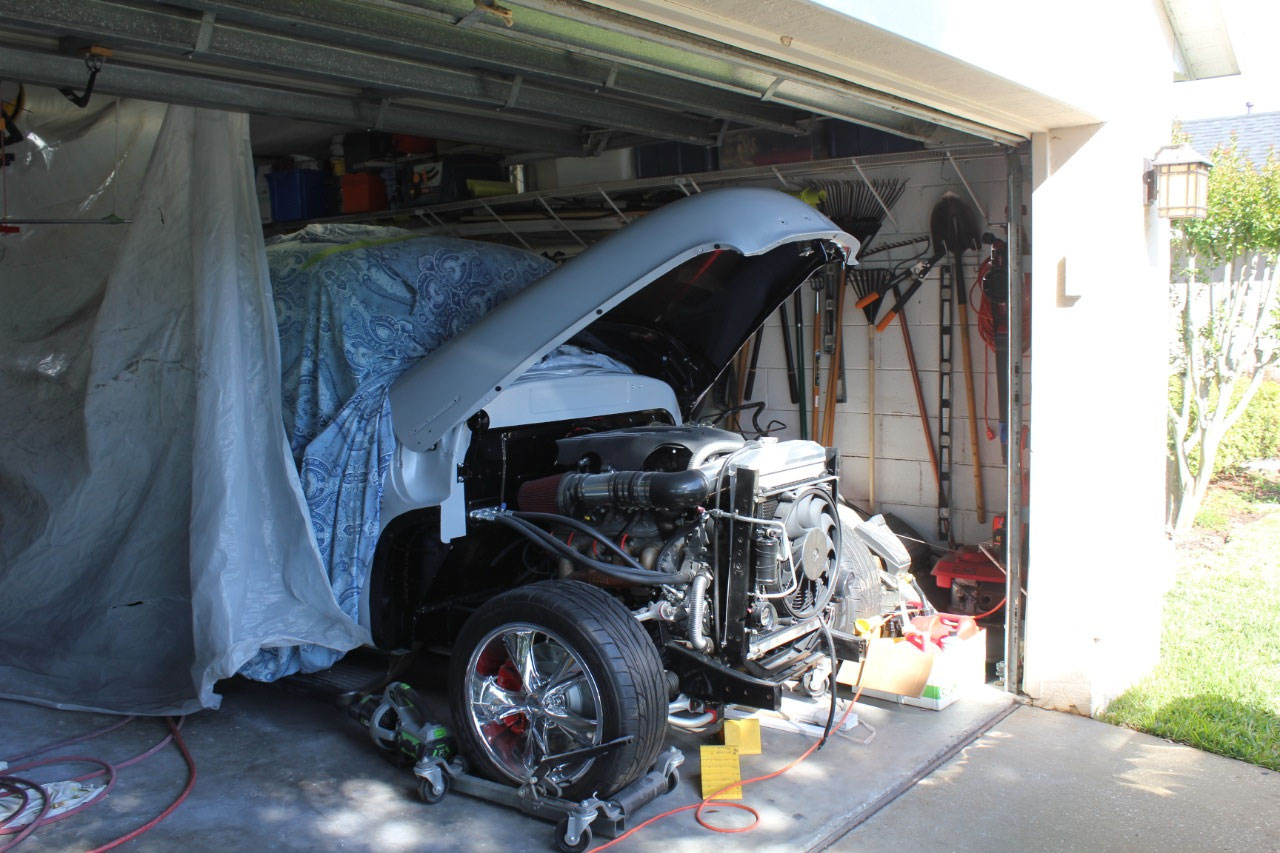
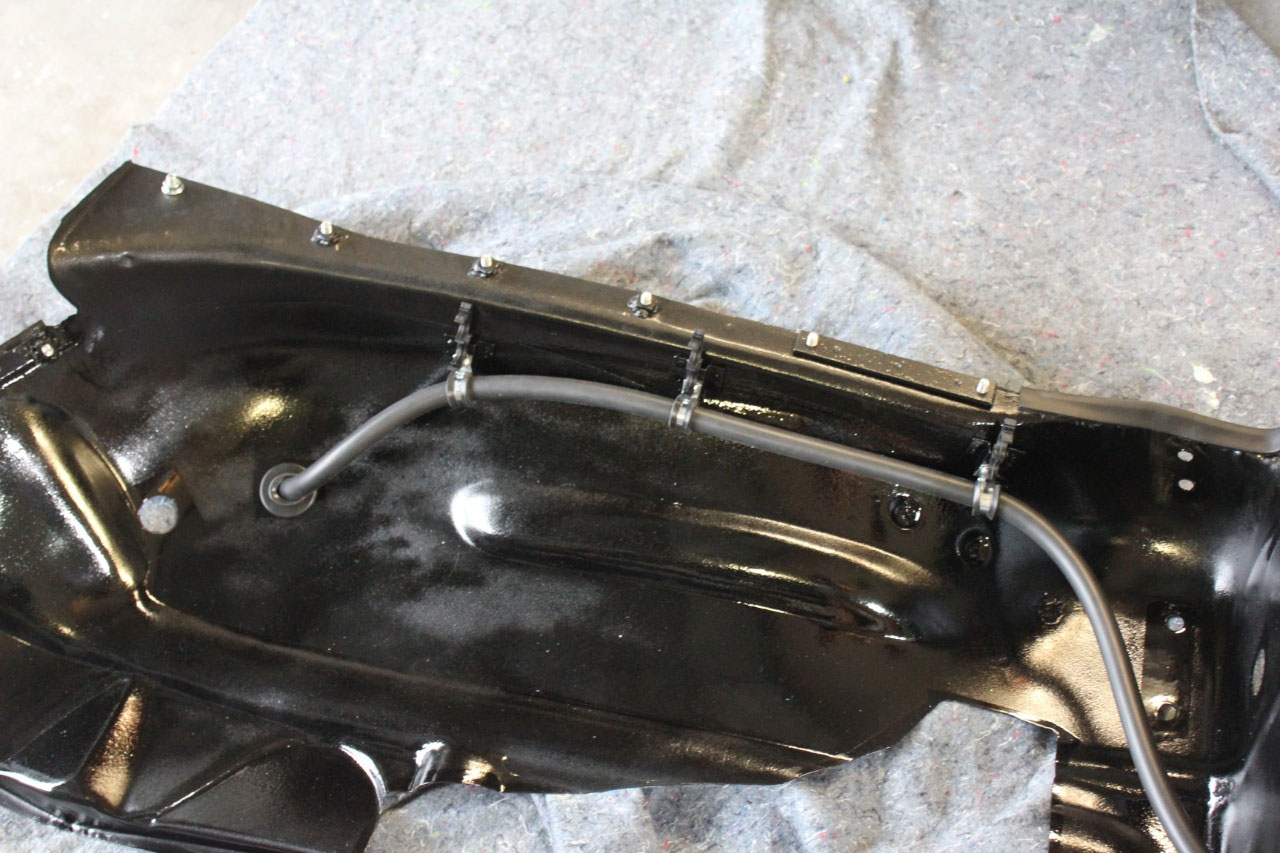
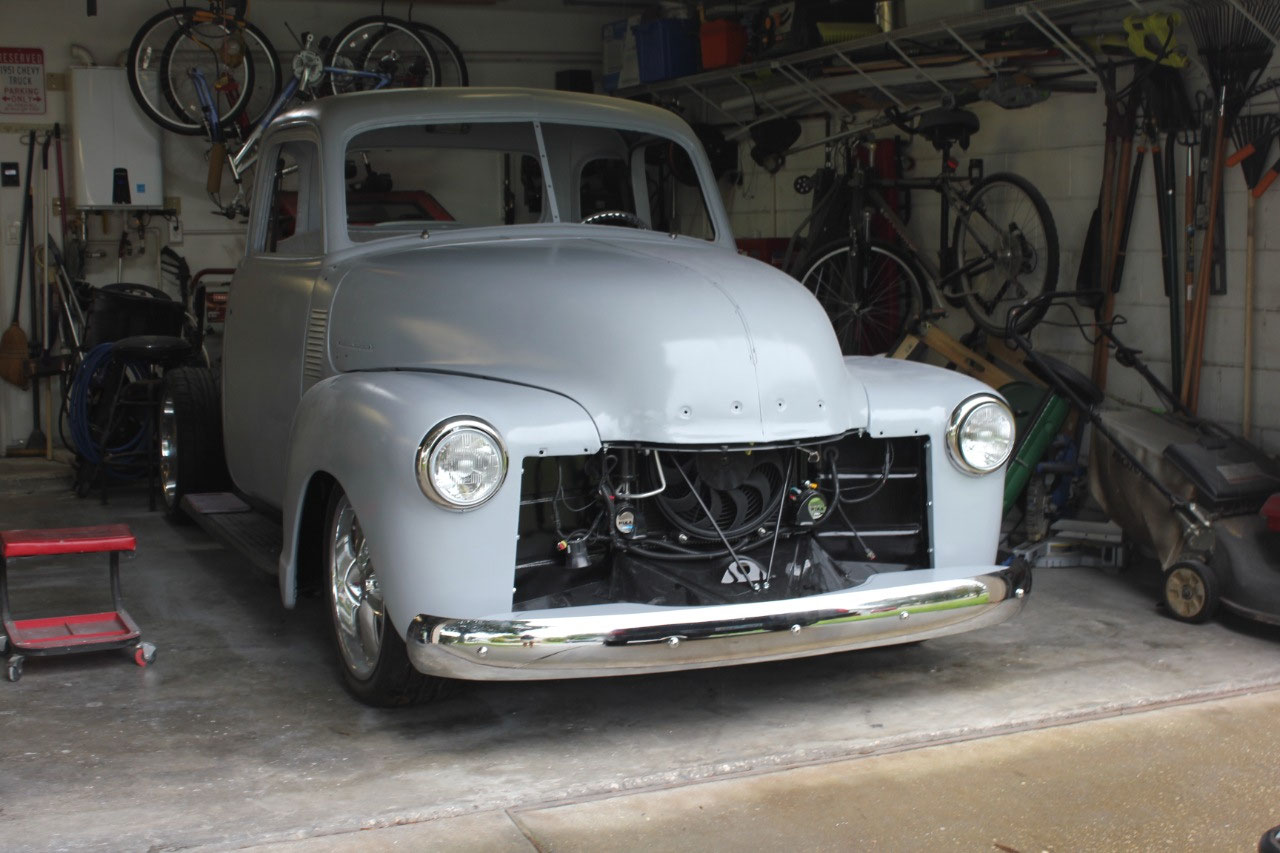
Now that all the priming and painting is complete, it’s time
to start the reassembly. I started first
with the inner fenders, and using 3M rubber adhesive, I attached the
anti-squeak kit. I also ran the A/C hose
that goes between the firewall and the dryer and attached the clamps to the
passenger’s inner fender.
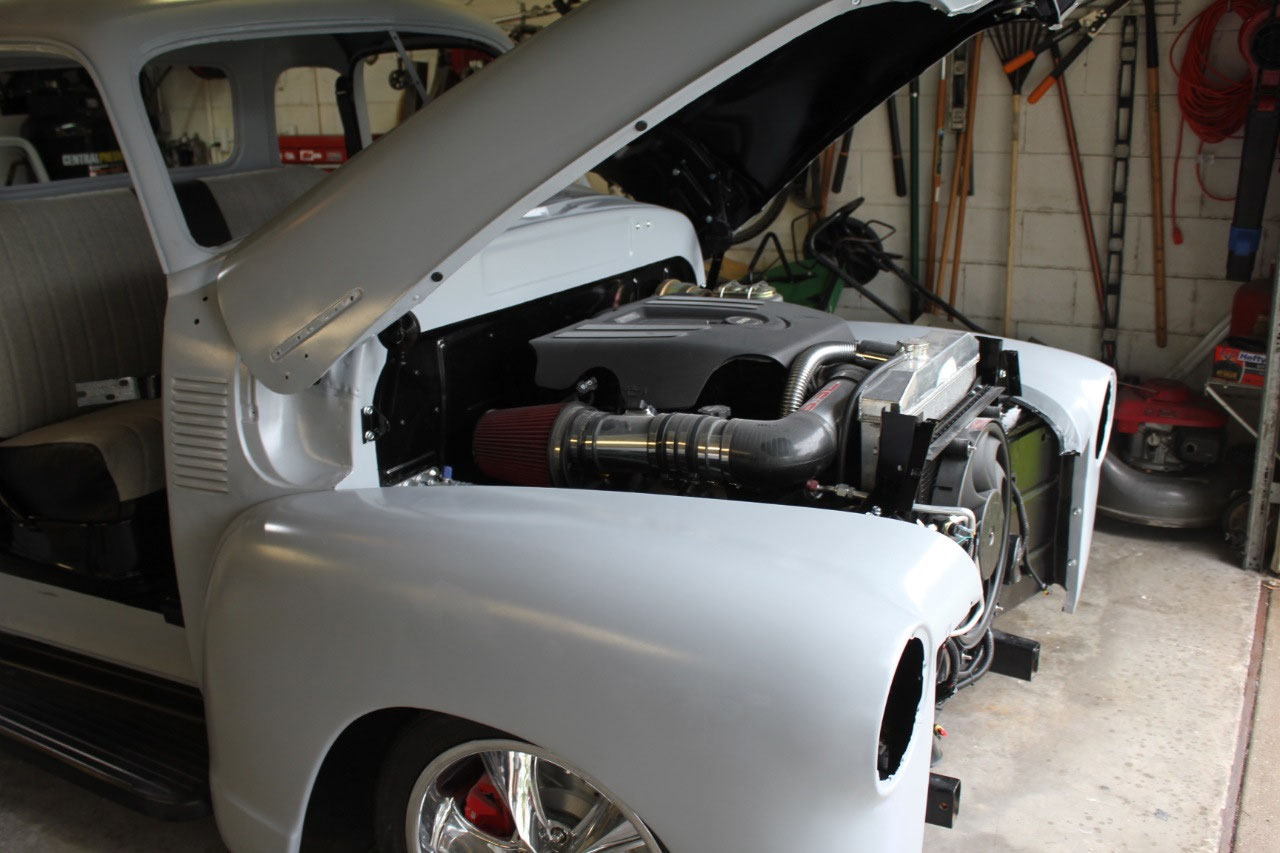
I then
installed both front fenders, and I was able to install all of the bolts. Then I assembled all the small pieces to the
underside of the hood, including the cross brace and the hinges, using all new
hardware, of course. I then installed
both of the front fenders, routing the wiring harness through the grommets and
attaching them to the inner fender clips.
I attached the A/C hose at the firewall and dryer. I installed the new stainless front fender
support braces with the length set according to RayBuck’s alignment
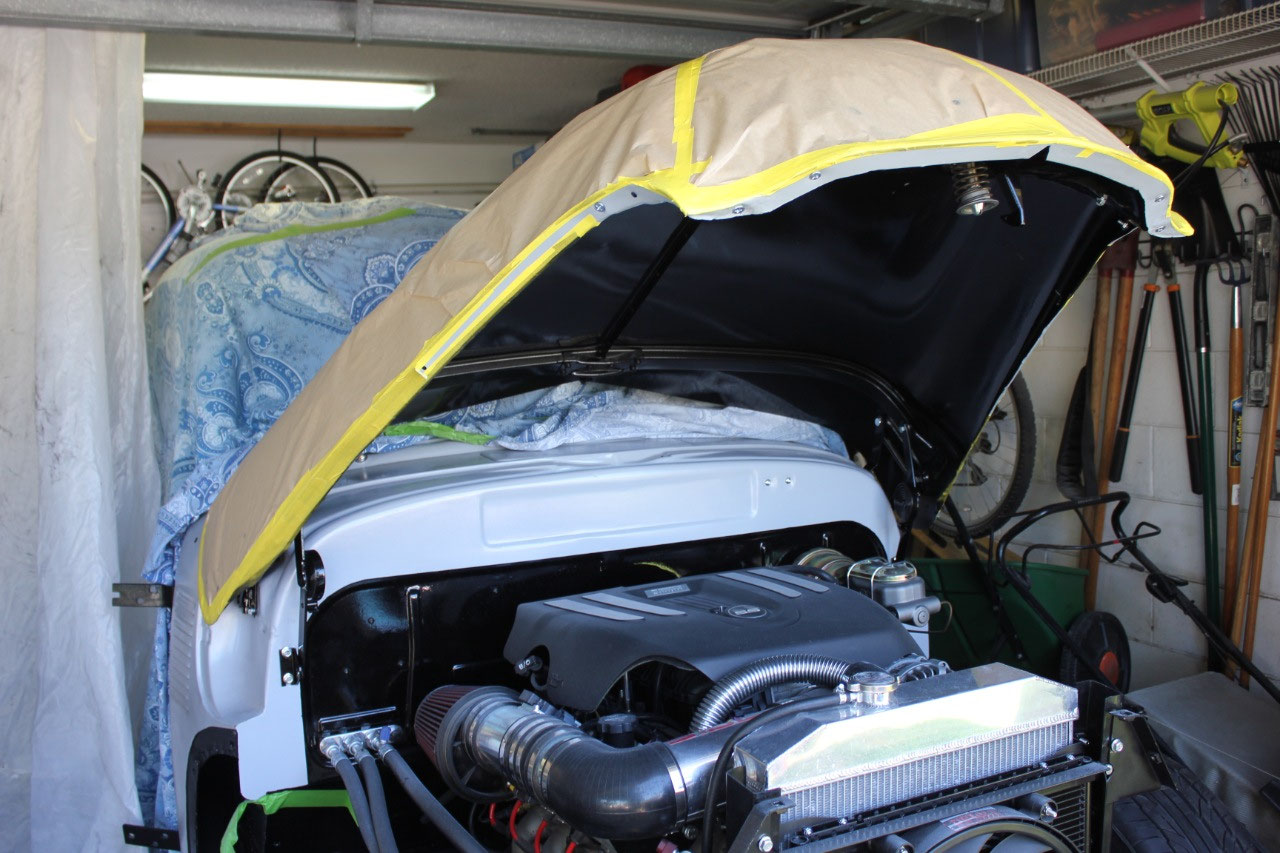
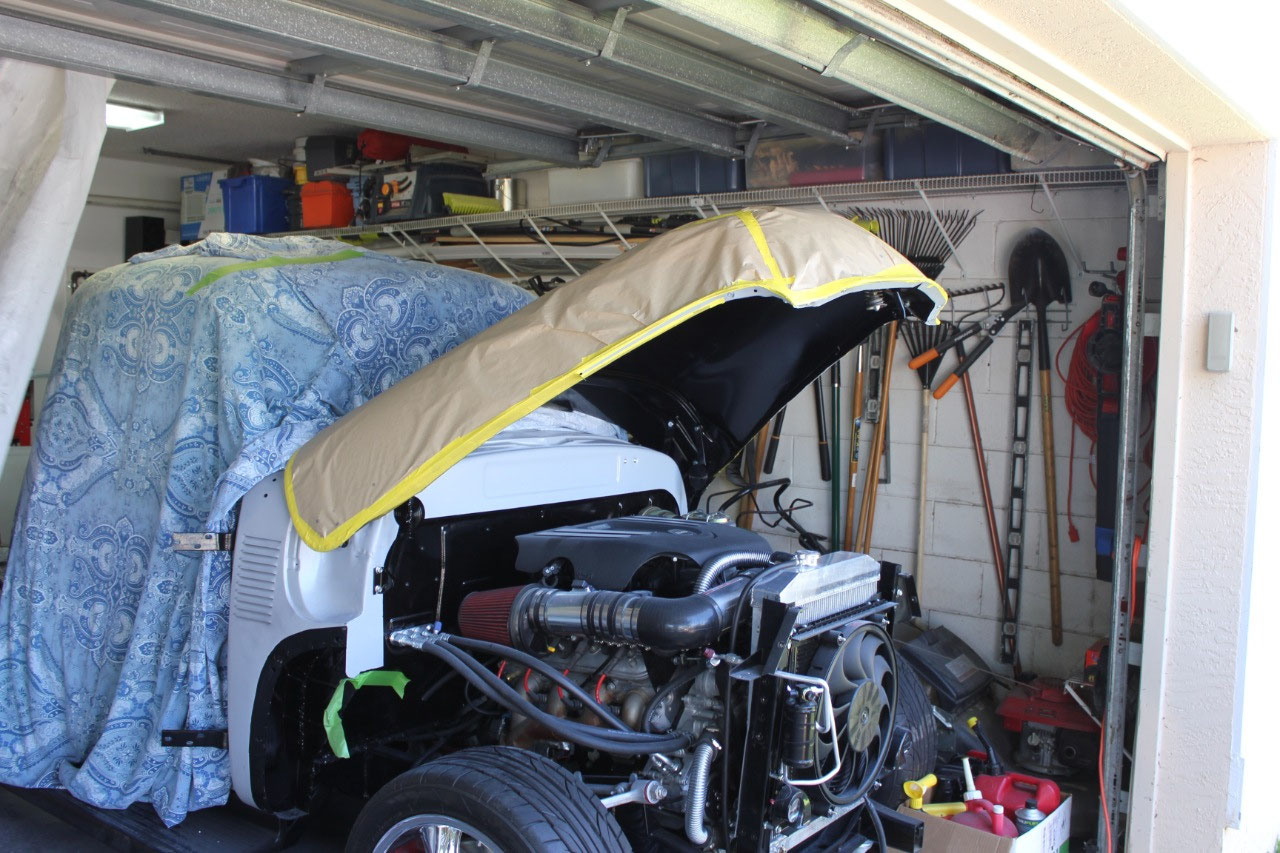
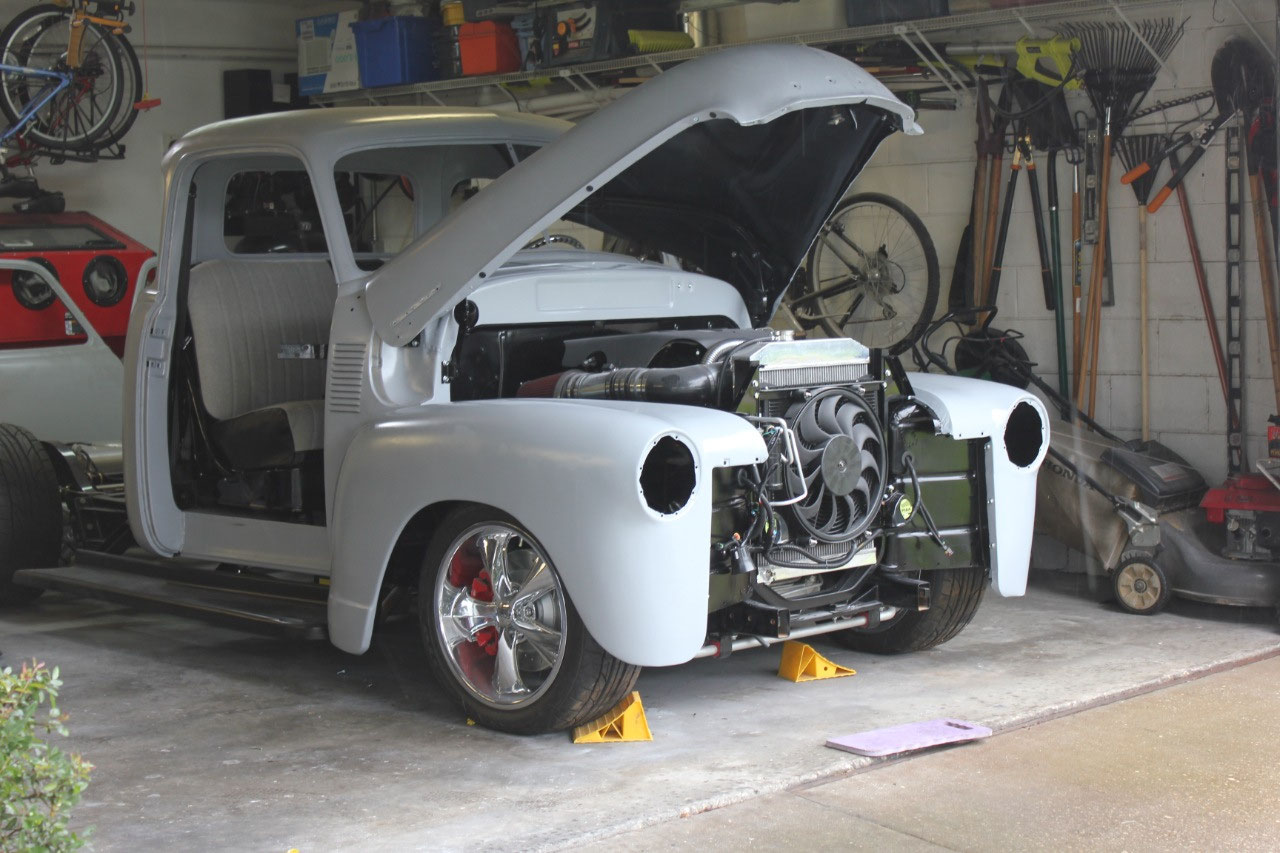
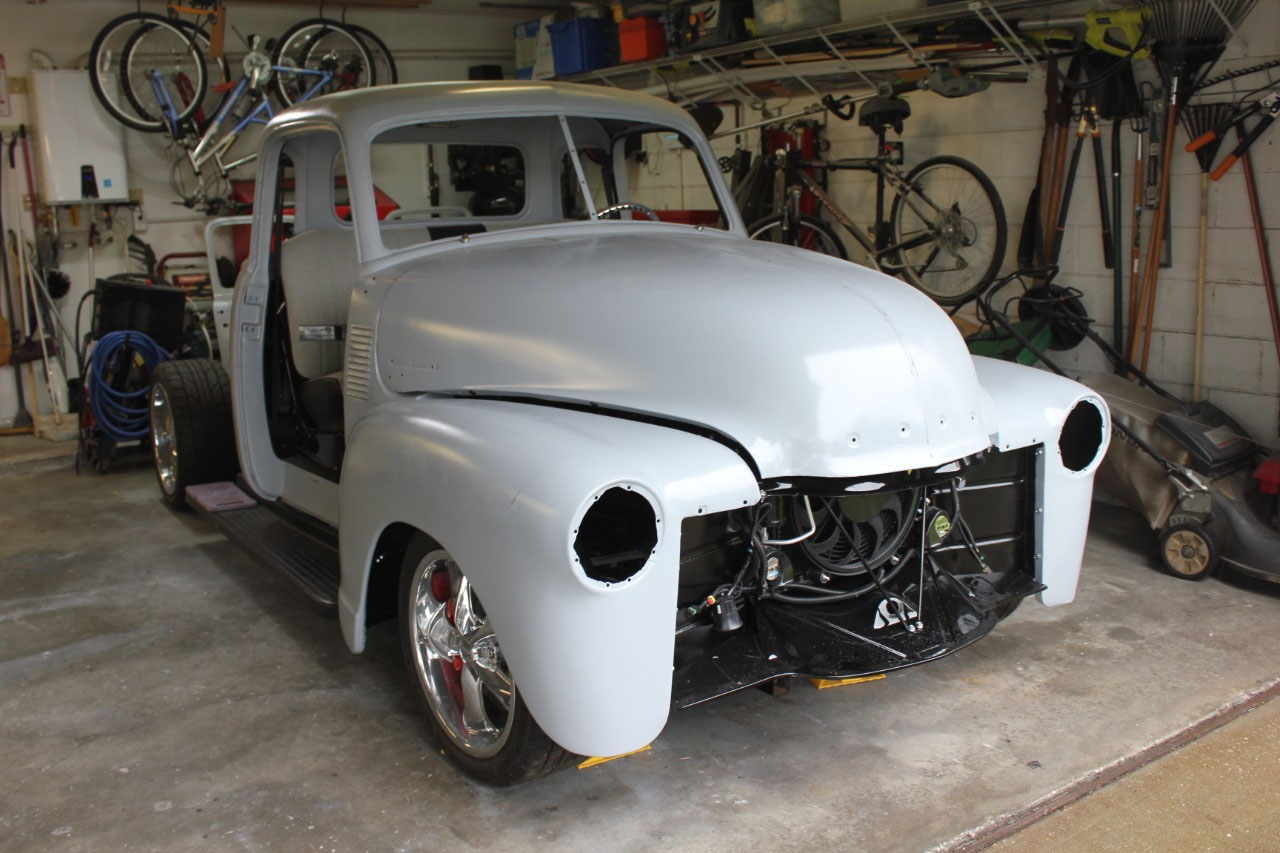
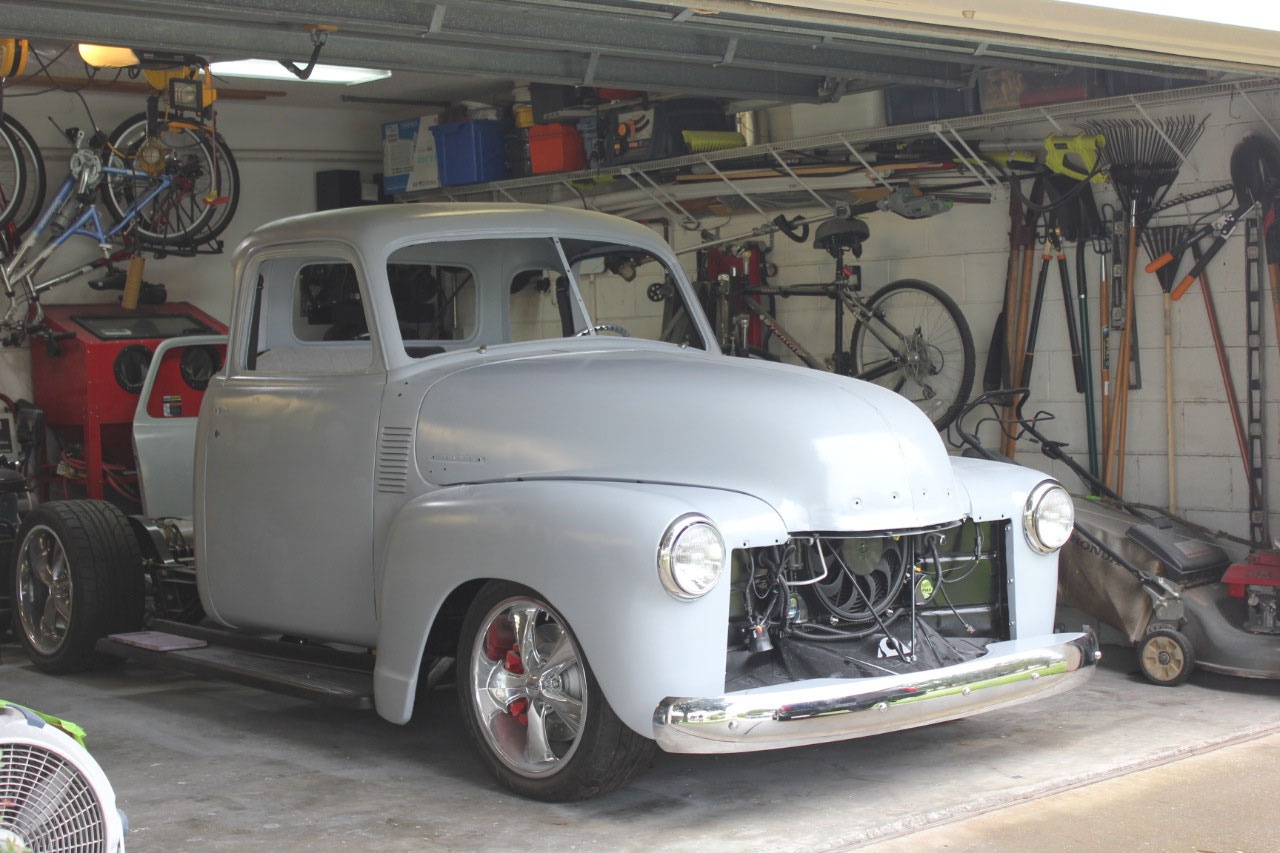
procedure. I then installed the hood
and aligned it as best as I could. I
installed the upper and lower aprons, stood back and admired my handiwork.

Everything fits, and all the bolts are installed, which is a
good start, but the alignment is not so good.
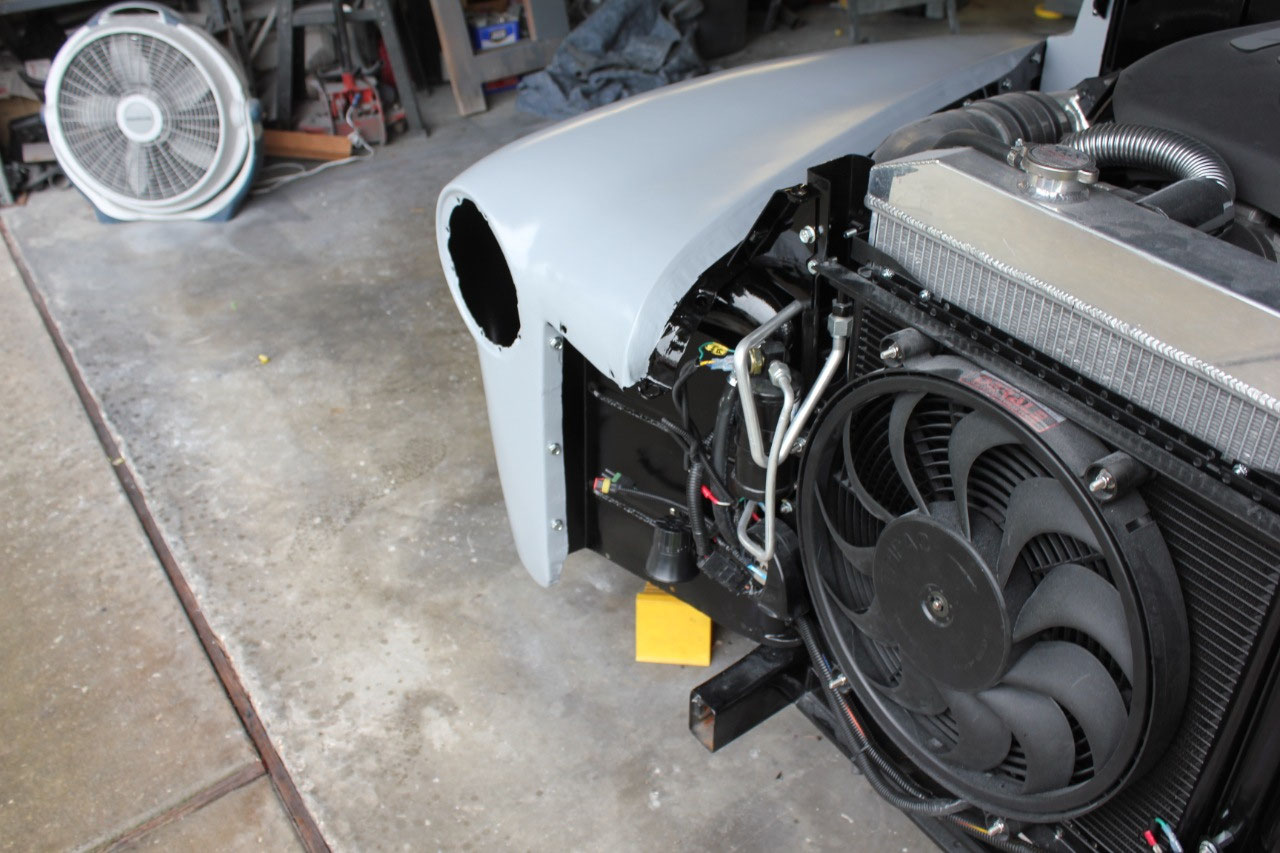
I should have installed the hood rubber on the cowl, because I can’t
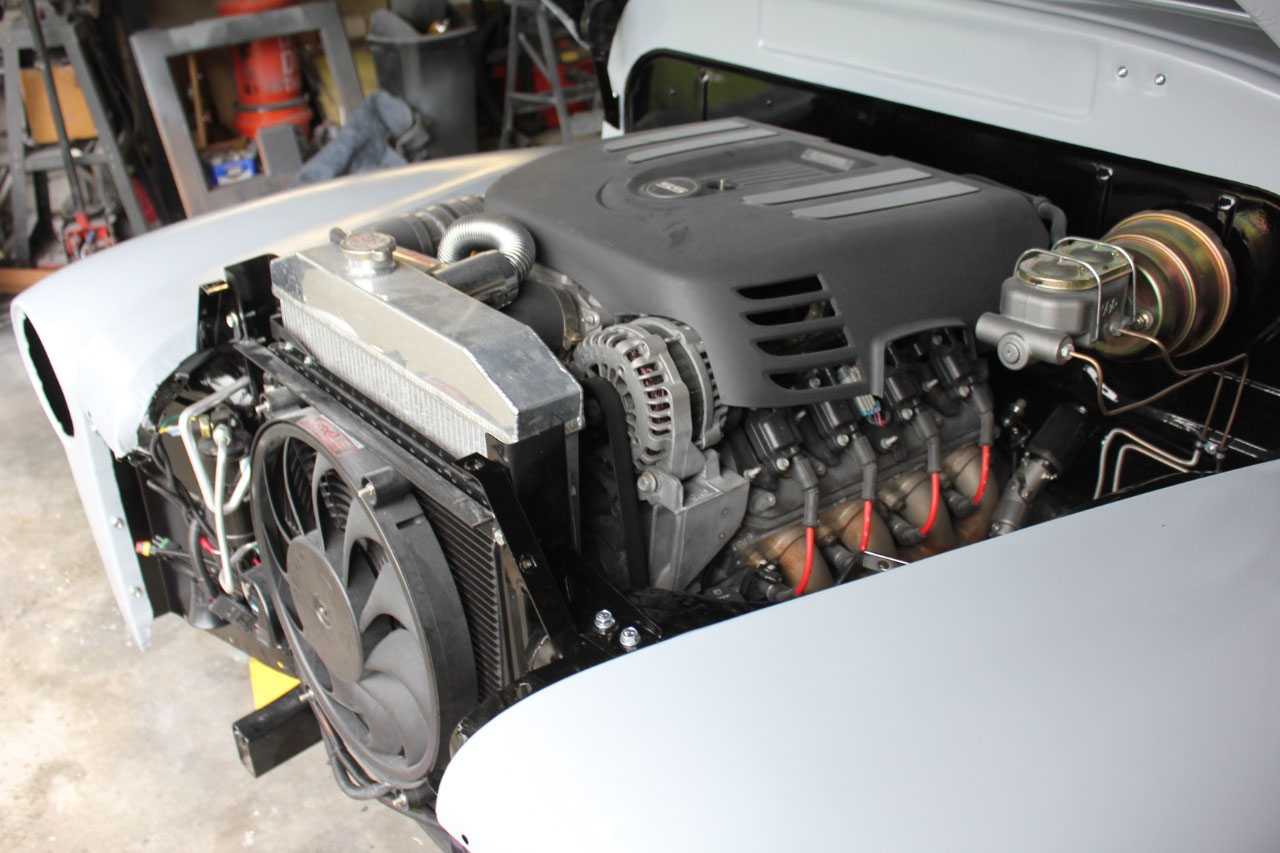
really align the hood without it. The
hood appears too short, but on closer inspection, the whole front clip is
actually too far forward, mostly because the upper radiator hose is interfering
with the rubber intake 90 degree elbow.
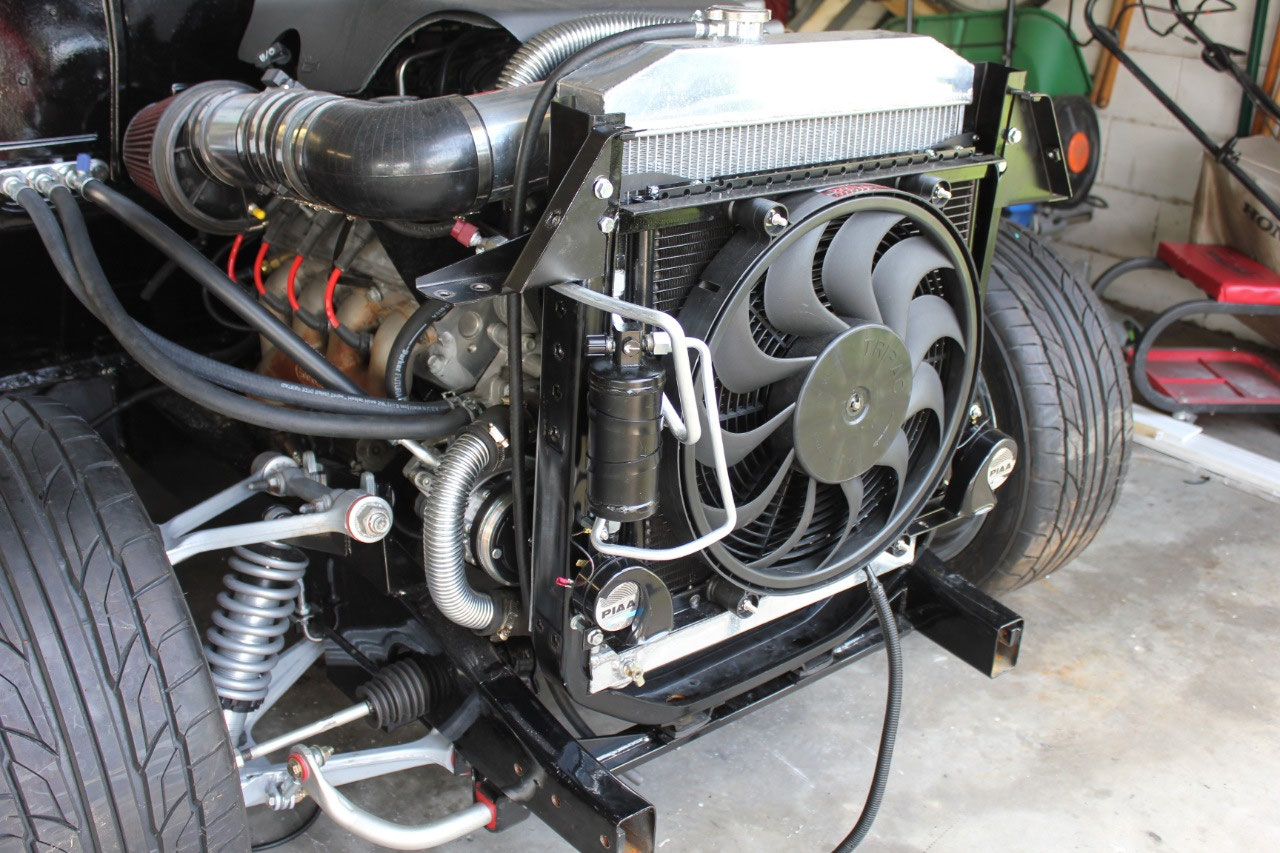
The lower radiator hose just barely clears the A/C compressor pulley,
and I am concerned that if I adjust the front clip further back, it will hit
the A/C pulley. But the truck looks
great!
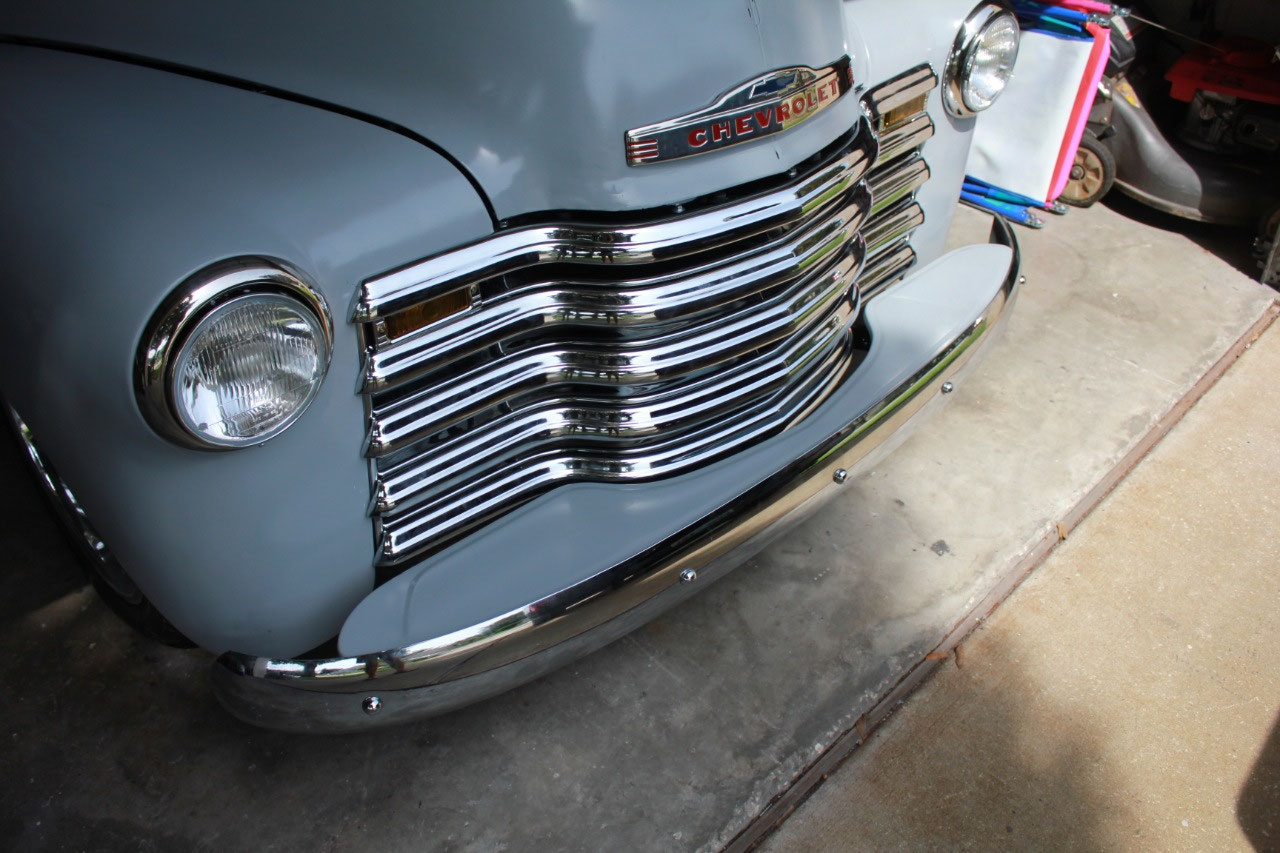
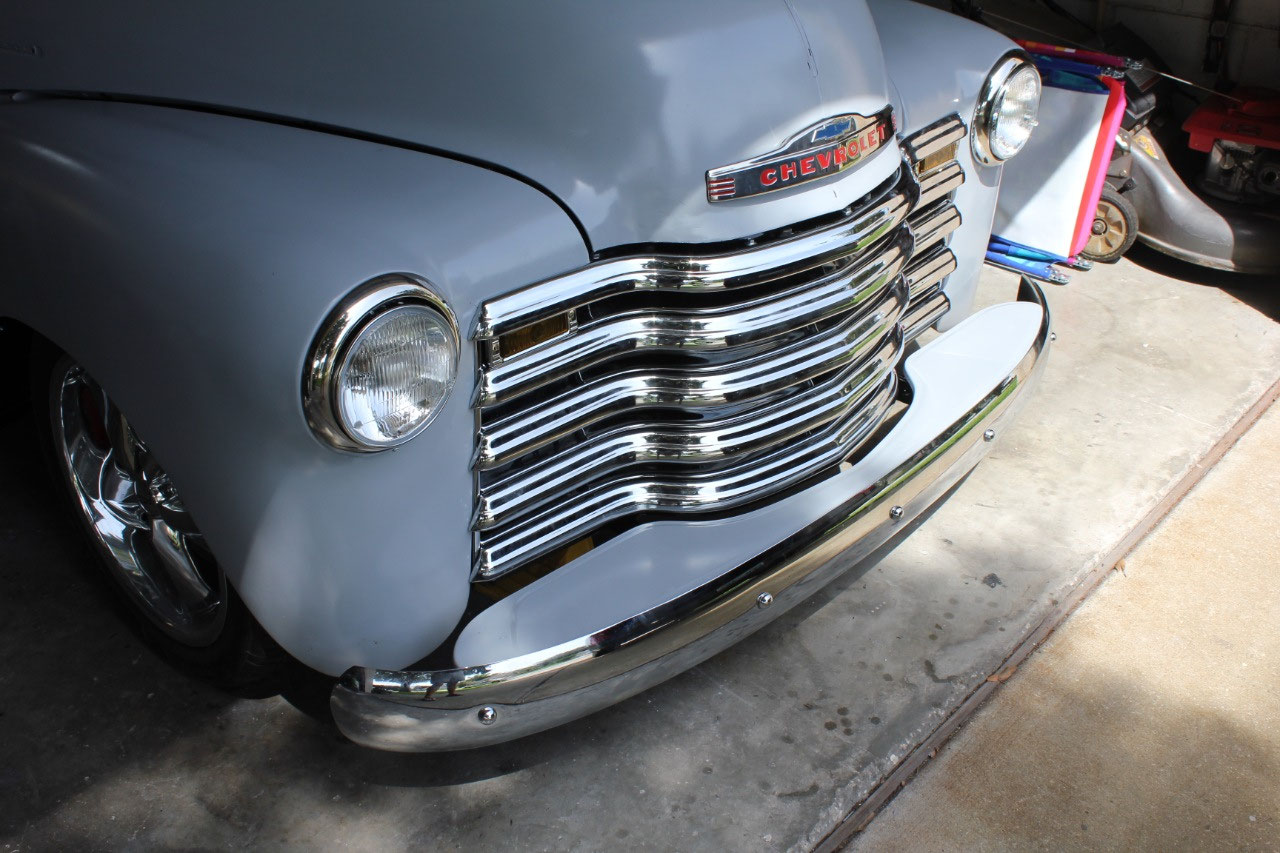
I measured the distance between the upper and lower front
aprons, and it is a little smaller than it would be if the grille were
installed, so I decided to go ahead and order the grille to get everything
installed before tackling the alignment.
I assembled the front bumper, and attached it and the new front bumper
brackets to the frame. It all fits! I had originally planned to rebuild and reuse
the headlight buckets, but found out as I was trying to trial fit them in
place, that one was good, but the other was bent and would not fit correctly in
the hole. In the end, I ordered 2 new
headlight bucket assemblies, but ended up disassembling them both so I could
epoxy primer and paint them with single stage black. For headlights, I investigated several
solutions, from sealed beam to exotic LED.
In the end, I opted for Hella H4 Conversion Lamps.
They’re DOT approved, and look like stock and
are not too expensive. They also fit the
stock headlight buckets without any modification!
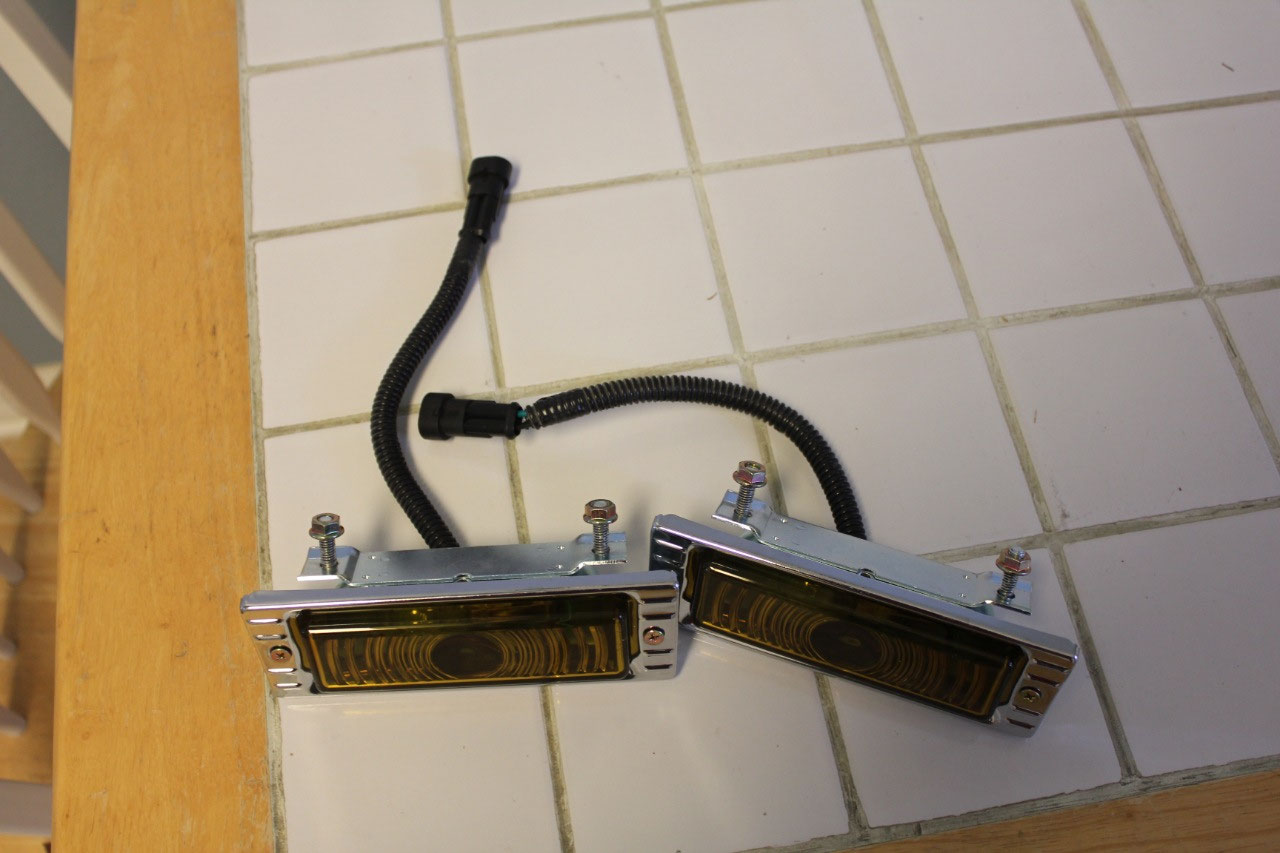
I also looked at the various parking light assemblies and
ended up with the very stock looking OER versions. The LED ones were just a little too bright
orange, and give all kinds of flasher headaches. Unfortunately the lenses are still plastic,
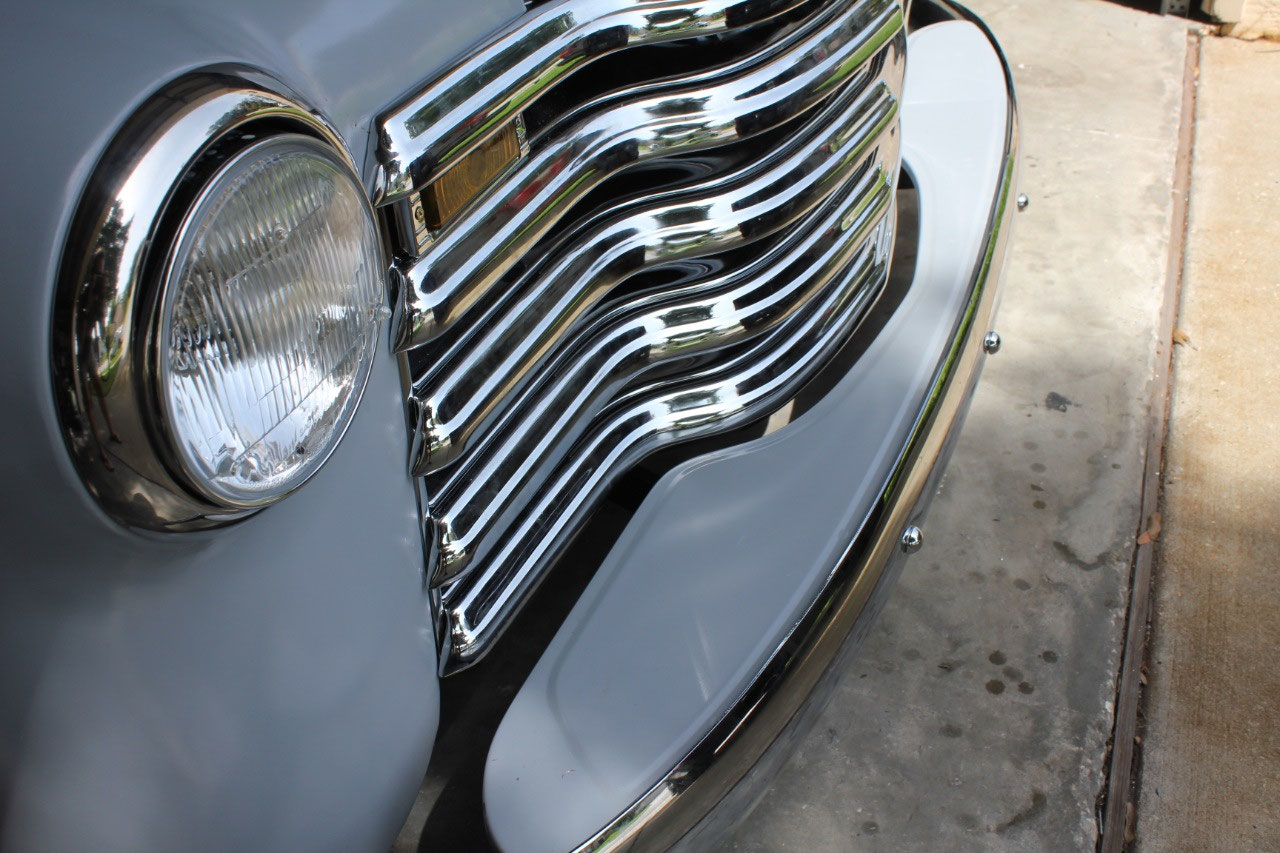
and I may upgrade them to the original glass at a later date. With sufficient poking, prying, and swearing,
the grill managed to fit in the opening with all the hardware installed. Of course, I had to remove the recently
installed bumper to get the grill to fit in the opening.
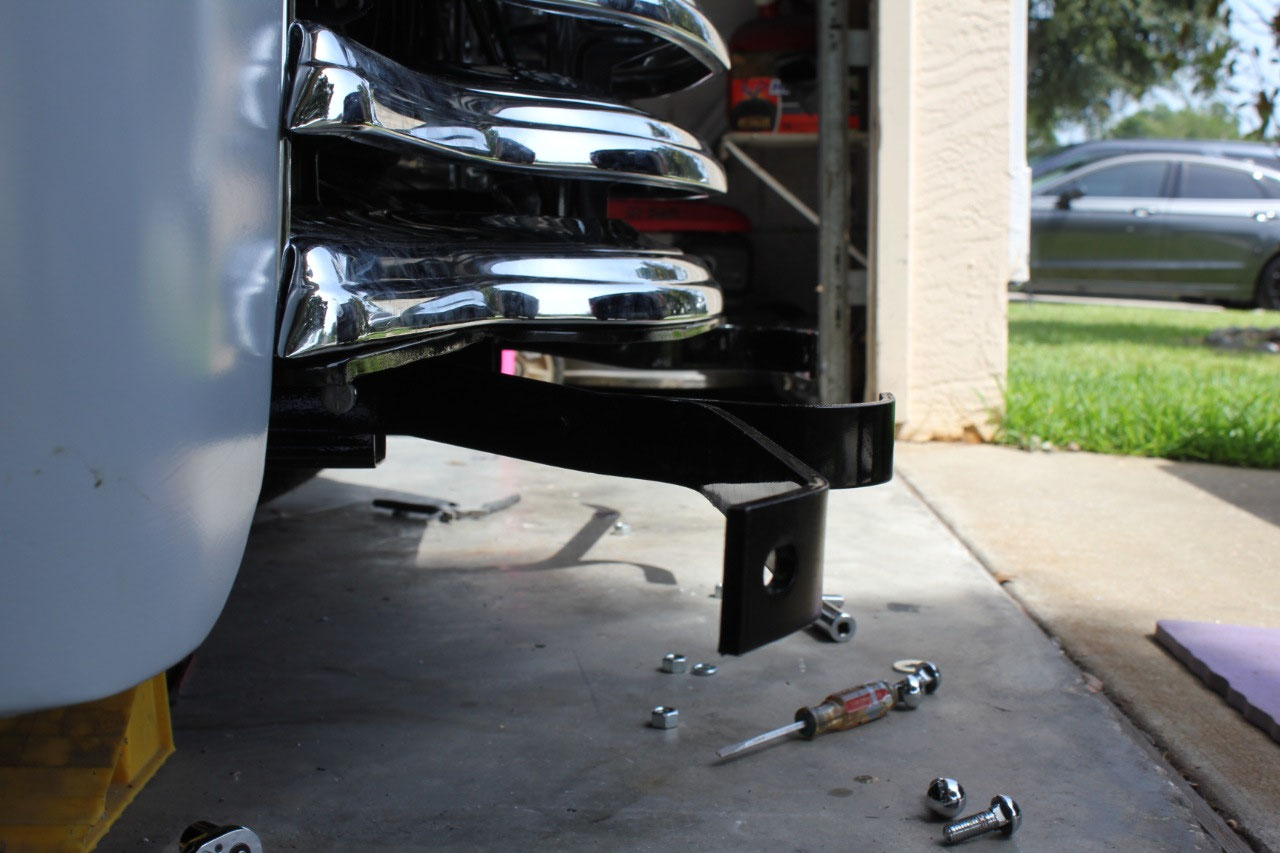
I reinstalled the bumper and splash pan and somehow it just
didn’t look right. The bumper seemed
just a little too high up the grille. It
turns out the front bumper brackets have a slight up/down curve. I had assumed that they should curve up to
give the greatest ground clearance, but I was obviously wrong. I posted in my favorite 3100 Facebook forum
asking about bumper brackets, and the consensus is that they should curve
down.
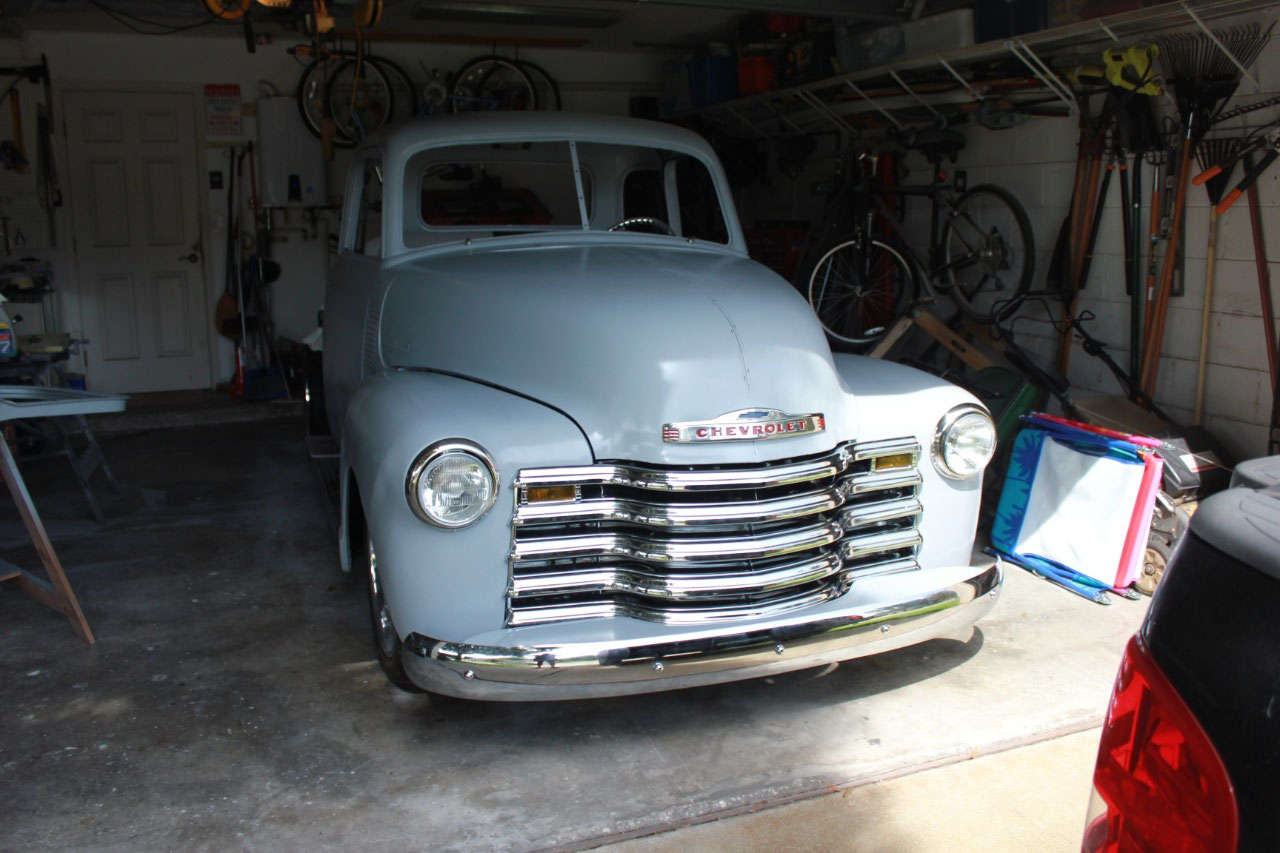
Sure enough, I took everything
apart one more time, and installed the bumper brackets curved down this time
and everything fits much better. The
hood looked so naked without the Chevy emblem on the front that when I ordered
the grille I also ordered a new front emblem.
Front emblems also have a controversy.
It is available as either chrome plated steel or polished
stainless. Back to my favorite 3100
Facebook forum and the consensus was that the stainless was the better deal. As for the hood center strip, I haven’t
decided whether I would prefer painted or stainless yet.
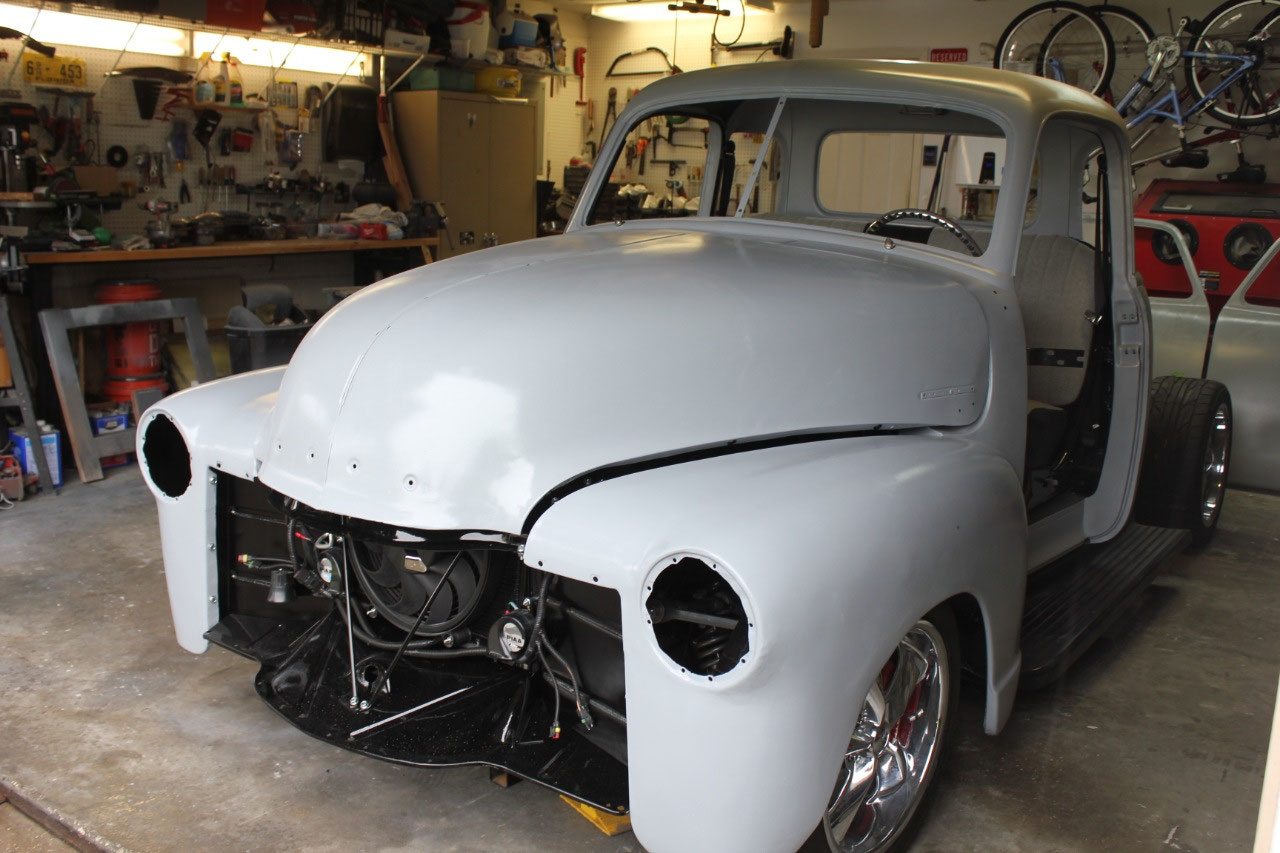
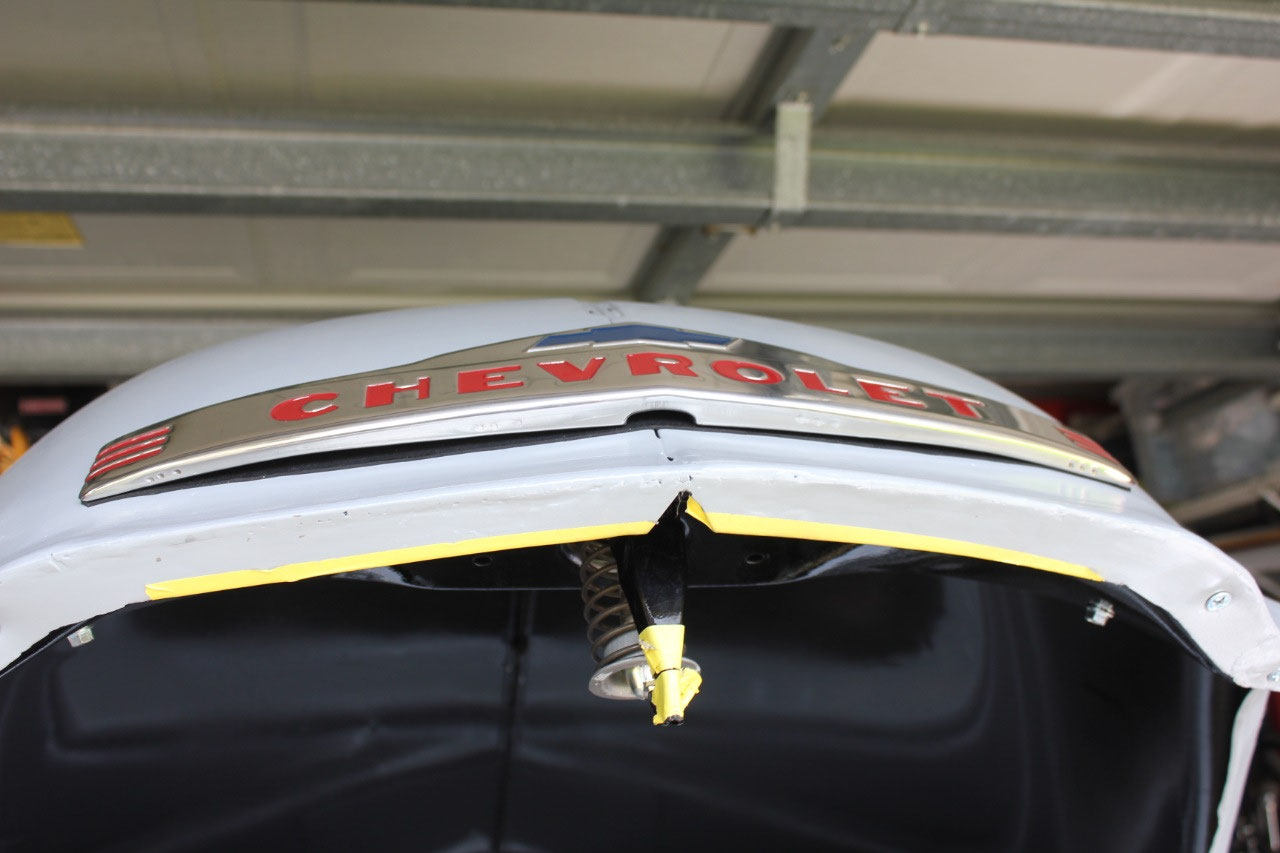
Now that everything is bolted together, it is time to make
an assessment of the alignment. The hood
latches, but just barely. My new pieces
welded to the bottom front hit on the upper apron. But the front clip is too far forward, so it
might be ok if I adjust the front clip further back. The back of the front fenders are too low, so
the hood gap is too large. They will
need to be adjusted up, but the holes in either the fenders or the cab may need
to be elongated to make that happen. In
the course of adjusting the hood pin to get the hood to latch, I broke the spot
weld that holds the nut in place so it will need to be rewelded. At this point I have decided that I will
postpone the sheet metal alignment for now and move on to the doors. I know what needs to be done, and I would
rather do it when the weather is cooler and I can keep the garage door
open. I want it to start looking more
like a truck, and less like an endless project.
So for now I’ll skip the alignment and move on to the next task at hand
– the doors!


2025-05-22